
This is a simple way to repurpose your art by creating photocopy layers. This can be done on a photocopy machine or all-in-one printer. It’s a great way to create mash-up art if you don’t want to use a photo editing program like Photoshop or iPad apps like ArtRage or Procreate. Artwork layers can be stacked, then copied or printed with one piece of art, then run through the copier again and printed over on another piece of art. There are so many possibilities!
variety of acrylic skins, artwork, journal pages, drawings and prints
inkjet printer and paper
cardstock
scanner
Dura-Lar
Gather a variety of artwork on different substrates. Choose pieces with colors that will work together when stacked on top of each other. Here I have a transparency monoprint on Dura-Lar, India ink on bark paper and a page from my art journal.
Arrange the artwork and prints in interesting layers, place on the copy machine and take a print. Or place them face down on the glass bed of an all-in-one printer and press copy.
Here’s the final printout of the stacked artwork. I use these for collage papers or as pages bound into my handmade books. Experiment with creating your own digital layered prints.
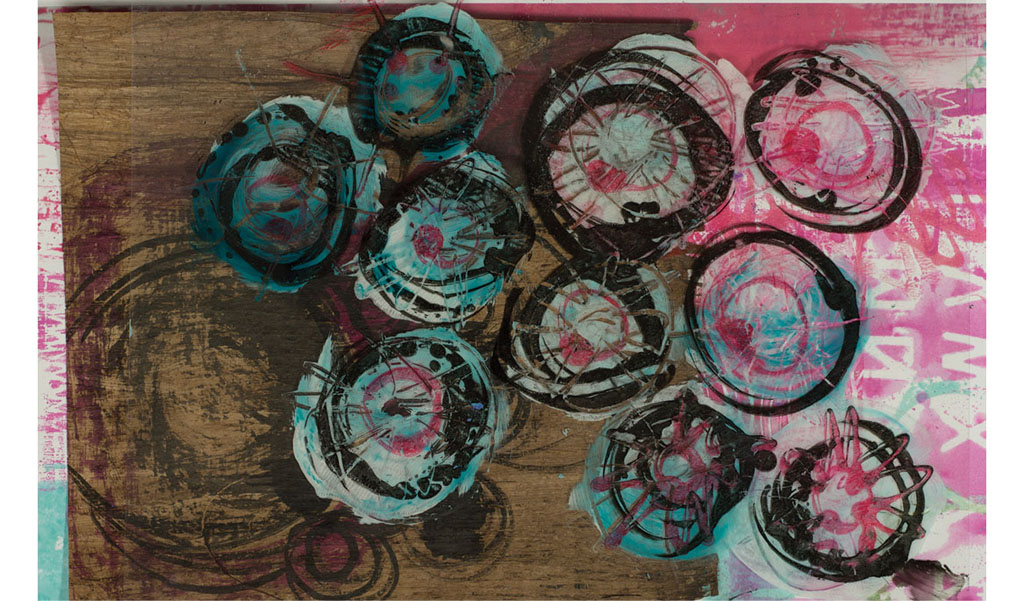
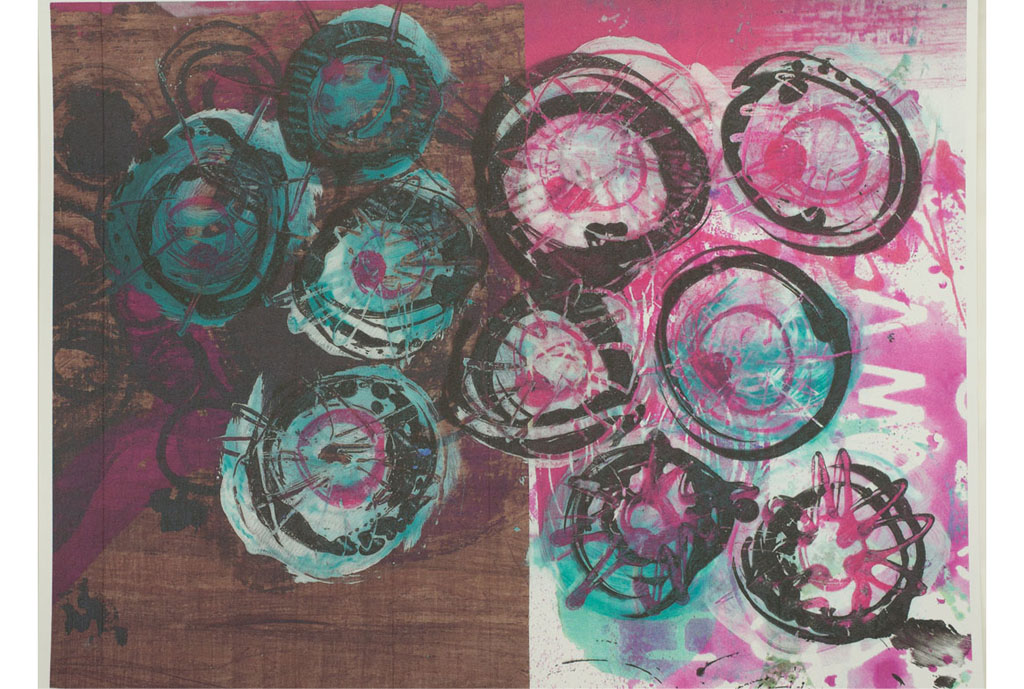
Choose black-and-white letters, a painted transparency and circles painted on Dura-Lar.

Stack the artworks on top of each other and photocopy or scan.
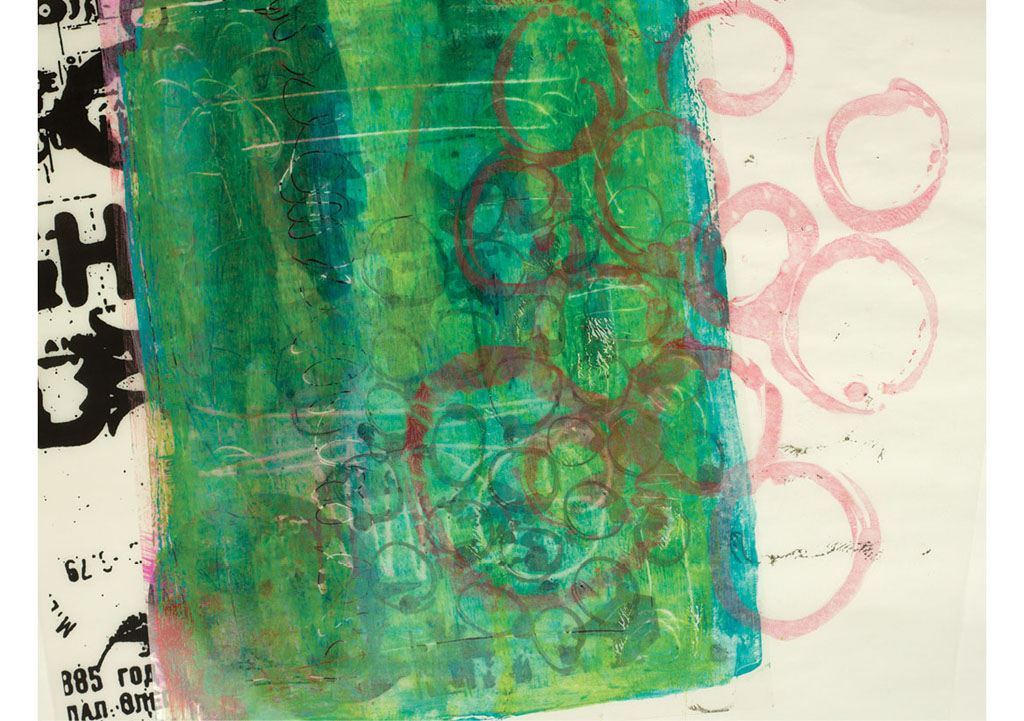
Paint on Dura-Lar and layer it over black-and-white artwork or journal pages and create digital images by photocopying, scanning or printing on your inkjet printer.

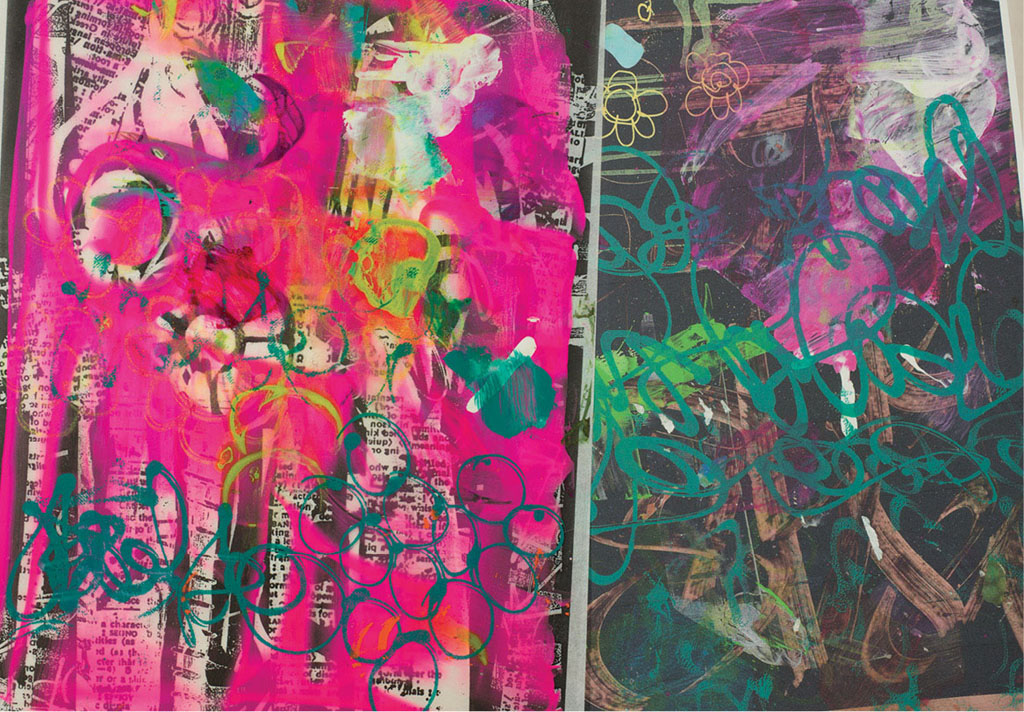
Layer dyed paper towels with graffiti on Dura-Lar.

Flower monoprints on newsprint overprinted with stamped fabric and painted Dura-Lar.

Hot glue stencil print on drill cloth layered with two scribble transparencies.
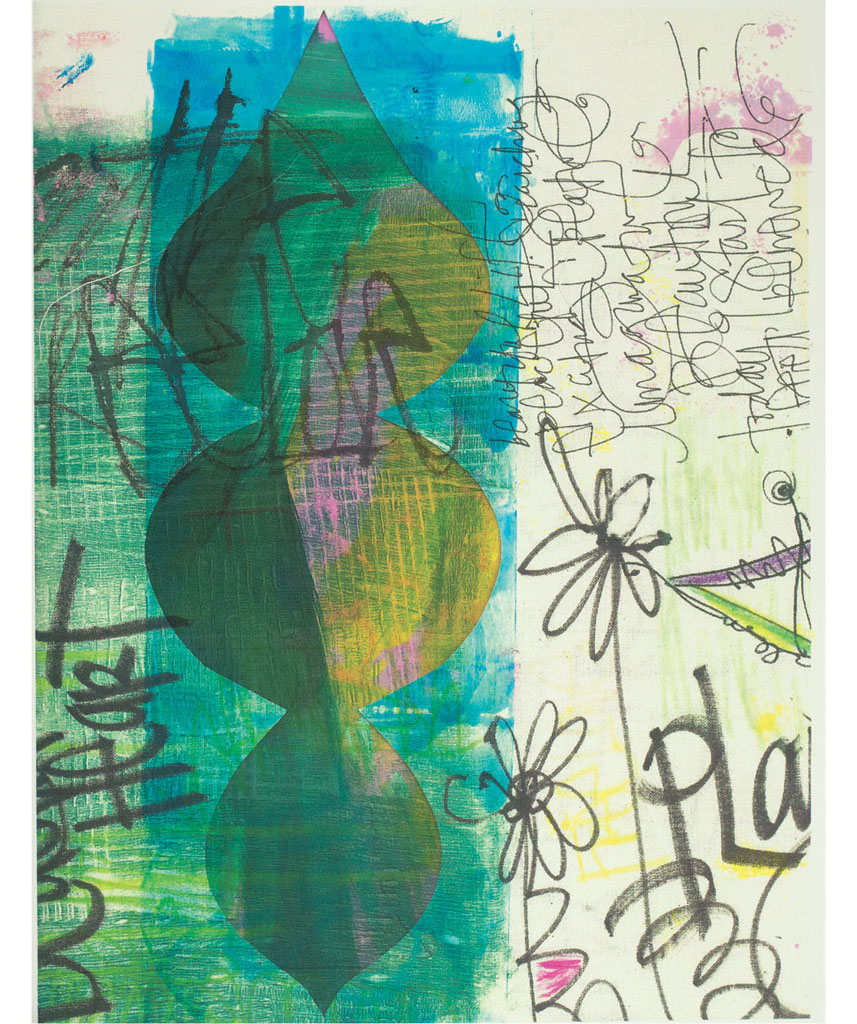
Graffiti journaling canvas printed muslin, hand-cut paper stencil and painted monoprint.

Hot glue stencils scanned and printed on inkjet paper.

Fused plastic painted with acrylic and layered with painted transparency.
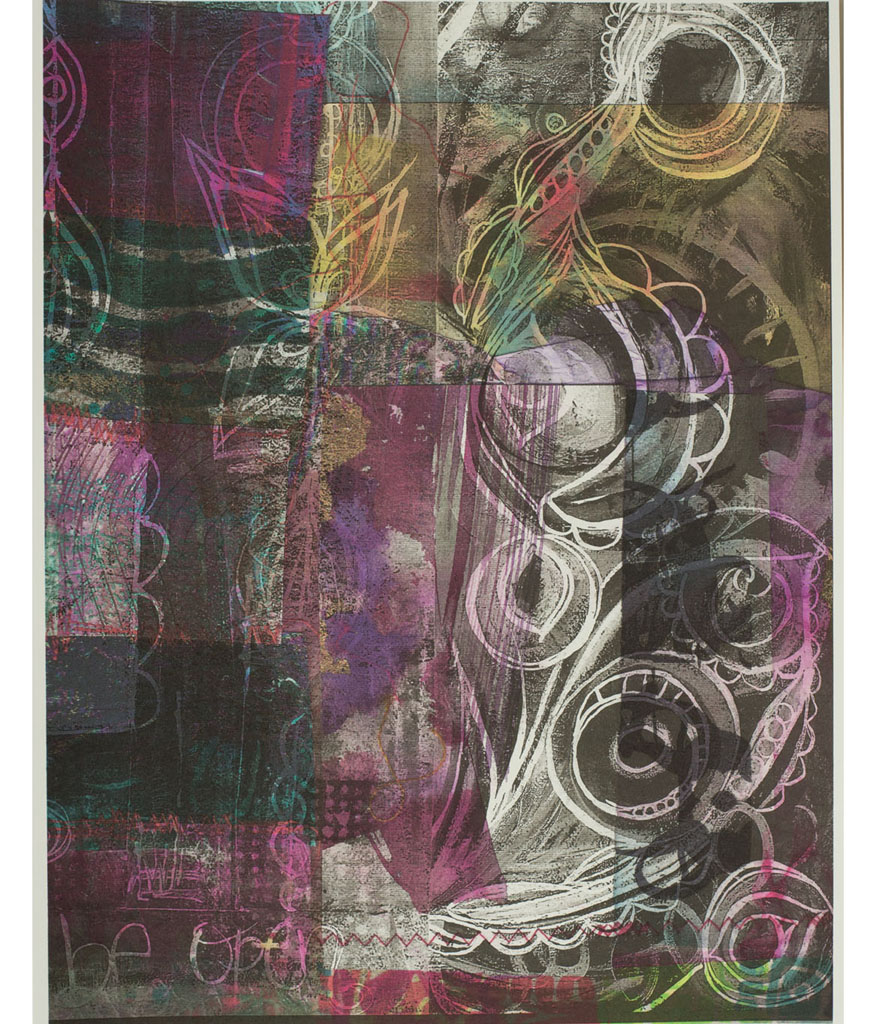
Black-and-white artwork overprinted with two prints of artwork.
These are the basic materials and methods for how I create my layered monotype paintings. In the following exercises, we will work with a Plexiglas sheet as a base and cover it with paints. Experiment with subtractive doodling techniques using a variety of tools and handmade stamps and stencils to pull prints from the Plexi to build colorful layered paintings. Most of my monotype printmaking is done on separate sheets of paper or fabric, then used as collage sheets or bound as pages in my handmade journals.

These are my favorite mark-making tools and materials for Plexiglas printmaking—a variety of brushes, silicone tools, brayers and knives.

Papers, fabrics and skins.
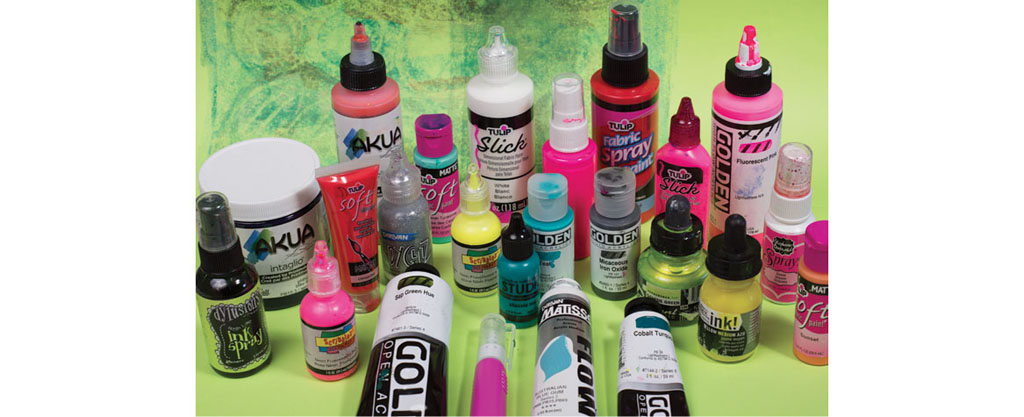
Some of my favorite paints and inks for monotypes—fluid and OPEN acrylics, fabric and dimensional paint, coloring brush markers and ink sprays.

A collection of my handmade stencils, foam stamps, cardboard textures, found objects, paper masks and needlepoint stencils.

A homemade gel plate is an easy and affordable alternative to printing with a sheet of Plexiglas. Squeeze Collage Pauge glossy onto a plastic page protector in a thick layer. Though it will hold its shape, as it dries it will start to show cracks, so fill them gradually with more Collage Pauge glossy using a plastic hotel room key to scrape the medium into a level surface. Set aside to dry overnight.