Cut simple, symmetrical paper masks or use handmade hot glue stencils to create subtractive areas on the Plexiglas plate.
paper stencils
scissors
11" × 14" (28cm × 36cm) Plexiglas sheet
soft rubber brayer
cardstock
recycled sketch paper
spray bottle of water

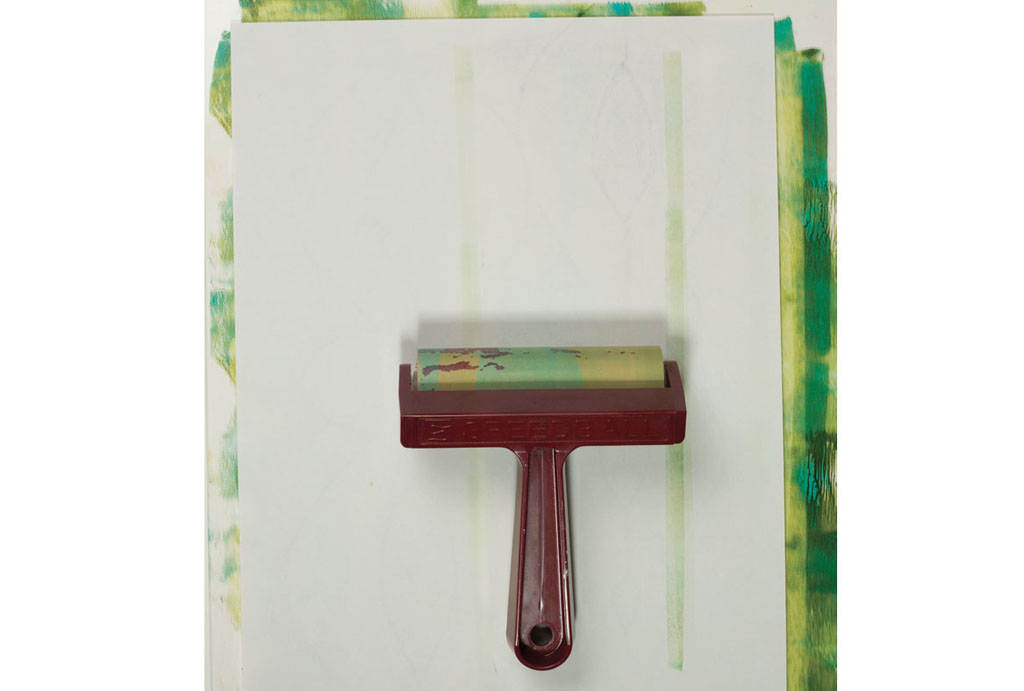
Fold a piece of paper in half and cut out half a stencil shape. Place the stencils over a rolled-out paint surface as seen on page 81.

Place a piece of paper over the stencils and burnish the back with a clean, soft rubber brayer. Also use your hands to press around the stencil shapes to assure that the paint transfers to the paper.

Carefully pull the paper up from a corner to check if the paint transferred. If you are satisfied with the outcome, pull the paper off the plate.

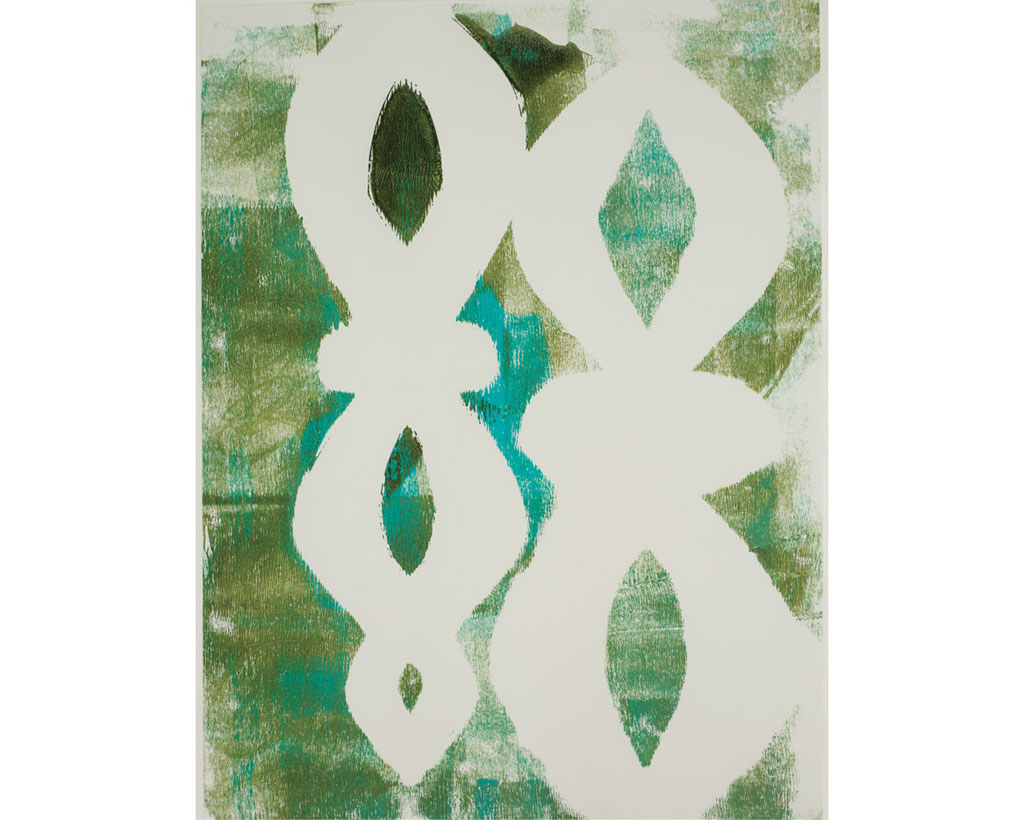
This is the first stencil resist print. Notice most of the paint has transferred to the paper.

Take the paper stencils off of the plate and set them aside. If they have a lot of paint on them, place them onto another piece of paper and use a brayer to roll over the back of the stencil to transfer the paint. Once the stencils are dry, they can be used again or added as a collage element in a painting.

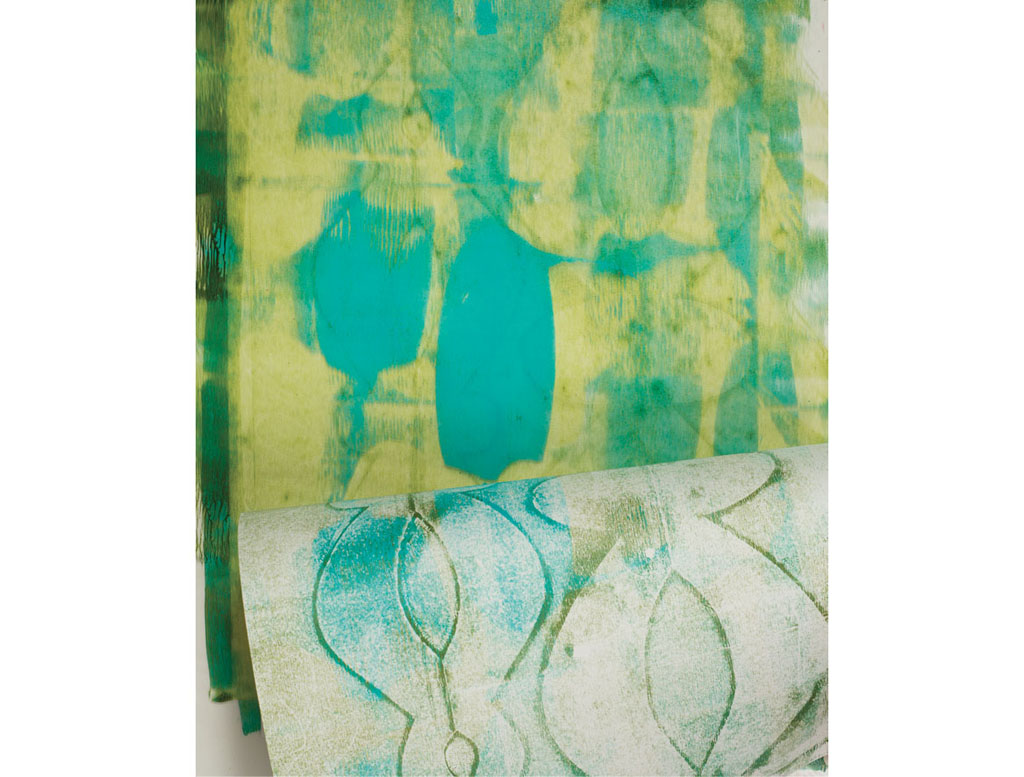
Place another piece of paper onto the painted plate and carefully peel from one corner of the plate to reveal the print.

Here is the second print pulled from the plate, which shows the outline of the original stencils and is slightly different from the first impression.

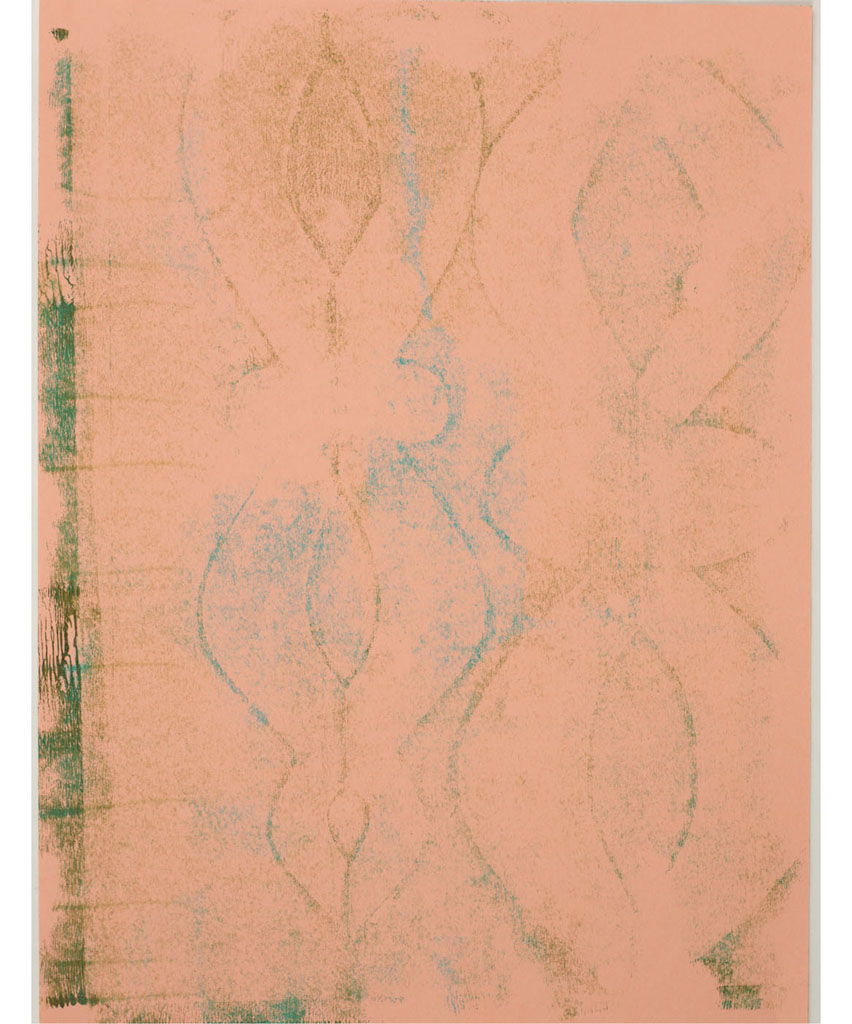
While there is still a little wet paint on the plate, spray it with a water bottle, then place another paper and pull a print.