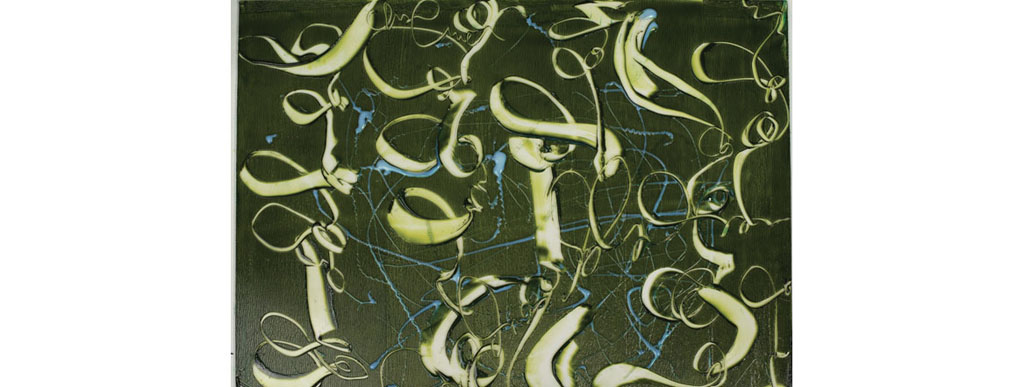
Scratch through the surface of the paint on a painted Plexiglas or acrylic plate to create expressive marks and doodles that will be layered on the print. Use a variety of mark-making tools to scribble and draw such as skewers, spatulas, palette knives, combs and old credit cards. Experiment with this fun subtractive Plexiglas printmaking technique to create endless unique marks!
11" × 14" (28cm × 38cm) sheet of Plexiglas
OPEN acrylic paint
soft rubber brayer
silicone brush and blade tools
Golden Clear Tar Gel
Golden Interference fluid acrylic
flower stencils
construction paper, drawing paper and cardstock
spray bottle of water

Squeeze OPEN acrylic paint onto a Plexiglas plate and roll out a thin even layer with a brayer. Use a silicone brush tool (I prefer Catalyst blades) to draw into the wet paint. Drizzle a mixture of Clear Tar Gel and Interference Green fluid paint over the wet surface.

Place a piece of white drawing paper onto the Plexiglas, rub the back of the paper with your hands and pull a print.
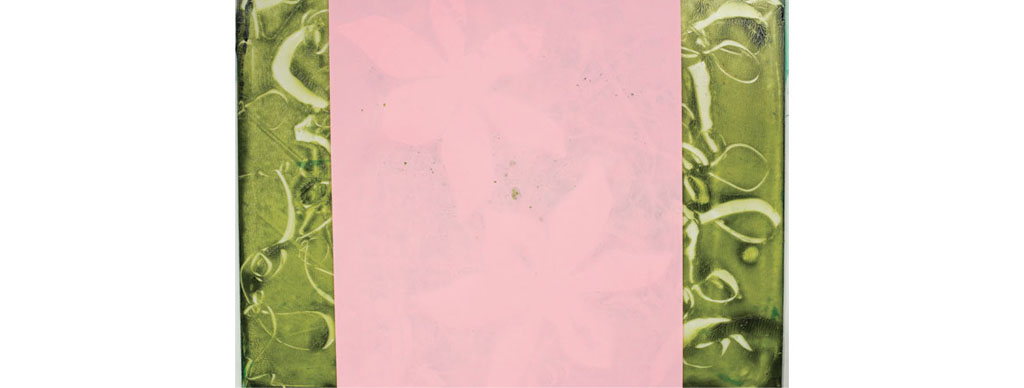
Place flower stencils onto the center of the Plexiglas surface. Place a piece of construction paper onto the wet paint and rub the back of the paper over and around the stencils with your hands.
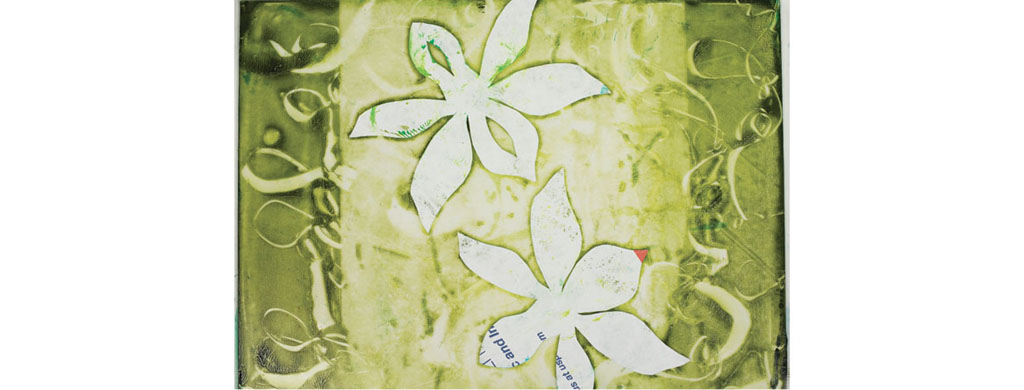
The Plexiglas plate will look like this once the print has been pulled.

The print shows the final print when you use the paper flowers as a subtractive mask. This results in the outline of flower shapes on the print.
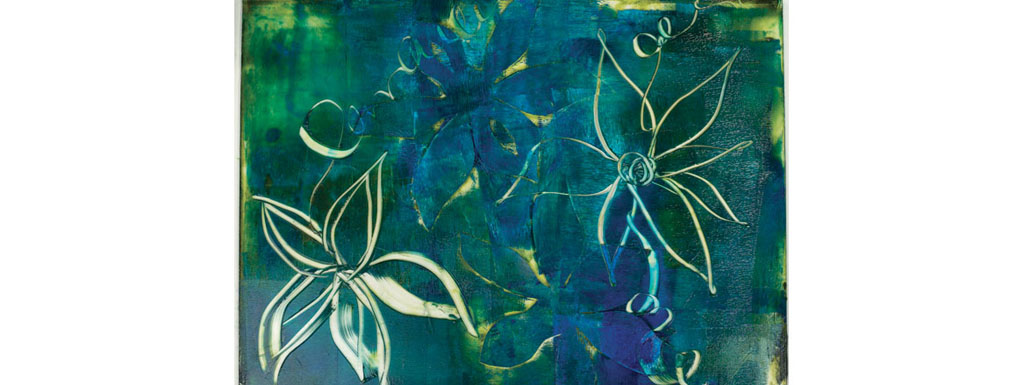
Add more acrylic paint to the plate and roll it with a brayer to cover the flower stencil masks. Scrape designs into the wet paint using a silicone blade tool.
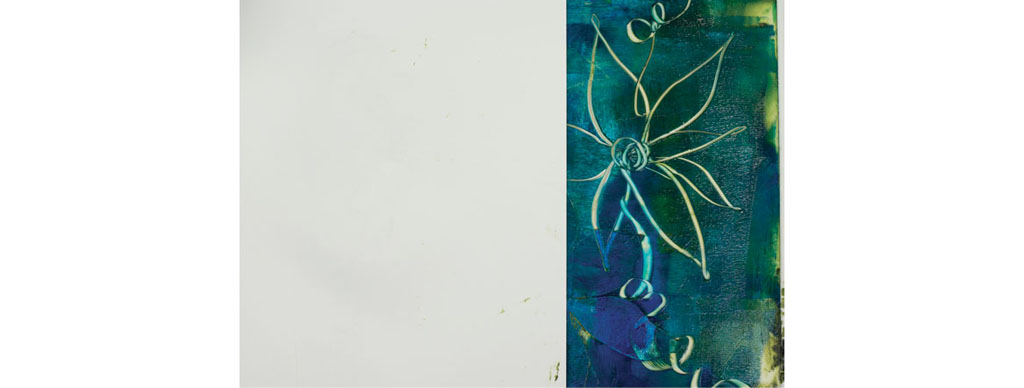
Place a piece of cardstock onto half of the plate and rub the back firmly to transfer the print to the paper.
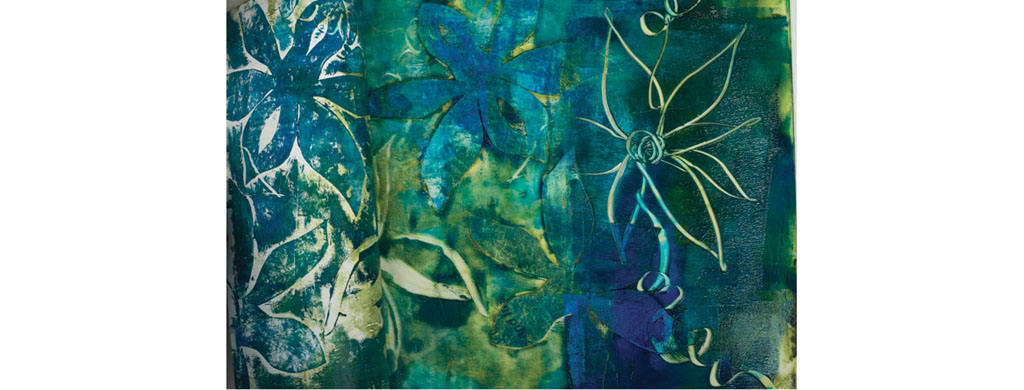
Pull up the corner of the paper to reveal the print.
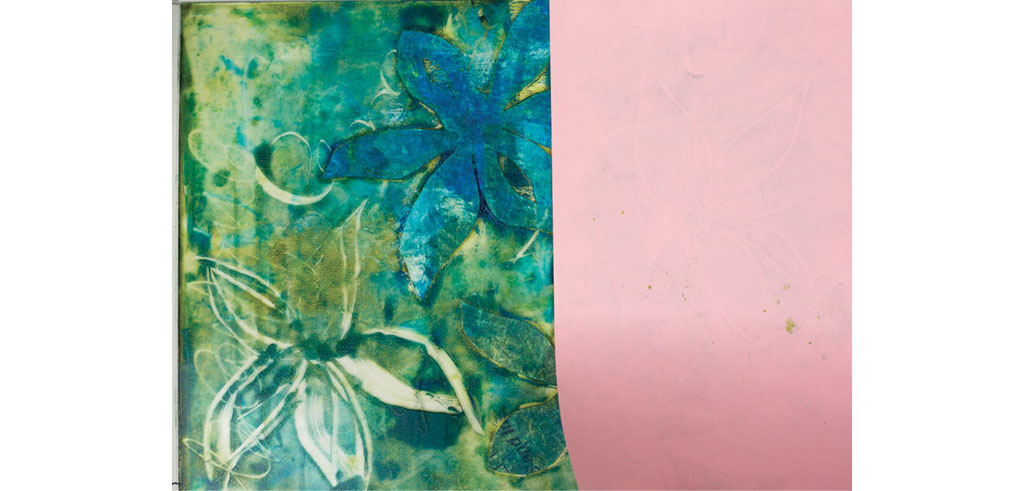
Take the print from step 5 and overprint the remaining doodled flower. Place the corner of the paper onto the plate and press over the flower doodle to transfer that portion onto the paper.
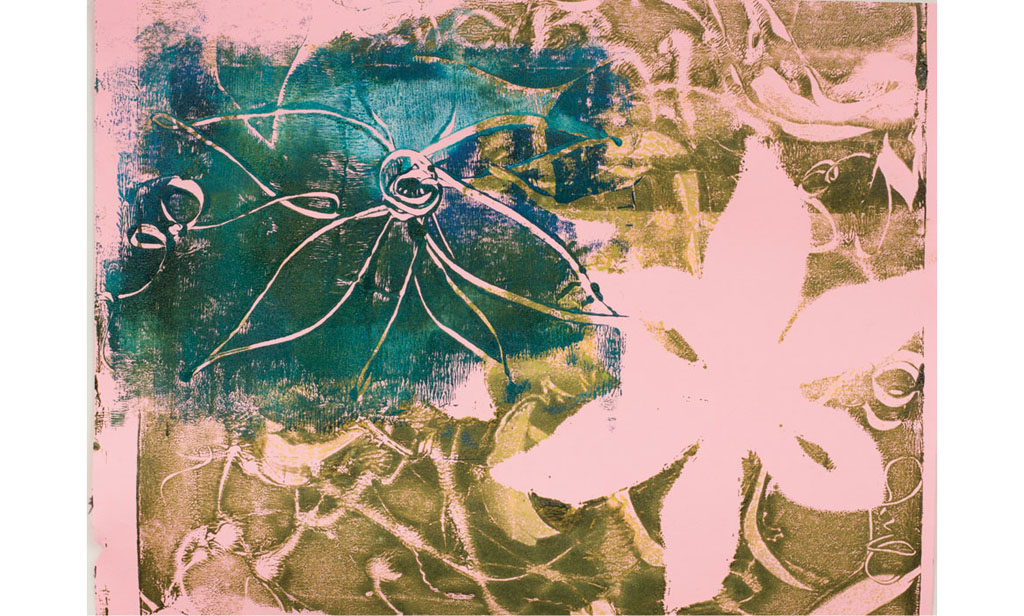
Here’s the doodle flower overprint. Choose a contrasting background paper so that the prints will be bold.
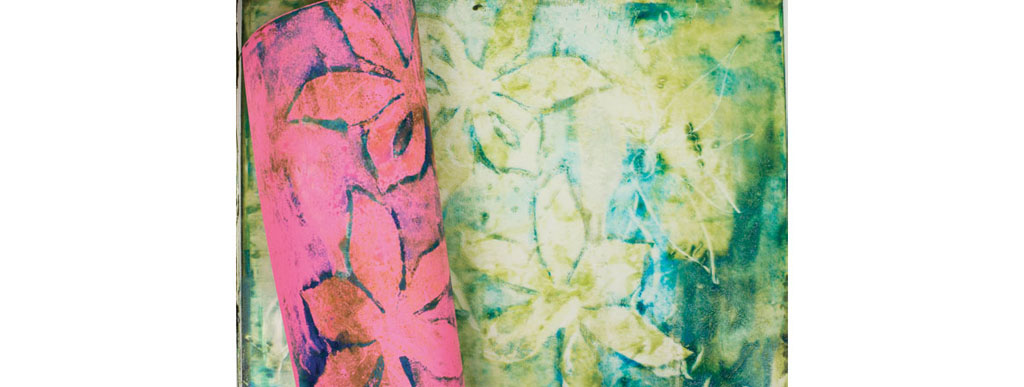
Take the flower stencils off of the plate and spray a mist of water over the entire surface. Place another piece of paper on the surface and rub the back with your hands. Pull up the edge to make sure the paint transferred.
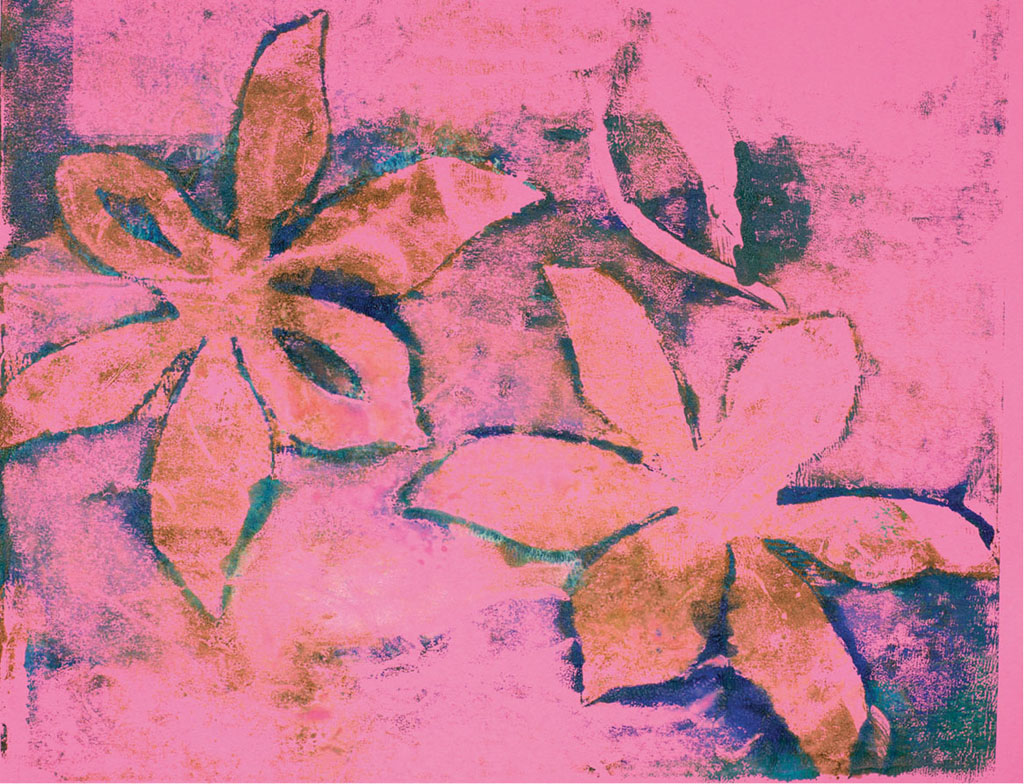
Removing the stencils creates a sharp outline of the flower shapes. Here is the final print revealed. Set it aside to dry. Now you’re ready to add doodles over the top of the painting or cut it up and use it as a collage page for your art journal.