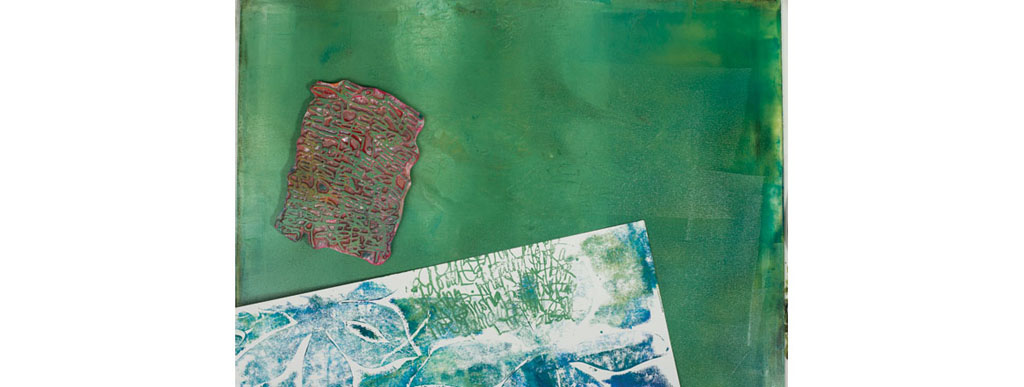
There are many variations to creating subtractive prints. The basic method is rolling out paint onto the plate, then scraping it away with various tools, brushes or rags. In this exercise, explore more ways to incorporate rubber stamps, paper stencils and doodles into monoprints.
11" × 14" (28cm × 36cm) sheet of Plexiglas
OPEN acrylic paint
soft rubber brayer
cling mount rubber stamps
Tyvek handcut flower stencils
construction paper, drawing paper and binder paper
spray bottle of water

Roll out acrylic paint colors onto the Plexiglas plate. Press cling mount rubber stamps into the wet paint a few times, turning the stamp in different directions. To clean the stamp, press it onto the corner of one of the printed papers.
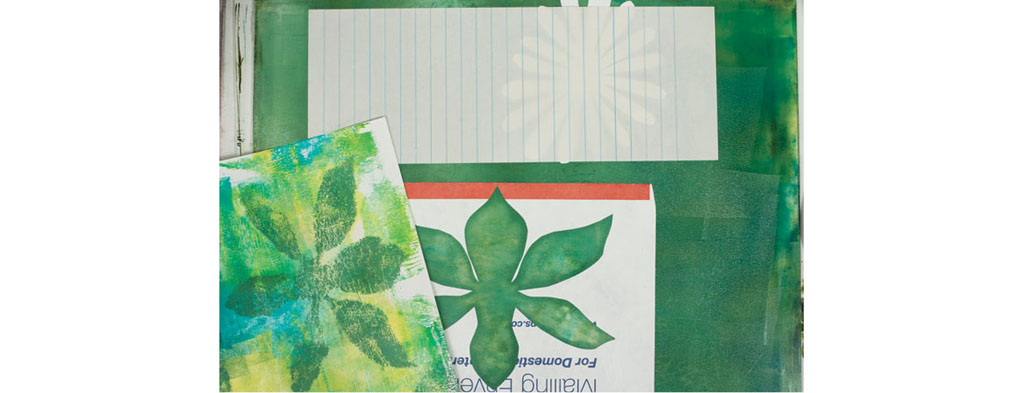
Place flower masks over the wet painted surface, then press a printed paper onto the painted area over the flower masks. Press the back of the paper with your hands and rub the paper into the plate. This will transfer the design onto the papers.
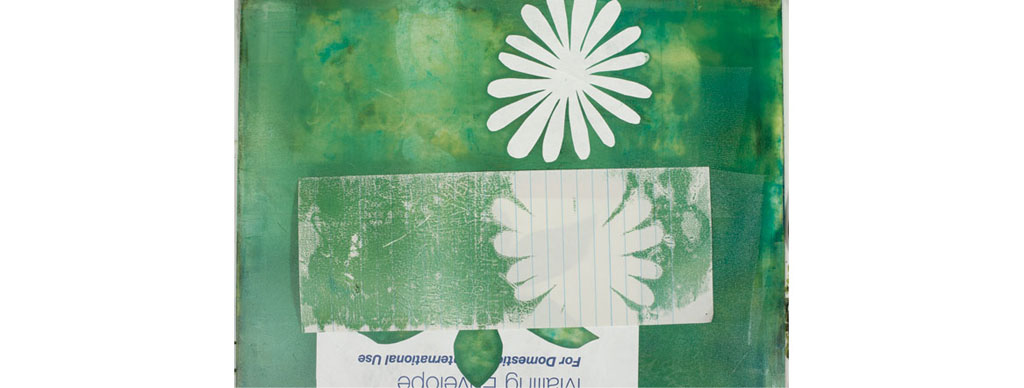
Place a piece of binder paper over the top stencil and repeat the rubbing process in step 2. Pull the paper away from the plate to reveal the print.
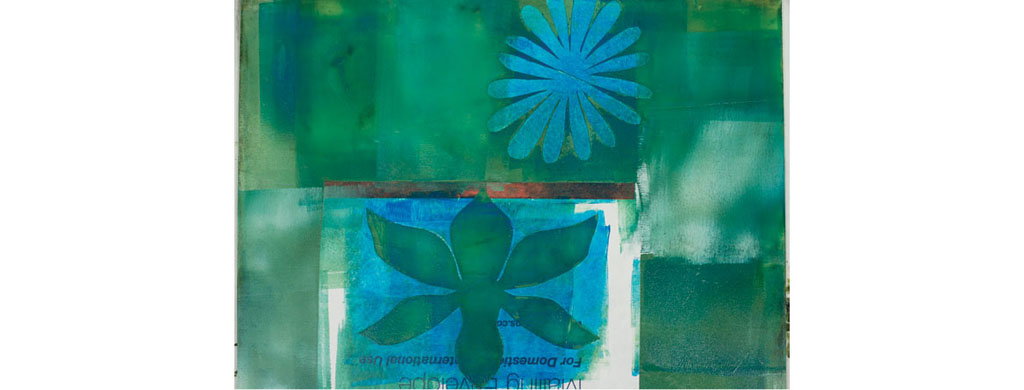
Add a contrast color of paint, using a soft rubber brayer to roll it over the paper stencils.

Use a silicone blade skewer or the back of a brush handle to scrape patterns into the wet paint.
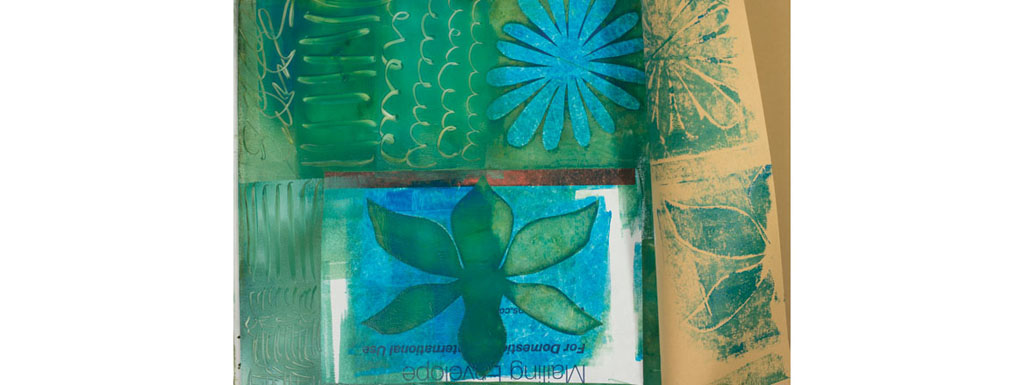
Place a piece of construction paper over half of the painted plate and rub the back to transfer the flower designs to the paper.
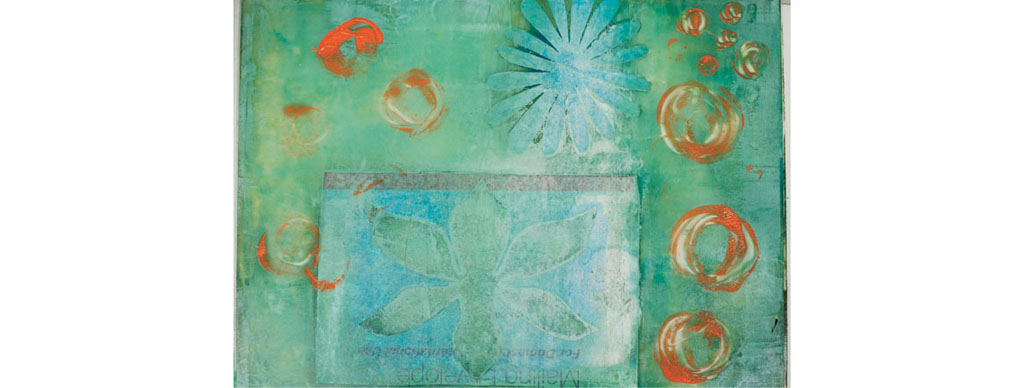
Roll Titanium White paint over the wet plate. This will cause the colors to mix and you’ll end up with a tint of the original color. Paint directly onto the plate using a tube of acrylic. Place the tip of the acrylic tube onto the surface of the plate, and lightly squeeze the tube while drawing circle designs into the wet paint.

Press a piece of dark construction paper or cardstock over the wet paint, and rub the back of the paper with your hands to transfer print to paper. Make sure to rub firmly around the area of the flower stencil masks so you get a solid print.
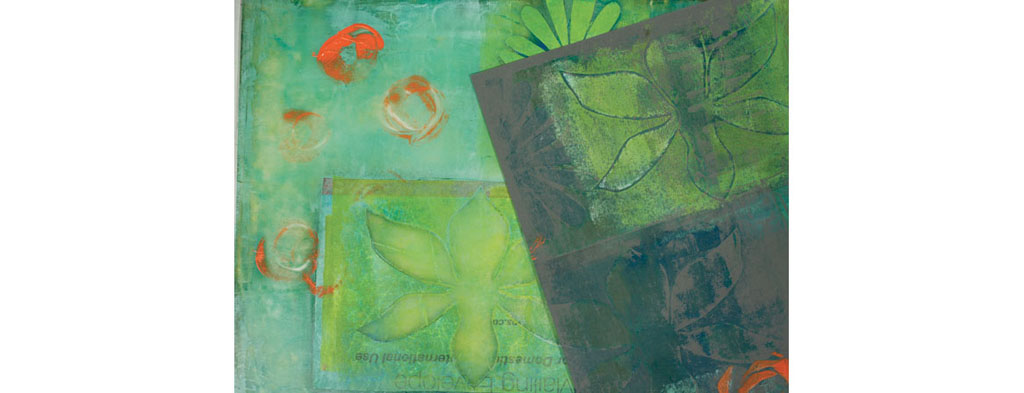
Spray the plate with a mist of water, then take a previous print and press a section of it into one of the flower masks. This will transfer the flower to the paper.
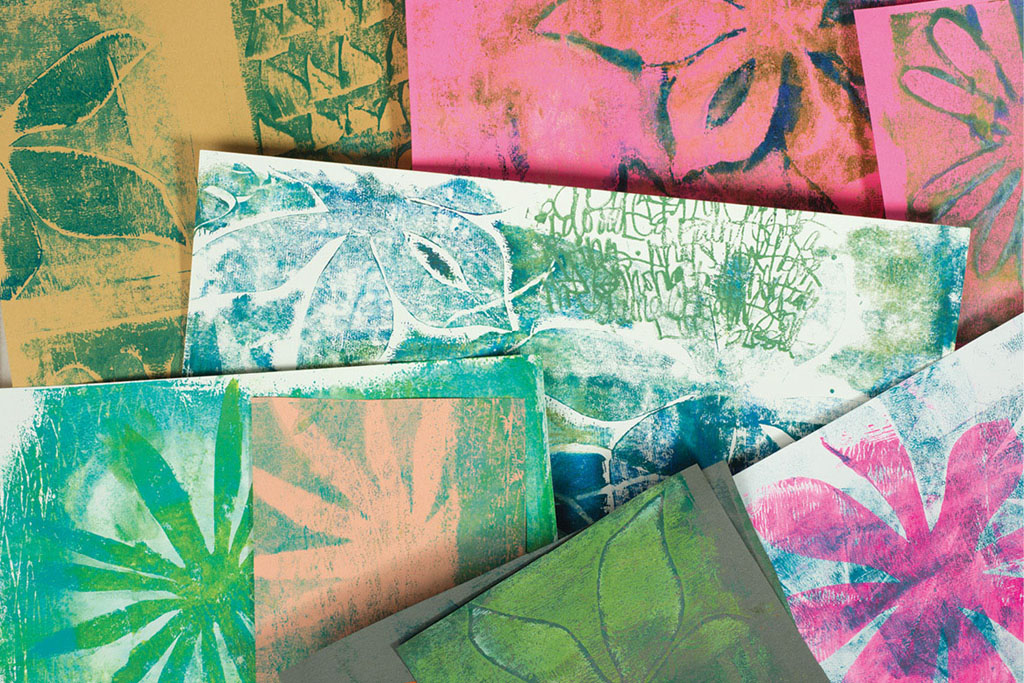
In a short amount of time, you’ll build up layers of colors on different papers. Here’s the results of this printmaking session.