
For an organic-looking print, use some of your hot glue stencils as a mask and mark-making tool.
11" × 14" (28cm × 36cm) sheet of Plexiglas
soft rubber brayer
OPEN acrylic paint
hot glue stencils
construction paper, drawing paper and binder paper
spray bottle of water

Roll out two colors of acrylic paint on Plexiglas plate using a soft rubber brayer. Place various hot glue stencils over the wet paint.
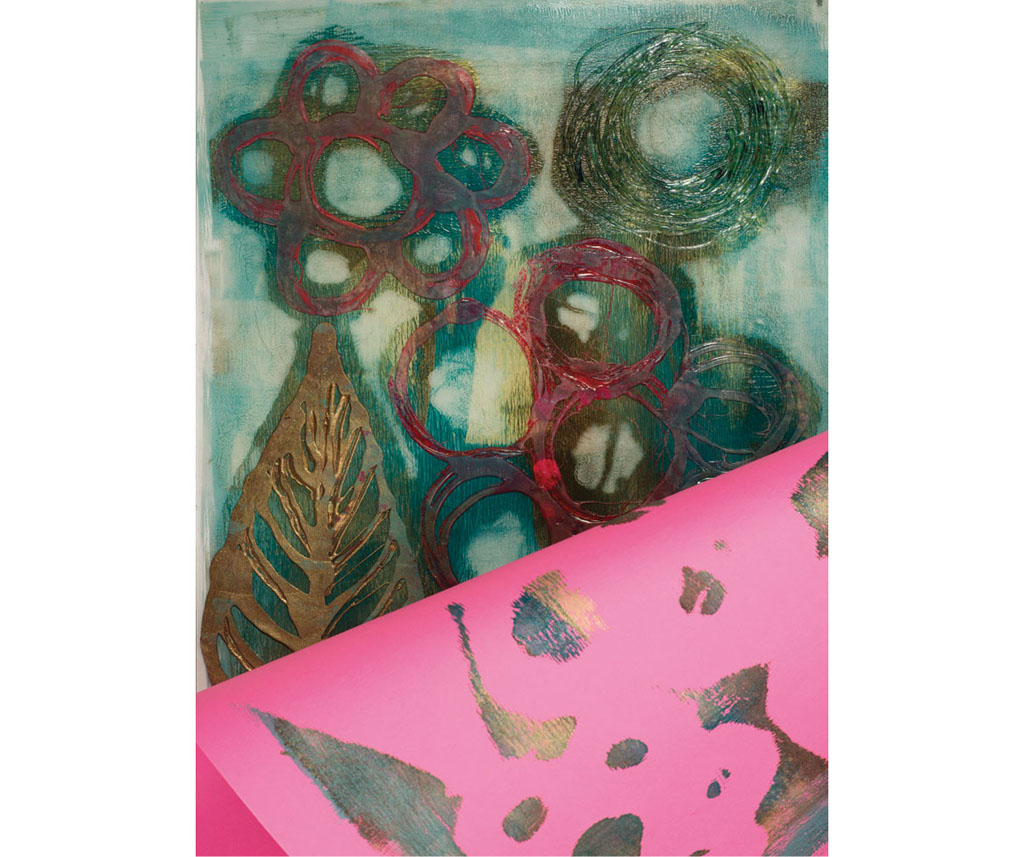
Place a piece of construction paper over the top of the stencils and press the back of the paper. Since the hot glue stencils are thicker, make sure to rub firmly around the edge of the stencil to pick up as much paint as possible. Pull back paper to check how the print transferred.
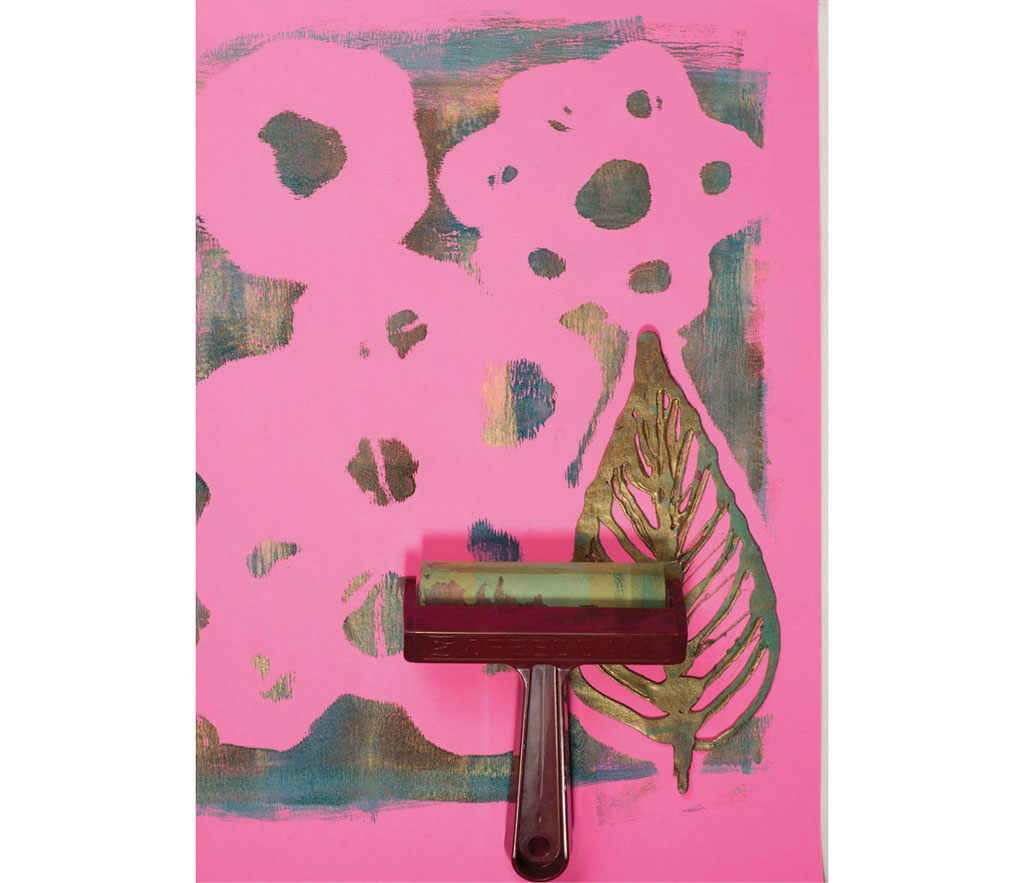
Pull stencils off of the Plexiglas plate and place them on the print. Roll over the top with a soft rubber brayer to transfer the image.
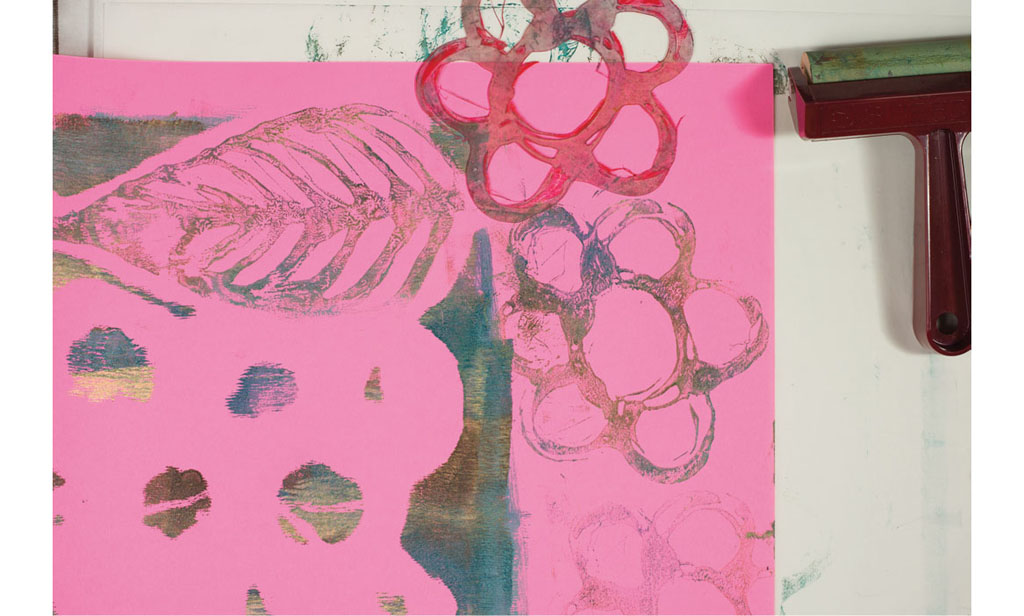
Continue to take all stencils off the plate and clean them by printing on the page. Repeat step 3 and print the stencils multiple times.
After all the stencils are removed, the plate is left with outlines of the designs.
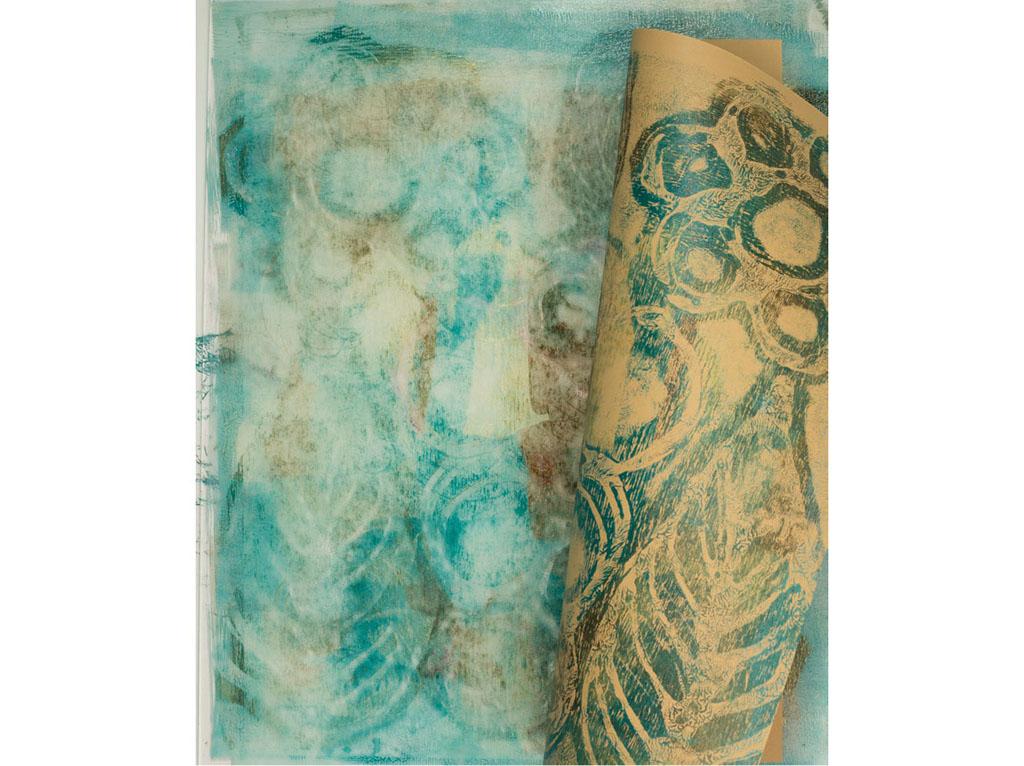
Place a piece of paper over the wet paint and rub the back with your hands. Make sure to press the entire back surface to ensure the whole page prints.

Here’s the result of using hot glue stencils as a resist on the Plexiglas plate.
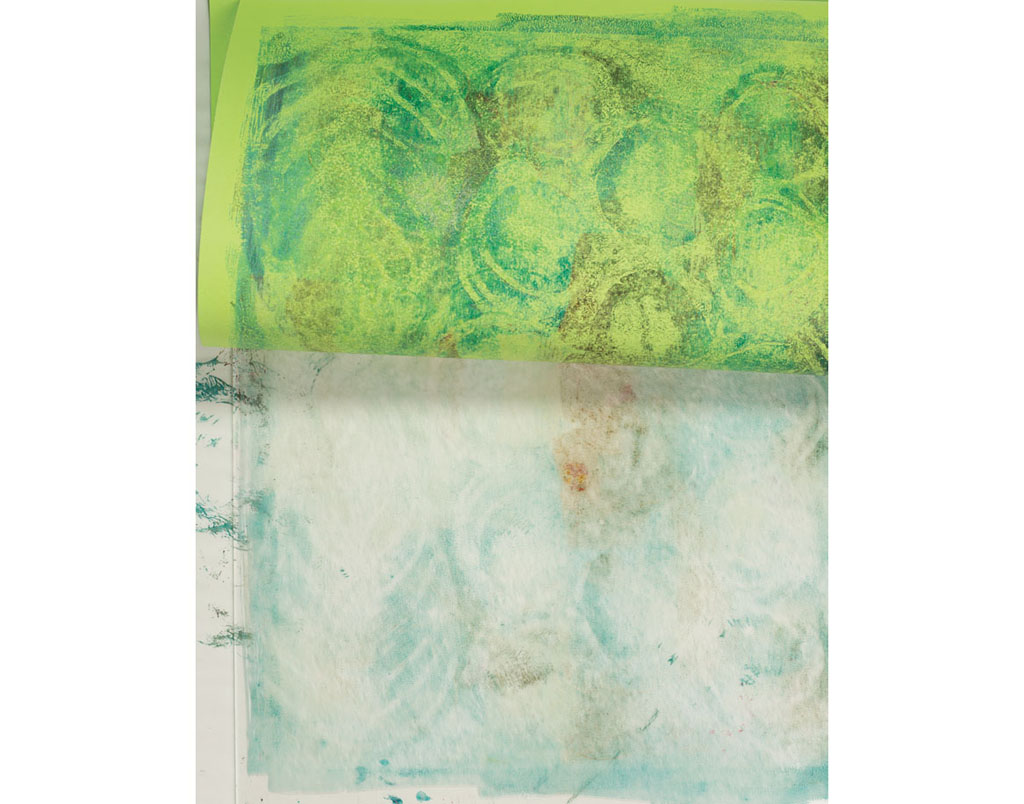
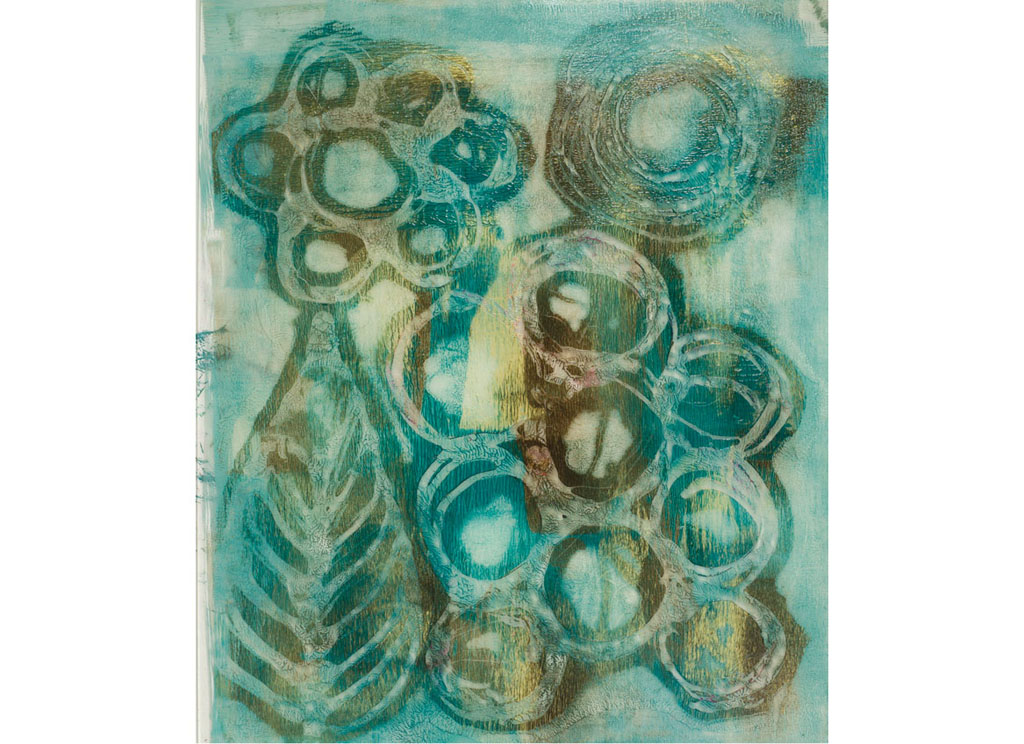
To clean off the plate, spray a mist of water over the entire surface. Place another sheet of paper onto the surface to pick up the remainder of the paint. This creates a ghost print.
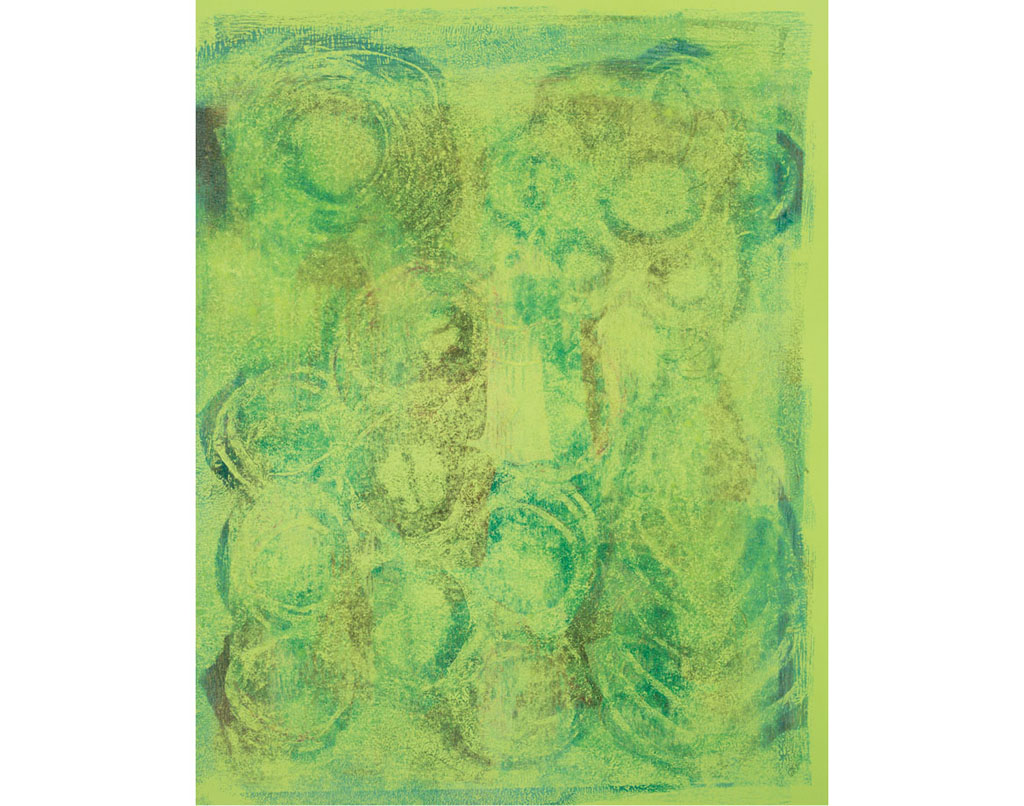
Here’s the final print of the stencils which has a luminous watercolor look and feel.
Visit artistsnetwork.com/printmakingunleashed for a free bonus demo on creating a beautiful paint resist with white dimensional paint.
