
Create free-form designs using torn pieces of masking tape placed on a Plexiglas plate. This technique creates interesting straight and organic lines. Experiment with different types and sizes of tape for added variety. This technique can be done on Plexi, a plastic bag or a sheet protector.
painter’s tape or masking tape
11" × 14" (28cm × 36cm) sheet of Plexiglas
OPEN acrylic paint
spray bottle of water
soft rubber brayer
drawing paper or construction paper
gesso fabric
paintbrush

Tear strips and pieces of tape and adhere them to the Plexiglas plate. Place a couple of dollops of acrylic paint onto the plate.
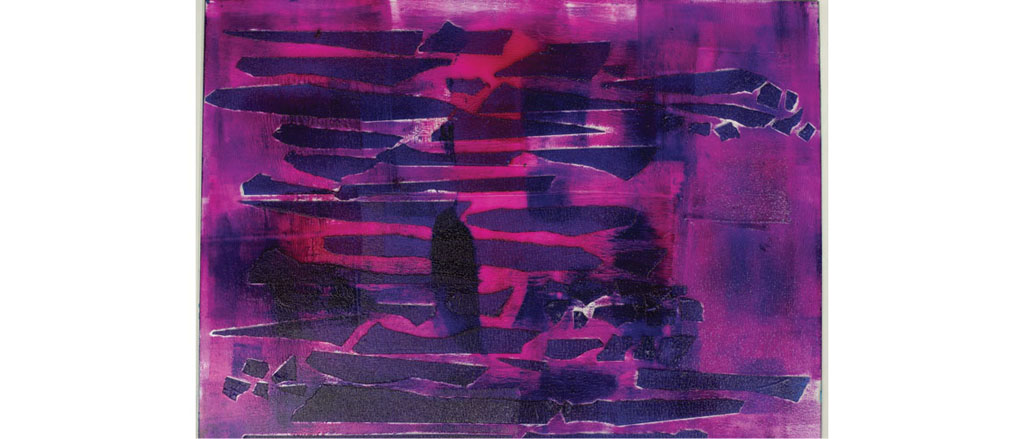
Roll out paint onto the Plexiglas using a soft rubber brayer. Spread paint over the entire surface.
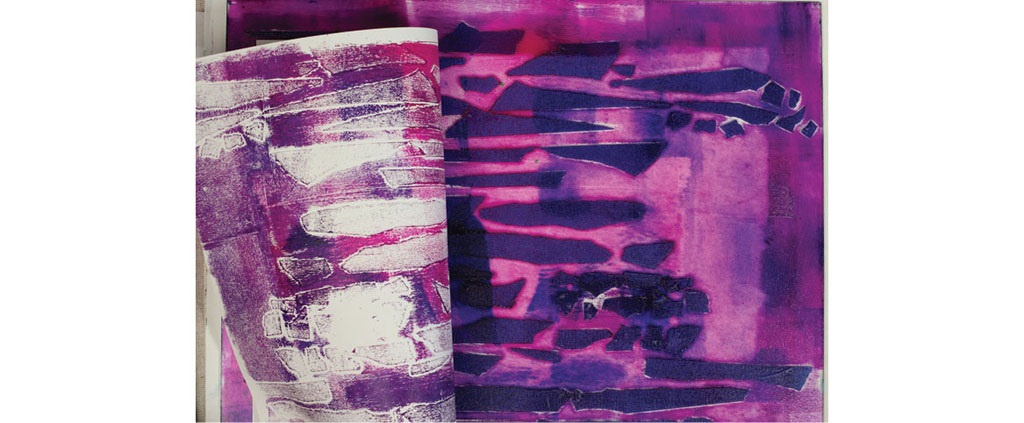
Place a piece of drawing paper on the plate and rub the back. Pull to reveal the print.
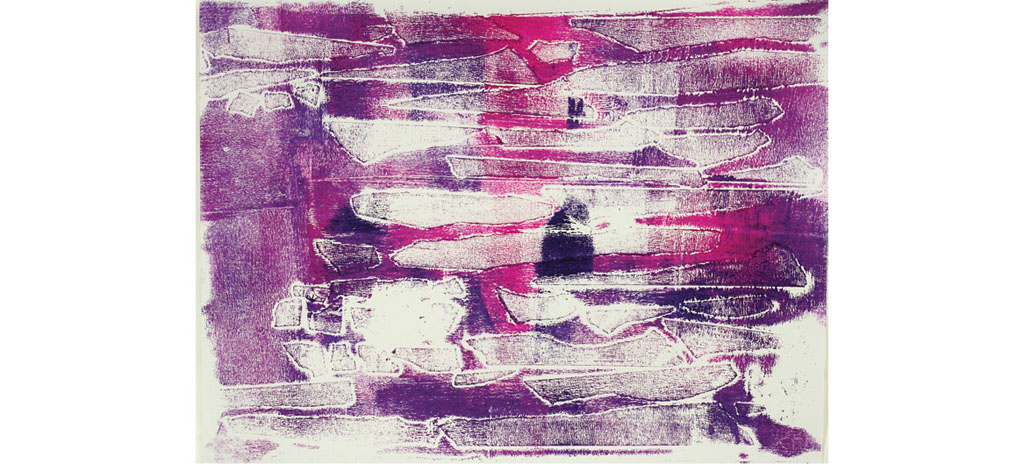
Here is the first print revealed.
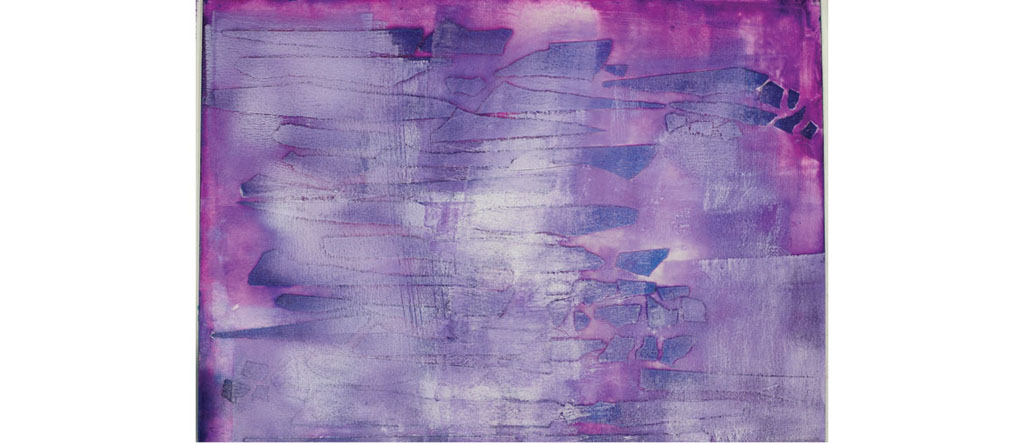
Place a dollop of white paint onto the plate and roll out with a brayer. This will mix the color to create a tint.
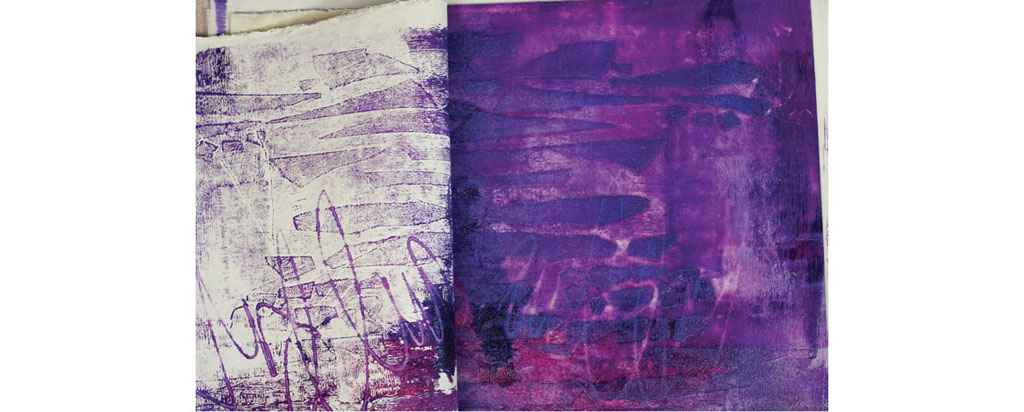
Print on a piece of muslin covered with gesso. Place the fabric gesso side to the plate and rub the back firmly across the entire surface. Scratch the back of the cloth with the end of a paintbrush handle. Lift the fabric to reveal the design.

Here is the fabric print revealed.

Place another piece of cardstock onto the wet Plexiglas plate and rub firmly on the back. Scribble again with the end of the paintbrush handle. This will create expressive marks on the printed page. Pull the paper off the plate to reveal the print.
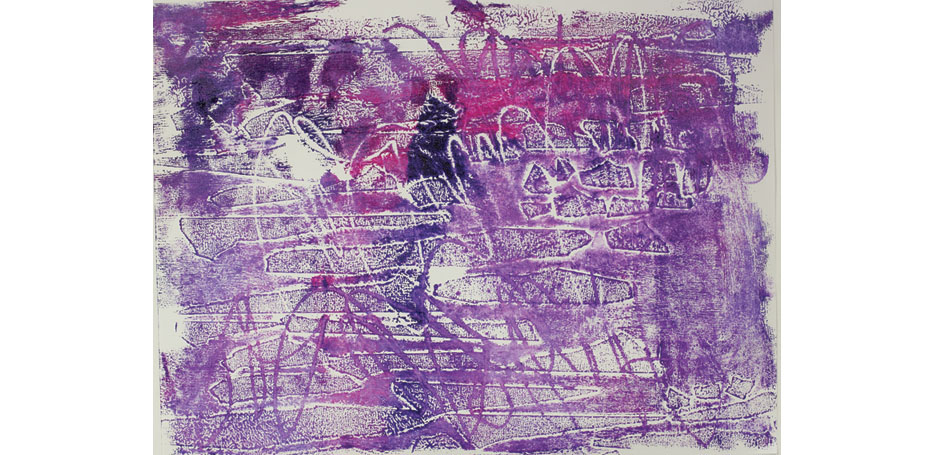
The sgraffito print revealed.
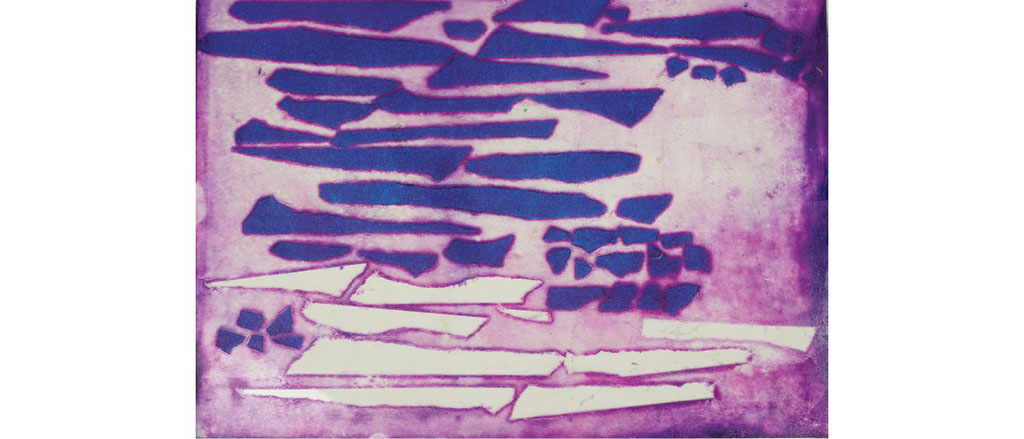
Pull off a few sections of tape from the plate.
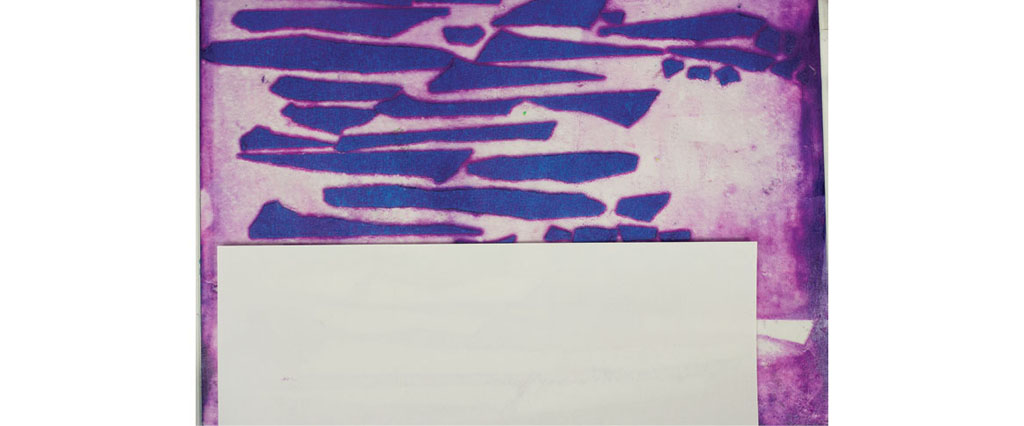
Place a new piece of cardstock onto the end of the plate to pull the print.

Apply a fine mist of water over the paint to reactivate what paint is left on the plate. Place the bottom of the paper back on the plate and press firmly with your hands.
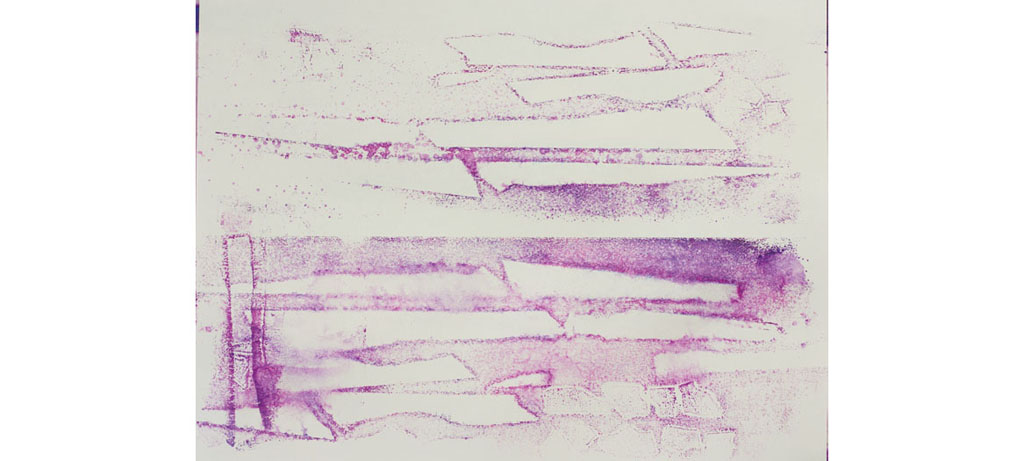
Here is the final pulled-tape ghost print revealed.