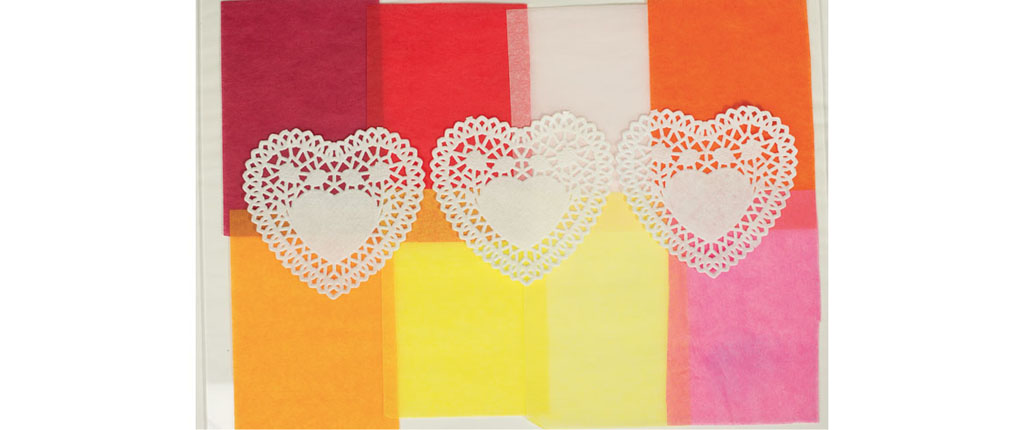
Plexiglas offers so many exciting possibilities for pulling color and prints on paper. Sometimes these techniques can be done without paint or ink but instead by using paper that will release a dye, like bleeding tissue paper. I love working with bleeding tissue paper in my collage work and combining it with textures such as doilies or lace.
bleeding tissue paper
scissors
heart-shaped doilies
11" × 14" (28cm × 36cm) sheet of Plexiglas
spray bottle of water
drawing paper or construction paper
soft rubber brayer
Collage Pauge drizzle screen (see online bonus section)
free-motion stitched transparency plate

Cut and arrange several pieces of bleeding tissue paper. Use analogous colors, since these will mix when wet. Place heart-shaped doilies over the tissue paper.
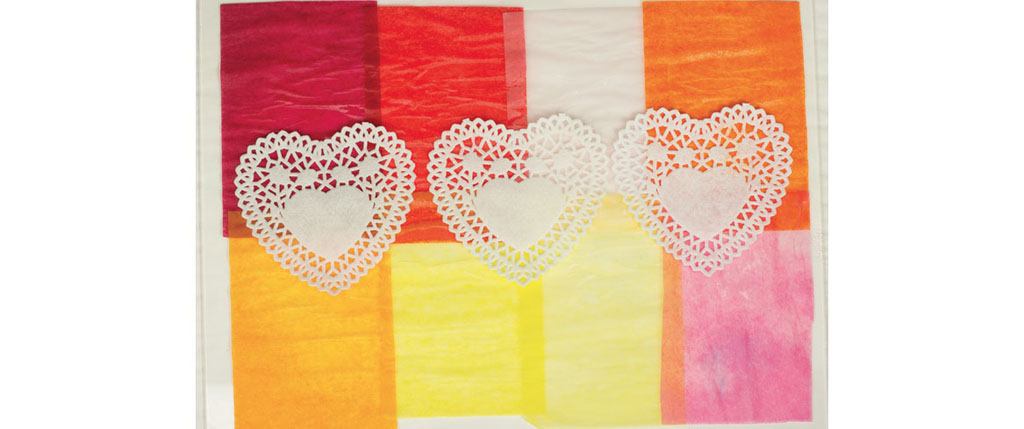
Cover the entire surface of the collaged Plexiglas plate with a fine mist of water. Make sure all paper is damp and covered with water; it will start to bleed at the edges where the papers are overlapped.

Place a piece of white drawing paper over the wet plate and press firmly on the back of the paper. Roll over it with a brayer or your hands, paying close attention to the outer edges of the doilies.
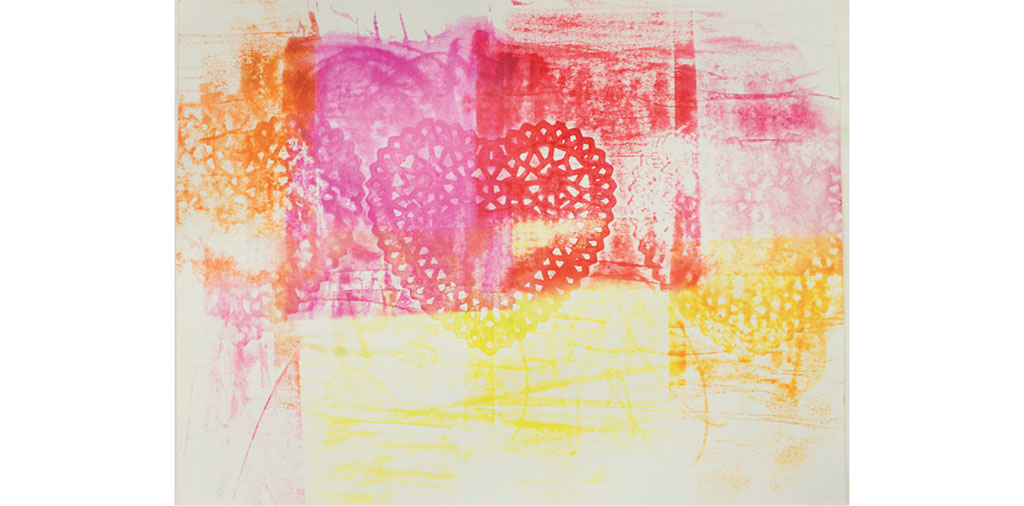
Here is the dyed doily collage print. Since the doilies are wet, sometimes they will stick to the printed page. Notice that the middle doily heart stuck to the paper when the print was pulled. Let it dry. To keep the doily in place, brush on a layer of Collage Pauge to seal it to the paper.
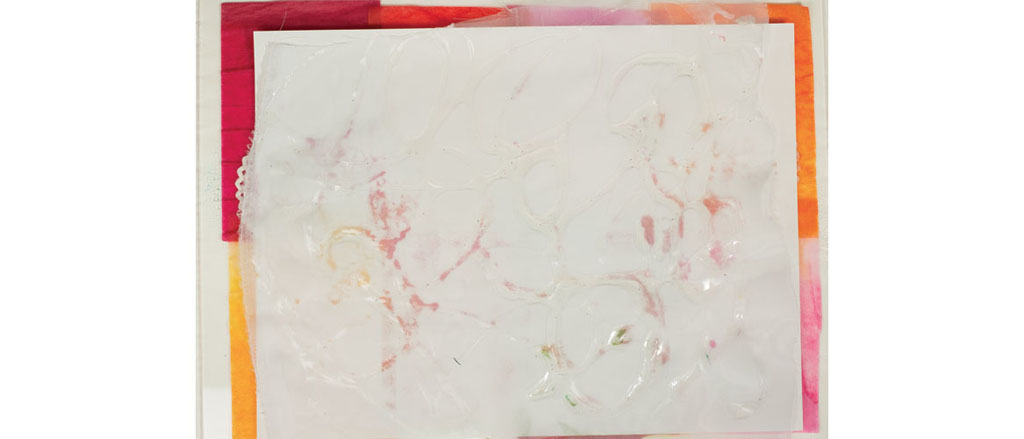
Cut a couple more pieces of tissue paper and place them over the lighter papers that have a little color left. Spray the surface with water. Place another sheet of drawing paper over the collage plate, then lay a Collage Pauge drizzle screen over the top. Roll over the entire screen/paper sandwich with a soft rubber brayer.

Pull up the edge of the paper to check if the color transferred.

Here is the first ghost print revealed.
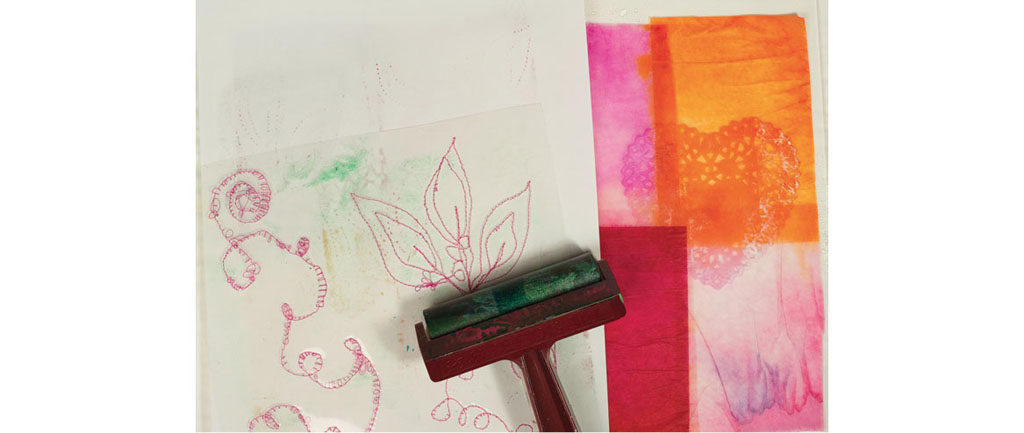
Spray the collage plate with water to saturate the bleeding tissue paper. Place a new sheet of drawing paper over the wet paper, then a free-motion stitched transparency plate. Roll over the transparency plate with a soft rubber brayer.

Pull the edge of the paper up to see the placement of the stitched flowers. Continue to add more prints until the paper is filled.
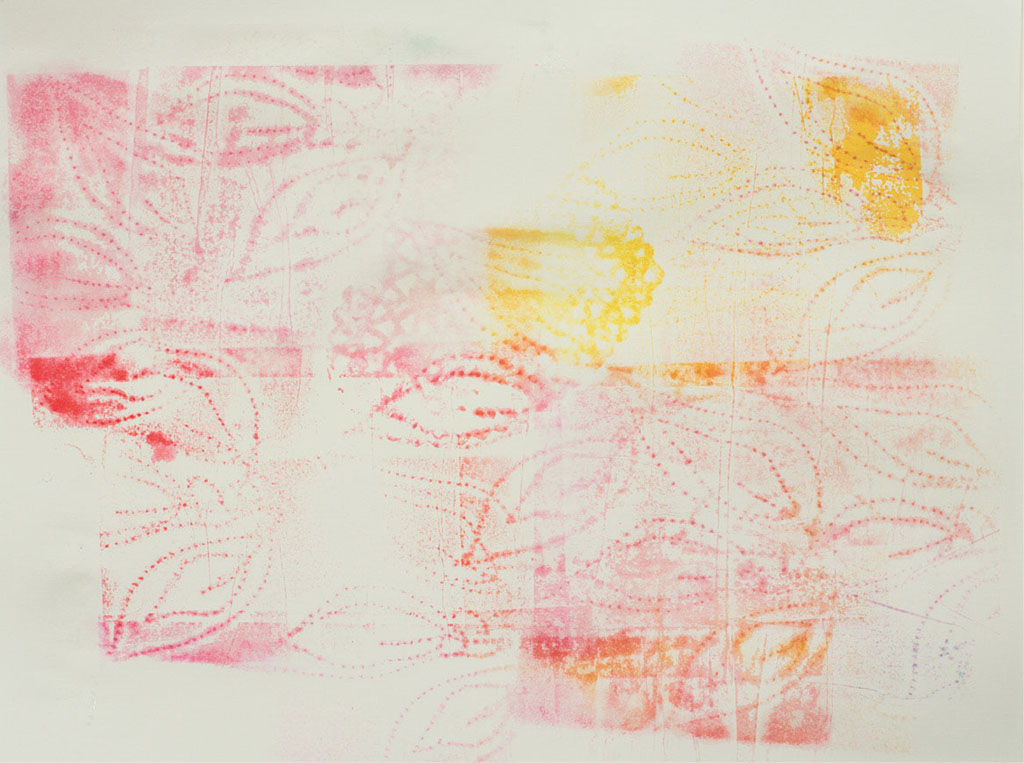
Here’s the print of the free-motion plate. This is a great base to paint a wash, then doodle over the top or use it for collage paper for your art journal.