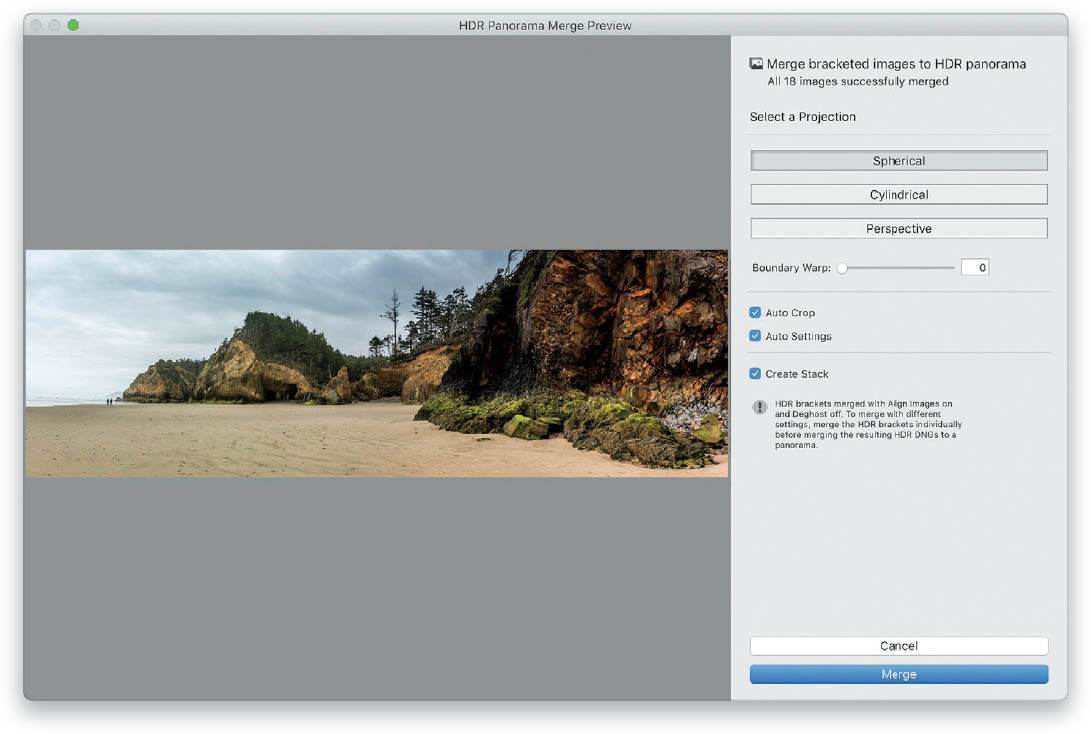
Now yer takin’ things up a notch. Not just an HDR image. Not just a pano. It’s both, in one image, and it’s surprisingly easy to do (especially since Lightroom and Photoshop have built-in features for processing and stitching HDR panos). Here’s what you’re going to do: You’re going to shoot a pano like you normally would (going from left to right across a scene), but instead of just taking one shot for each frame of your pano, you’re going to turn your camera’s exposure bracketing on, and let it take three bracketed shots. Now, you’ll swivel your camera to the next frame over, let it shoot another three bracketed shots, and so on, until you reach the end of your scene. Then, import all of those bracketed pano images into Lightroom or open them in Photoshop’s Camera Raw. In Lightroom, select them all, then go under the Photo menu, under Photo Merge, and choose HDR Panorama. In Camera Raw, select all the images in the filmstrip on the left, then click the four lines icon at the top right of the filmstrip and choose Merge to HDR Panorama. It opens what looks like the same Panorama Merge Preview dialog as always, but if you look in the top-right corner, you’ll see, sure enough, it’s for HDR panoramas. No special tricks here—just pretend it’s a regular pano—but when you click Merge, behind the scenes it merges the HDRs first, and then stitches the pano for it. It definitely takes longer than just stitching a pano, so this is a great opportunity to brew a fresh cup of coffee (or drive to a Dunkin’ Donuts in the next town over).