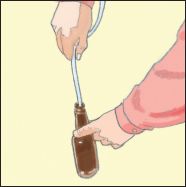
Home brewing has grown in popularity to the point where the equipment and ingredients are fairly easy to find. The internet is the easiest place to find the tools you’ll need.
What You’ll Need
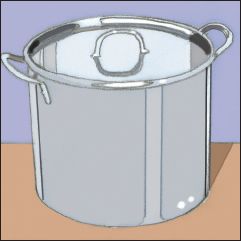
1. Brewpot: a huge, stainless steel (or other enamel-coated metal) pot of at least sixteen quart capacity. This will be used to boil all the ingredients, otherwise known as “wort.”
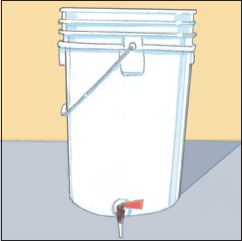
2. Primary fermenter: where the wort goes after it’s been boiled. It’s where beer begins to ferment. The fermenter must have a capacity of seven gallons and an airtight lid that can accommodate an airlock and rubber stopper. Look for one made of food-grade plastic.

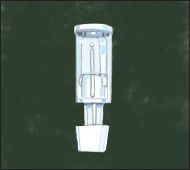
3. Airlock and stopper: the airlock allows carbon dioxide to escape without allowing any outside air in and fits into a rubber stopper with a hole drilled in it. The stopper goes on top of the primary fermenter; they are sized by number, so make sure to match the size of the hole with the stopper that fits it.
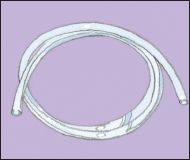
4. Plastic hose: a five-foot length of hose made out of food-grade plastic is ideal to transfer beer. Make sure to keep it clean and clear of kinks or leaks.
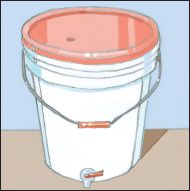
5. Bottling bucket: a one gallon, food-grade plastic bucket with a spigot at the bottom. It must be at least as big asthe primary fermenter.
6. Beer bottles. After primary fermentation, you place beer in bottles for the second stage of fermentation and then finally, storage. You need enough bottles to hold all the beer you’ll make (a five gallon batch is 640oz). Use solid dark glass bottles (to keep the light out) with smooth tops (not the ones that accommodate twist-off caps) that will accept a cap from a bottle capper.
7. Bottle brush: thin, curvy brush to clean the beer bottle.

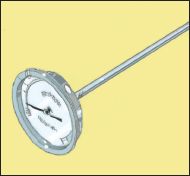
8. Stick-on thermometer.

9. Household items: a small bowl, saucepan, rubber spatula, over mitts, a big mixing spoon (stainless steel or plastic).
Choose a recipe and buy ingredients, or buy a “beer kit,” which includes a can of hopped malt concentrate and a packet of yeast. For your first time brewing, a beer kit may be the best choice since it would eliminate the possibility of error and allow you to get used to the procedure. Purchase other fermentables (more fermentables mean more alcohol) like dry malt extract, rice syrup, brewers’ sugar, liquid malt extract, Belgian candi sugar, or demera sugar or any combination of the above. You need at least two pounds of fermentables, but no more than three.
Clean and sanitize all the equipment you’ll use. Sanitizing is the use of heat, chlorine, or iodine mixed with water, but if your dishwasher has a “heat dry” cycle, cut down the preparation time by using it.
1 Bring 2 quarts of water to 160-180 degrees F: steaming, but not boiling. Remove from heat.

2 Add your beer kit (or recipe) and additional fermentables according to the directions. Each fermentable adds its own unique flavor.
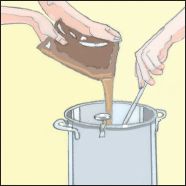
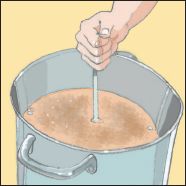
3 Stir aggressively to dissolve everything in the pot. Put the lid on the pot and let it sit for 10-15 minutes on the lowest heat setting.
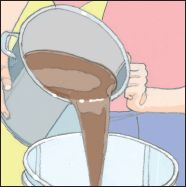
4 Add the contest of the pot to 4 gallons of cold water, which should already be waiting in the primary fermenter. Mix well, at least a minute or two, to add oxygen to the wort prior to adding the yeast. When the side of your fermenter is cool to the touch, it’s safe to add the yeast.
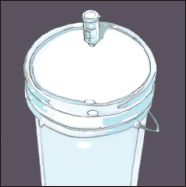
5 Ferment as close to the recommended temperature range as possible. It will begin to ferment within the first day and continue to do so for 3-5 days. You can tell because of the air bubbles. When there no bubbles, or a pause of two minutes in between bubbles, the beer is ready to be bottled.
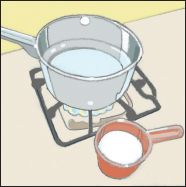
6 Make sure you have enough bottles ready and cleaned and sanitized! Also have pure dextrose on hand to make the priming solution, which is what helps the yeast already in the beer to carbonate. Take the saucepan and put 2 or 3 cups of water in it. Dissolve ¾ cups of dextrose in the water. Then, bring it to a boil over medium heat, cover it, and set aside to cool for 15-20 minutes.
7 After this is done, place the bottling bucket on the floor. Place the primary fermenter on a chair, table, or counter directly above the bottling bucket; do not shake the beer up inside the fermenter as the sediment should stay at the bottom. Attach the plastic hose to the spigot on the fermenter and put the other end of the hose in the bottom of the bottling bucket. Pour priming solution into bottling bucket and open the spigot on the fermenter, allowing the beer to flow in and mix with the solution. Don’t worry about saving the last of the beer in the fermenter since it contains sediment.
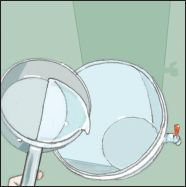
8 Move the fermenter and put the bottling bucket where it was. Hook the hose to its spigot. Line up the bottles on the floor underneath and stick the hose into one, all the way into the bottle. Open up the spigot and fill the bottle until the beer gets to the top, leaving about an inch of airspace. Quickly yank the hose out and stick it in the next bottle.
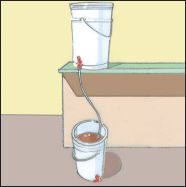
9 Once all the beer is drained out of the bucket, put caps on the bottles. Every second your beer is exposed to the air is bad. Find a cool, dark place to put the bottles while the second round of fermentation takes place. Do not put it in a refrigerator. Leave the beer to ferment for a minimum of two weeks before you drink it. Once the cloudiness caused by the yeast has dissipated (after the two weeks), you can put it in the fridge. If it hasn’t cleared, leave it to sit for longer. When you finally drink your beer, it’s best to pour it in the glass rather than drinking straight from the bottle to avoid the sediment and leftover yeast.
