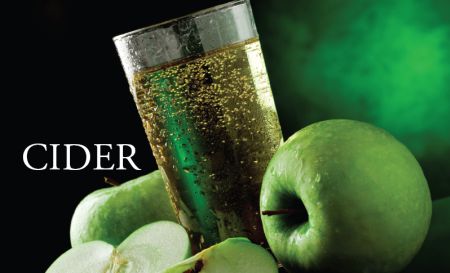
There’s little more refreshing than a glass of cold, crisp hard cider. And when you make your own, you have the ability to control the flavor and strength of your cider to create a brew that’s uniquely yours.
Apples and Fermentables
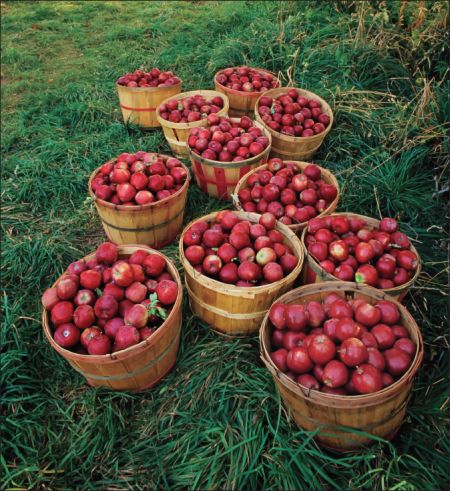
Not every apple is good for cider, and very rarely will you receive a blend with all the characteristics you desire from using one variety of apple. Cider makers generally use a mix of apples, choosing bland ones as the base since they generously provide plenty of juice and fermentables. Tart apples are often added to balance the sweetness of other sugars involved in the process of brewing, while sweet apples compensate for the acidity of the base apple.
There are four basic types of apples used to make ciders:
Sweet: Baldwin, Cortland, Delicious, Rome Beauty
Acidic: (medium to high acidity) Northern Spy, Winesap, Greening, and Pippin
Aromatic: MacIntosh and Russet
Astringent: wild and crabapples
If you’ve got all of these types at your disposal, make your first brew a blend of 50 percent sweet, 35 percent acidic, 10 percent aromatic, and 5 percent astringent. After you’ve made and tested one batch, you can vary the flavor to your liking by experimenting with different ratios.
A lot depends on how hard you want your cider. If your goal is a sweet, light cider, use only apples. If you’re in the mood for a stronger one, you’ll need to add additional fermentables, like cane and corn sugar, which are cheap, or honey and maple sugar, which offer more flavor and body to the cider (If you end up adding the latter two, it’s helpful to add some sort of yeast nutrient that will improve the efficiency of fermentation.). Adding adjunct sugars will change the amount of fermentables, and they must be accounted for when you’re scheduling the fermentation process. How many you add depends on the goal taste: for a sweet and more full-bodied taste, use honey and don’t let it ferment all the way out; for a dryer taste, use cane or corn sugar; and you can achieve a “dark” cider by adding brown sugar or molasses.
You can add sulfite to the “must” in order to reduce unwanted bacteria and wild yeast. One or two Campden tablets per gallon are sufficient. Afterward, make sure to aerate the “must” for at least 24 hours before pitching the yeast. Champagne yeast is the best option, especially if your goal is a sparkling cider. It’s also a good idea to add a bit of acid to increase the tartness; do so by throwing in a quarter to a half teaspoon of citric acid or winemaker’s acid.

How To Brew Hard Cider
You can buy a grinder (starting at around $450) or simply wash, cut, and grind your apples with a food processor and/or juicer. To do the latter, wash your apples outside with a big bucket and a garden hose. Make sure to remove any leftover leaves or branches sticking to the apple and to discard apples that are brown or beginning to rot. The simple rule of, “if you wouldn’t eat it, you shouldn’t drink it” sums it up nicely.
Chop large apples into small pieces, removing any bad sections as you go. Once chopped, pour the bits into the bowl of your processor, screw the lid on tightly, and turn the power on. Do this in smaller sections so as to not overload the processor and don’t worry that the apples are turning brown due to the quick oxidization.
Bring the pulp to the press (often a basket screw press—but even if that isn’t the case, there will be a cheesecloth or other straining material that will line the press, retaining the solid and allowing the liquid to run through) and put a small amount of pulp in, a few inches deep at most. While this may seem excessively careful, it will reward you with more juice; with a larger amount of pulp, the juice in the center cannot easily run out through the compressed pulp surrounding it.
Use an empty container to collect the juice. Tighten the screw and wait in between each tightening to maximize the amount of juice collected. Add sugars and other fermentables, if desired, and the “must” is ready for fermentation.
Closed fermentation is recommended, and the equipment you’ll need is the same as for brewing beer: plastic buckets, glass carboys, and airlocks. After putting it in the container and locking it, the cider can work for 3-4 months. Cider improves with aging, but it’s more difficult to achieve sparkling cider if the yeast has mostly dropped out. The 4-month-old cider is then primed with corn sugar (⅞ of a cup for 5 gallons) and bottled in champagne bottles (or otherwise), usually corked rather than capped. If you opt for beer bottles, choose the ones that have caps that do not screw off—the process of fermenting can blow those off. The bottled cider is stowed away to age and condition for at least six months at room temperature.
