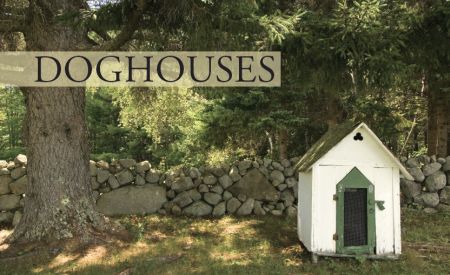
Doghouses and kennels are easy to construct and are especially useful if you have dogs that primarily live outdoors. A dog kennel needs to protect the dog from harsh winds and heavy rains and should be spacious enough for the dog to move around in comfortably. Doghouses should be located near to your own house so you can have easy access to your pet, and should be situated on a side of your house that creates a natural barrier against the wind and weather. Dogs should not be left outside overnight in very cold weather, even with access to a doghouse. Below are a couple of doghouses and kennels that can be easily constructed for your outdoor pet.
Standard Dog Kennel
This kennel is constructed to be warm and windproof, to direct the rain away from the base by creating large roof overhangs, and to be easily cleaned.
Materials
• Matched boards for the sides, ends, and bottom (standard measurements for the kennel are 30 inches long, 20 inches wide, and 30 inches tall)
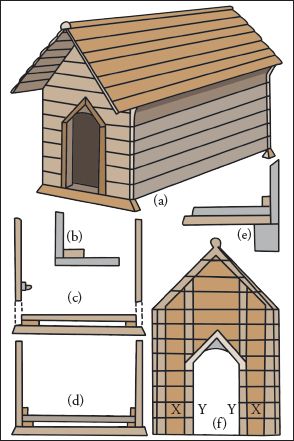
Refer to this illustration when making the dog kennel. The kennel raised off the ground is shown by (c); (d) illustrates the parts in contact; (e) is a vertical section of the back end.
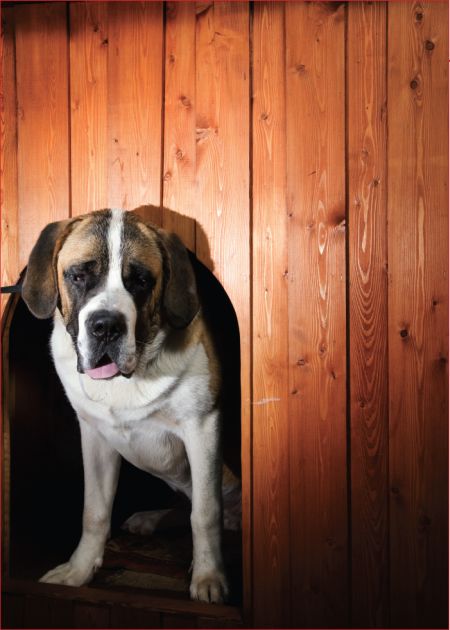
Modify the dog kennel plans here to fit your dog if it is a larger breed.
• Weather boards for the roof
• Strip of sheet metal
• Wooden beading
Directions
1. Make the ends first by nailing lengths of matching boards across uprights of 2 x 1-inch batten (f). At the top, halve the battens into the two roof pieces. Set the two outer uprights, X X, in about ¾ inch from the edges to allow the sides to be flush with the outside of the ends. Place these four uprights on the inside.
2. It is advisable to cut out the door—using a pad-saw for the semicircular top—before nailing on Y Y, which should be a little nearer to one another than are the rough edges of the door. Two short verticals on the out-side, also projecting beyond the edges, prevent the dog from injuring himself on them.
3. The battens may be omitted from the back end of the kennel, but they ultimately help strengthen the structure and so should be included.
4. When the ends are finished, the horizontal boards for the sides are nailed onto each end (b). Begin at the bottom, arranging the lowest board with its tongue pointing upwards and add the upper boards one by one. The direction in which the tongue points is an important detail—if the boards are put on the wrong way, water will leak more easily into the kennel, rotting the boards and making your dog wet.
This doghouse is wider and has the door set off to one side, which allows for even more protection from the elements.
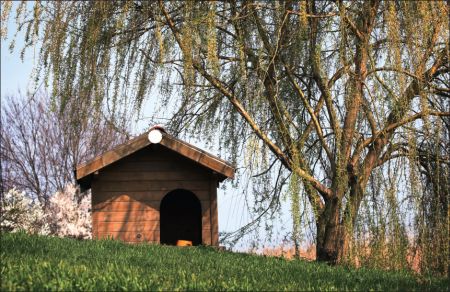
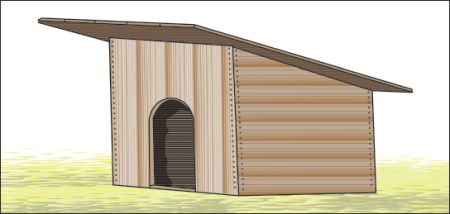
This kennel has a floor that is 2 feet square, is 3 feet 4 inches high in front, and the roof has an overhang of 8 inches.
5. Battens (d) and (e) are nailed inside along the sides of the kennel and a third is nailed across the back, at a distance above the bottom edge equal to the thickness of the bottom boards and of the battens (b) and (c), to which they are attached. At each end a 2 x 2-inch deal, (f), is screwed to (b) and (c) to raise the bottom clear off the ground.
6. The roof weather boards must be long enough to project at least 6 inches beyond the door end, to prevent rain from coming through the entrance. The eaves overhang 3 inches and are supported, as shown in (a), by three brackets cut out of hard wood. Begin laying on the boards, starting at the eaves and finishing at the ridge, which is closed with a 6-inch strip of sheet metal placed on top of a wooden beading.
7. Stain all the exterior surfaces, including the bottom, and fill in the cracks with caulking to keep the water from seeping through.
The inside part of the kennel should be exposed to the sun occasionally by being turned on its end, and the bottom should be cleaned often.
