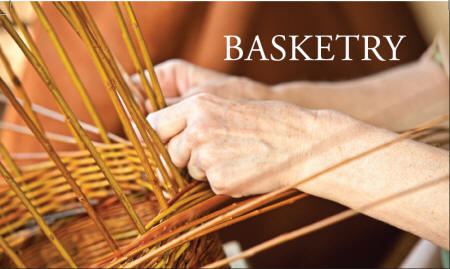
Basketweaving is one of the oldest, most common, and useful crafts. The materials used in making baskets are primarily reed or rattan, raffia, corn husks, splints, and natural grasses. Rattan grows in tropical forests, where it twines about the trees in great lengths. It is numbered according to its thickness, and numbers 2, 3, and 4 are the best sizes for small baskets. For scrap baskets, 3, 5, and 6 are the best sizes. Rattan should be thoroughly soaked before using. Raffia is the outer cuticle of a palm, and comes from Madagascar. Cattail reeds can also be excellent for baskets and may be more readily available, as they frequently grow near ponds or swampy areas. Most basket making materials can also be found at local craft stores.
Small Reed Basket
Most reed baskets have at least sixteen spokes, and for small baskets and where small reeds are used these spokes are often woven in pairs. You can vary the look of your reed basket by combining and interweaving two different colored reeds.
Materials Needed
Sixteen 16-inch spokes, No. 2 reed
Five weavers of No. 2 brown reed
Directions
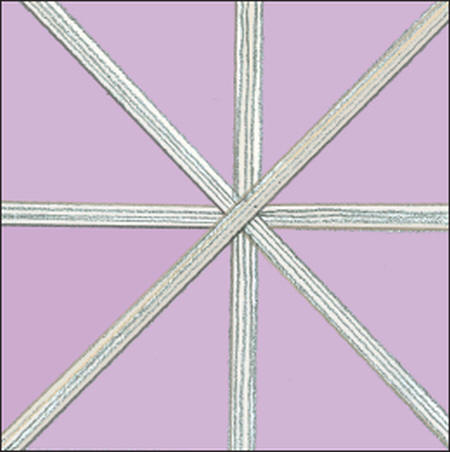
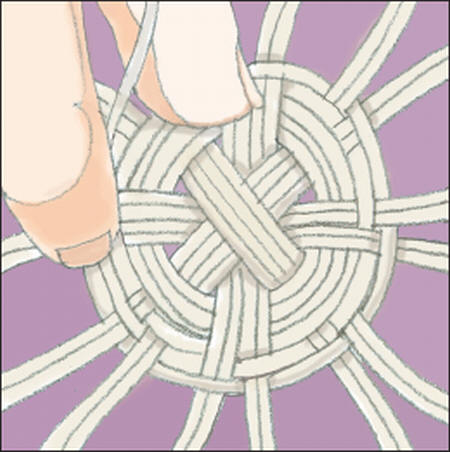
1. Separate the sixteen spokes into groups of four each. Mark the centers and lay the first group on the table in a vertical position. Across the center of this group place the second group horizontally. Place the third group diagonally across these, having the upper ends at the right of the vertical spokes. Lay the fourth group diagonally with the upper ends at the left of the vertical spokes.
2. Soak the reeds well and then start the basket by laying the weaver’s end over the group to the left of the vertical group, just above the center; then bring it under the vertical group, over the horizontal and then under, and so on until it reaches the vertical group again. Repeat this weave three or four times. Then separate the spokes into twos and bring the weaver over the pair at the left of the upper vertical group, and so on, over and under until it comes around again, when it is necessary to pass under two groups of spokes and then continue weaving over and under alternate spokes. At the beginning of each new row the weaver passes under two groups of spokes, always under the last of the two under which it went before and the group at the right of it.
3. Weave the bottom until it is 4 inches in diameter; then wet and turn the spokes gradually up and weave 1 inch. After that, turn the spokes in sharply and draw them in with three rows of weaving. Now weave four rows, going over and under the same spokes, making an ornamental band; then weave three rows of over- and under-weaving, followed by four rows without changing the weave. Continue to draw the side in with four rows of over- and under-weaving, and then bind it all off. Finish with the following border:
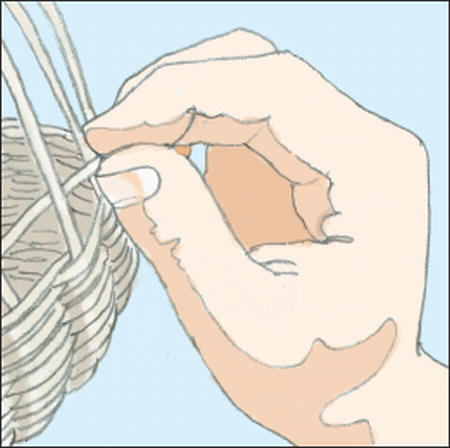
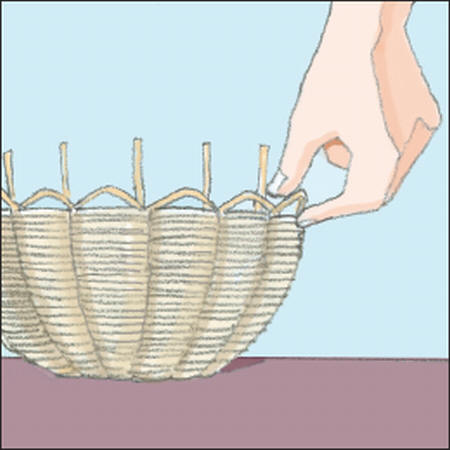
4. Always wet the spokes till they are pliable before starting the border. Bring each group under the first group at the right and over the next and inside the basket. Finally, cut the reeds long enough to allow them to rest on the group ahead.
Note: Leave the first two groups a little loose so that the last ones can be easily woven into them.
Coiled Basket
Sweet grass, corn husks, or any pliable grasses can be used for this type of basket, and with a contrasting color for sewing, the basket can be very attractive.
Materials
A bunch of grasses
A bunch of raffia
Directions
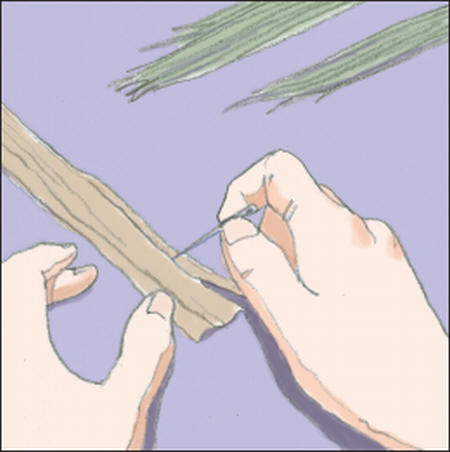
1. Cut off the hard ends of the grasses and take only a small bunch for the center to start. Split the raffia very fine and use a sharp needle for extra help.
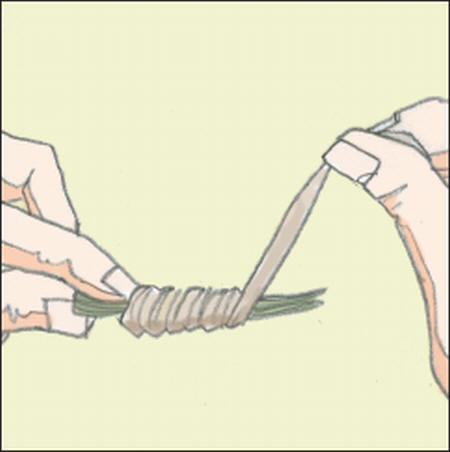
2. Hold the grasses and the end of raffia in your left hand, about 2 inches from the end of the coil, and wind the raffia around the coil to the end of the grasses.
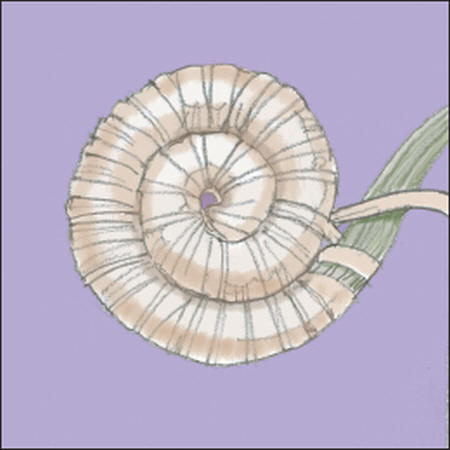
3. Bend the end of the coil into a small round center and sew over and under, binding the first two coils very firmly together. The next time around, leave a very small space between each stitch, and take the stitch only through the upper portion of the coil below. It is necessary that the spaces between the stitches be very small in the first few rows—this will determine the regularity of the spirals to come.
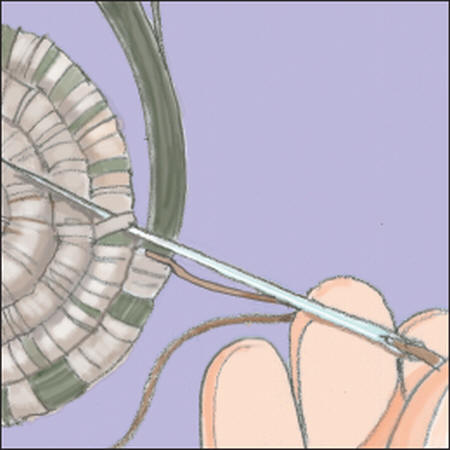
4. In sewing through the coil, place the needle diagonally from the right of the stitch through the coil to the left of the stitch.
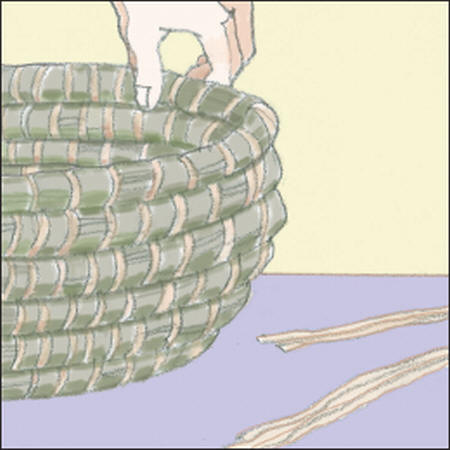
5. When the bottom measures 4 inches across, begin shaping the sides by raising the coil up slightly on the coil below and continue to bind the coils together as before. When the basket measures about 6 inches across, begin shaping the sides by pushing the coil slightly in toward the center.
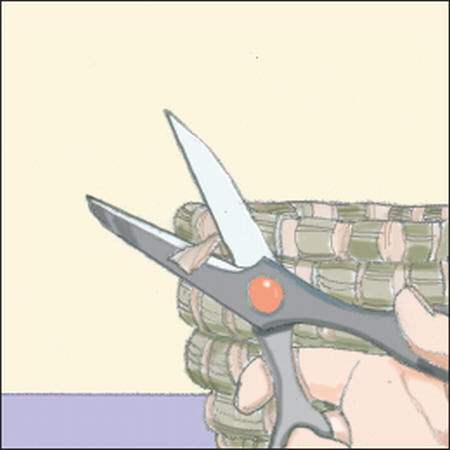
6. To finish, gradually decrease the size of the coil but do not increase the number of stitches. Fasten the raffia, after the last stitch, by running it through the coil and cut it off close to the border. If necessary, bind the ends more closely by sewing over and over with a thin thread of very fine raffia the same color as the grasses.
