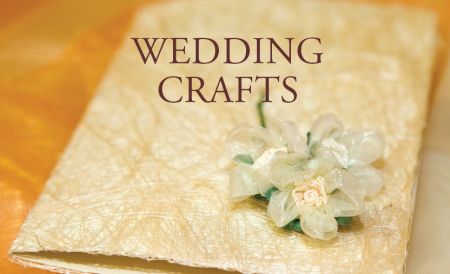
Homemade Weddings
Weddings are wonderful, memorable, and very personal events. Every couple is unique and weddings are an opportunity to celebrate their distinct experiences of love, beauty, and joy. Couples who do some or all of the wedding preparations on their own or with the help of friends and family (rather than relying entirely on professionals) often find their day especially meaningful—and they’re less likely to start off their married life in debt.
There are endless ways to add homemade touches to a wedding. The invitations, flowers, centerpieces, favors, food, and even the attire can be made or arranged without the help of professional florists, caterers, and other service providers. Couples should think about what aspects of the wedding matter most to them, what they would most enjoy doing on their own, and how much time they can realistically dedicate to wedding preparations. Delegation is also key—friends and family are often more than happy to be a part of the celebration by assisting with certain tasks.
Bouquets
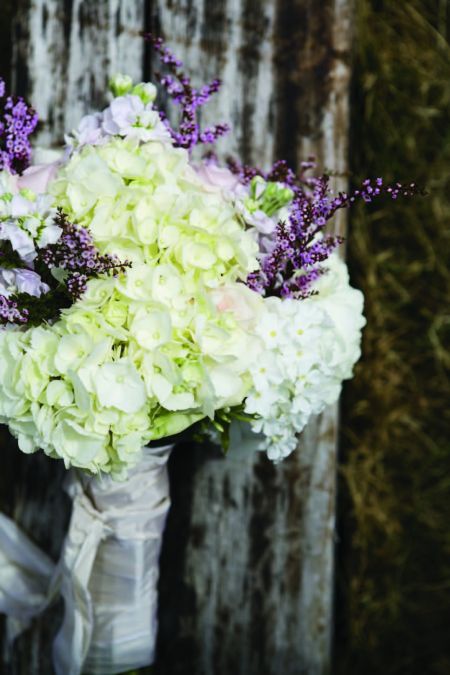
Once you’ve chosen the flowers you want in your bouquets (often based on color and season), think about what shape the bouquets will be and how you will arrange them. Smaller bouquets can be secured with a wide ribbon tied around the stems a little below the flower heads. For larger bouquets or for flowers with rough or thorny stems, you may want to bind the stems together with a ribbon that covers the length of the stems.
Materials
Flowers
Floral tape
Ribbon
Corsage pins
1. Arrange the flowers in a bunch, cutting the stems evenly at the bottom. Wrap a piece of floral tape around the stems just below the blossoms. Cut a piece of ribbon about five feet long (or longer for very long stems).
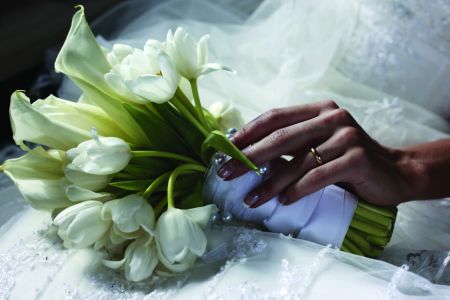
2. Begin wrapping the ribbon around the stems just below the blossoms, leaving a tail of ribbon about two feet long.
3. Wrap the ribbon around and around the stems, working your way down and making sure the ribbon lies flat. When you reach the bottom, wrap over the bottom of the stems and work your way back up to the top.
4. Now you should have two ribbon tails that you can tie into a full bow. Use pearl-headed corsage pins to secure the ribbon in place. Trim the tails if desired.
Hanging Flower Pomander
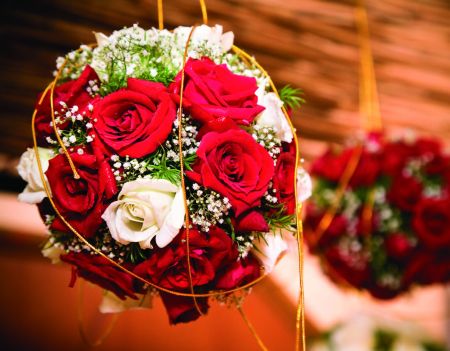
Flower pomanders should be made as late as possible before the celebration, since the flowers will not be getting adequate water to stay fresh for as long as a bouquet in a vase would. If making the pomanders the day before the wedding, keep them refrigerated as long as possible. Choose flowers with stiff stems such as roses or carnations, as they’ll be easier to insert into the ball.
Ball of floristry foam
2 ½-inch-wide ribbon
Straight pins or a glue gun
Scissors
Flowers
1. Soak floral foam in water until saturated and then set aside on a towel and allow to dry until just damp.
2. Wrap the ribbon once around the outside of the foam ball, pinning it at every inch or securing it to the ball with hot glue. Leave a foot of ribbon loose on each end.
3. Trim your flowers, leaving about an inch of stem for smaller blossoms and two to three inches for larger blossoms. Push the stems all the way into the ball, following the edge of the ribbon. Then do a line of flowers around the circumference so that the ball is divided into corners. Finally, fill in the four sectors, adding ferns or other greenery as desired to close up any spaces. If desired, only cover the top two thirds of the ball with flowers and line the bottom third with large green leaves, secured with pins.
4. Tie the two ends of the ribbon together in a tight knot and hang the pomander in a door or window or on a chandelier, or carry one down the aisle instead of a bouquet.
Wedding Cake
Your cake can be any flavor you like, and any shape, for that matter. But to make a traditional tiered wedding cake, follow the steps below. Be sure to do at least one test run well before the wedding.
Materials
½-inch-thick plywood or large cutting board
Parchment paper
Tape
Frosting
Cake tiers
Corrugated cardboard
Tinfoil
Knife or toothpick
¼-inch-thick dowels
Heavy duty shears
Cake decorations
1. Prepare the cake board. Cover a ½-inch-thick piece of plywood or a large cutting board with parchment paper, taping it to the underside of the board. The board should be at least 4 inches larger than the largest tier of your cake. This board will stay with your cake until it's eaten, so do a neat job of covering it.
2. Frost and fill the bottom, largest cake tier and place it in the center of the cake board.
3. Cut out two circles of corrugated cardboard that are the same size as the second tier, and two circles the same size as the third tier. Tape the same-sized circles together so that they are double thickness. Cover each cardboard circle with tinfoil, making the foil as smooth as possible.
4. Gently place the medium-sized cardboard circle onto the center of the bottom tier and mark around the circle with a knife or toothpick. Now you can remove the cardboard and still see the circle.
5. Push a ¼-inch-thick dowel into the very center of the cake. Mark the height of the cake on the dowel and remove it. Use heavy-duty shears to cut eight dowels at that length. Insert the dowels into the cake at even intervals around the circle marked on the bottom tier.
6. Place the second cake tier on the medium-sized cardboard circle and fill and frost it. Place it carefully on the center of the bottom tier.
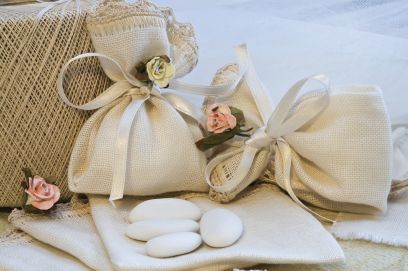
Refer to page 480 for directions for making sachets. Sachets filled with candy, a few homemade cookies, or handmade soap make lovely favors.
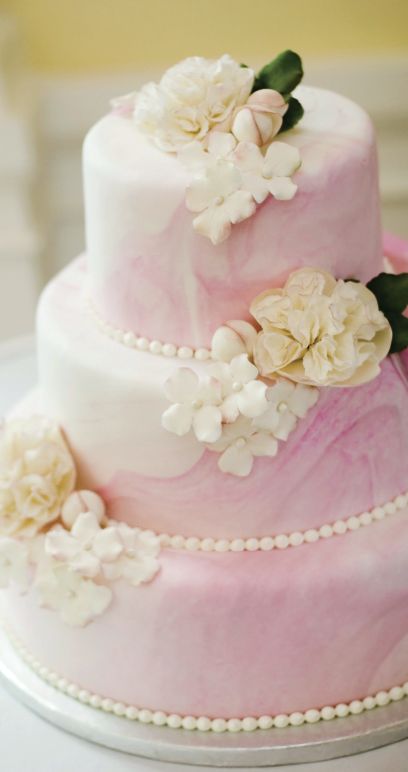
7. Repeat steps 5 and 6 with the top layer. To help keep the layers from sliding, sharpen one long dowel with a knife and insert it through the center of the top layer straight down through all the layers. Trim the dowel so that it’s even with the top of the cake.
8. Decorate the cake with piping around the bottom of each tier, marzipan fruit, or fresh fruit or flowers.
Edible Flowers for Cake Decorating
Any nontoxic flowers can be used to decorate your cake, as long as you remove the flowers before serving. If you don’t want to remove the flowers, choose edible flowers such as the following:
• Apple blossoms
• Orange blossoms
• Cornflowers
• Pansies
• Violets
• Nasturtiums
• Oregano
• Lavender
• Carnations
• Clover
• Calendula
• Jasmine
• Hollyhock
• Impatiens
• Lilacs
• Peonies
• Roses
Programs for the Ceremony
A handmade program will give your guests a unique keepsake by which to remember your ceremony. To make your own paper, refer to page 471.
Paper in various colors
Pen
Paste
Decorations
Cut a piece of sturdy, attractive paper to 7 x 11 inches, or desired size.
Write or print the text on paper of a contrasting color or texture, making sure it fits on a rectangle that is slightly smaller than the original cut rectangle (about 6 x 10 inche).
Cut out the second rectangle and paste it to the first, centering it carefully. Allow to dry and then fold the program in half.
If desired, paste ribbon, pressed flowers, or other accents to the outside of the program.

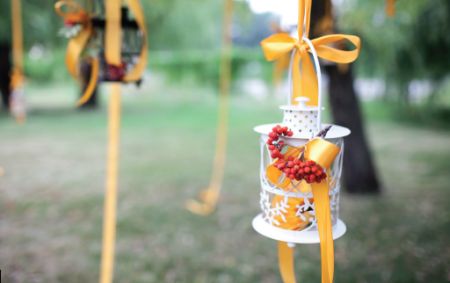
Lanterns hung from tree branches with wide ribbons create a simple and festive atmosphere.