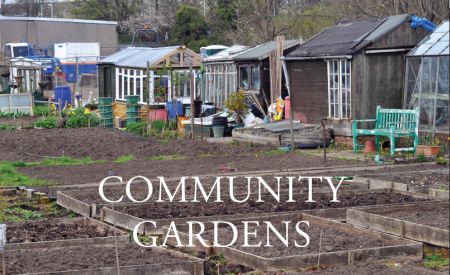
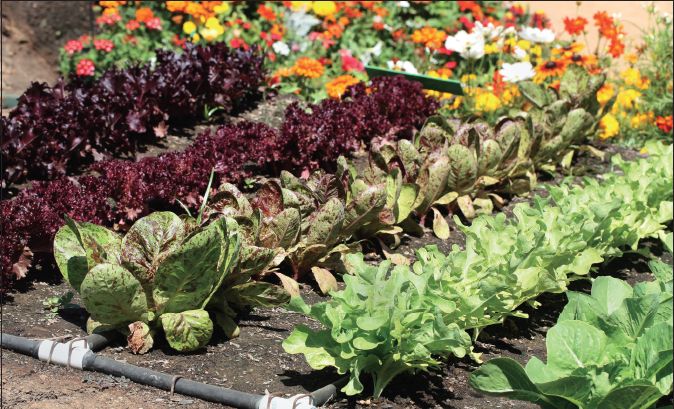
A community garden is considered any piece of land that many people garden. These gardens can be located in urban areas, out in the country, or even in the suburbs, and they grow everything from flowers to vegetables to herbs—anything that the community members want to produce. Community gardens help promote the growing of fresh food, have a positive impact on neighborhoods by cleaning up vacant lots, educate youth about gardening and working together as a community, and bring whole communities together in one common goal. Whether the garden is just one plot or many individual gardens in a specified area, a community garden is a wonderful way to reach out to fellow neighbors while growing fresh foods wherever you live.
10 Steps to Beginning Your Own Community Gardend
The following steps are adapted from the American Community Garden Association:
1. Organize a meeting for all those interested. Determine whether a garden is really needed and wanted, what kind it should be (vegetable, flower, or a combination, and organic or not), whom it will involve, and who benefits. Invite neighbors, tenants, community organizations, gardening and horticultural societies, and building superintendents (if it is at an apartment building)—in other words, anyone who is likely to be interested.
2. Establish a planning committee. This group can be made up of people who feel committed to the creation of the garden and who have the time to devote to it, at least in the initial stages. Choose well-organized people as garden coordinators and form committees to tackle specific tasks such as funding and partnerships, youth activities, construction, and communication.
3. Compile all of your resources. Do a community asset assessment. What skills and resources already exist in the community that can aid in the garden’s creation? Contact local municipal planners about possible sites, as well as horticultural societies and other local sources of information and assistance. Look within your community for people with experience in landscaping and gardening.
4. Look for a sponsor. Some gardens “self-support” through membership dues, but for many, a sponsor is essential for donations of tools, seeds, or money. Churches, schools, private businesses, or parks and recreation departments are all possible sponsors.
5. Choose a site for your garden. Consider the amount of daily sunshine (vegetables need at least six hours a day), availability of water, and soil testing for possible pollutants. Find out who owns the land. Can the gardeners get a lease agreement for at least three years? Will public liability insurance be necessary?
6. Prepare and develop the chosen site. In most cases, the land will need considerable preparation for planting. Organize volunteer work crews to clean it, gather materials, and decide on the design and plot arrangement.
7. Organize the layout of the garden. Members must decide how many plots are available and how they will be assigned. allow space for storing tools and making compost, and allot room for pathways between each plot. Plant flowers or shrubs around the garden’s edges to promote goodwill with non-gardening neighbors, pedestrians, and municipal authorities.
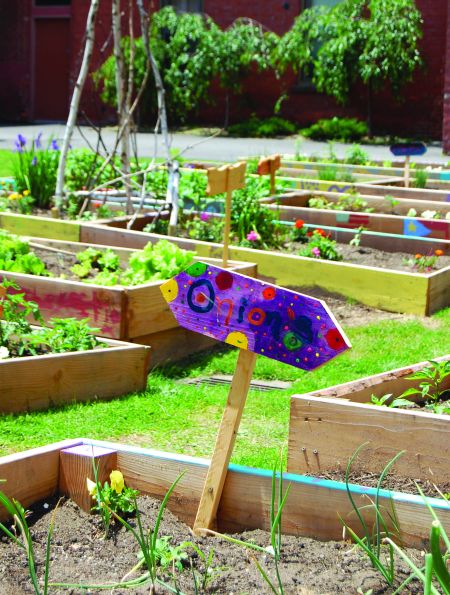
8. Plan a garden just for kids. Consider creating a special garden for the children of the community—including them is essential. Children are not as interested in the size of the harvest but rather in the process of gardening. a separate area set aside for them allows them to explore the garden at their own speed and can be a valuable learning tool.
9. Draft rules and put them in writing. The gardeners themselves devise the best ground rules. We are more willing to comply with rules that we have had a hand in creating. Ground rules help gardeners to know what is expected of them. Think of it as a code of behavior. Some examples of issues that are best dealt with by agreed-upon rules are: What kinds of dues will members pay? How will the money be used? How are plots assigned? Will gardeners share tools, meet regularly, and handle basic maintenance?
10. Keep members involved with one another. Good communication ensures a strong community garden with active participation by all. Some ways to do this are: form a telephone tree, create an e-mail list, install a rainproof bulletin board in the garden, and have regular community celebrations. Community gardens are all about creating and strengthening communities.
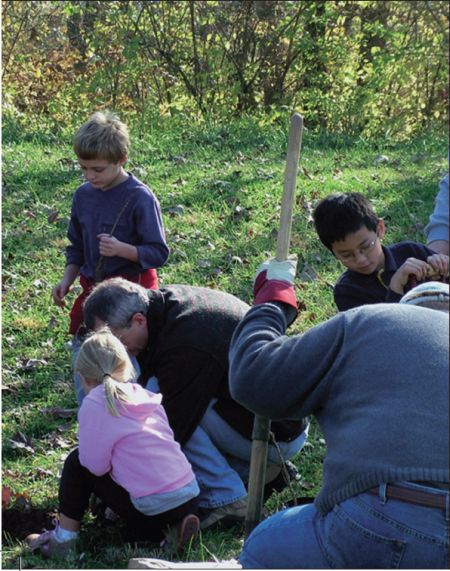
Community gardens provide an opportunity for workers of all ages to connect and learn from each other.
Start a School Garden
The local school might be the perfect place to start a community garden—explain the project to the principal and ask his or her permission to use a portion of the school grounds. You may even want to work with the school food service personnel to use products from the garden in a special school lunch, school-wide salad, or food festival.
Use the following checklist to get your garden up and running:
What to Do
Pick a Spot:
• Make sure the vegetable garden gets at least six hours of sunshine a day—otherwise the seeds produce plants and leaves and not much food. If the plot chosen doesn’t have enough sunshine, try growing vegetables that have leaves such as lettuce. Or try vegetables such as carrots, parsley, chives, or zucchini, which need only 4 to 5 hours of daily sun. Keep drainage in mind—a garden needs to drain well, so try to avoid the low spot where puddles form.
How Big Does the Garden Grow?
• A big harvest can be gotten from a garden that is only 4 feet by 4 feet. You probably don’t want a garden bigger than 10 feet by 10 feet unless you don’t mind the work!
Plan Your Garden:
• Point north. Find the north side of the plot, because that’s where the tall plants should go, so they don’t shade shorter ones. Stand facing the sunset; north is the direction to the right. Plants are grown in rows, so the garden will be a square or rectangle.
Things You’ll Need
• Planting, growing, and harvesting tools
• Seeds, seedlings, and organic material, such as compost, manure, or peat moss
• Long-handled shovels, hoes, rakes, garden spades, and three pronged hand cultivators
• Scissors, knives, and containers (baskets, bowls, or cardboard boxes)
Decide What to Plant:
• Think about what vegetables to grow and decide on the number of plants needed. Involve the children in this part of the planning process.
Design the Site:
• Draw a picture of the garden and plan out what plants will grow in which rows. Figure how far apart the rows should be. Find out how wide the plants will get, add the two widths together, and divide by 2. That’s how far apart the rows should be. This will make it easier on planting day.
Once the Garden is Designed—Then What?
Test the Soil:
• If the soil has not been tested, conduct a soil test. Call a local Cooperative Extension Service office, listed under county or state government, for the name and location of a laboratory to do testing for lead content and soil pH or see page 729 to do your own soil testing. A soil test tells two things: (a) lead level of the soil; and (b) whether the soil is acid (sour), alkaline (sweet), or neutral (neither sour nor sweet). Lead is a poison and if it gets into the plants, it will get into the food. Plants will not grow well in soil that is either too acid or too alkaline.
Get the Tools:
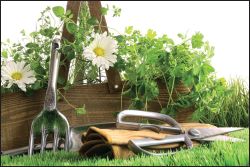
• Long-handled shovels, gardening spades, spading forks, hoes, and rakes are all excellent tools for beginning a garden. To care for the garden, use hand tools such as 3-pronged hand cultivators, hose and nozzle, and/or watering cans. If the group doesn’t have its own garden tools, find someone who has what is needed and ask to borrow the tools. Or check yard sales to buy used tools.
Prepare the Soil:
• Once the soil is dry enough, dig it and loosen it. Involve children and youth in the process of preparing the soil.
• Remove grass and weeds (roots and all). Take the time to do this well.
• Dig the soil as deep as the blade of the spade and turn the soil. Or, find someone to till the soil with a rototiller.
• If the soil test showed the soil to be too acid, add limestone (lime); if the soil is too alkaline, add ground agricultural sulfur. Sprinkle either lime or sulfur evenly over the garden soil.
• Add organic material such as compost, manure, or peat moss. This helps feed the plants and enriches the soil. Spread evenly on top of the turned soil in a layer no deeper than 3 inches.
• Blend everything using a spading fork, until the soil is so soft that planting can be done with the hands.
• Rake the soil until the soil is smooth and level, with no hills or holes. This will allow the water to seep down to the roots.
Get Ready to Plant:
Children will enjoy accompanying adults on a trip to purchase seeds or seedlings (also called transplants) for the vegetables you intend to plant. Some plants do better if you start with seedlings rather than seeds. Seedlings are the fastest way to grow plants, and the easiest.
• To identify what you have planted, buy or make stakes, and write the names of the plants on the stakes with a waterproof marker. Save the stakes for later use.
• Here is another place that children and youth can help. If seeds are planted: make a shallow straight line (furrow) in the soil with a finger.
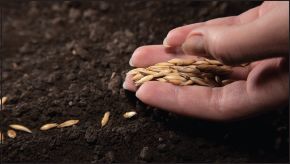
• Put the seeds in the furrow about half an inch apart or as suggested on the seed packaging.
• When the seeds are in the furrow, squeeze the furrow closed with thumb and finger.
• Water the soil right after the seeds are planted—water the plants so that the water comes out like a shower.
• Place the marker stakes in the soil at one end of the row to identify what has been planted.
• If another kind of plant is planted, check the distance between the rows following your design.
• If seedlings are planted: In each row, mark the spot where the plants should go, by poking a hole in the soil using a finger or the end of a pole. Do the entire row at one time.
• Set each plant in the soil so that it isn’t too high or too low but just above the root ball. Cover the root ball with soil and press the soil gently so there are no empty spaces near the roots.
• Feed the seedlings with a mixture of fertilizer and water. Water each plant once, let the water soak in, and water a second time. Depending on what plants are grown, this feeding may need to be done every two to three weeks.
Tending the Garden:
Visit the garden daily—check if the garden needs watering, weeding, feeding, and thinning. Make sure to bring the proper tools. Take the children and youth to the garden and have them help care for the plants. Two hours is plenty of time for them to work in the garden at any one time. Children and youth can do weeding, thinning, and harvesting of crops.
Tools Needed to Create and Maintain a Community Garden
When purchasing tools for your community garden, buy high-quality tools. These will last longer and are an investment that will benefit your garden and those working in it for years to come. Every community garden should be equipped with these 10 essential tools:
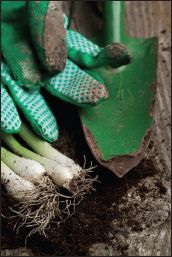
Gloves: Leather gloves hold up best. If you have roses, get a pair that is thick enough to resist thorn pricks.

Hand fork or cultivator: A hand fork helps cultivate soil, chop up clumps, and work fertilizer and compost into the soil. A hand fork is necessary for cultivating in closely planted beds.

Hand pruners: There are different types and sizes of pruners depending on the type and size of the job. Hand pruners are for cutting small diameters, up to the thickness of your little finger.

Hoe: A long-handled hoe is key to keeping weeds out of your garden.

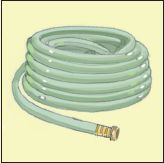
Hose: This is the fastest way to transport lots of water to your garden plants. Consider using drip irrigation hoses or tape to apply a steady stream of water to your plants.
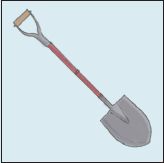
Shovels and spades: There are several different types and shapes of shovels and spades, each with its own purpose. There are also different types of handles for either—a D shape, a T shape, or none at all. A shovel is a requisite tool for planting large perennials, shrubs, and trees; breaking ground; and moving soil, leaves, and just about anything else. The sharper the blade, the better.
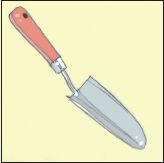
Trowel: A well-made trowel is your most important tool. From container gardening to large beds, a trowel will help you get your plants into the soil.
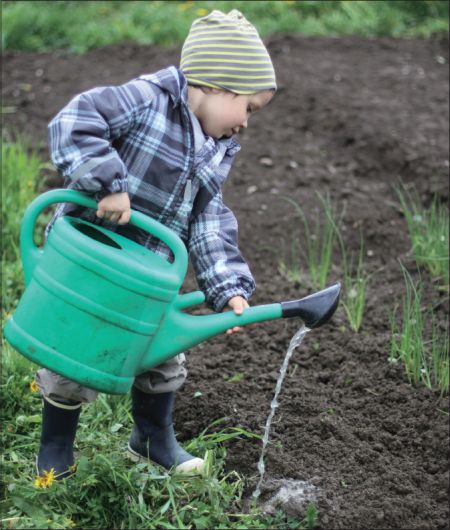
Watering can: A watering can creates a fine, even stream of water that delivers with a gentleness that won’t wash seedlings or sprouting seeds out of their soil.

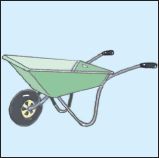
Wheelbarrow: Wheelbarrows come in all different sizes (and prices). They are indispensable for hauling soil, compost, plants, mulch, hoses, tools, and everything else you’ll need to make your garden a success.
Things to Consider
There are many things that need to be considered when you create your own community garden. remember that community gardens take a lot of work and foresight in order for them to be successful and beneficial for all those involved.
The Organization of the Garden
Will your garden establish rules and conditions for membership—such as residence, dues, and agreement with any drafted rules and regulations? it is important to know who will be able to use the garden and who will not. furthermore, deciding how the garden will be parceled out is another key topic to discuss before beginning your community garden. Will the plots be assigned by family size or need? Will some plots be bigger to accommodate larger families? Will your garden incorporate children’s plots as well?
Insurance
It is becoming increasingly difficult to obtain leases from landowners without liability insurance. Garden insurance is a new thing for many insurance carriers, and their underwriters are reluctant to cover community gardens. It helps if you know what you want out of your community garden before you start talking to insurance agents. Two tips: Work with an agent from a firm that deals with many different carriers (so you can get the best policy for your needs); and you will probably have better success with someone local who has already done this type of policy or who works with social service agencies in the area. Shop around until you find a policy that fits the needs of your community garden and its users.
Set Up a Garden Association
Many garden groups are organized very informally and operate successfully. Leaders “rise to the occasion” to propose ideas and carry out tasks. However, as the workload expands, many groups choose a more formal structure for their organization.
A structured program is a conscious, planned effort to create a system so that each person can participate fully and the group can perform effectively. It’s vital that the leadership be responsive to the members and their needs.
If your group is new, have several planning meetings to discuss your program and organization. Try out suggestions raised at these meetings, and after a few months of operation, you’ll be in a better position to develop bylaws or organizational guidelines. A community garden project should be kept as simple as possible.
Creating Bylaws
Bylaws are rules that govern the internal affairs of an organization. Check out bylaws from other community garden organizations when creating your own. The bylaws of your community garden can be as simple as rules and regulations. This is usually plenty adequate for small community garden affairs.
Bylaws cover these topics:
• The full name of the organization and address
• The organizing members and their addresses
• The purpose, goal, and philosophy of the organization
• Membership eligibility and dues
• Timeline for regular meetings of the committee
• How the bylaws can be rescinded or amended
• Maintenance and cleanup of the community garden
• A hold harmless clause: “We the undersigned members of the [name] garden group hereby agree to hold harmless [name landowner] from and against any damage, loss, liability, claim, demand, suit, cost, and expense directly or indirectly resulting from, arising out of or in connection with the use of the [name] garden by the garden group, its successors, assigns, employees, agents, and invitees.”
Sample Guidelines and Rules for Garden Members
Here are some sample guidelines community garden members may need to follow:
• I will pay a fee of $__ to help cover garden expenses.
• I will have something planted in the garden by [date] and keep it planted all summer long.
• If I must abandon my plot for any reason, I will notify the garden leadership.
• I will keep weeds at a minimum and maintain the areas immediately surrounding my plot.
• If my plot becomes unkempt, I understand I will be given one week’s notice to clean it up. At that time, it will be reassigned or tilled in.
• I will keep trash and litter out of the plot, as well as adjacent pathways and fences.
• I will participate in the fall cleanup of the garden.
• I will plant tall crops where they will not shade neighboring plots.
• I will pick only my own crops unless given permission by another plot user.
• I will not use fertilizers, insecticides, or weed repellents that will in any way affect other plots.
• I understand that neither the garden group nor owners of the land are responsible for my actions. I therefore agree to hold harmless the garden group and owners of the land for any liability, damage, loss, or claim that occurs in connection with use of the garden by me or any of my guests.
Preventing Vandalism of Your Community Garden
Vandalism is a common fear among community gardeners. try to deter vandalism by following these simple, preventative methods:
• Make a sign for the garden. Let people know that the garden is a community project.
• Put up fences around your garden. fences can be of almost any material. They serve as much to mark possession of a property as to prevent entry.
• Invite everyone in the neighborhood to participate in the garden project from the very beginning. if you exclude people, they may become potential vandals.
• Plant raspberries, roses, or other thorny plants along the fence as a barrier to anyone trying to climb the fence.
• Make friends with neighbors whose windows overlook the garden. trade them flowers and vegetables for a protective eye.
• Harvest all ripe fruit and vegetables on a daily basis to prevent the temptation of outsiders to harvest your crops.
• Plant a “vandal’s garden” at the entrance. Mark it with a sign: “if you must take food, please take it from here.”
People Problems and Solutions
Angry neighbors and bad gardeners pose problems for a community garden. Neighbors may complain to municipal governments about messy, unkempt gardens or rowdy behavior; most gardens cannot afford poor relations with neighbors, local politicians, or potential sponsors. Therefore, choose bylaws carefully so you have procedures to follow when members fail to keep their plots clean and up to code. A well-organized garden with strong leadership and committed members can overcome almost any obstacle.
10 Benefits of Creating a Community Garden
1. Improves the quality of life for people using the garden.
2. Provides a pathway for neighborhood and community development and promotes intergenerational and cross-cultural connections.
3. Stimulates social interaction and reduces crime.
4. Encourages self-reliance.
5. Beautifies neighborhoods and preserves green space.
6. Reduces family food budgets while providing nutritious foods for families in the community.
7. Conserves resources.
8. Creates an opportunity for recreation, exercise, therapy, and education.
9. Creates income opportunities and economic development.
10. Reduces city heat from streets and parking lots.
School Gardens
A school garden provides children with an ideal outdoor classroom. Within a single visit to a garden, a student can record plant growth, study decomposition while turning a compost pile, and learn more about plants, nature, and the outdoors in general. Gardens also provide students with opportunities to make healthier food choices, learn about nutrient cycles, and develop a deeper appreciation for the environment, community, and each other. While school gardens are typically used for science classes, they can also teach children about the history of their community (what their town was like hundreds of years ago and what people did to farm food), and be incorporated into math curriculum and other school subjects.
How to Start a School Garden
School gardens do not need to start on a grand scale. In fact, individual classrooms can grow their very own container gardens just by planting seeds in small pots, watering them daily, placing them in a sunny corner of the room, and watching the seedlings grow. However, if there is space for a larger, outdoor garden, this is the ideal place to teach children about working as a community, about plants and vegetables, and responsibility. A school garden should eventually become a permanent addition to the school and be maintained year-round.
When starting a school garden, it is important to find someone to coordinate the garden program. This is the perfect way to get parents involved in the school’s garden. establish a volunteer garden committee and assign certain parents particular tasks in the planning, upkeep (even during the summer months when school is generally not in session), and funding for the school’s garden.
It is important, so the garden is not neglected, to plan particular classroom activities and lessons that will incorporate the garden and its plants. assigning students various jobs that relate to the garden will be a wonderful way of introducing them to gardening as well as responsibility and community.
After all the initial planning is done, it is time to choose a spot for the school garden. a place in the lawn that receives plenty of sunlight and that will be close enough to the building for easy access is ideal. it should also be near an outdoor spigot so the plants can be easily watered. if there is enough space, it might be beneficial to have a garden shed, where gardening gloves, tools, buckets, hoses, and other items can be stored for use in the garden. Once you have chosen your spot, it’s time to start digging and planting!
Both new and established gardens benefit from the use of compost and mulch. Many schools purchase compost when they initially establish their garden, and then they start making their own compost—which is a wonderful scientific lesson for students as well. You can use grass clippings, yard trimmings, rotten vegetables, and even food scraps from the cafeteria or students’ lunches to build and maintain your compost pile. While some schools choose to make compost piles in the garden, others compost with worm boxes right in the classroom!
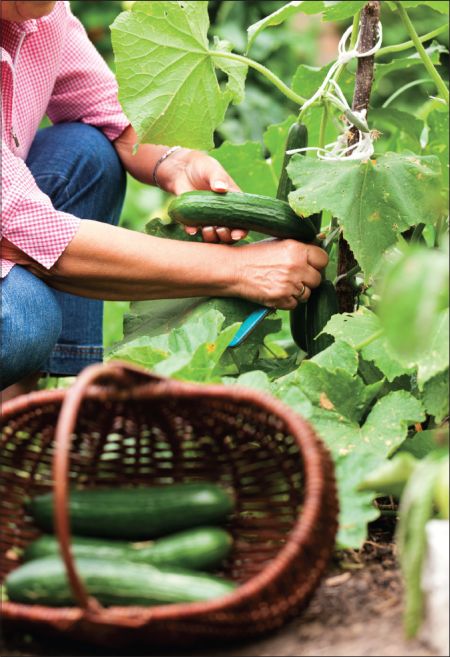
Depending on funding and the needs and desires of the school, these gardens can become quite elaborate, with fences, ponds, trellises, trees and shrubs, and other structures. However, all a school garden truly needs is a little bit of dirt and a few plants (preferably an assortment of vegetables, fruit, and wildflowers) that students can study and even eat. Whether the school garden is established only for one class or grade level, or if it is going to be available to everyone at the school, is a factor that will determine the types of plants and the size of the overall garden.
Whether big or small, complex or simple, school gardens provide a wonderful, enriching learning experience for children and their parents alike.
