PART TWO
EASY ORIGAMI
A Gallery of Creative Designs
A NOTE FROM THE AUTHOR
I have taken the origami models in this gallery from my corpus of work, choosing those that are particularly suitable for children. Yet, they are not merely simplified forms meant for children. They also serve as the basic models of origami.
Origami, as practiced up until now, has demanded mostly mechanical skill—taking a sheet of paper and executing a series of folds by joining corner to corner, edge to edge. My origami, in contrast, appeals to the creative freedom of the person who makes it. As long as that person correctly maintains the direction and number of folds, the precise matching of folds and lines can be relaxed in order to obtain results that express individuality and convey sensations and feelings. By learning how to modify folds and correct them in order to come up with a variety of shapes, children discover a beauty that is more animated and vibrant than the static origami of the past. As they increase their aptitude for science and logic, they will also develop their creative powers.
It is important that the sheet of paper used is not be too stiff for the tiny, soft hands of a child. The ideal is a square with sides measuring between 5 and 6 inches (12 and 15 cm). If the paper is too large, the child will struggle to grasp it within his or her line of vision and will not be able to handle it easily. Once the child has learned to work with a small sheet of paper, he or she will have no problem progressing to a large sheet.
Colored paper is nearly always required for the origami models and it is important that the sheets are of various types. By choosing shades that are appropriate for a particular subject, the child will become familiar with the basics of artistic creation.
Using the origami that has been created—to arrange, combine or play with—is of interest to everyone and a source of pleasure. It is a matter of expressing oneself freely by creating forms out of paper.
This new compilation of origami has been enhanced by the addition of new models, some of which can be made in large sizes and have been greeted with enthusiasm by origami artists all over the world for their novelty and beauty.
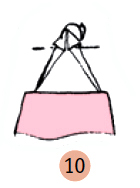
Our hope is that creative origami will be able to transcend time and space, overcome geographical borders and arouse ever greater passion.
Making a little bird or other animal in origami helps children appreciate the nature of living things.
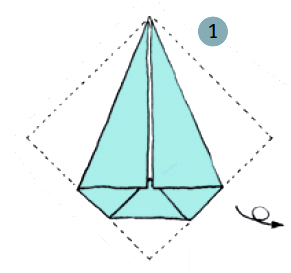
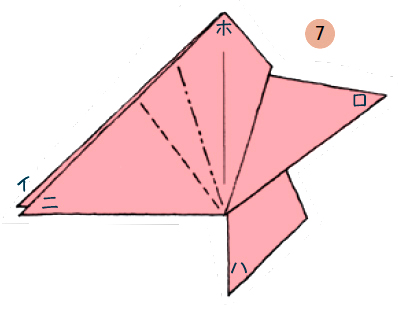
Legend
Within the series of illustrations, some show enlarged details.
This symbol indicates the finished model.
In the case of multiple layers, the symbol denoting the fold appears only on the top layer.
Mountain fold: made by folding towards the back
Valley fold: made by folding towards the front
Fold forwards
Fold backwards
Flip over to the back
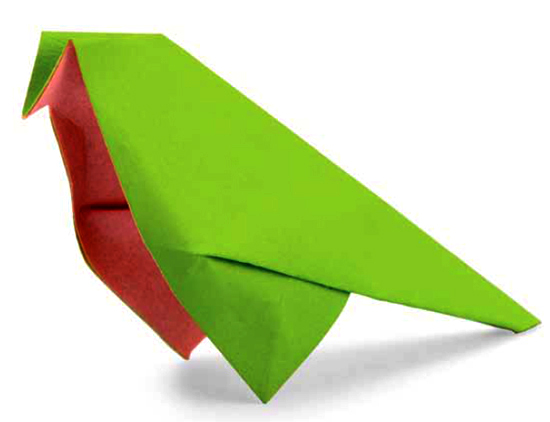
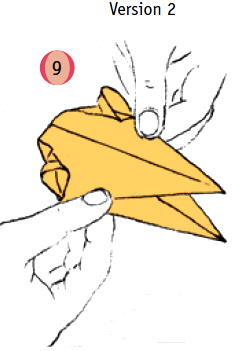
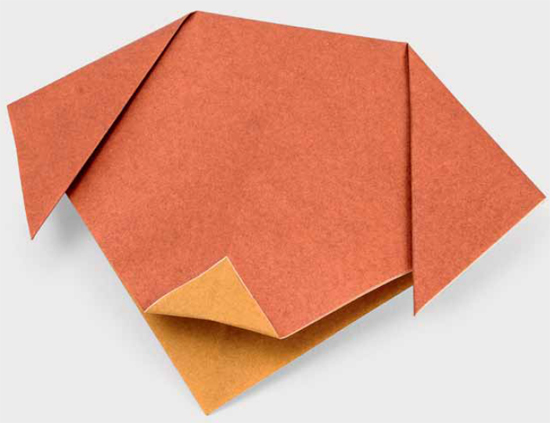
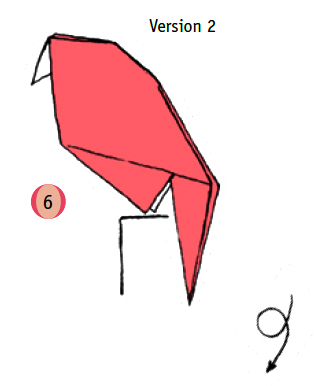
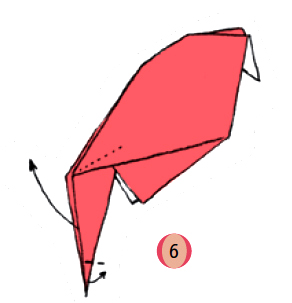
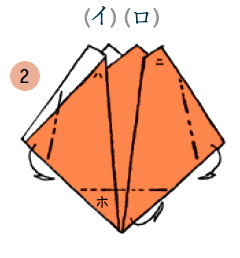
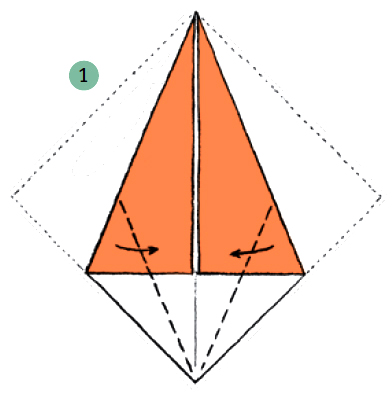
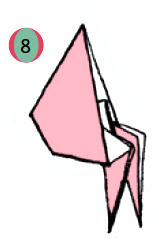
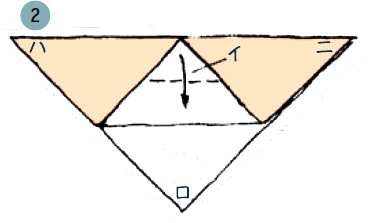
BIRD’S BEAK
とりのくちばし
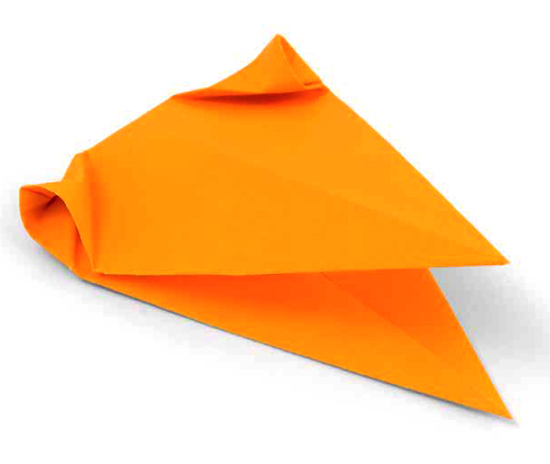


INSTRUCTIONS
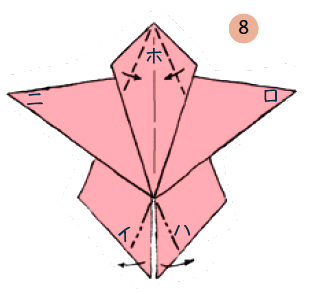
Shape the eyes with steps 6 , 7 and 8 .
You can also make the beak move 5 by holding it as shown in figure 9 .
DOG’S HEAD
いぬのかお
These steps can be used to make the muzzles of different animals.


Turn up only イ, superimposing it over the mountain fold.
Make the head move by holding it as shown in figure 4 .
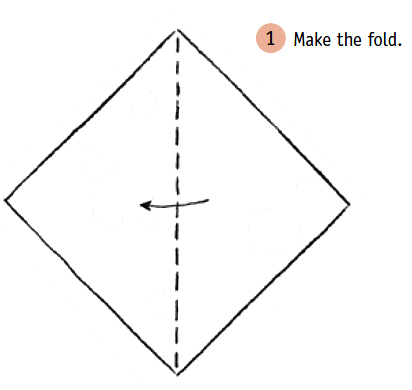
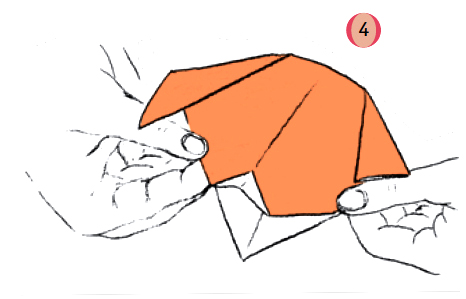
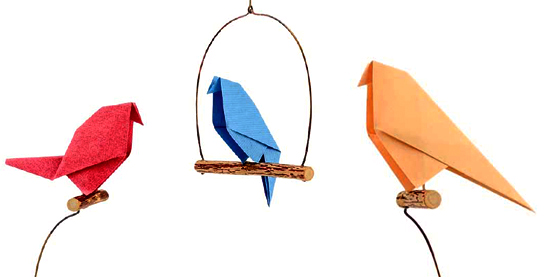
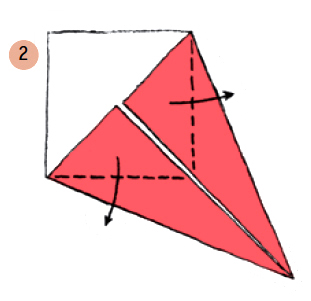
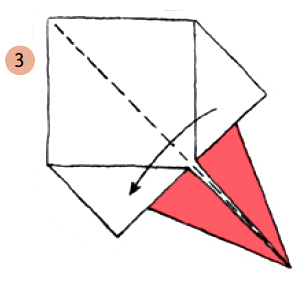
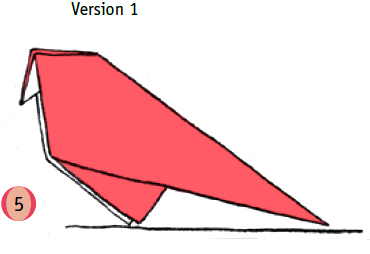
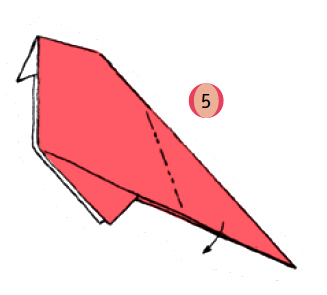
SMALL BIRDS
ことり


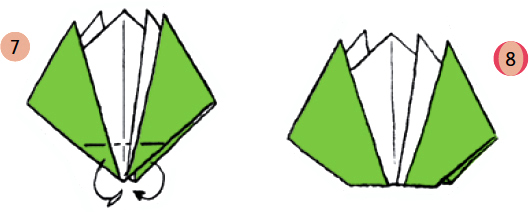
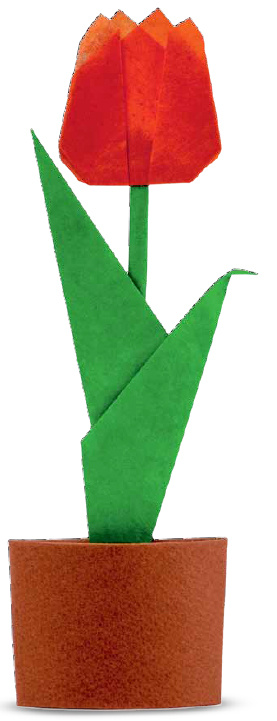
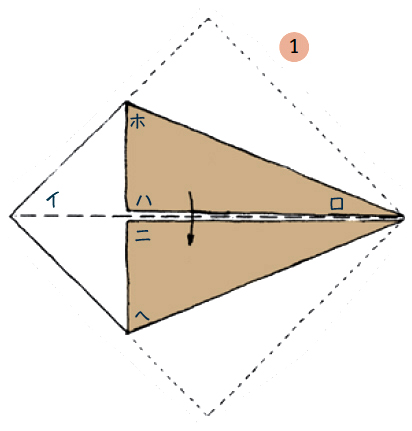
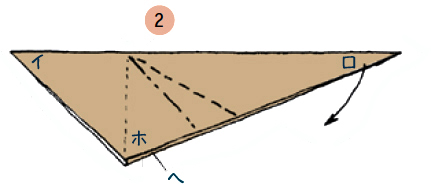
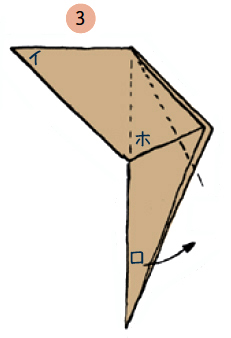
TULIP
チューリップ
Make the flower, stem, leaves and vase with different colored paper. Assemble all the parts to create a lovely ornament.
This flower is made solely with fold ホ in figure 2 .
The origami here has been attached to a sheet of drawing paper to make it stand upright. The vase is made from a rectangular sheet of paper slightly rounded. If you make lots of flowers and leaves, you can arrange them in a glass or small vase.
THE FLOWER


To make the flower stand upright, round it out after inserting the stem.
THE LEAF


THE STEM
Make the stem by cutting a square sheet in two equal parts and rolling up one of the halves with tiny folds.
THE VASE


EMPEROR AND EMPRESS DOLLS
おひなさま
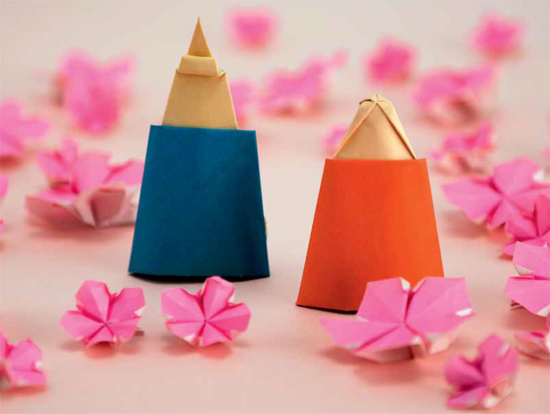
Hinamatsuri (Girls’ Day or Dolls’ Day) is celebrated on the third day of the third month and is dedicated to girls or peach blossoms (momo no sekku). During this festival, people make paper dolls of the emperor and empress to display in their homes.
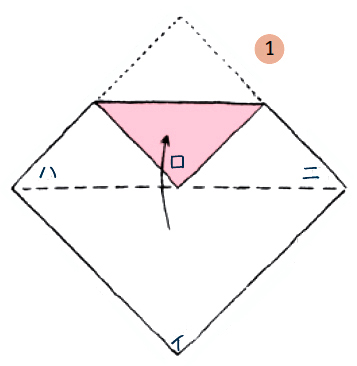
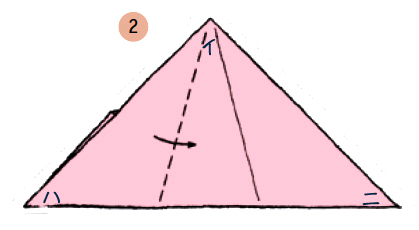


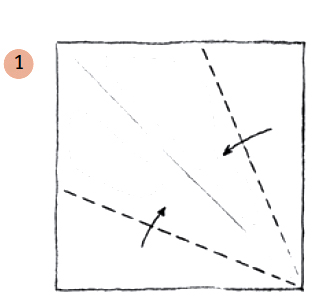
INSTRUCTIONS FOR THE EMPEROR
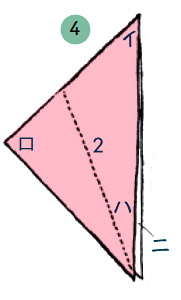
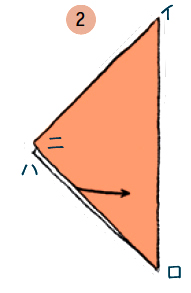
2 Subdivide corner イ into three.
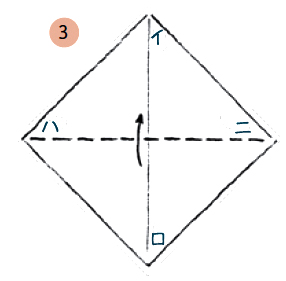
3 Fold, drawing it over the dotted line.
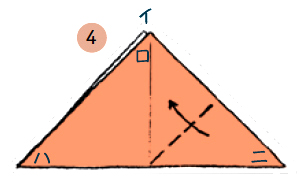
4 Fold, drawing it over the dotted line. Fold edge ハ to the back. Repeat the steps done with ハ in figures 2 and 3 with ニ.
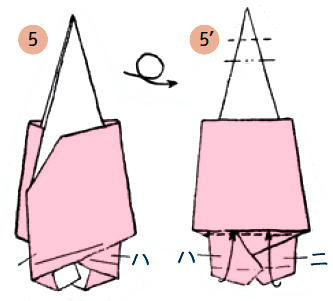
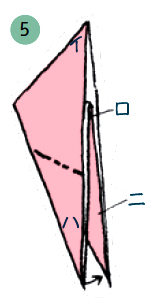
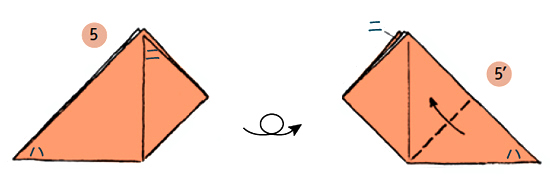
5 Flip over to the back.
5’ Make a crimp fold in イ. Tuck ハ and ニ inside.
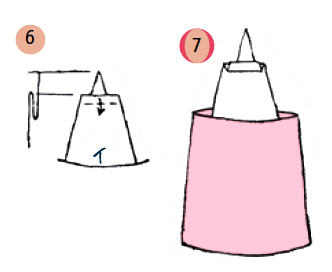
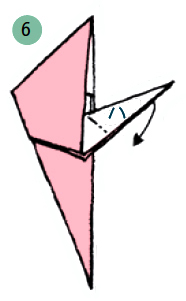
6 Complete イ by folding a tiny portion in the direction of the arrow.
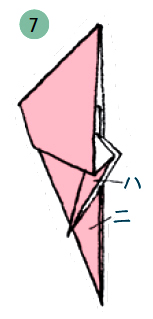
7 The finished emperor doll.
INSTRUCTIONS FOR THE EMPEROR
The empress is constructed by following the same steps as for the emperor, but by slightly reducing the width of the shoulders and shaping the head as shown in figures 8 , 9 and 10 .
11 The finished empress doll.
TADPOLE
おたまじゃくし


INSTRUCTIONS
Make each tadpoles from a small sheet of gray paper.
2 After making a mountain fold, make an inside reverse fold between the two layers with ロ in order to obtain figure 3 . Then make a valley fold in the opposite direction in order to obtain figure 4 .
After completing all the steps as far as 5 , insert a finger inside the tadpole to fill out its shape.
The tadpoles with legs are made by folding ハ and ニ in figure 1 outwards.
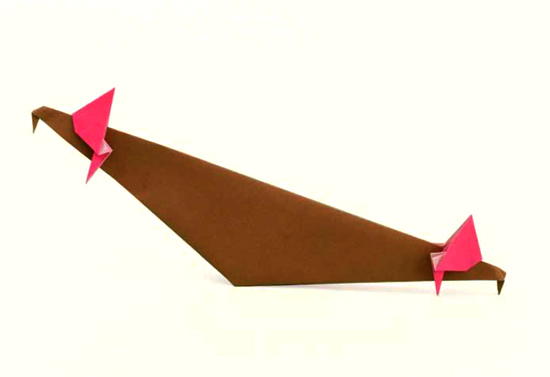
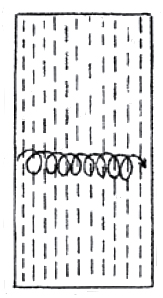
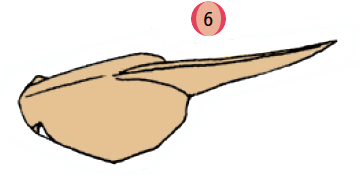
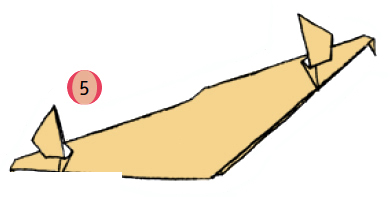
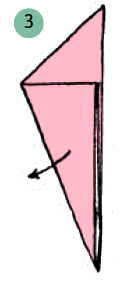
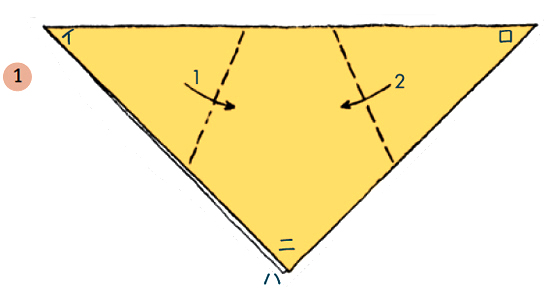
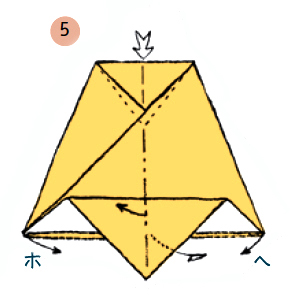
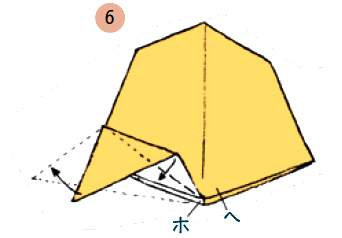
SEESAW
シーソー

THE SEESAW
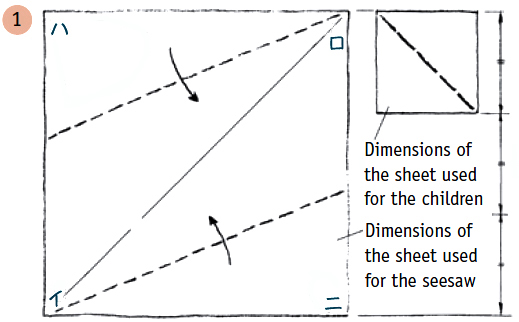


Make the fold along diagonal イロ, then bring the two sides together. Folds ハ and ニ, ホ and ヘ balance each other and help distribute the weight equally between イand ロ.


THE CHILDREN
Use a square sheet cut in half for each child.
4 Fold again along line 2 in order to soften the fold, then invert ロ between ハ and ニ.
7 Repeat the steps with ハ and ニ.
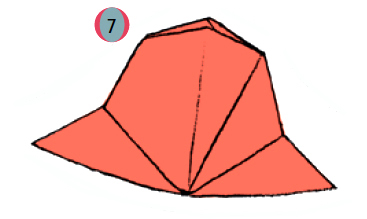
CAPS
ぼうし


INSTRUCTIONS
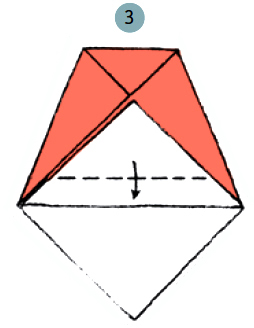
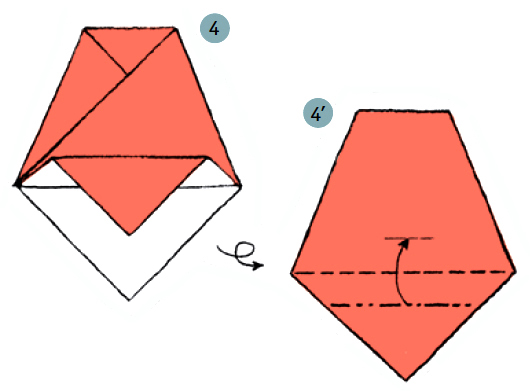
1 Use a square sheet folded in half.
5 Open the interior. Joining ホ to ヘ, press down on the cap.
If you use a square sheet of paper approximately 20 x 20 in (50 x 50 cm), the cap will be wearable. You can adjust it to the size of your head by sliding valley folds 1 and 2 along in figure 1 .


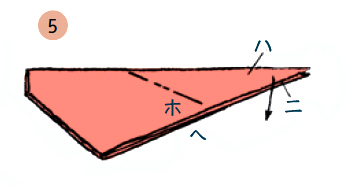
Follow the steps in version 1 as far as figure 3 .
4 Flip over to the back.
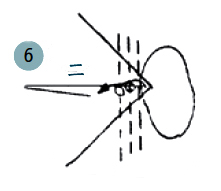
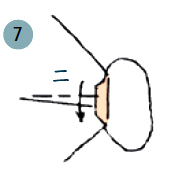
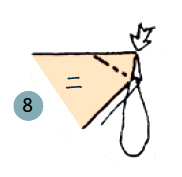
GOLDFISH
きんぎょ

The rods in the photograph are willow wood chopsticks suspended on silk threads.
Hang fish イ and ロ and the seaweed from rod 1 using thread, then identify point C so that the weight is distributed evenly on both sides and keeps the rod horizontal. Tie the rod with thread at this point to the end of rod 2. Identify point C on rod 2 as you did for rod 1, and tie a second thread here.


INSTRUCTIONS
5 Superimposing ハ over ニ, fold them inwards between ホ and ヘ.
6 pull only layer ハ over to the dotted line.
7’ Unfold ハ in the direction of the arrows, inverting the two flaps to the outside.
9 You can make this version by transforming イ and ロ in figure 4 into pectoral fins.
ELEPHANT
ぞう
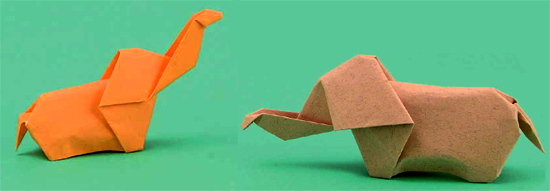


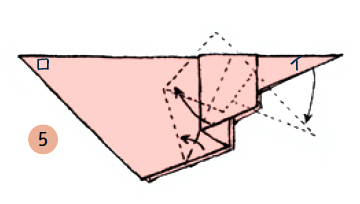


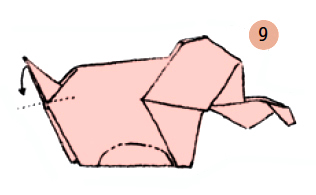
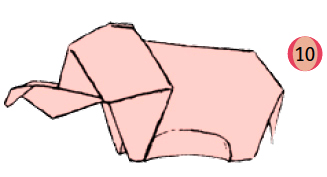
INSTRUCTIONS
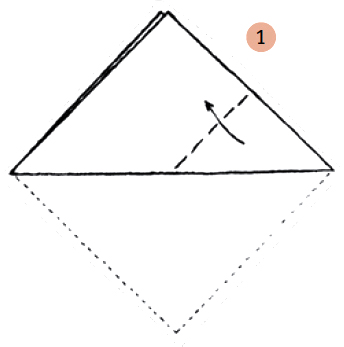
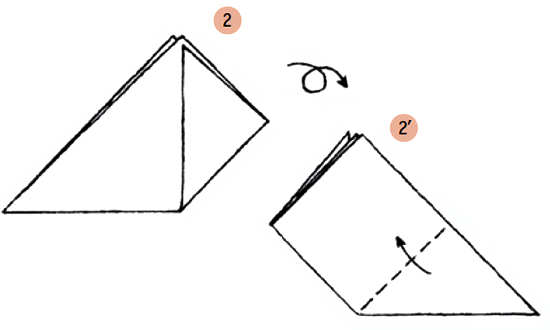
After folding a square sheet as shown in figure 1 , flip it over to the back.
3 Flip over to the back.
3’ Make a crimp fold in イ.
5 Slide the folds along, pulling them to the dotted line.
6 Slide イ to the dotted line.
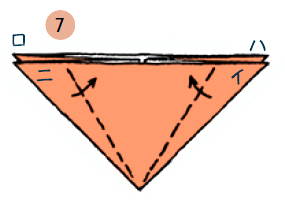
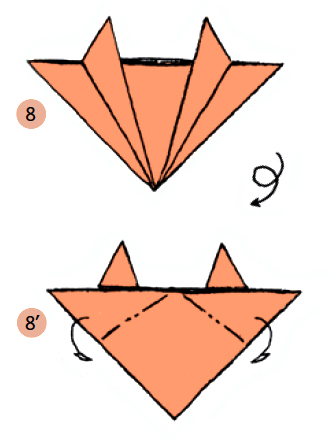
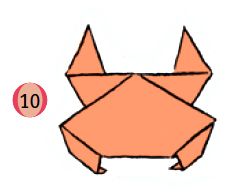
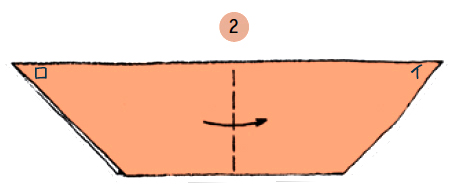
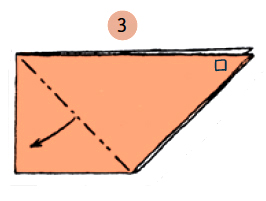
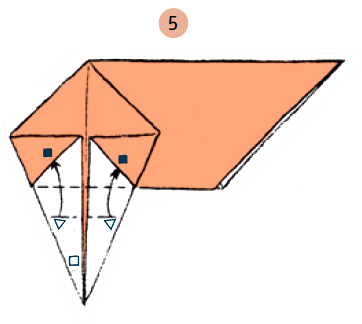
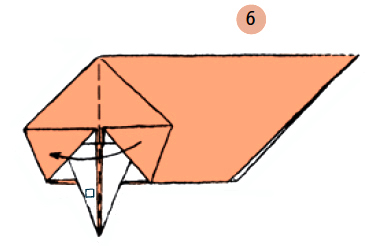
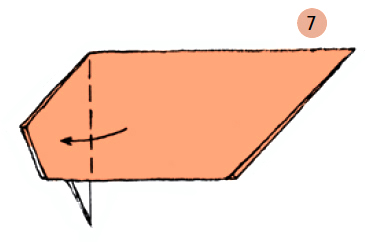
FAMILY OF CRABS
かに

After folding the sheet along the vertical axis, fold it along the horizontal one.
Holding the sheet by イ ハ and ニ ロ, unfold it in the opposite direction.


SNAIL ON A LEAF
かたつむり


INSTRUCTIONS FOR THE SNAIL
Use a sheet which is white on the reverse.
3 Open pocket ロ to obtain figure 4 .
5 and 6 Making a mountain and a valley fold in ロ, insert the corners marked ▽ inside ■.
10 Form a crimp fold at point イ, then fold in the direction of the arrow.
11 and 12 Form the body and foot by making an inside reverse fold in イ and ロ, starting from the dotted line, then raise the antenna. Finish by inflating the shell.
If you keep the valley fold in figure 2 slightly to the left, side ロ (the foot) will stay smaller even without refolding it inwards as shown in figure 5 , while the body will stay larger.
INSTRUCTIONS FOR THE LEAF
To make the leaf, start with the tulip leaf’s elongated rhomboid form in figure 2 , page 164.
Make a valley fold along the median of 2 keeping an eye on the main side. Using two fingers, pinch the lower extremity from behind and invert it on one side.
CHRISTMAS TIME
サンタクロース
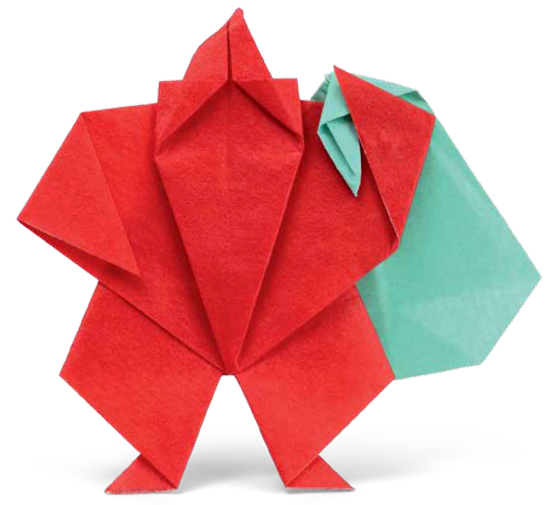
SANTA'S SACK


SANTA CLAUS


INSTRUCTIONS FOR
Fold a square sheet of red paper as shown in figure 1 , then make the folds in figure 2 . Figure 2 is the same shape, but inverted, as figure 7 in the crab on page 179.
7 Fold ニ and イas you have done for ロ and ハ.
SANTA’S HAT

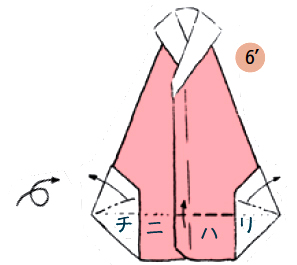
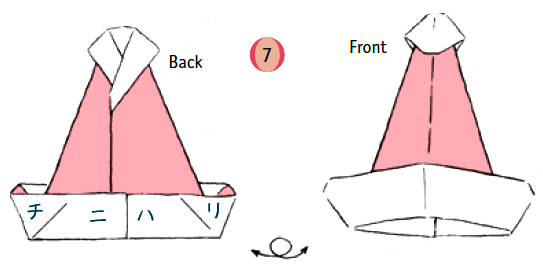
INSTRUCTIONS FOR SANTA’S HAT
Use a sheet of red paper with white on the reverse.
2 Fold along the median, bringing ハ to the back.
3 Fold ヘ towards the front and ト towards the back, then fold ハ and ニ layered on top of each other.
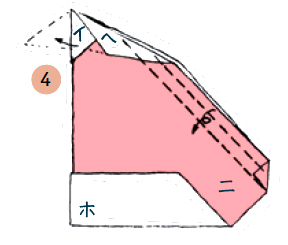
4 pull イ to the dotted line, then fold two thin strips, one after the other.
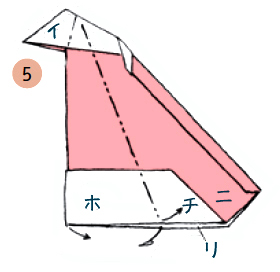
5 Unfold チ and リ bringing ホ to the center in order to flatten out the model.
6 Fold ハ and ニ upwards while opening チ and リ.
 If you use a square sheet of paper about 20 x 20 in (50 x 50 cm), the cap will be big enough to be worn.
A SANTA CLAUS MASK


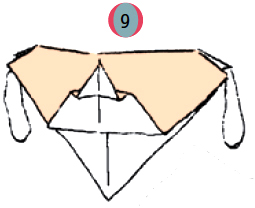

INSTRUCTIONS FOR THE SANTA CLAUS MASK
Use a square sheet of paper with sides between 6 and 7 in (15 and 18 cm) long.
4 Form the mouth by making folds ハ and ニ run in such a way that they lift ホ, then form the nose by lifting イ.
5 Open ハ and ニ and attach the elastic bands as shown in figures 6 and 7 , then fold the corner inwards in the direction of the arrow as shown in figure 8 so that the elastic bands do not slip out.
WATERLILY
すいれん

The beauty of the waterlily will be enhanced if you use two superimposed sheets of different colored paper for the petals and sepals.
2 Flip over to the back.

3 Make it spin.