
WHAT IT TAKES
Time: 2 hours
Skill level: Beginner
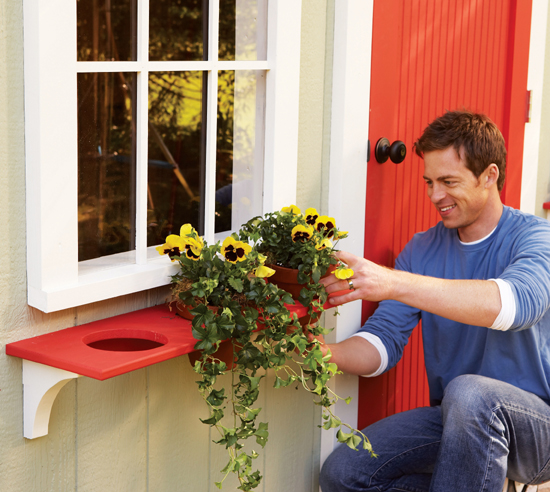
You can build and finish several of these simple window planters in a day. For each planter, you’ll need three 6-in. clay pots, 3 ft. each of 1x10 and 1x3, and 2 ft. of 2x8.
Cut the 1x10 and 1x3 to length (see photos for dimensions). Pot diameters vary, so size the holes by scribing and cutting out a 6-in. circle from cardboard to ensure that the pot will rest on its rim (Photo 1). Keep testing until you find the size. Then lay out and cut the openings.
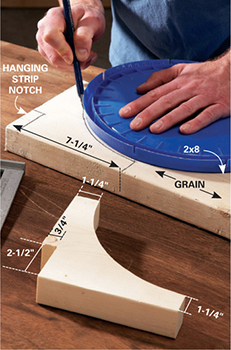
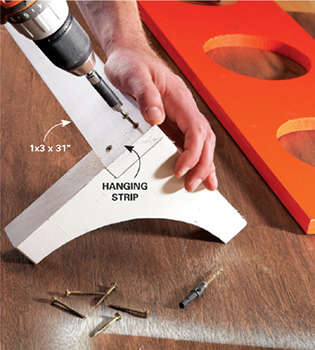
Use a 5-gallon pail lid to scribe the bracket curves (Photo 2). Make sure the grain runs parallel to the shelf for strength. Smooth off the rough edges and paint the parts before assembly—especially if you want the two-tone look. Then screw the parts together with 2-in. exterior screws.
Mount the shelf to the wall by screwing through the hanging strip into the wall framing.

1
Mark the 6-in.-diameter holes with a compass. Then drill 1/2-in. starter holes and cut out the openings with a jigsaw.