Adding markings to your work gives it a bit of texture and dimension. Perhaps most importantly, when you create marks you are adding your voice and over time creating a “signature.”

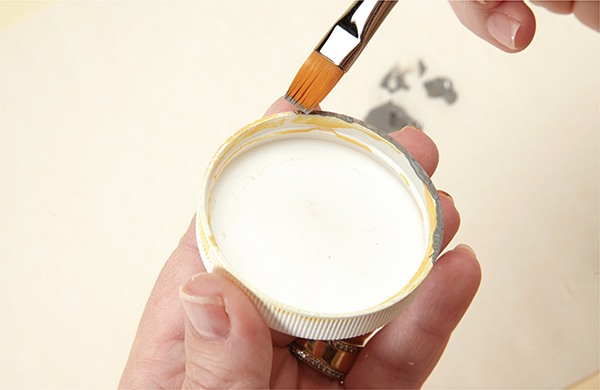
Discarded lids are perfect for creating circular references that are not necessarily solid. With a brush and paint, apply a thin layer of paint to the lid, allowing the paint to be thicker in some areas than others.

Pressing the lid onto the surface, allow the paint to really adhere to the surface.

Pull the lid away slowly, working from bottom to top.

This is a variation of the circle created above. Keep in mind that the more paint on the circumference of the lid, the better the variations.

When adding deep markings to a piece, I like to do so when the paint is still a bit tacky. Place the tip of a pencil firmly into the paint and pull down in a straight line. The result is deeply etched lines with a hint of shading from the pencil.

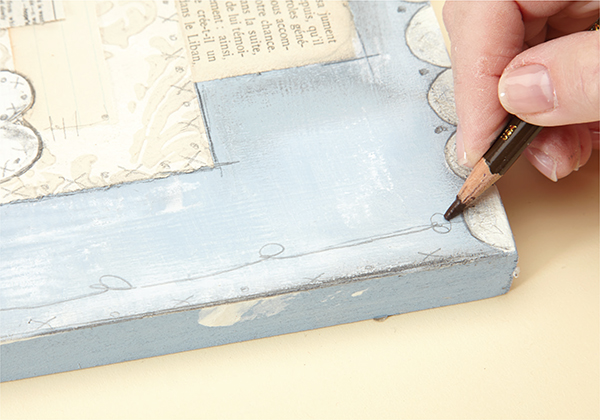
Another option for adding markings is to randomly draw around the perimeter of your piece and the objects in the collage. This will not only allow the viewer’s eye to move within the piece in a direct fashion but also will add interest.