
Color is very inspirational and oftentimes can guide you while creating. Once texture is added, everything comes to life. When Ruth laid out all the elements she thought she was going to use in creating this piece, everything evolved and eventually her plan flew out the window. Texture created an entirely different map for her to follow and she found herself building upon that theme. The pop of color was intentional as it creates a joyful expression.
acrylic paints, assorted
bone folder
book text
craft knife
flower stencils
gel medium
gesso
ink-jet printer
ink-jet transparency
molding paste, coarse
paintbrushes, assorted
palette knife or used gift card
pencil
spray sealant, clear acrylic
watercolor crayon, Raw Umber
wood board or canvas, 7" × 7" (18cm × 18cm)

Using a transparency and a craft knife, cut out the shape of a bird. On the same transparency cut out lines and dots to make your own stencils.
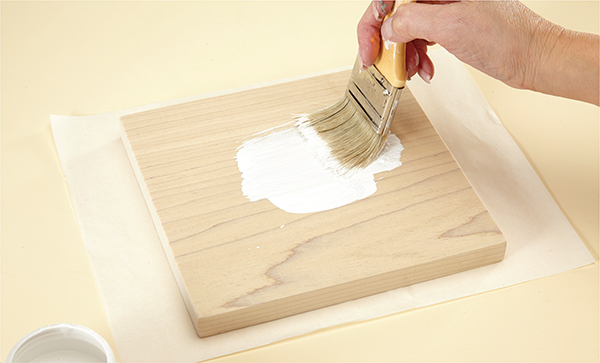
With a 1" (25mm) flat brush, paint a layer of gesso onto a 7" × 7" (18cm × 18cm) piece of wood or canvas. Allow the paint to dry.
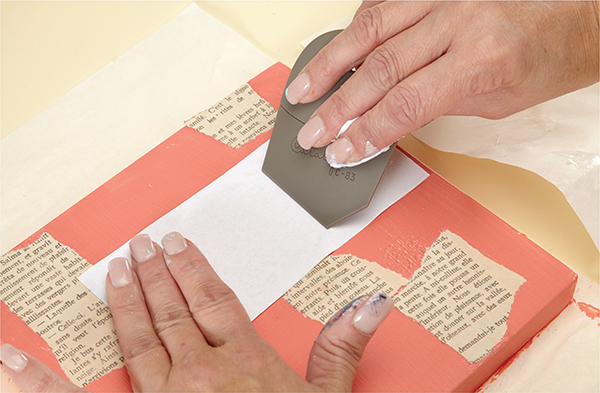
Print or photocopy an image using an ink-jet printer. Place a liberal amount of gel medium over the image and place it on the painted board. Smooth it down with a Catalyst Wedge or other tool to remove any bubbles. Let dry.
Once dry, place a small amount of water onto the back of the paper and rub the damp paper in small circular motions. Add more water if needed (without saturating),and rub until you’ve removed as much paper as possible. Let dry.

With a palette knife or brush, randomly apply white paint over the surface of the transfer.

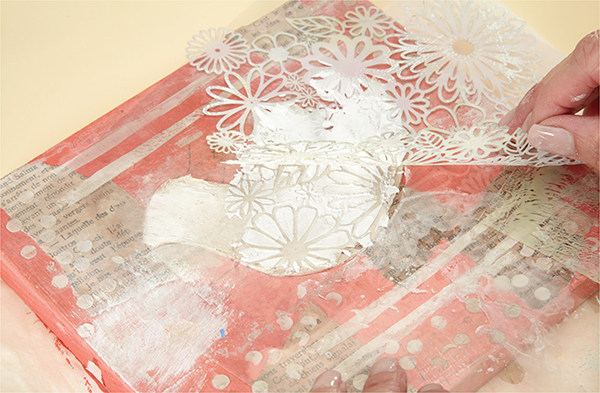
Apply a layer of coarse molding paste to an old gift card or a palette knife. Apply paste over the stencil of lines, birds and dots. Let dry completely.

Water down a dab of Raw Umber paint (about 1⁄8 teaspoon to 1 tablespoon water) to make a wash. With a 1" (25mm) flat brush, layer the wash over the bird and the bottom and sides of the board.

With a soft cloth or baby wipe, remove excess paint from bird. Allow to dry.
Place the bird stencil back over your bird. Place a flower stencil over your bird to act as a mask. With a palette knife, apply coarse molding paste over the stencil, then remove the stencil and let dry.

With a graphite pencil, outline the bird and the flowers. With cream acrylic paint and a small paintbrush, create a beak on the bird.

Add a scrap of book text to the bird’s neck with gel medium. Add a bit of the Raw Umber stain over the book text.
Once everything has dried, spray the piece with a clear acrylic sealer.
Different sized hole punches create a nice variety of circle templates.