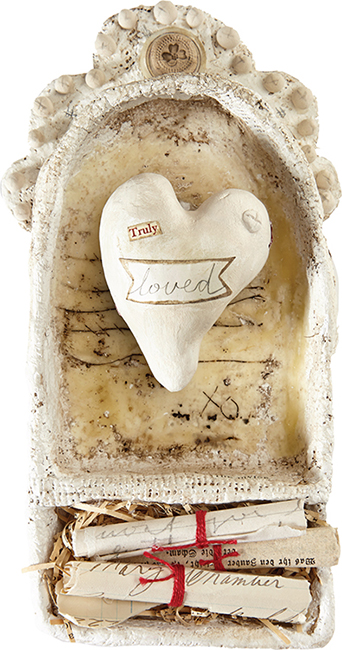
Secret journaling is a theme that both Ruth and I embrace. Not only does it allow you to insert very personal nuances into a piece of art, it also creates a bit of history that may be discovered in years to come. Secret journaling does not have to be a literal interpretation of your journal, but it could include small wishes and dreams for the future as well as words of inspiration and wisdom.
acrylic paints, assorted
book text, shredded
bowl of water
cardboard
gel medium
glue gun
hot wax
masking tape
melting pot
paintbrushes
paper
paper clay
pencil
plaster wrap
scissors
soft cloth
stamp
string
Styrofoam ball, 2" (5cm)
twine

Draw a shrine pattern on cardboard, as shown, and cut it out. Cut tabs towards the inner line of the shrine. Also, cut out a crown pattern and a shelf.
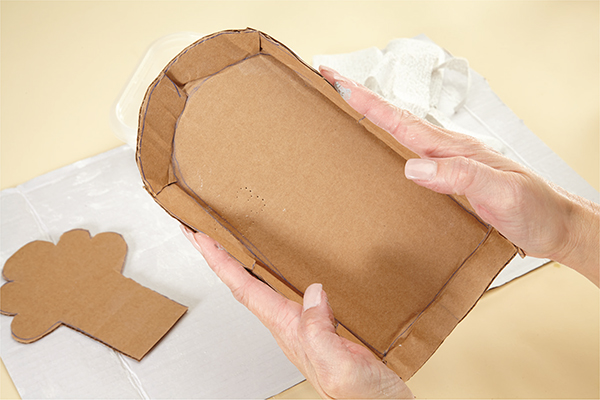
Fold the tabs towards the centerline of your shrine and secure them with masking tape.

Tape the crown onto the back of the shrine and the shelf onto the front.
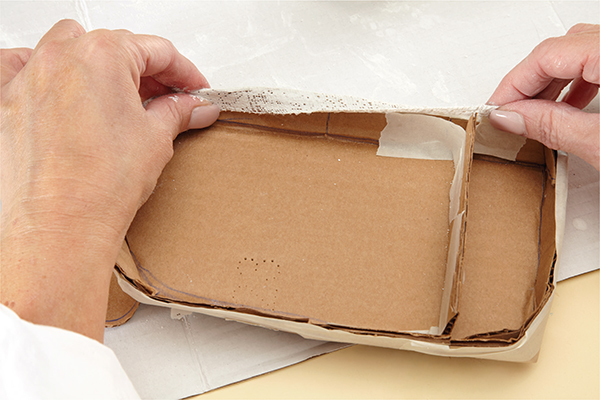
Cut three 4" (10cm) strips and ten 2" (5cm) strips of plaster wrap. Slide one 4" piece of plaster wrap into a water bowl and place it on the back of the shrine, wrapping the excess up the sides. Continue this process until all the strips have been used.
Layer the plaster strips by placing 2" strips within the interior of the cardboard structure. If any open areas remain, patch with a small strip of plaster wrap.
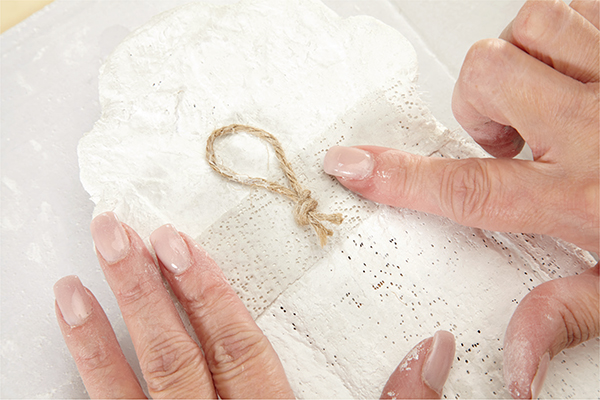
Cut a 4" (10cm) piece of twine and knot the end. Lay it on the back of your shrine. Secure it with a piece of plaster wrap, leaving the loop exposed. This will enable you to handle the shrine. Allow to dry completely; overnight is best.
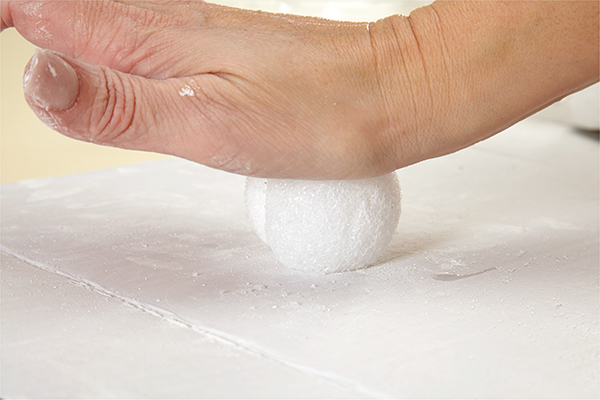
Flatten a small 2" (5cm) Styrofoam ball into a heart shape. You can use a craft knife to help develop the shape.
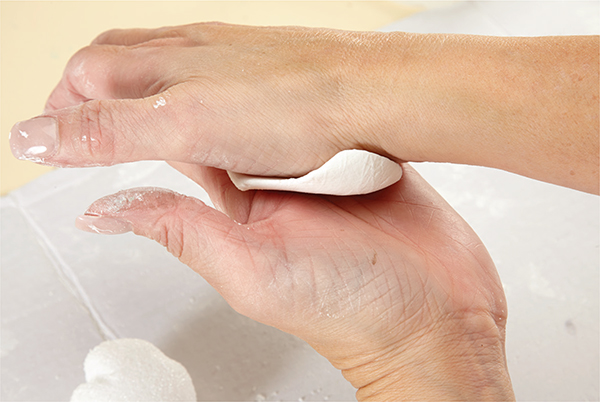
Pull a 4" (10cm) piece from a block of paper clay. Stretch the clay out and wrap it around the Styrofoam.
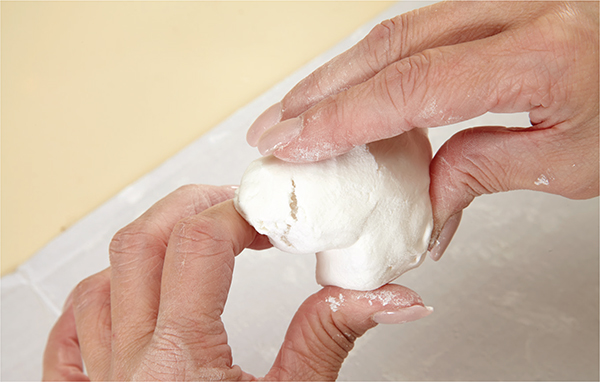
Create two 1" (3cm) balls of paper clay. Place one ball at each of the points of the heart and smooth to fuse the clay to the rest of the heartshape: Wet your fingers and smooth the entire surface until the Styrofoam is evenly covered and the seams meld together. Allow to dry overnight.

Pull a small ball of paper clay and create a scallop to adhere to the top of the shrine. Stamp it with a decorative button.
Once the heart and the scallops are completely dry, paint the surface with white acrylic paint.

Once your shrine is dry, paint it with white acrylic paint. Allow it to dry completely.
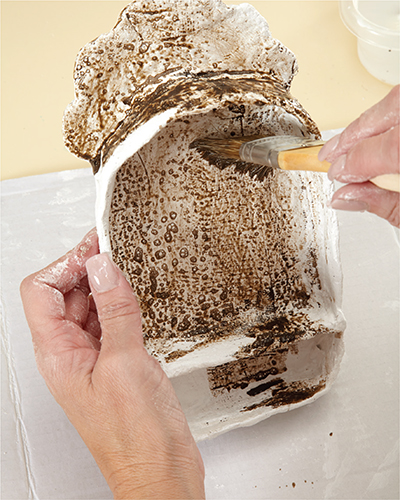
Create a wash with Burnt Umber acrylic paint and water. Apply it to the shrine, wiping away any excess.
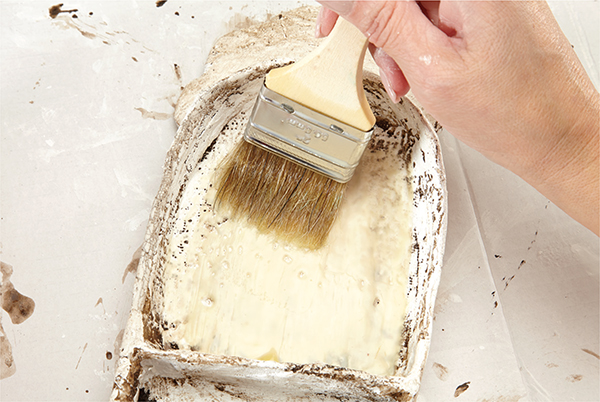
Add hot wax to the interior of the shrine. While the wax is still warm and soft, scribe into the wax to create lines.

Using a paintbrush, dab Burnt Umber acrylic paint over the wax. Use a soft cloth to rub the color into the wax.
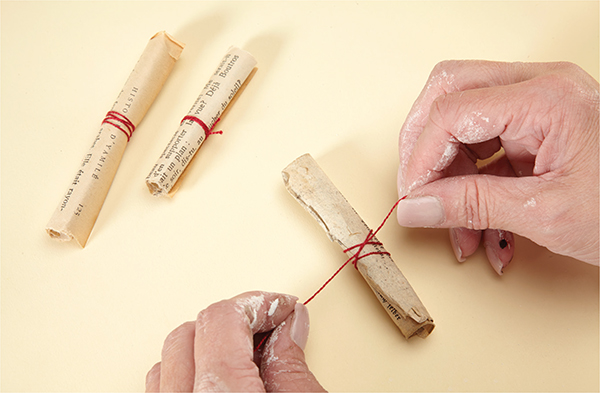
With a pencil, journal onto three pieces of paper, roll them up and tie them with string to make scrolls.
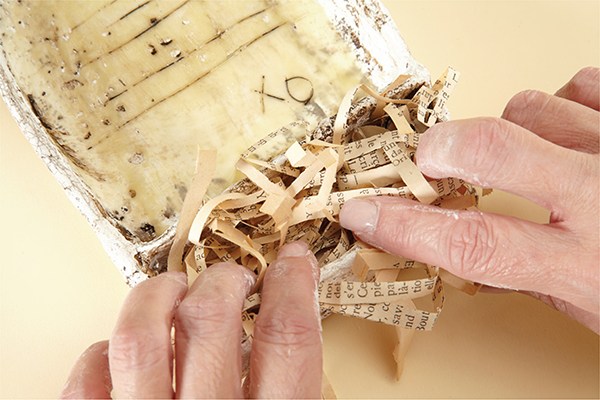
Place shredded book text in the bottom of the shrine and then hot glue your scrolls into place.

Hot glue the paper clay heart into the shrine.
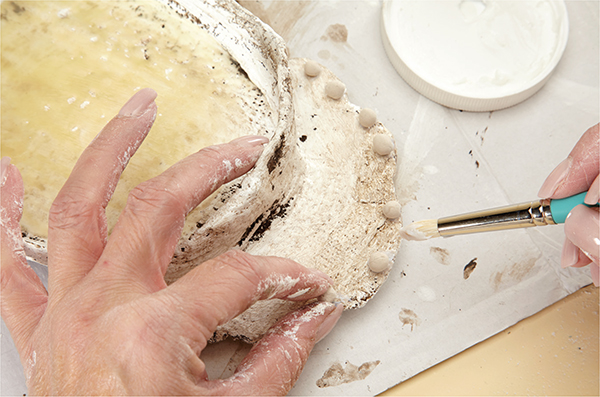
Using gel medium, attach several paper clay balls to your shrine crown.
While working with paper clay, keep the package in a resealable bag with a wet paper towel.
If you find the clay is not moving well in your hands, add a bit of water to your fingertips.