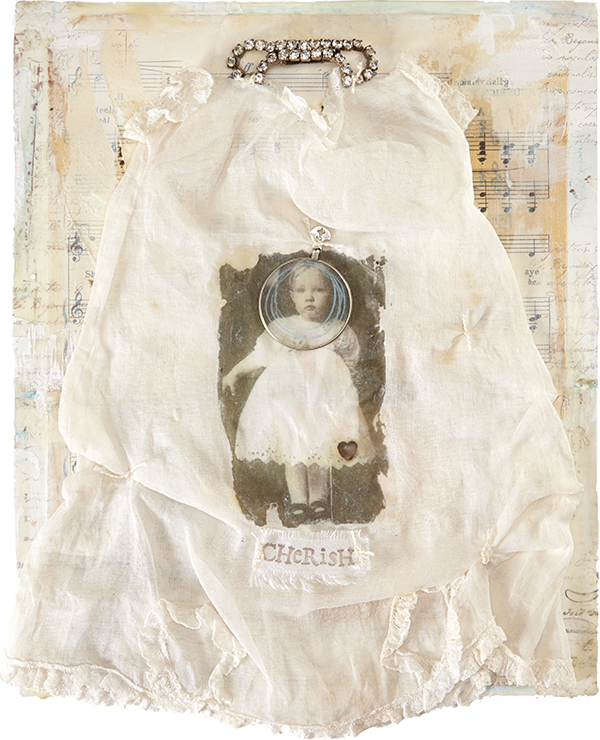
I have been blessed to have an abundance of family photos passed down from generations. In searching for a way to memorialize one photo, I found that a traditional manner just did not feel right. Searching my studio for the perfect backdrop, I found myself drawn to a basket of baby dresses. It was truly a lightbulb moment—I knew then a little dress would be the perfect backdrop for this cherished photo. The addition of a shoe buckle that belonged to the girl in the photo became the perfect finishing touch.
acrylic paint, white
adhesive
baby dress
beeswax in melting pot
blue watercolor crayon or wax pencil
brown colored pencil
cardboard
CHERISH stamp
cream embroidery floss
embroidery needle
fabric glue
fabric scrap
gel medium
gesso
heat gun
optical lens with frame
paintbrushes
paper towel or cloth
photocopy or laser print of child
rhinestone buckle or other object
scissors or heart punch
scraper
script stamp
sheet music
tape
Timber Brown ink pad
wax paper
wood board
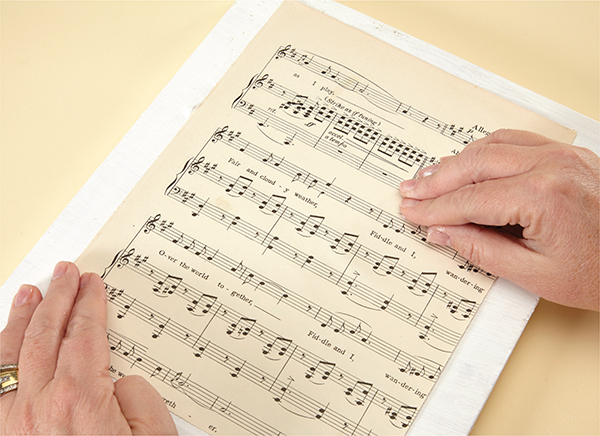
Paint a layer of gesso on the board and let dry. Apply gel medium to the back of a page of sheet music and adhere it to the prepared board.

With a scraper, remove the top layer of the paper to create a weathered effect.

With a dry flat brush add white acrylic paint in a random manner. Remove any excess paint with a paper towel or cloth.
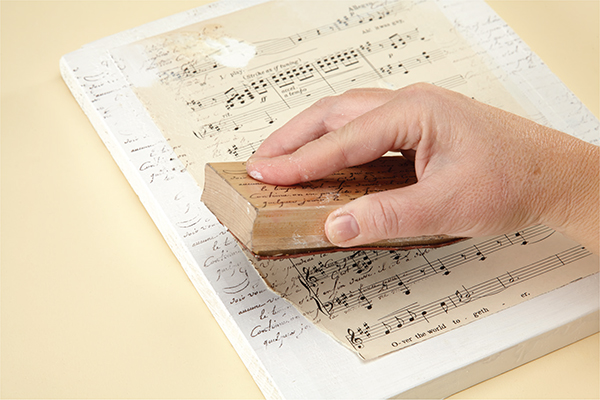
Load a script stamp with Timber Brown ink and stamp the perimeter of the wood, allowing the script to overlap onto the sheet music.
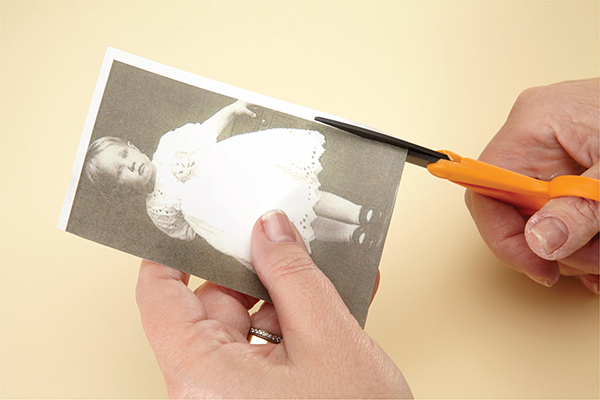
Photocopy an image (or use a laser print) of a small child.
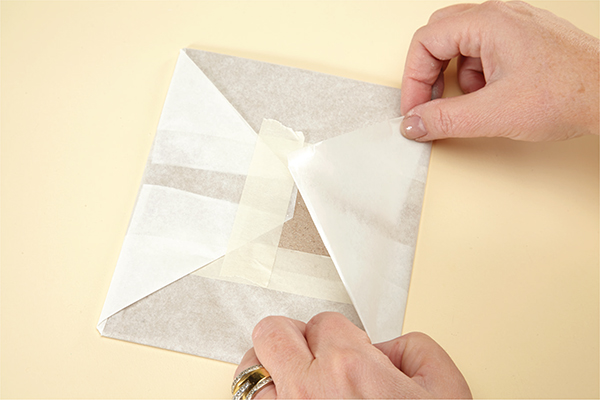
Cut a piece of cardboard that will fit into the opening of the dress. Cover it with wax paper and tape it to secure it.
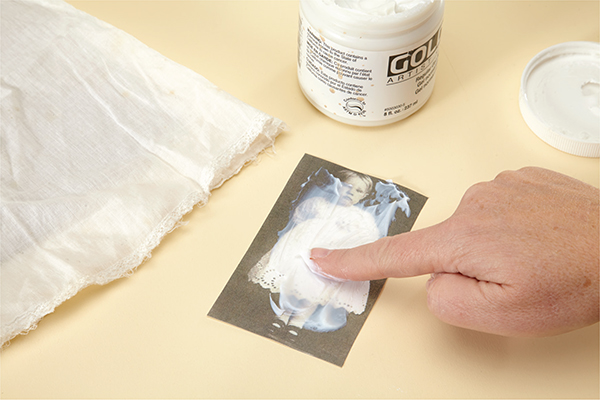
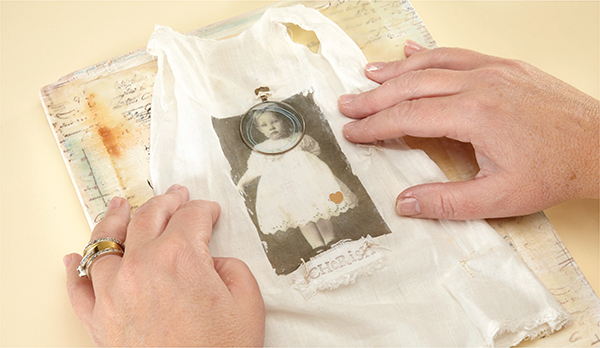
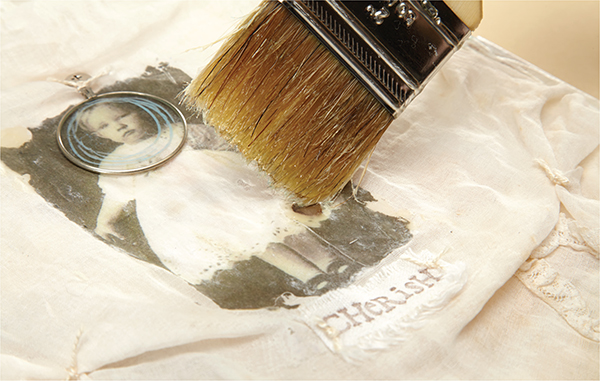
Apply gel medium over the surface of the image. Press the image into the top center of the dress. Allow to dry.
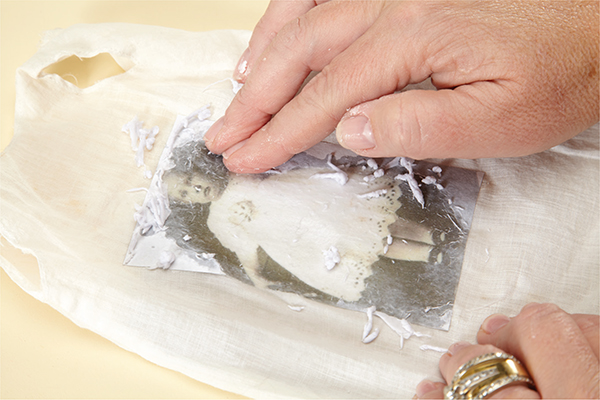
Once the gel medium has dried, place water on the back of the paper. Begin to roll the paper away with your finger tips.
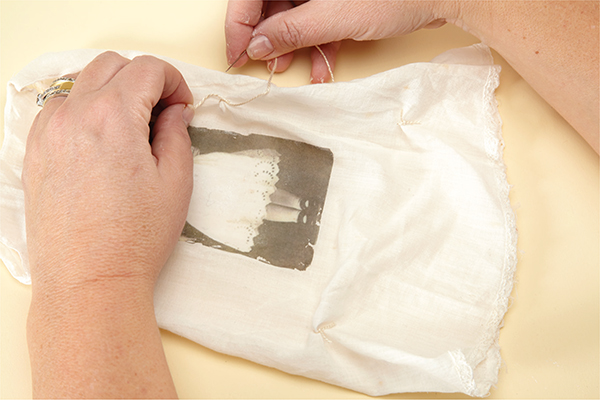
Thread an embroidery needle with cream floss. Gather the dress on the lower corners and place a simple stitch in each. Add a third stitch on the right-hand side of the dress if desired.
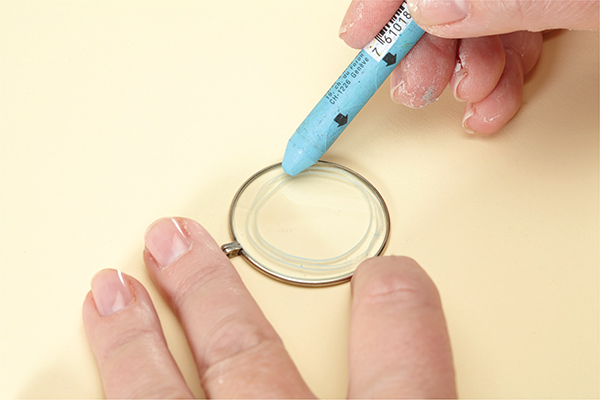
Draw a circle on the back side of the optical lens with a blue watercolor crayon or a blue wax pencil
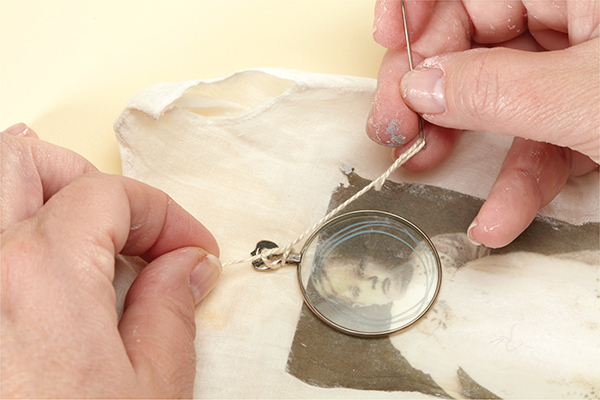
Attach the lens over the image with embroidery floss and the needle.
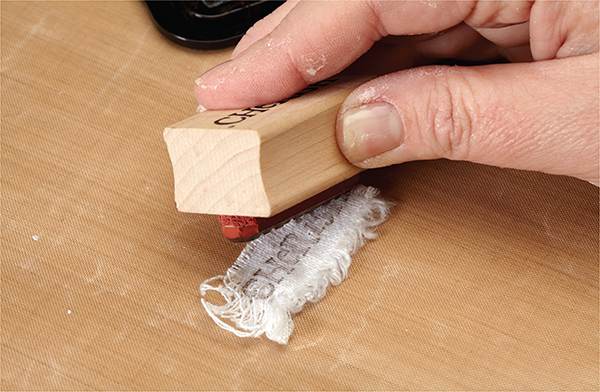
Stamp the word cherish on a scrap of fabric with Timber Brown ink. Stitch the scrap onto the dress with embroidery floss.
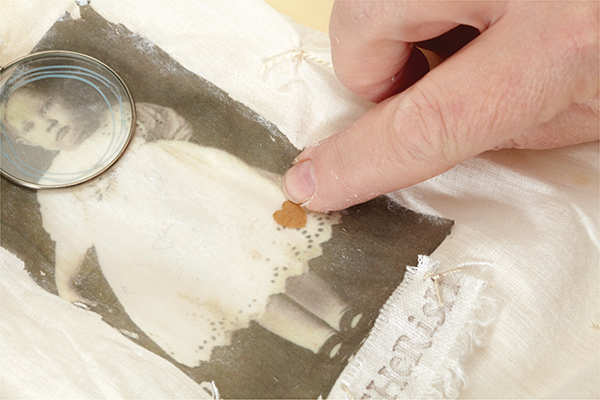
With a heart punch or scissors, create a small heart and adhere it to the bottom of the image.
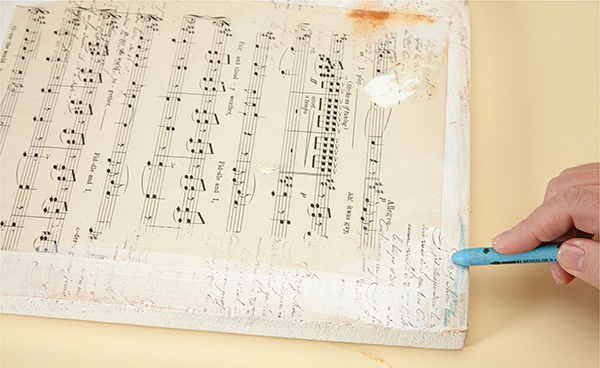
Add shading to the corners and sides of the board with a blue watercolor crayon. Repeat this with a brown colored pencil.

Apply a thin layer of wax to the board.

If needed, use a heat gun to smooth any bubbles in the wax.
Add drops of fabric glue to the perimeter, top and bottom of the dress, and adhere it to the board.

Adhere the object to the top of the board with an aggressive adhesive. Allow to dry.
Add a few drops of wax to the corners of the photo. Allow to dry.