
There is a deep richness to art that is created as though there is less than the eye sees. Sweet Heart is one such piece. Although the techniques used to create this piece are very straightforward and easy to accomplish, their ability to make a piece come to life is key.
Layers of plaster wrap and wax breathe life into the layers of paint. The sweet little dress appears to be almost floating in the breeze. Ruth created a delightful piece in Sweet Heart, one that not only conveys innocence but also speaks volumes about who she is as an artist.
2 wood blocks, 3" × 3" (8cm × 8cm)
acrylic paints, assorted colors
awl or T-pin
beeswax and melting pot
cardboard, 61⁄2" × 71⁄2" (17cm × 19cm)
container of warm water
Fun Foam
Fun Foam precut flowers and dots
paintbrush
pencil
plaster wrap
rag
scissors
white gesso
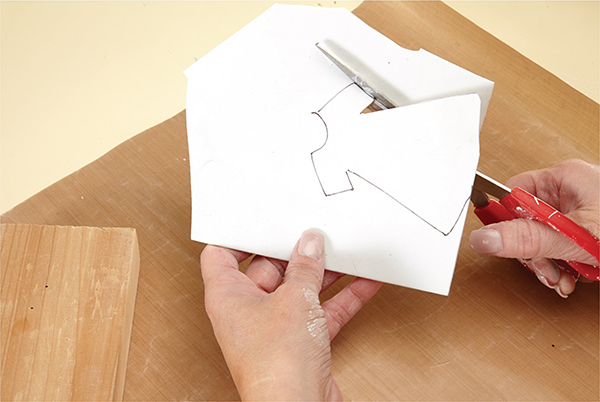
Trace and cut out a dress shape from self-adhesive Fun Foam. Remove the backing and attach the dress to a wood block to make a stamp.

Stick precut Fun Foam flowers and dots onto a wood block to make another stamp.
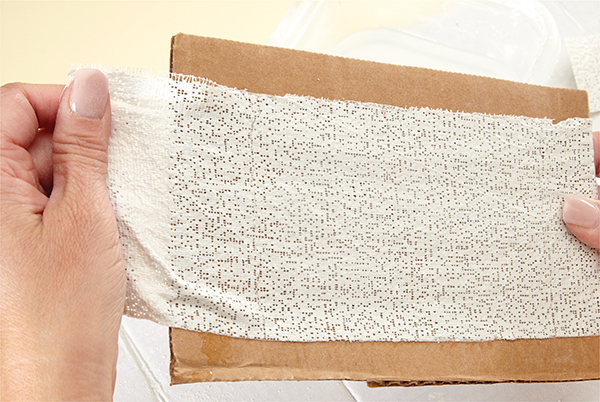
Cut out a piece of cardboard 61⁄2" × 71⁄2" (17cm × 19cm) for support. Cut out four 8" (20cm) strips of plaster wrap and place one at a time in warm water. Lift the strips one at a time from the water and place each one on your cardboard, wrapping any excess around the back of the cardboard. Let dry.

Paint dry plaster wrap with turquoise acrylic paint and allow to dry for ten minutes. Brush a wash created with Raw Umber paint onto the top of the turquoise paint and let it dry completely.

Paint white gesso onto the foam flower stamp, and stamp onto the painted surface. Remove the stamp and allow the gesso to dry. Repeat this step with the dress stamp.
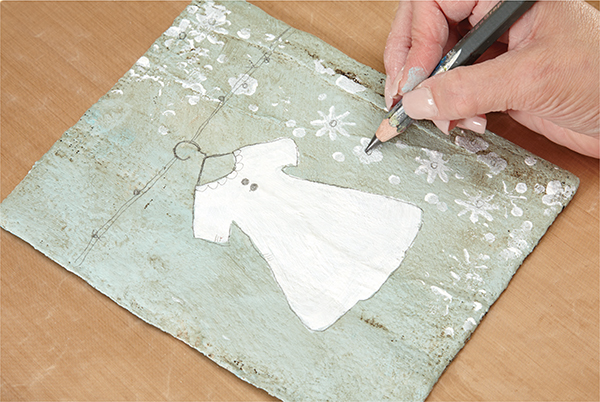
Use a pencil to draw a hanger, outline the dress and add buttons and trim around the neck of the dress.

Once the painting is completely dry, brush hot beeswax over the entire piece, and let it cool completely (about 30 minutes). You will know it is dry when it looks clear rather than cloudy.
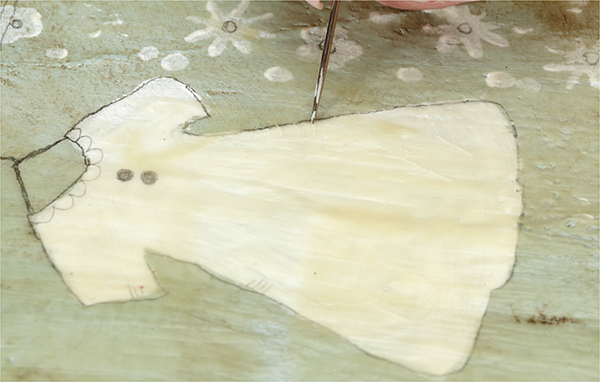
With a sharp awl or a T-pin scratch decorative lines into the surface of the wax.
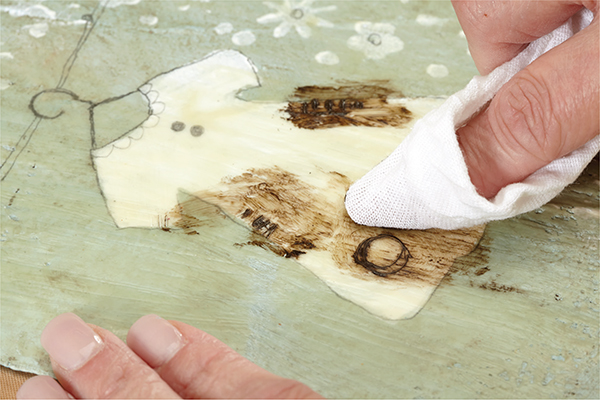
Put a small dab of Raw Umber onto a rag and rub it over any marks you scratched into the surface of the wax.
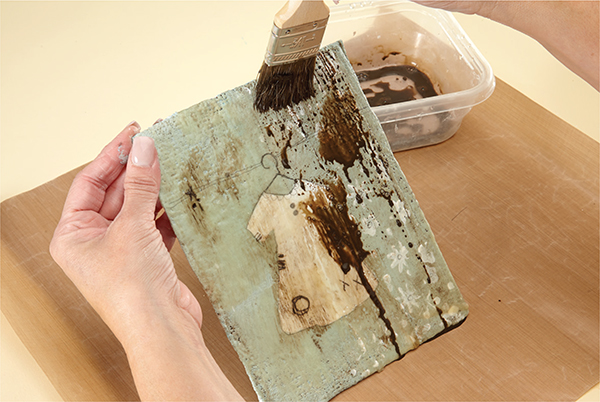
Water down a dab of Raw Umber paint (about 1⁄8 teaspoon of paint to 1 teaspoon of water) to make a wash, and brush it over the entire surface. This wash will seep into any cracks not covered by the wax.

Create a small red heart with acrylic paint in the bottom left corner of the dress.