

While family photos often provoke emotional reactions, there are times when we come across a photo of a person whom we are not related to but feel a connection with. The photo of the man in Bright Star evoked wonderment when Ruth came across it. Immediately she felt as though this young man was entrusted with hope and inspired to continue on a journey that was perhaps unknown to him.
The layers of texture created with molding paste are almost fluid with the addition of wavelike scribbles. One cannot help but feel as though this man was perhaps sailing off on an adventure of a lifetime.
11⁄2" (38mm) bristle brush
24-gauge wire
assorted acrylic paints
adhesives
awl
blue colored pencil
buttons
container
instant coffee
lined paper
molding paste
palette
photo of a person
rags
sanding block
scissors
spreader or scraper
wedge
wire cutters
wood block, 3" × 3" (8cm × 8cm)
wood board, 8" × 8" (20cm × 20cm)
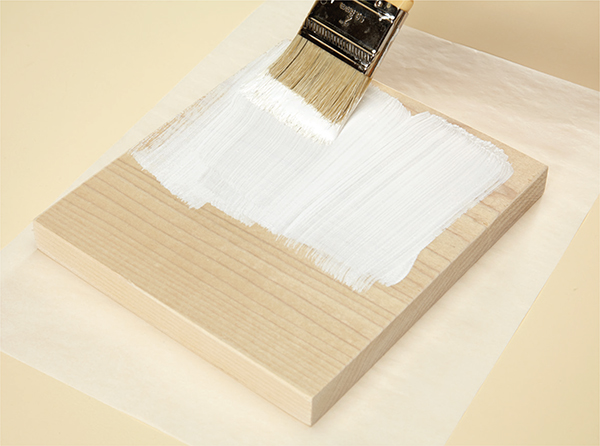
Prepare the 8" × 8" (20cm × 20cm) board by applying a layer of gesso to the surface. Let dry.
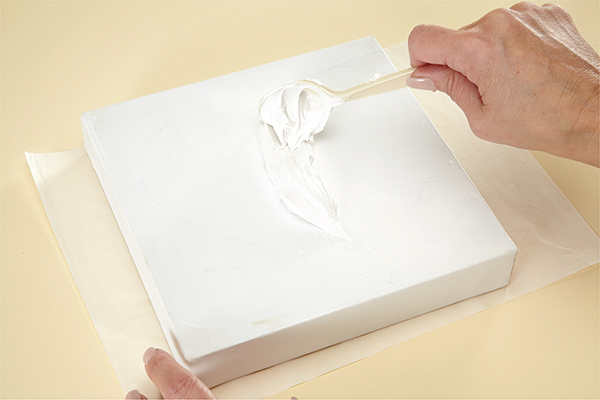
With a scraper, spread on molding paste like you are frosting a cake. Make even strokes your layer should be about 1⁄8" (3mm) thick. Let it dry.
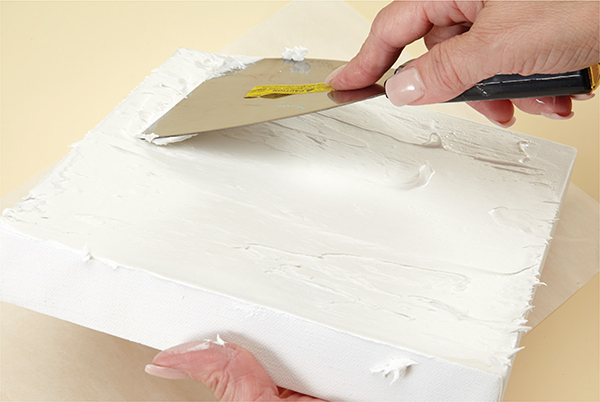
If need be, add additional molding paste using a spreader.
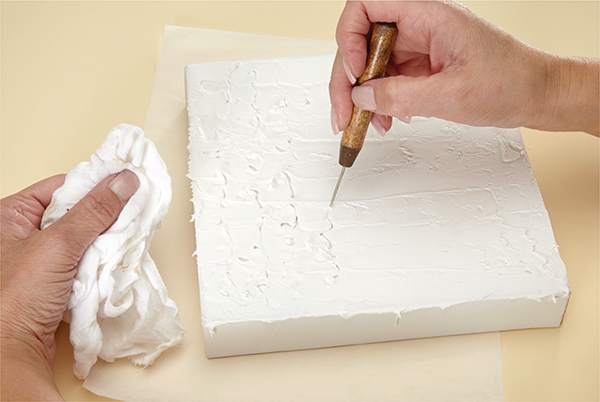
With an awl scribble into the paste, cleaning your awl often so your letters don’t start to drag together. Allow to dry overnight.

Place equal parts of molding paste and mint green paint on a palette and mix together with a spreader.

With a spreader or brush, apply the mixed paint to the small wood block.

With an awl or Catalyst Wedge, create scrolls in the wet paint on the wood block.
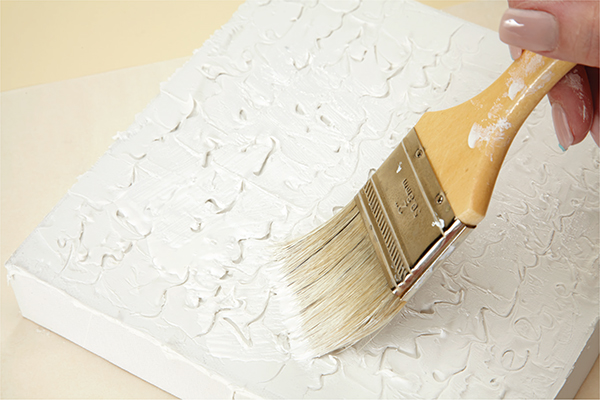
With a large paintbrush and gesso, cover the entire surface of the large panel. Let dry.
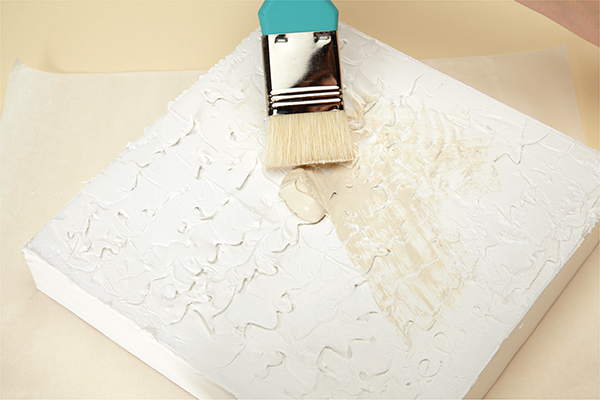
With a large brush and Titanium Buff paint, cover the entire surface of the large wood panel and allow to dry.

Place 1 tablespoon instant coffee into 1⁄4 cup of hot water and mix.
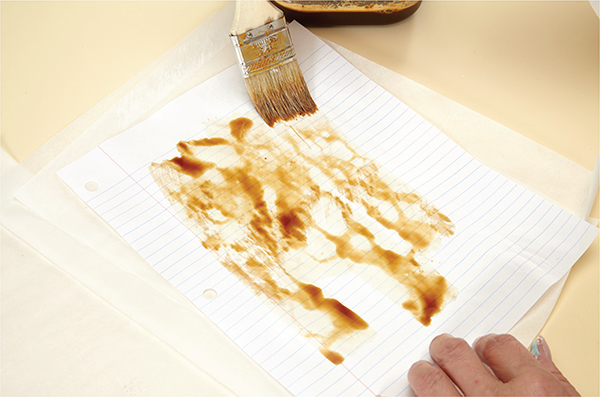
Apply the diluted coffee onto lined paper.
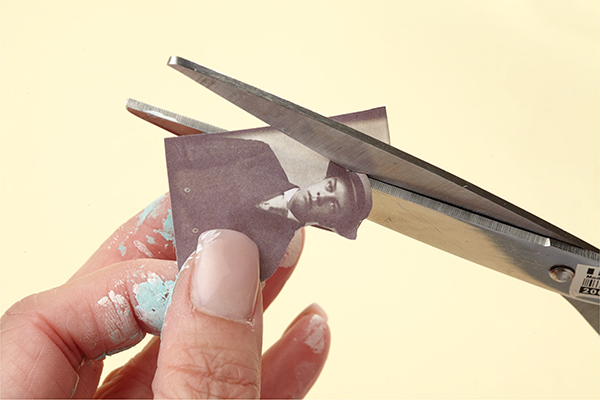
Cut the image from the photo or a photocopy.
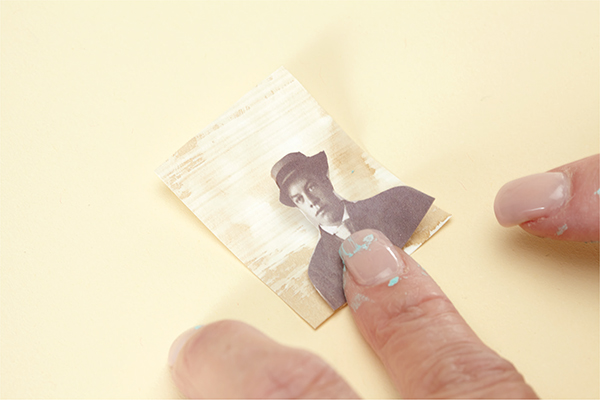
Adhere the image onto a 11⁄2" × 2" (4cm × 5cm) piece of coffee stained paper.

Create markings around the photo using a blue colored pencil.
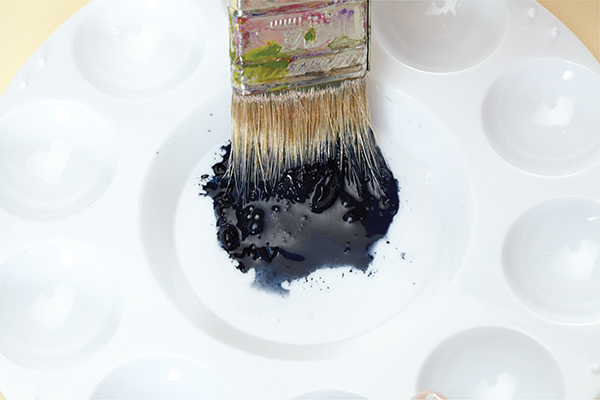
Mix 1 teaspoon Payne’s Grey paint with 1 tablespoon water.
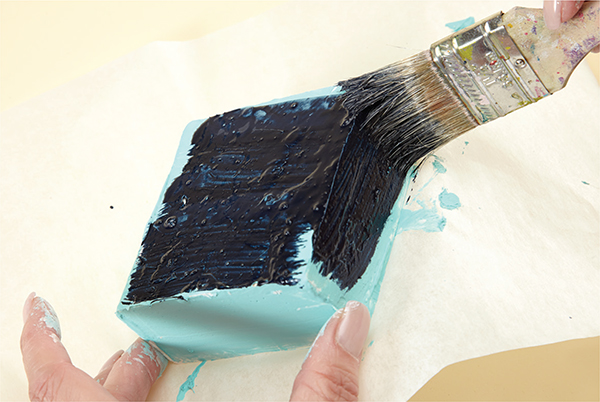
Apply the wash to the top and sides of the small block, covering the mint green paint.
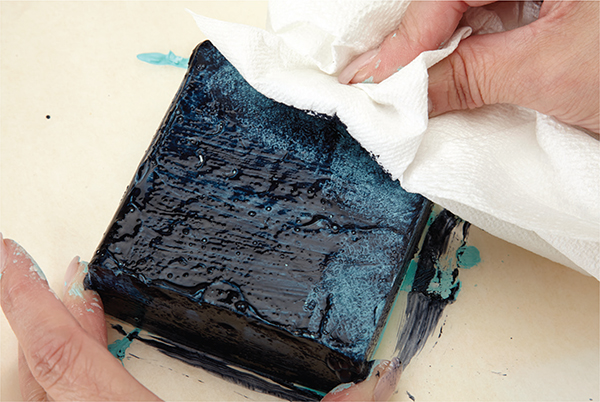
With a dry cloth, rub the excess paint from the mint green, allowing the undertones to come through.

With a large brush, apply coffee stain to the top and sides of the 8" × 8" (20cm × 20cm) board.
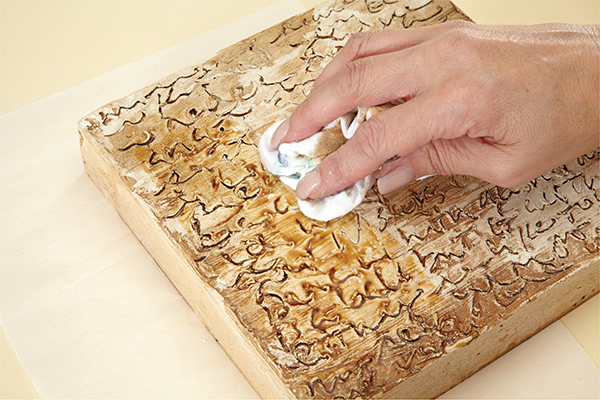
With a dry cloth, rub the stain into the crevices, highlighting the hills and valleys.
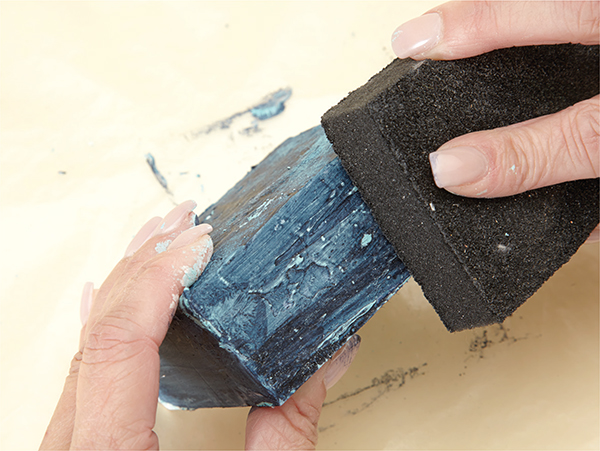
With a sanding block, sand the edges of the small block allowing more of the mint green undercoat to come through.
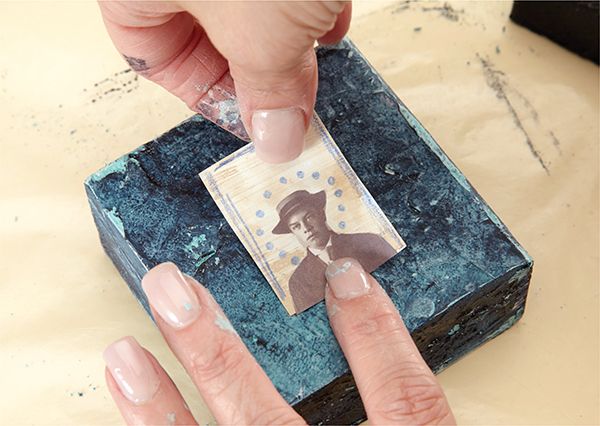
Adhere the photo to the center of the painted block.
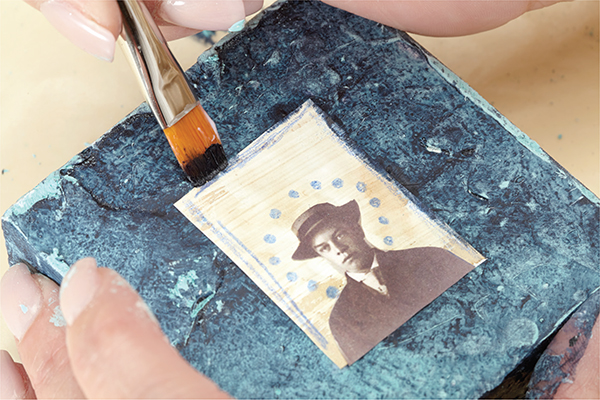
With a brush, add Payne’s Grey to the edges of the photo to blend the shading.
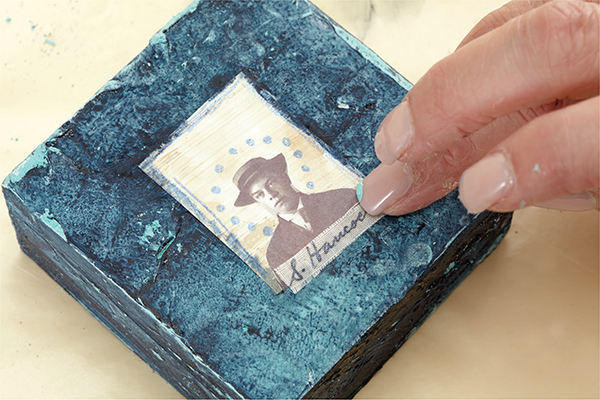
On a scrap of paper print the real name or a fictitious name and adhere it to the block.
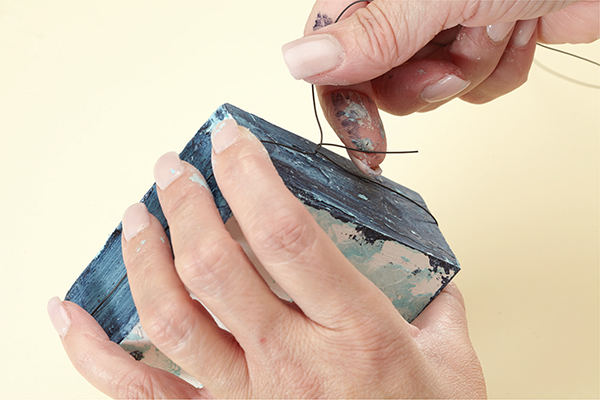
Cut 3 yards (3m) of 24-gauge wire and wrap it around the perimeter of the small wood block.
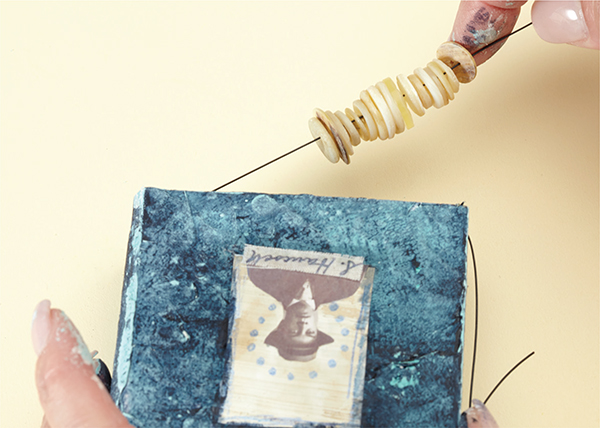
Place an assortment of buttons in one bottom wrap of the wire.
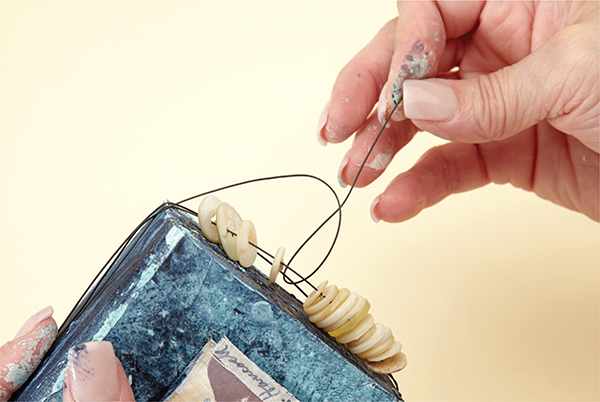
Wrap the wire onto itself to close. Trim any excess wire.

Adhere the small block to the large block with an strong adhesive.