Whether you’re launching rockets, sending action figures into battle, or throwing Sky Ballz in the park, this super simple parachute will give you a soft landing every time!

12
TABLECLOTH PARACHUTE
SKILL LEVEL:
EASY
INTERMEDIATE
ADVANCED
APPROXIMATE TIME:
15 minutes
WHAT YOU’LL NEED:
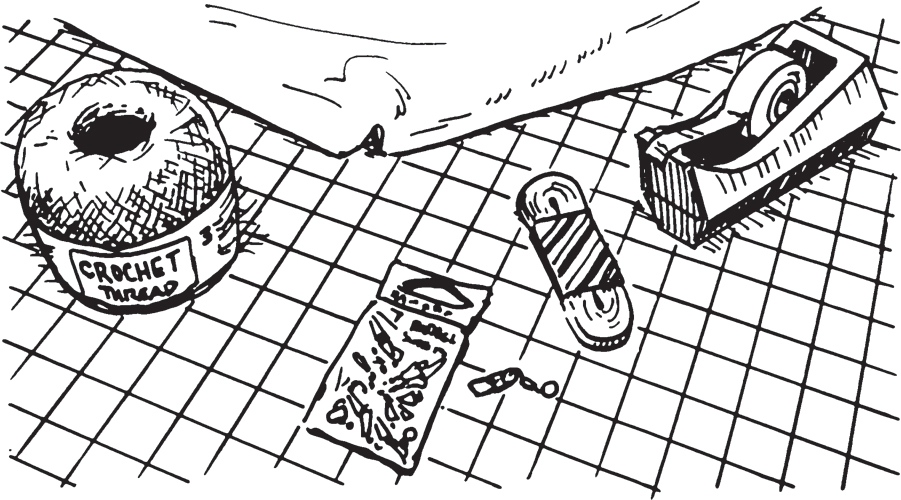
+ Rectangular plastic tablecloth
+ #3 crochet thread
+ #7 barrel swivels
+ X-Acto knife or scissors
+ Scotch tape
LET’S BEGIN
TRIMMING AND SHAPING
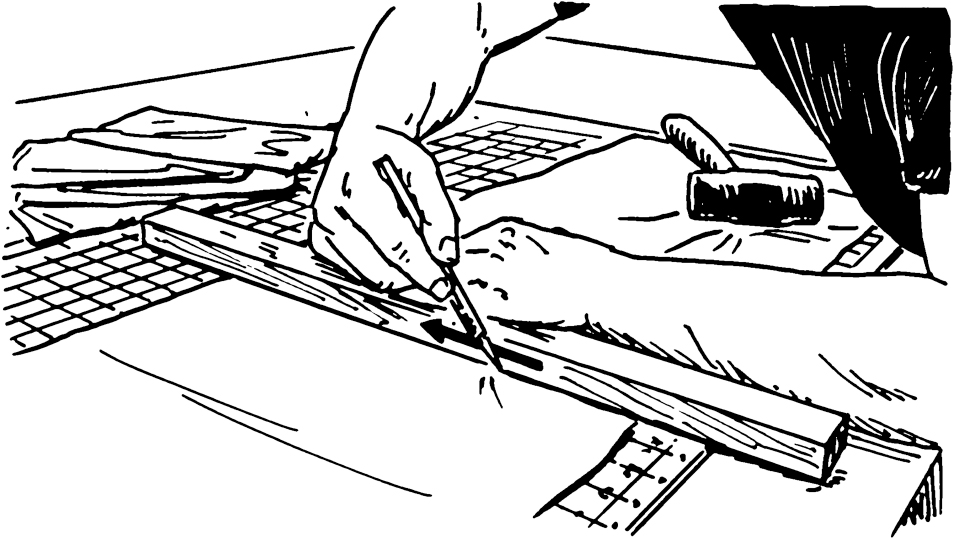
1. Remove the tablecloth from the packaging. The material will be smooth and folded on one end, while the other side has all the straight cuts. Keep in mind which is which. Without unfolding the tablecloth, measure it thirteen inches from the folded end to the loose end. Cut the excess length. Double-check that the side you’re cutting is the one with the loose ends. For the cleanest cut, use an X-Acto knife and something like a wooden board as a straightedge.
2. Unfold the tablecloth lengthwise while keeping it the same width. Cut off exactly twenty-six inches from one of the ends, leaving you with a rectangle that is thirteen by twenty-six inches.

3. Now it’s time to use a little origami. Fold the rectangle in half lengthwise to make a square. Make sure the bottom-right corner has the four loose ends. Hold the corner in place with your index finger and then fold the square point to point, forming an isosceles triangle. Tilt the triangle to have a straight right edge, making sure the loose ends are on that side. Measure five inches from the bottom, double-check that the loose ends are on the right side, and then go ahead and cut the bottom piece off.

PRO TIP: You could always be resourceful and use these scraps for making micro parachutes.
4. When you unfold the triangle, you’ll see a little square chunk missing from the bottom-right corner. When you unfold it two more times, you should end up with a cross. You’ve just made two parachutes. Quickly make six more by repeating this process with the tablecloth leftovers.

ASSEMBLY
1. Tear off a two-inch piece of Scotch tape and secure the upper-left section of it to one corner of the parachute. Pull over the adjacent corner and line up the two sides—the edges should match perfectly at the bottom. Use the remaining upper-right corner of the tape to connect the two sides together. Now flip the canopy over and fold the other half of the tape over to stick it flat to the inside of the parachute as well.
2. Do the same thing with all four corners. Your canopy is starting to take shape.
RIGGING THE PARACHUTE CORDING
1. Cut two strings that are each thirty-three inches long.
PRO TIP: I recommend using #3 crochet thread, but most other strings will work as well. It’s also a good idea to mark both ends of the string one and a half inches from the bottom because these markings will make it much easier when it comes time to attach them to the canopy.
2. To attach the lines to the parachute, press a small piece of tape onto the strings so the bottom of the tape lines up with the one-and-a-half-inch mark. Then attach the string to the inside of the parachute by pressing it flat to the plastic cloth, making sure the mark lines up at the very bottom of the canopy. The excess tape needs to be folded over and secured to the canopy the same way. Use another two-inch piece of tape and flatten the string down over the top of the canopy. The other end of the string gets attached the exact same way to the corner right beside it. Repeat these steps to attach the second string to the remaining corners.
3. Bring two of the attachment points, connected by the same piece of string, together so the marks on either end of the string match up, then pull the parachute strings completely straight. Without letting go of the string, carefully tie a knot near the end, making sure to leave a small loop at the bottom. Repeat with the other string.
4. Line the two loops beside each other and thread them with some elastic cording. Secure with a couple of square knots. Pull really hard to make sure this connection never comes undone.
5. Now trim the excess, making sure to leave enough room on one end to tie one of the swivel hooks the same way. Your parachute is now ready to attach to a Sky Ball, action figure, or rocket, and bring them safely down to earth.

PRO TIP: You can attach barrel swivels to both ends of the elastic cording, and make them any length you need. This way, if your lines get tangled to the point of frustration, they will be easy to unclip and fix within seconds.
PACKING THE PARACHUTE
1. Hold the parachute at the center and run your hand down the parachute, squeezing it all together, and roll it up. Secure the canopy by wrapping the strings around the outside, which will hold it together until it deploys.

These cheap and incredibly effective parachutes add a whole new dimension to the fun you can have outdoors. It’s never a dull day at the park when you’re equipped with an endless supply of canopies for all your aerial activities!
FUN FACT: In 1783, Louis-Sébastien Lenormand was so confident in his new invention of the parachute that he introduced it to the world by jumping from a tower.