Is there free energy hiding in your spare change? In this project, you’ll learn how to turn a handful of pennies into batteries that could power some of your small electronic devices!

19
THREE-PENNY BATTERY
SAFETY KEY:
+ Electricity
SKILL LEVEL:
EASY
INTERMEDIATE
ADVANCED
APPROXIMATE TIME:
40 minutes
WHAT YOU’LL NEED:
+ Pennies
+ Cardboard
+ Distilled white vinegar
+ Aluminum foil
+ Zinc washers (optional)
LET’S BEGIN
SETUP
1. You will need ten pennies that were produced after 1982 (pennies produced after this year are nearly 98 percent zinc).
2. Next cut some thin cardboard into ten circles the size of the penny and soak them in vinegar.

ADDING THE ZINC
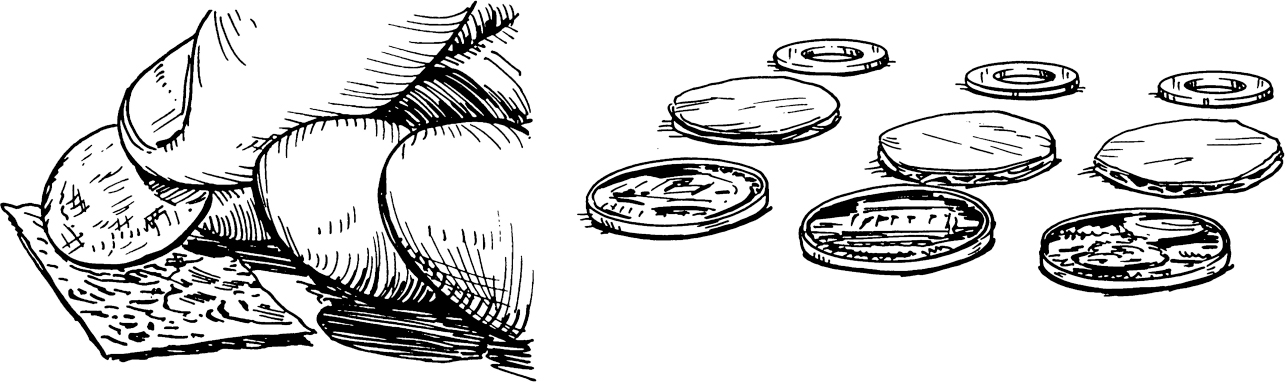
You can expose the zinc in several ways:
+ Take 100-grit sandpaper and sand one side of each penny, exposing the silver zinc. This may take a decent amount of time and energy.
Or take double-sided tape, stick the pennies to one side, and use an electric sander to sand down the other side. This may cause the tape’s adhesive to cover the pennies. No problem! You can use adhesive remover to fix this.
NEED A BREAK? Rather than sanding the pennies you can buy zinc washers for a similar effect.
CREATING THE BATTERY
1. Start with a piece of aluminum as your base.
2. Stack the penny on the aluminum, copper-side down.
3. Add a vinegar-soaked cardboard circle on top.
4. Repeat this until you have used all your pennies and cardboard. (Note: Feel free to use fewer than ten pennies if you need to.)

THE POWER OF A PENNY: If you were to test out the voltage as you go along, you’d find that one penny will generally emit half a volt! With the whole stack of ten, the electrical voltage will jump to about six volts. This is more than enough voltage to drive an LED! You could even light two LEDs at once.
ALSO TRY: If you decided to use the zinc washers, create your battery stack as follows: zinc, cardboard, penny. The penny on the top is the positive side and the washer on the bottom is the negative side.
HOW LONG WILL IT LAST? To test the battery life of your penny stack, use some electrical tape to hold everything in place (with the LED light still connected). Make sure the cardboard edges aren’t touching each other and that it is sealed airtight. See how long it takes for your light to burn out.

A PENNY-POWERED CALCULATOR?
1. Use a cheap calculator and remove its battery and the negative and positive leads out of the casing.
2. Make your stacks of battery pennies using either the aluminum or zinc method detailed above.
3. Wrap the stacks with electrical tape and add wires to the stacks and terminals (the positive and negative leads in the casing).
4. Turn on your calculator and test out some functions. If 2+2 = 4, we are in business!
There’s an idea that hopefully made some cents! If you ever find yourself without batteries, it’s worth a shot to use this creative alternative.