BOOM-erang! Using paint sticks and a little glue, you’ll have a g’day with this craft.

23
PAINT STICK BOOMERANG
SAFETY KEY:
+ Sharp edges
SKILL LEVEL:
EASY
INTERMEDIATE
ADVANCED
APPROXIMATE TIME:
20 minutes
WHAT YOU’LL NEED:
+ Paint sticks
+ Wood glue
+ Sandpaper
+ Block of wood
+ Clamp or clothespin
+ Square measuring tool (or tool with 90-degree angle
G’DAY, MATE! Everyone likes a good ol’ boomerang. Originating in Australia, it’s a stick with a curve in it with some shavings and carving along the sides that, if thrown correctly, will wrap around and return to you.
LET’S BEGIN
BUILD YOUR BOOMERANG
1. Purchase the flattest paint sticks you can find. Test out if your stick is curved by eyeballing it or laying it against a flat surface. If it is curved, make sure that when you attach it the curvature is facing upward, forming a shallow bowl shape.

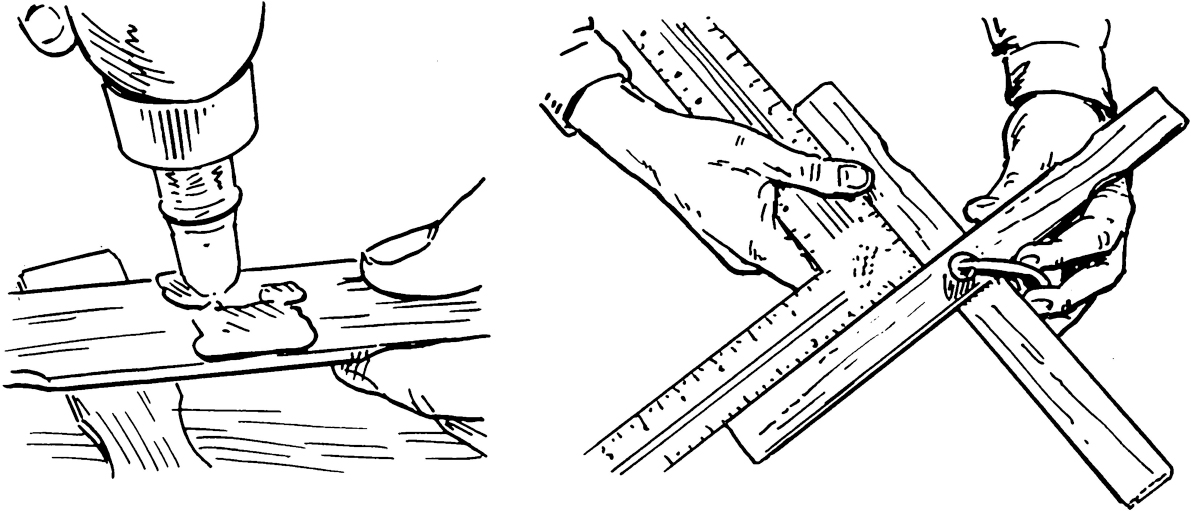
2. Find the exact center by measuring and marking both sticks and lining them up.
3. Add wood glue and use a clamp or clothespin to hold them together perpendicularly at the center mark. Use your square tool to check that each angle is 90 degrees and adjust as needed. Let the glue dry before removing your clamp or clothespin.
4. Using sandpaper, shape each arm like a wing (draw the wing lines with marker before sanding). A boomerang has a leading edge and a trailing edge. You throw it with the leading edge, and it comes back with the trailing edge.
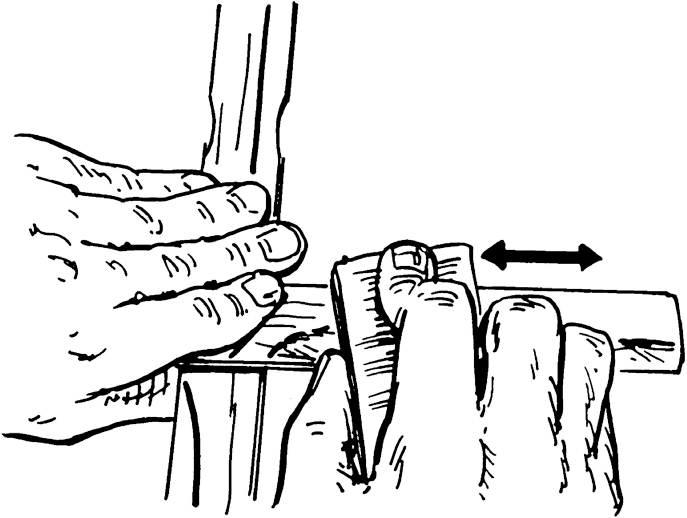
5. Sand down about half of the stick’s trailing edge with a block of wood so it tapers down.

6. Round off the leading edge.
START BOOMERANGING!
1. Throw it straight up and down (vertically) and it should fly out and return to you. Each will fly a little differently, so experiment until you get it to boomerang just right. (Note: The wind will also affect the way it flies through the air.)

FUN FACT: From Egyptian kings to Australian Aboriginals, boomerangs have long been used as hunting weapons, the origins of which can be traced back to the Stone Age. They have been made out of bones, wood, and even mammoth tusks.