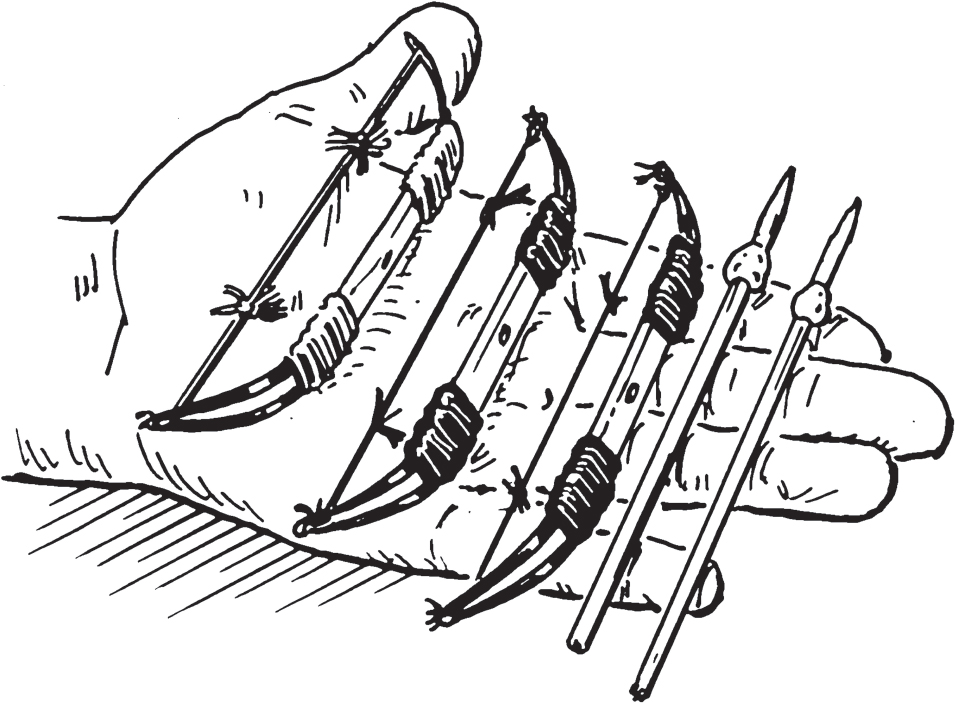
This spear-slinging device can be made in a short amount of time and with items you might already have around the house.
26
MICRO LONG BOW
SAFETY KEY:
+ Hot glue gun + Sharp knife
SKILL LEVEL:
EASY
INTERMEDIATE
ADVANCED
APPROXIMATE TIME:
10–20 minutes
WHAT YOU’LL NEED:
+ Bamboo skewers
+ Metal snap hair clips (barrettes)
+ Mini Popsicle sticks
+ Embroidery thread
+ Hot glue gun
+ Scissors or sharp knife
LET’S BEGIN
PREP
1. Make a hole the same circumference as the bamboo skewer in the center of a Popsickle stick: Use the point of a sharp knife and spin in circles, or a 9⁄16-inch drill bit to drill a hole.
2. Get rid of the center pieces in two hair clips by using your finger to press the back of the hair clip. When it pops up, grab that center piece and bend it over so that it snaps clean off. Press the center of the hair clip to pop it back into place. Do this to both hair clips.
CREATE THE JOINTS
1. Using a hot glue gun, glue the wide ends of the hair clips to the ends of the Popsicle stick.
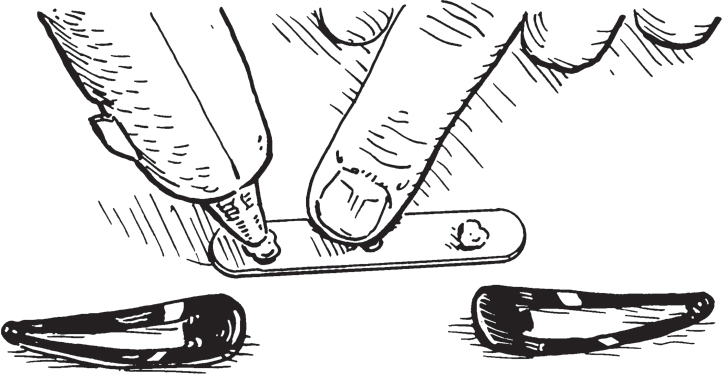
PRO TIP: Put the Popsicle stick on a flat surface with the points of the clips facing up to allow it to dry straight. Wait about twenty to thirty seconds for the glue to cool and set completely.
2. You will reinforce the new joints (made from the hair clips) using the embroidery thread. Do each of the reinforcing steps on both sides.
3. Put a small dab of hot glue on the back side of the Popsicle stick (the opposite side from where you have glued the hair clips) and use that as a starting point to wrap your embroidery thread. Wrap the thread about five or six times around the base of the hair clip.
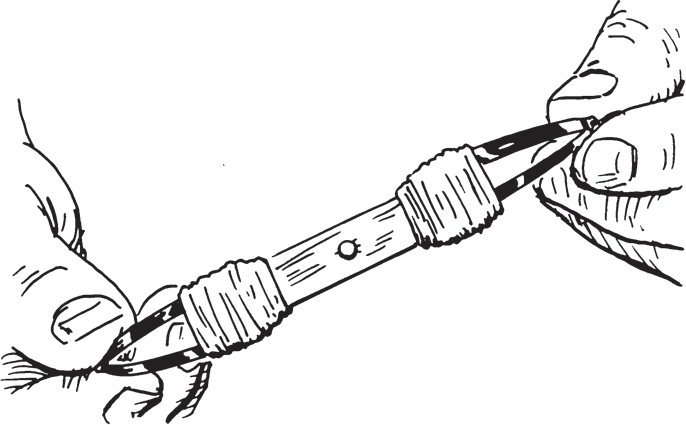
4. Once you have done that, start wrapping from just below where the hair clip is glued back up to the top of the hair clip until you cannot see where the Popsicle stick and hair clip overlap.
5. Use one more dab of hot glue to secure the end of the thread on the back.
PRO TIP: If you lick your finger and press it down on the dab of glue, it will help prevent you from burning your fingers while also securing the thread even more.
MAKE THE BOWSTRING
1. Using the same embroidery thread, start with a piece of string that is a little longer than a bamboo skewer. Loop the thread through the centers of both hair clips, then bring it back down and loop the thread through the small hole at the top of the hair clip.
2. Make an overhand knot, tying it off at the small hole at the top of the clip. Put a small dab of hot glue there to keep it from unraveling. Tie it a second time before the glue cools to reinforce it.
3. Before you tie off the other hair clip, twist the thread to make it more durable.
4. With the string tightened, loop it through the small hole at the top of the other hair clip and tie it in a single knot. While tying it, you will want to press the bow against a flat surface so that you can tighten the bowstring before the knot is fully secured. Secure it with glue and a second knot.
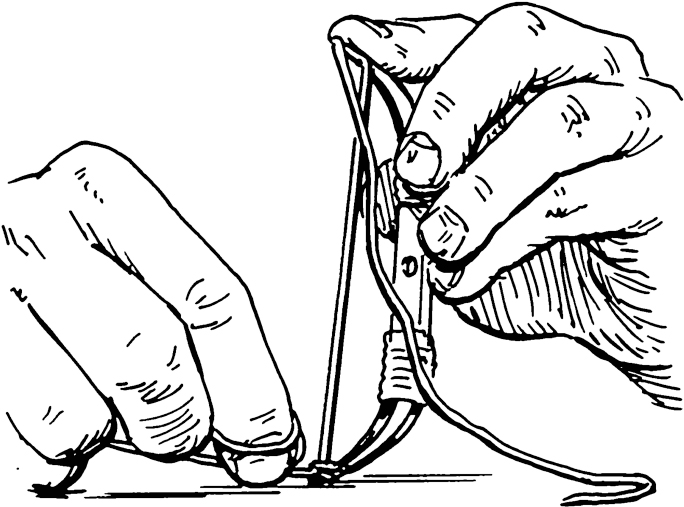
5. Snip off the extra thread at the ends to reuse as silencing tassels for the bowstring.
SILENCING TASSELS (OPTIONAL)
1. Tie the extra thread to the bowstring about one inch from the bottom using a double knot. Do this at both ends of the bowstring.
2. Snip them down so that they are about half an inch long and ruffle them up.
MAKE THE ARROWS
1. Find the straightest bamboo skewers. Measure the bamboo skewer against the bow. You want your arrow to be about as long as the bow. Break off the part of the skewer that is longer than the bow.
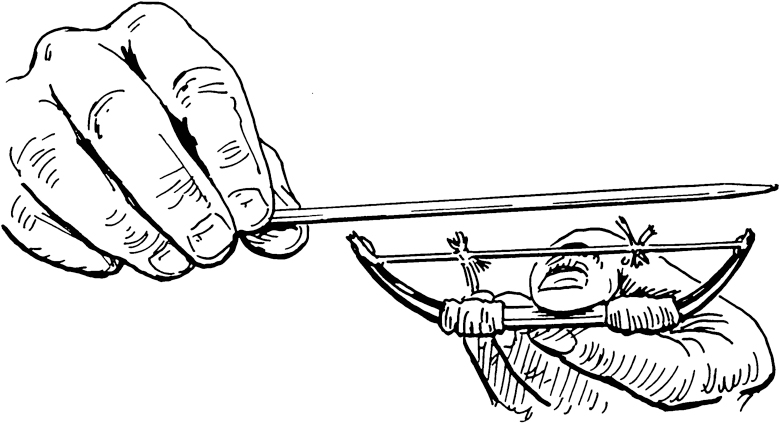
2. To make the arrows fit better into the bowstring, make a small notch at the bottom of the skewer using a pair of scissors or a sharp knife.
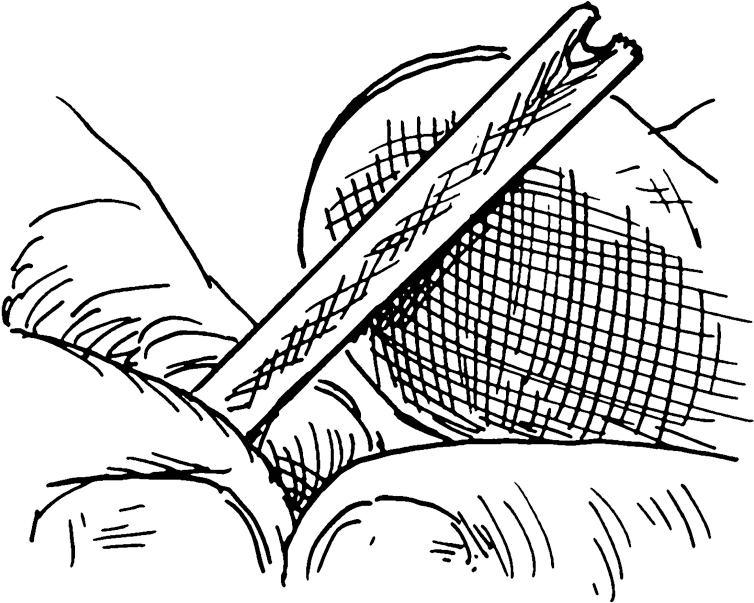
3. Add a dab of glue about an inch down from the tip to help the arrows fly through the air. Rotate the glue gun around that area to make sure the glue goes around the skewer.
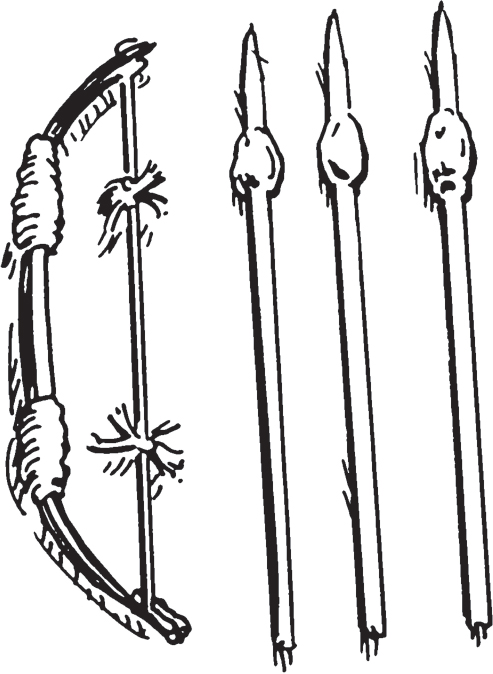
SHOOT!
Now that you’re all done, you can try shooting the arrows at objects at short range. We tried shooting it at a piece of toast that we stood up and it worked great. Enjoy!

FUN FACT: Originally called the “war bow,” this weapon dates all the way back to the prehistoric era. It gained popularity in England later on and became a popular fighting tool in medieval times.