Turn a ninety-eight-cent mousetrap into a fun little handgun that can shoot projectiles with force, precision, and a satisfying little kickback!
32
MOUSETRAP GUN
SAFETY KEY:
+ Safety glasses
SKILL LEVEL:
EASY
INTERMEDIATE
ADVANCED
APPROXIMATE TIME:
30 minutes
WHAT YOU’LL NEED:
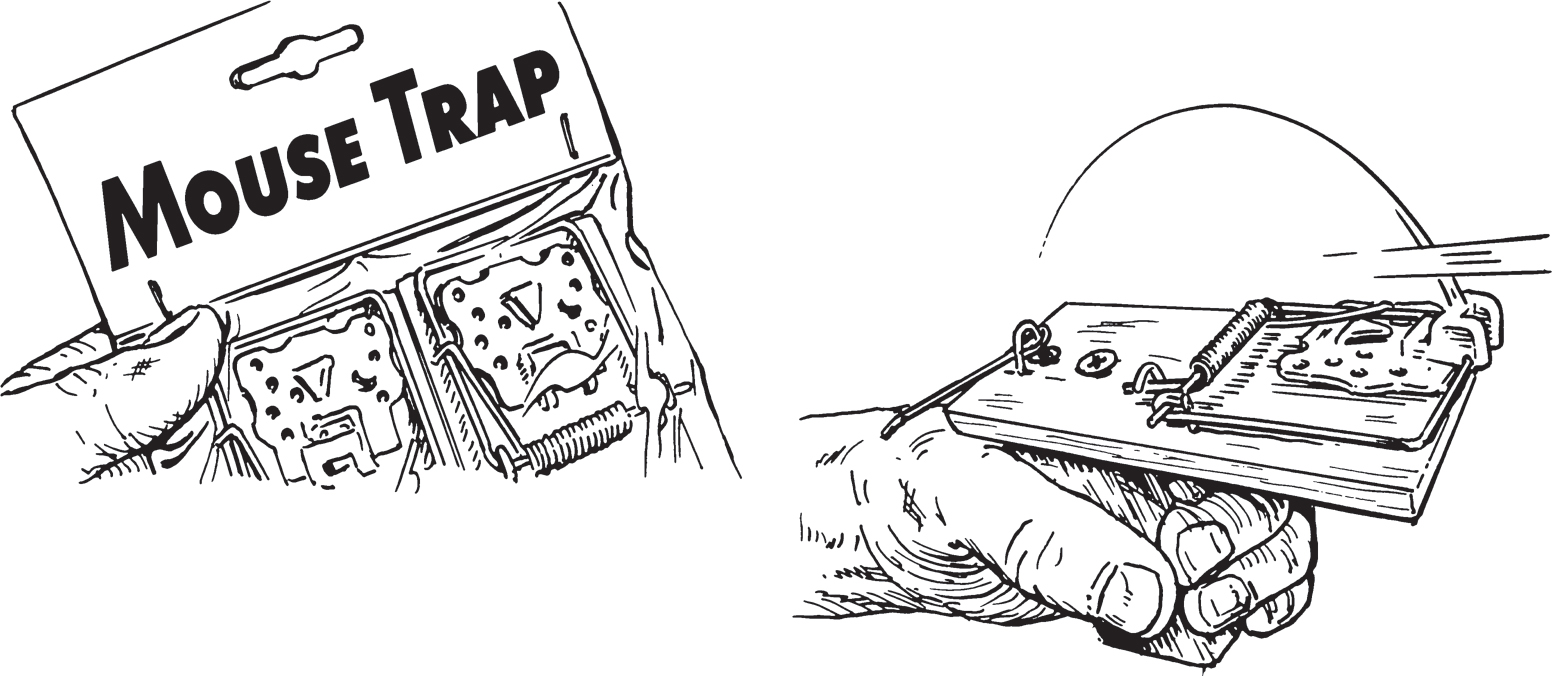
+ 2 pack Tomcat mousetraps
+ 2 × 2-inch wood block
+ 2 Phillips screws
+ Needle-nose pliers
+ Drill with ⅛-inch bit
+ Ammunition (airsoft BBs)
+ Sharpie
LET’S BEGIN
BUILDING YOUR HANDGUN
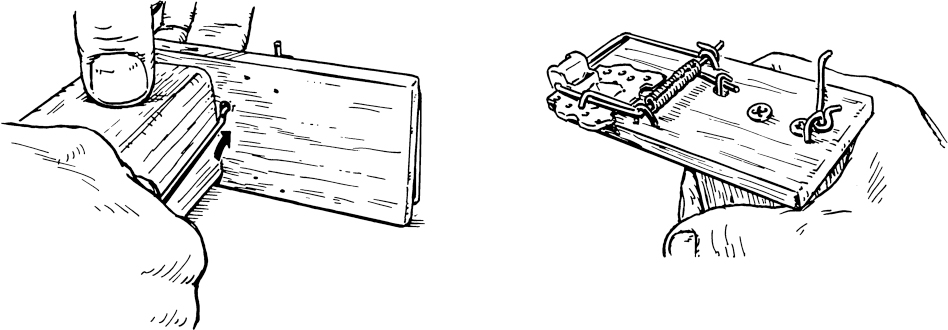
1. Cut your piece of two-by-two to the height of four fingers. This will be your handle.

2. Remove the plastic yellow bait pad from a mousetrap. Use your pliers to pull out the industrial staple from the base.
3. Place the trap over the handle and use a Sharpie to mark two spots to drill holes to fasten the trap to the handle. Once marked, safely place the trap on your workbench and use an ⅛-inch bit to drill holes all the way through the dots. Mark where your handle will be placed. The back of the trap should overhang the handle by a quarter of an inch. Then mark a third spot to drill a hole that is slightly in front of the handle. This will be for the locking pin trigger.
4. Use two screws to fasten the trap to the top of your handle, screwing through the holes on the heel bone and elbow.
5. Shorten the locking pin by holding it over the spring, looking down from the top, and marking where it lines up just past the remaining hole. Use the snips on your pliers to cut to size. Bend the tip back 45 degrees.

6. Remove the locking pin from the second trap and thread it through the remaining hole. Trim the pin so it’s flush with the spring and then bend it over, forming a hook.
7. Turn the yellow bait pad into a launchpad by clipping it onto the trap hammer with its hooks facing up. Slide it all the way to the right side, then simply lift the hammer up and tuck the pad inward so it lies down flat on the platform.

PERSONALIZE IT! Paint your trap your favorite color or use duct tape to create a custom grip on the handle.
HOW TO FIRE
1. Setting the firing mechanism works about the same as setting the trap, only this time you’re pushing the trigger up from the bottom so the hook catches the locking pin in place. It’s a three-step process to pull the hammer back, set the pin, and secure it with the trigger hook.

2. Place your ammunition on the launching pad. Airsoft BBs fit perfectly in the circular holes. Pennies and small rocks work great as well.
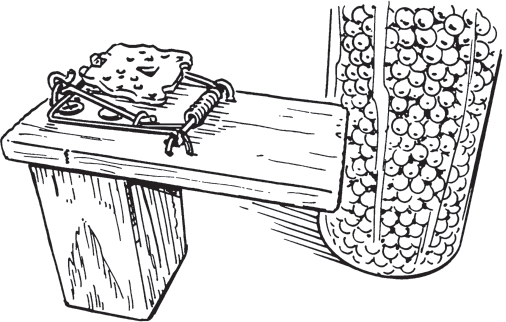
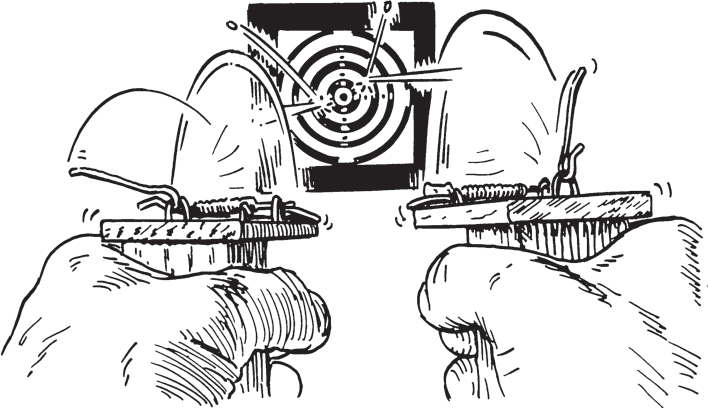
3. Squeeze the trigger gently, causing the pin to slip and the launching pad to snap forward, springing your ammo straight ahead.
PRO TIP: If you’re feeling lazy just pull back the launchpad with your thumb and release when you’re ready. This opens up the option for rapid firing.
![]() WARNING:
WARNING:
When firing make sure you keep your face back from the gun. The locking pin will snap back and could injure you.
There you have it! All you need to convert two mousetraps into a mini handheld catapult are some simple tools, two screws, and a small scrap of wood. It won’t keep your house rodent-free, but it is a cheap, easy way to have some spring-loaded fun.
FUN FACT: Over 4,400 patents have been awarded to mousetraps. This is more than any other device, and according to the Smithsonian, the race to build a better mousetrap symbolizes the American drive to innovate.