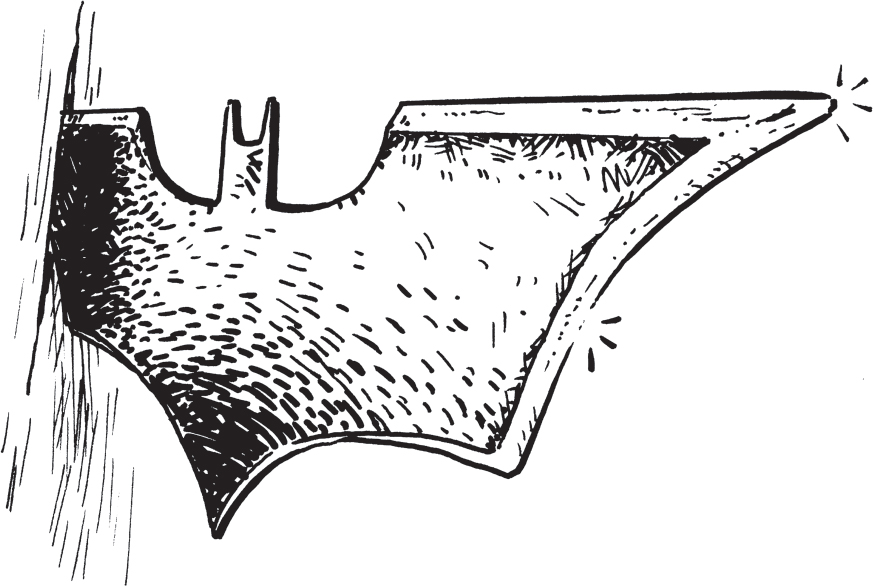
Whoever said being a superhero was easy? The first step is to make yourself some cool tech. Here’s how to turn some old shop accessories into high-speed superhero throwing stars!
43
SUPERHERO SHURIKEN (DIY BATARANG)
SAFETY KEY:
+ Adult supervision + Safety glasses + Power tools
+ Sharp objects + Check legalities (may not be legal to own or make in many places)
SKILL LEVEL:
EASY
INTERMEDIATE
ADVANCED
APPROXIMATE TIME:
2 hours
WHAT YOU’LL NEED:
+ Scrap metal (10-inch circular saw blade works fine)
+ Printed image of the batarang
+ Glue stick
+ Clamps (or bench vise)
+ Jigsaw with metal-cutting blade
+ Metal file set
+ Sanding sponge, or fine-grit sandpaper
OPTIONAL:
+ Spray paint suitable for metal
LET’S BEGIN
ROUGH OUT THE BASIC SHAPE
1. Glue your paper template to the surface of the metal. Smooth out any creases and let it dry for about ten minutes.
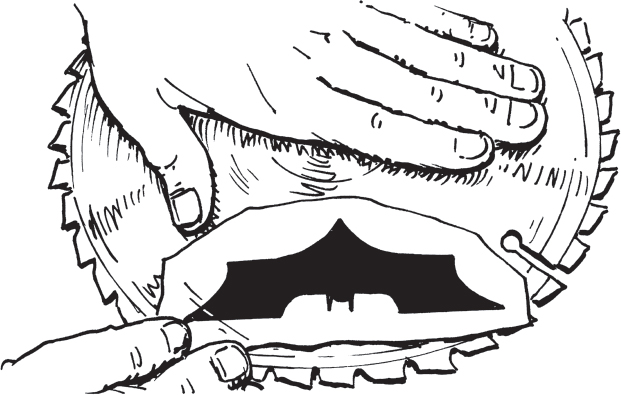
2. Clamp the metal securely to your work surface, preferably on top of some scrap wood to protect it.
3. Now it’s time to cut the metal. Start by cutting a straight line across the top of one wing first, then continue this line across both wings. This will make cutting out the head, and intricate bat ears, a little easier.
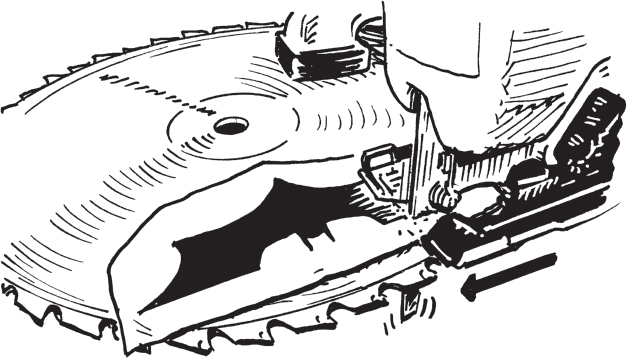
PRO TIP: Be sure to cut very slowly, and use oil to help dissipate the heat. The tight curves require a steady hand, and cutting too fast will ruin your blade within minutes.
GRIND THE EDGES
1. At this point you should have something that resembles your throwing star template, but in metal. Don’t worry if it’s rough around the edges. That’s perfectly normal, and just needs to be cleaned up a bit. Secure it with a clamp or bench vise and use the flat side of your file to grind down the jagged points along the sides, and use the rounded edge to smooth out the curved areas.
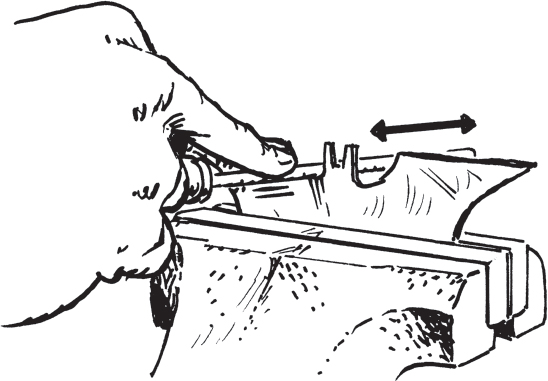
HELPFUL HINT: Try filing at an angle to add a subtle bevel to the wings. This makes the wing tips look sharper, and worthy of your caped crusader utility belt.
2. It looks awesome in silver, but for a professional look, go one step further and paint it black. Push a wing tip into a piece of cardboard so it stands upright, and hit it with a few shots of spray paint.
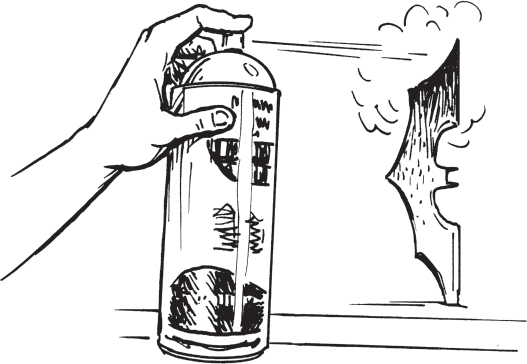
PRO TIP: Some spray paints, like Krylon, can cure in as little as ten to fifteen minutes and are great if you’re impatient or short on time.
3. Rub sandpaper or a sanding sponge on the beveled edges to re-expose the steel and give your throwing star that cool two-toned look.
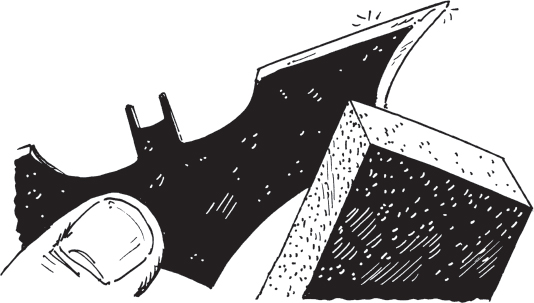
GOTHAM READY! Your Superhero Shuriken is finished and all set for testing.
TARGET PRACTICE
Walk three paces from your target, hold the throwing star at the bottom, and throw it with a quick flick of the wrist. With a bit of practice it’ll complete one full rotation and penetrate the target with a satisfying thud.
HELPFUL HINT: Adjust your distance in small increments to find the sweet spot where it works best for you. A distance of three steps is roughly one full rotation, so from six paces it should spin twice.
You could also use a twelve-inch two-by-eight board to build yourself a throwing post, and attach a dartboard to the center to hone your skills even further.
![]() WARNING:
WARNING:
It’s important to treat your Superhero Shuriken with the same respect as a throwing star or a knife. Make sure you’ve got an adult sidekick nearby, and avoid throwing close to people, animals, or other people’s property.
Who would’ve guessed a rusty old table saw blade could make such a sleek batarang? Whether you’re chasing down the Joker or simply practicing on a DIY target, you’ll be sure to slay like a superhero!

FUN FACT: Known for being Batman’s customized throwing star, the batarang was also used by Batgirl. Even Robin (back when he was called “Nightwing”) had his own version of the batarang, which he gave the not-so-intimidating name “Wing-Ding.”