Getting hungry? Grab a few simple tools and build yourself a little machine that cooks a number of tasty snacks!
50
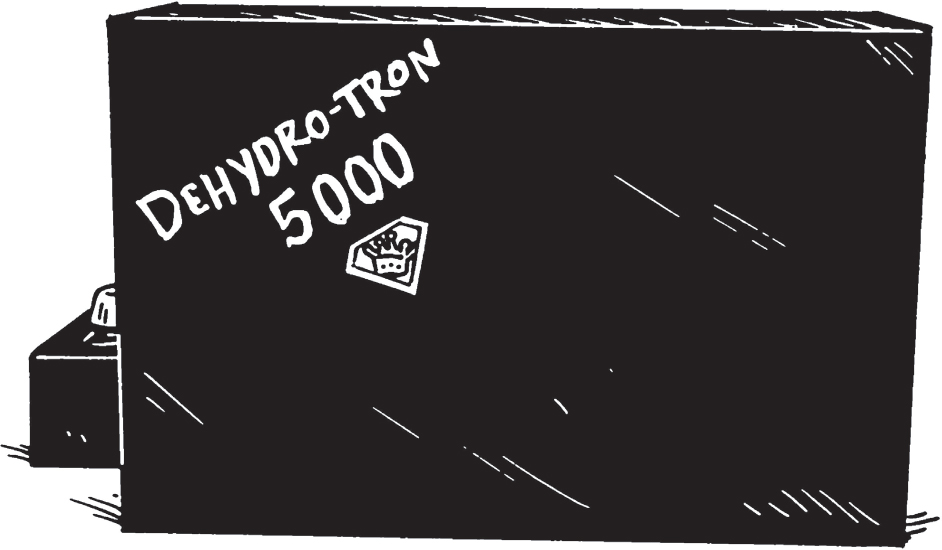
CARDBOARD BOX DEHYDRATOR
SAFETY KEY:
+ Soldering
WARNING:
![]() Do not leave the Cardboard Box Dehydrator unattended while in use. Always unplug to avoid fire hazard after use.
Do not leave the Cardboard Box Dehydrator unattended while in use. Always unplug to avoid fire hazard after use.
SKILL LEVEL:
EASY
INTERMEDIATE
ADVANCED
APPROXIMATE TIME:
45 minutes
WHAT YOU’LL NEED:
+ A cardboard box
+ A lightbulb (250-watt bulb, ideally)
+ A small fan
+ Aluminum foil
+ Strong tape (metal tape works the best)
+ Soldering iron
+ Electrical tape
+ Cooling racks
+ Dowels
+ Heat lamp
LET’S BEGIN
PREPARE YOUR BOX
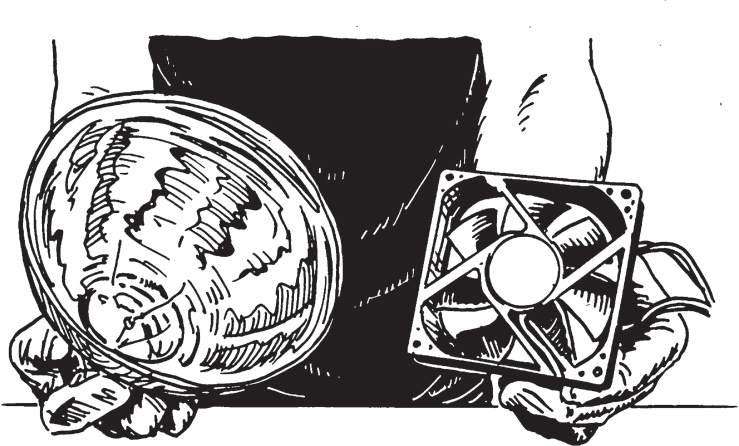
1. Grab your cardboard box (any size will do, but remember that you will want to place racks inside of it to hold your food).
2. First you’ll want to line the inside of your box with aluminum foil. Tape it down shiny-side out, lining both the box and its lid.
SO SHINY! The reflective aluminum foil is going to help the heat bounce around and not get absorbed by the cardboard.
YOUR BIGGEST FAN
1. Now it’s time to prepare your fan for installation.
PRO TIP: Sometimes thrift shops will carry old fans. For instance, they could have a fan from an old computer (used power supply) that could be conveniently upcycled for this project. The power supply should indicate that it has an output of around 12 volts DC current.
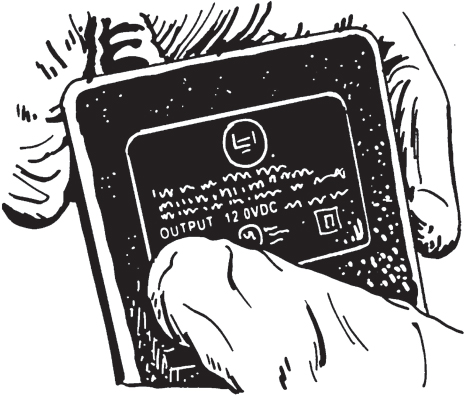
TEST IT FIRST: Before you assemble further, do a quick test to see if your power supply is working: Connect the wires of your power supply to a wire, then plug it in. If the wires are connected in the right direction, your fan should work!
2. Now solder the wires together to connect them permanently using a soldering iron and electrical tape.
INSTALLING YOUR FAN
1. Keep your box turned on its side because you are actually going to use the lid as a door.
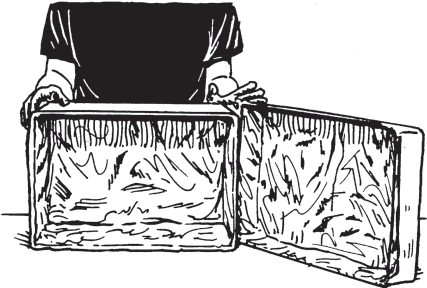
2. The fan will be installed on the side toward the bottom of the box (elevated about an inch or two from the bottom).
3. Trace your fan on the outside of the box and cut out a hole.
PRO TIP: Once you cut your hole, it may be a good idea to tape over the exposed cardboard edges.
4. The fan should fit nicely into the hole.

INSTALLING YOUR HEAT LAMP
1. Now it’s time to add the heat source for dehydration.
TRY ADDING A DIMMER: To be able to turn your lamp on and off and adjust the power, you can add a rotating dimmer switch to the middle of the power cord. The positive and negative wires in the dimmer switch will connect to the power cord running in through one side and out the other. Solder them in line with the light switch.
2. Run the wire of the heat lamp through the side of the box opposite the fan.
3. Cut a hole just large enough for the cord to fit through.
4. Your lamp should now function on a dimmable circuit.
ALSO TRY: Build a stand for your lamp so the bulb doesn’t rest directly on the aluminum. Bend a hanger into a double “M” shape so that the lamp hovers above the bottom of the box to allow circulation and prevent overheating.
FOOD, FINALLY!
1. Now that we have it mostly assembled, it’s time to add our cooling racks for the food.
PRO TIP: Buy your cooling racks before you choose a cardboard box so that you can select your box size accordingly.
2. You can put in a couple of cooling racks spaced a few inches apart (think of an oven).
3. Make holes in the sides at the top of the box and insert the wooden dowels. The dowels are for the racks to rest on. They should stick out of the box a bit so that your racks will stay balanced on top.
4. Put your lid on as the door, taping down one side to function as a hinge.

SMALL IMPROVEMENT: Cut several tiny holes in the top of the box to help the air come in one side, travel up past the food, carrying away any excess moisture, and out the top.
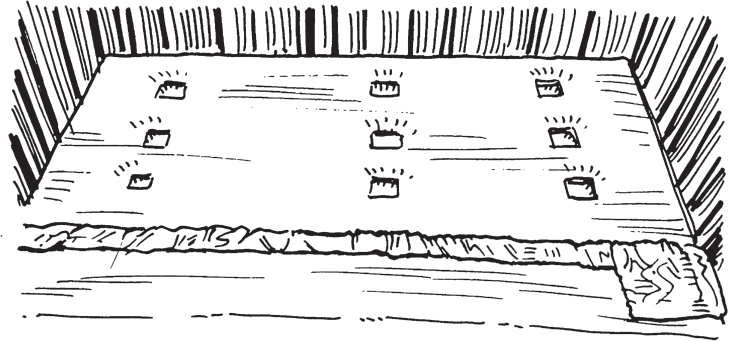
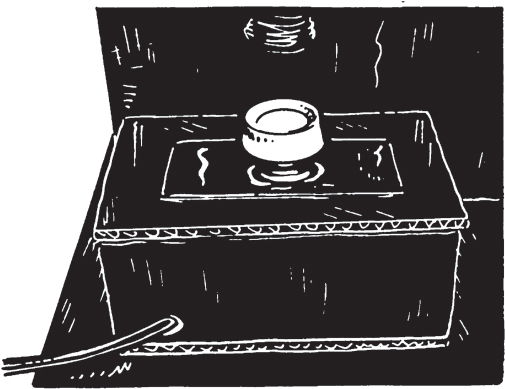
ALSO TRY: Build a little box for your dimmer switch so it stays connected to your dehydrator at all times.
5. Spray-paint and decorate to your liking.
NOW IT IS COMPLETE AND TIME TO GET COOKING!
Sweet, salty, or savory? There are so many recipes to try! Sugar-coated pineapple, apple slices, and beef jerky are just a few examples of the delicacies your dehydrator can cook up. Why buy dried snacks at the store when this method is faster, easier, cheaper, and just a cool thing to construct?

FUN FACT: Dehydration is just one of the many methods of food preservation. Up until the nineteenth century, a common practice was to cure and salt foods in order to preserve them but this still often resulted in spoilage. Finally, canning and sealing food in airtight containers was discovered and the modern method of dehydrating foods came after.