
PAPER ROCKETS
(FOR YOUR HANDHELD ROCKET RIFLE)
SAFETY KEY:
+ Be careful using the hot glue gun, as the glue could burn you if touched.
SKILL LEVEL:
EASY
INTERMEDIATE
ADVANCED
APPROXIMATE TIME:
90 minutes
WHAT YOU’LL NEED:
+ Handheld Rocket Rifle (from chapter 52)
+ Hot glue gun
+ Electrical tape
+ 8½ × 11-inch piece of paper
+ Writing utensil (to mark the cardboard)
+ Cardboard
+ Scissors
LET’S BEGIN
THE BODY OF THE ROCKET
1. Cut the piece of paper down the center to make two 8½ × 5½-inch pieces. One half of the piece of paper will act as a spacer inside of the rocket (to be removed later) and the other half will form the rocket body.
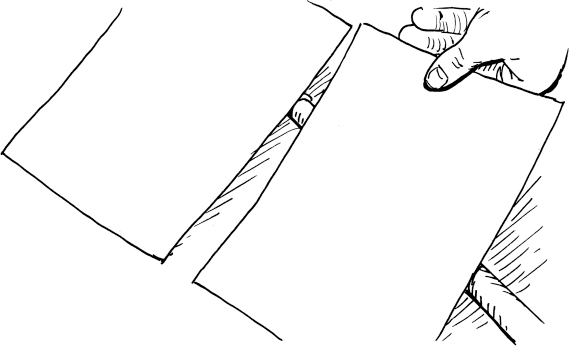
2. Roll the first half of the paper tight around the barrel of the Rocket Rifle and then tape it to itself. Wrap the second piece of paper around the first paper and tape it to itself, creating two paper layers that are just loose enough to be able to slide.

3. Move the top layer forward so that it hangs over the barrel of the Rocket Rifle by about one inch.

4. Fold the overhanging sides of the paper inward from four directions. Tape down the overlapping pieces of folded paper with electrical tape.
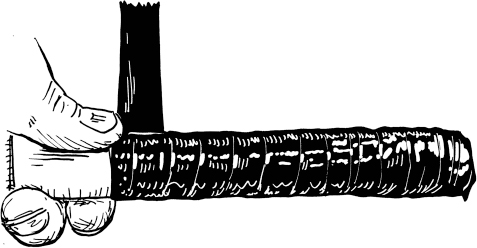
5. Wrap the pieces of paper in electrical tape starting from the base and work your way to the top in a circular fashion. Once at the top, wrap several layers of the tape over the top and around the sides of the top.
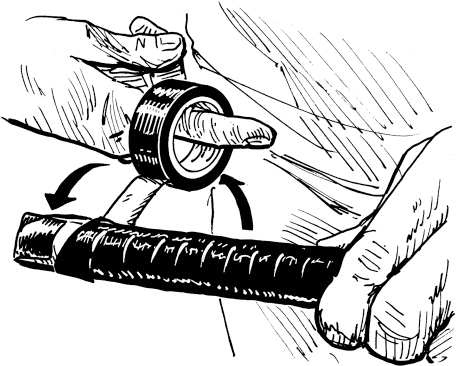
6. Smooth the tape out and wrap one more layer down the rocket body, ending where you first started wrapping.
ROCKET FINS
1. Get a piece of cardboard and use scissors to square up the edges.
2. Putting the piece of paper against the barrel of the rocket, mark the cardboard about a third of the way up the body of the barrel and then make a second mark at the top of the cardboard. The mark should be as wide as the barrel.
3. Use a straightedge to connect those two dots and cut the fin out.
4. Use this as a template to make three more fins (for a total of four) that are the same size.
5. Put the hot glue on the long horizontal side of the fin and then press it into place at the base of the wrapped barrel.
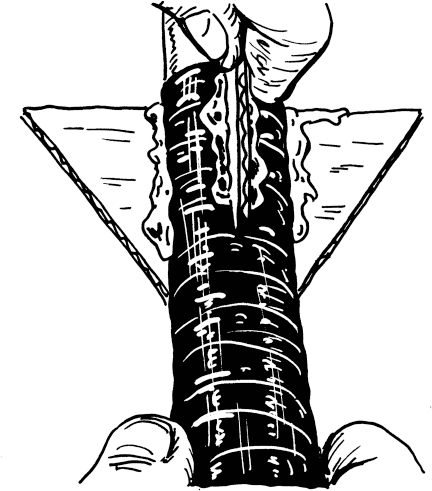
6. Once the glue has dried, repeat the process with the rest of the fins by rotating the barrel each time to make each of the fins symmetrical with the others around the barrel.
7. Use the electrical tape to wrap the tips of the fins twice. Smooth out the tape once it has been wrapped.
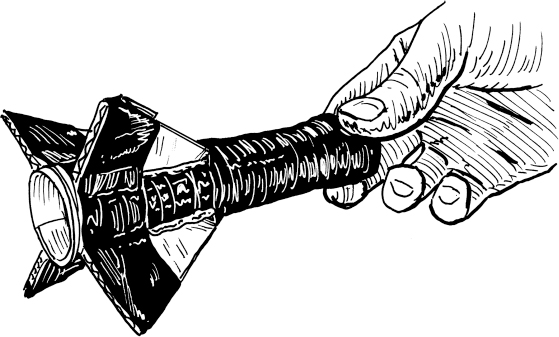
FINISH
1. Remove the inner layer of paper tubing. This will create a small gap between the inside of the rocket and the launcher, which will make it easy to load the paper rocket.
2. Add extra tape to the bottom of each fin to make them super durable.
3. Charge the air compressor to 135 psi. Once you’ve closed the ball, disconnect the air hose so that the air compressor (and your new paper rockets) are portable. Put the paper rocket on the top of the air compressor and shoot!

FUN FACT: The fins on a rocket are incredibly important. The fins keep the rocket stable as it flies through the air. This is because the fins are near the center of gravity of the rocket and keep it stable against the center of pressure.
