Make bouncy, stretchy rubber in an instant! Proto-Putty is a cool, moldable dough that you can press into nearly any shape, and after ten minutes it magically turns into bouncy rubber!

09
PROTO-PUTTY
SAFETY KEY:
+ Well-ventilated area + Gloves required
+ Adult supervision advised
WARNING:
![]() Construction silicone can be harmful if swallowed, inhaled, or absorbed through the skin. Proto-Putty is good for making toys, but not good for making candy molds.
Construction silicone can be harmful if swallowed, inhaled, or absorbed through the skin. Proto-Putty is good for making toys, but not good for making candy molds.
SKILL LEVEL:
EASY
INTERMEDIATE
ADVANCED
APPROXIMATE TIME:
10–25 minutes
WHAT YOU’LL NEED:
+ Cornstarch
+ Tube of silicone #1—100 percent silicone (Important: silicone #1 only)
+ Caulking gun
+ Food coloring
+ Disposable paper bowls
+ Popsicle sticks
+ Disposable rubber gloves
PRO TIP: It’s extremely important to use silicone #1, so you should double-check that your tube says “100 percent silicone.” This is critical to your success.
LET’S BEGIN
GET MIXING
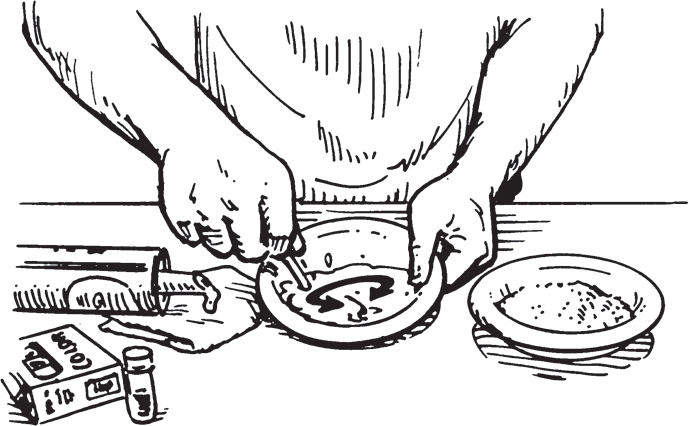
1. Lay out two paper bowls. Fill one halfway with cornstarch and set it aside.
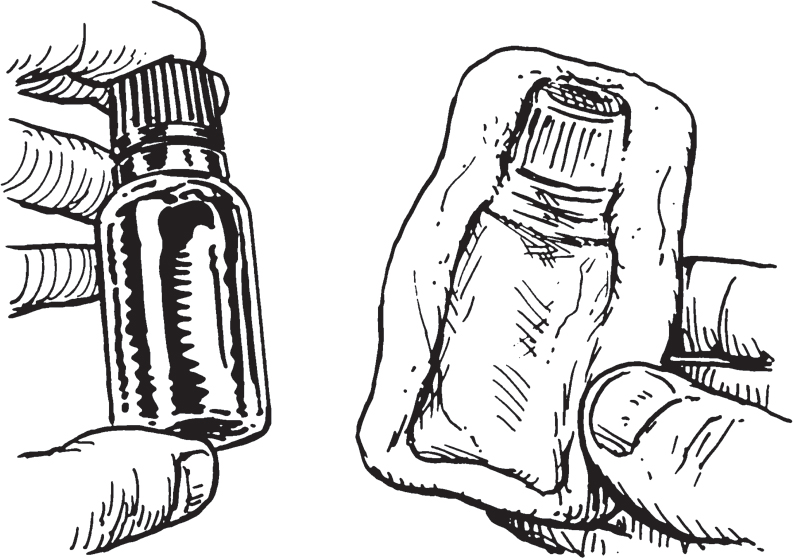
2. Now squirt a generous amount of food coloring into the second bowl. The more you use, the richer the color will be.
3. Put your rubber gloves on and carefully squeeze a big blob of silicone directly into the food coloring. Use a Popsicle stick to slowly fold the silicone and food coloring together.
HELPFUL HINT: Squirt out only as much silicone as you think you’ll need for your project.
4. Act quickly. General-purpose silicone is activated by moisture, and food coloring begins the curing process, so you’ll only have around five to ten minutes of work time before the mixture starts hardening. The food coloring is fully mixed when it’s blended into a uniform color.

PRO TIP: Silicone #1 releases acetic acid vapors while curing and smells so strongly of vinegar that it will sting your nostrils. The food coloring will also stain your clothes or the area around you, so consider mixing this outside, or at least in a well-ventilated area.
5. Scoop the blob of colored silicone into your bowl of cornstarch and generously coat the outsides with the powder to prevent the silicone from sticking to anything.
6. Flip it over a few times and knead it into different shapes, adding more cornstarch each time it’s about to start sticking to your gloves.

PRO TIP: The mixture is extremely sticky and difficult to work with at first, but give it a couple of minutes and plenty of cornstarch, and it’ll start to firm up into dough.
7. Repeat the kneading process ten to fifteen times. After around two minutes, the color of your silicone should brighten back up and it should start to feel like Play-Doh.
8. You can now mold it, squish it, or press it into whatever shape you want (don’t forget the time constraint to make your shape).

HELPFUL HINT: Try rolling little balls to make your own high-flying bouncy balls. Or make another batch with neon food coloring to make some cool colors, or to make it glow in the dark.

PRO TIP: Proto-Putty works great for impression casting, but don’t use it for making custom candy molds. Food-grade silicone is available to purchase online instead if you’re tempted to make molds for chocolate or other edible treats.

FUN FACT: Proto-Putty is bouncy, stretchy, and fairly durable, especially the thicker you make it. It’ll still cure without adding any cornstarch at all, but it’s super sticky and hard to work with. Silicone caulk by itself takes weeks to firm up. The trick is simply adding a bit of food coloring.
GET CREATIVE: You can make anything you can think of with Proto-Putty. And now that you know how to make it, you should be able to fix, invent, or play your way into a whole new world of creativity. It’s all up to you!