Extras
Inserting Zippers
Zippers should always be inserted into knitted garments by hand.
METHOD 1
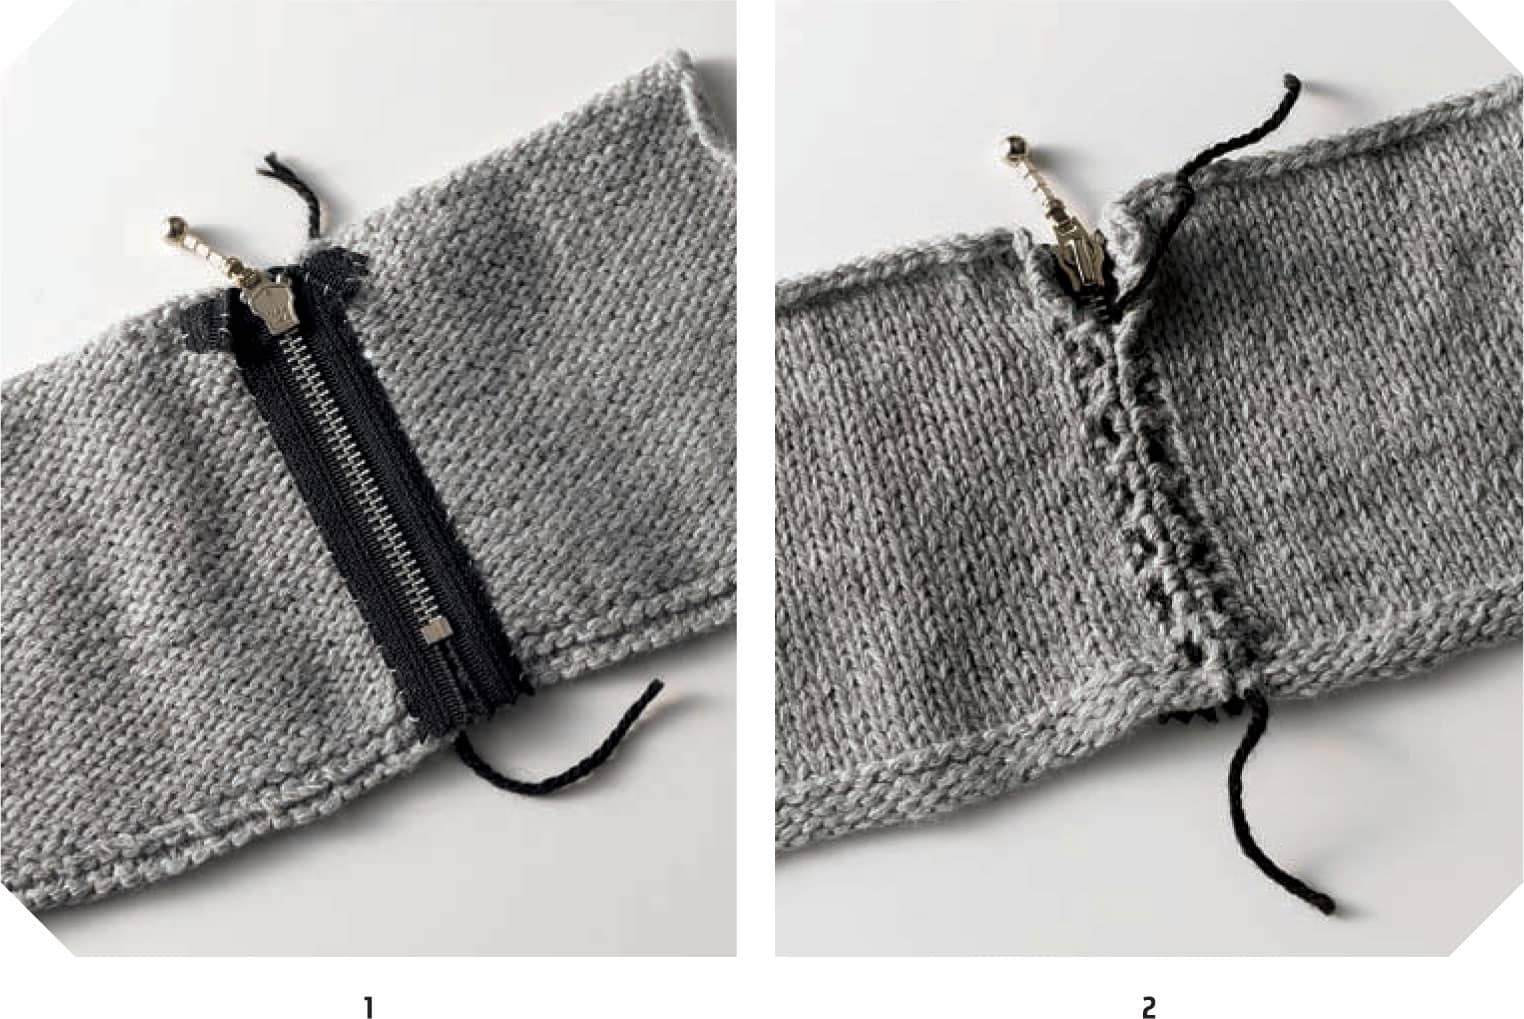
To ensure that the sides will match, first baste the two sides of the garment together. Center the closed zipper face down over the seam on the wrong side of the garment, and pin it in place. Using sewing thread and needle, hand stitch the zipper to the sweater along the outer edges of the zipper tape (1). When complete, remove the basting stitches. (2)
METHOD 2
Before inserting the zipper into the sweater, first prepare the zipper tape with a yarn edging.
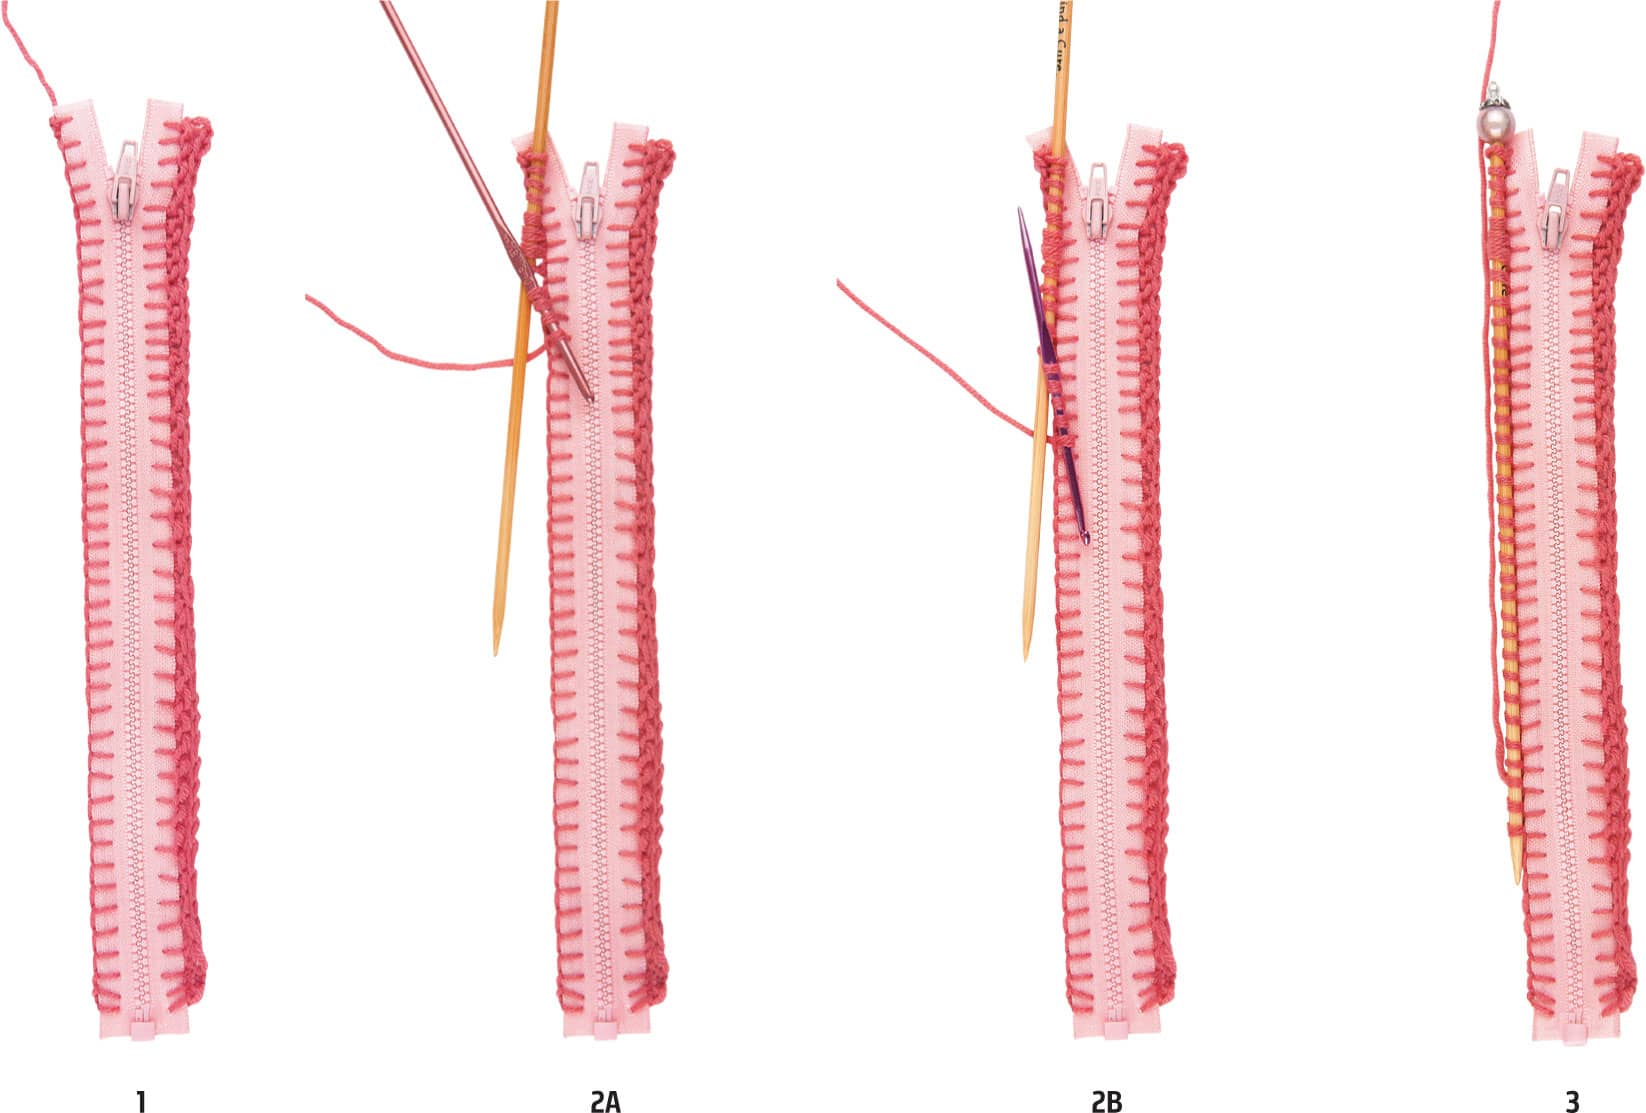
1. Using a sharp, large-eyed hand needle and lightweight yarn or cotton cord, work a blanket stitch on both sides of zipper. It helps to measure and mark evenly spaced dots along each side first. If you find the stitching difficult, use an awl to poke holes at the marks.
2A. Using a crochet hook, pick up a loop in each blanket stitch and transfer the stitches to a knitting needle.
2B. Another tool for picking up the stitches has a crochet hook at one end and a knitting needle at the other end.
3. When all stitches are picked up and on the knitting needle, knit one row, then bind off.
Collars
Instead of ribbing at the neckline of top-down raglan or yoke sweaters, you can change the style by adding a collar. Add a simple ribbed collar to a cardigan or add a turtle-neck collar to a pullover.
ADDING A COLLAR TO A CARDIGAN
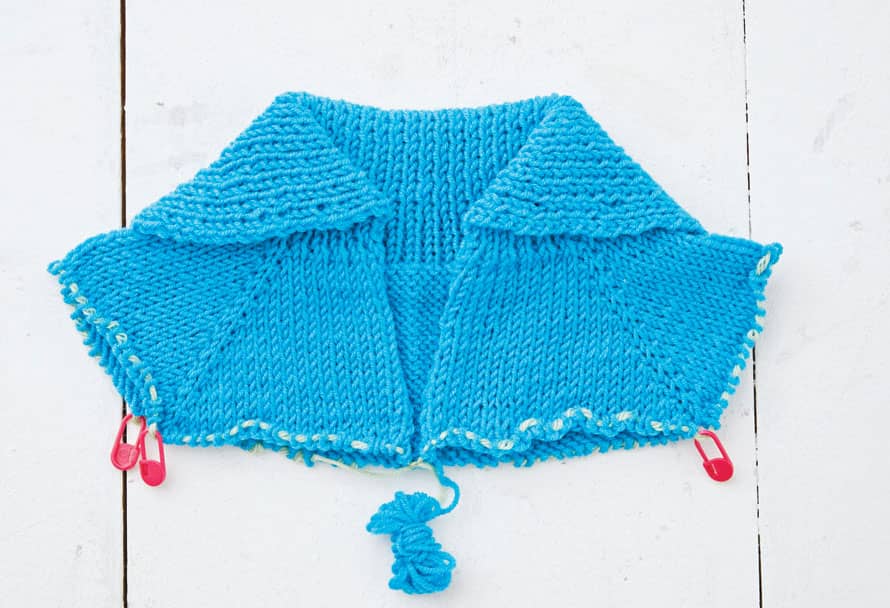
The classic top-down cardigans begin with a ribbed neckband knitted on the smaller needle size. Instead, using the larger needle recommended for the weight yarn that you are using, cast on the same amount of stitches for neck edge, work in k1, p1 ribbing for 1 inch (2.5 cm) less than desired finished collar length. Change to smaller needle recommended, continue ribbing for 1 inch (2.5 cm) more to complete the collar. Then continue with the instructions for the rest of the sweater.
ADDING A TURTLENECK COLLAR TO A PULLOVER
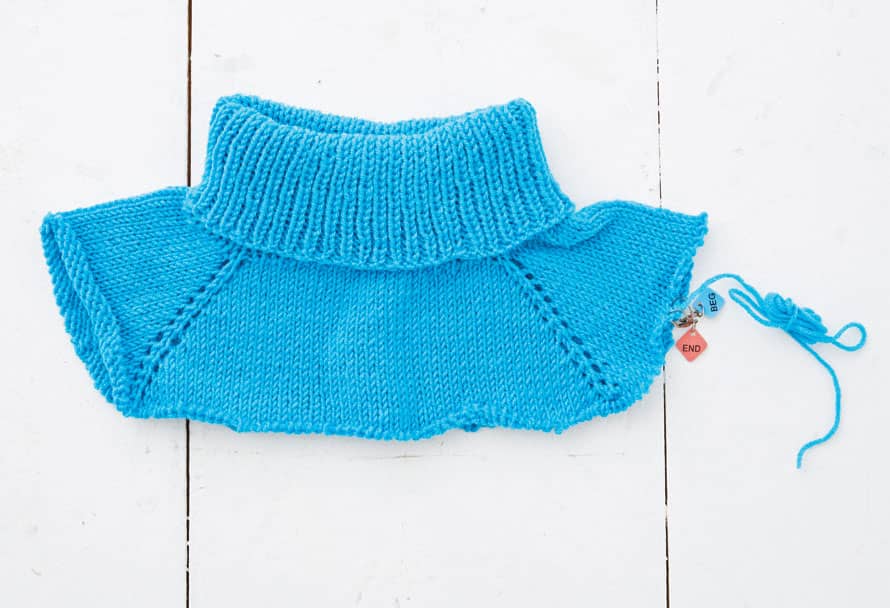
The classic top-down pullovers begin with a neckband of ribbing worked in the round on the smaller needles. Instead, using the larger circular needle recommended for the weight yarn that you are using, cast on the same amount of stitches for neck edge, and work in k1, p1 ribbing for 1 inch (2.5 cm) less than the total desired finished collar length. Change to smaller circular needle recommended, and continue ribbing for 1 inch (2.5 cm) more. Then continue with the instructions for the rest of the sweater.
Hoods
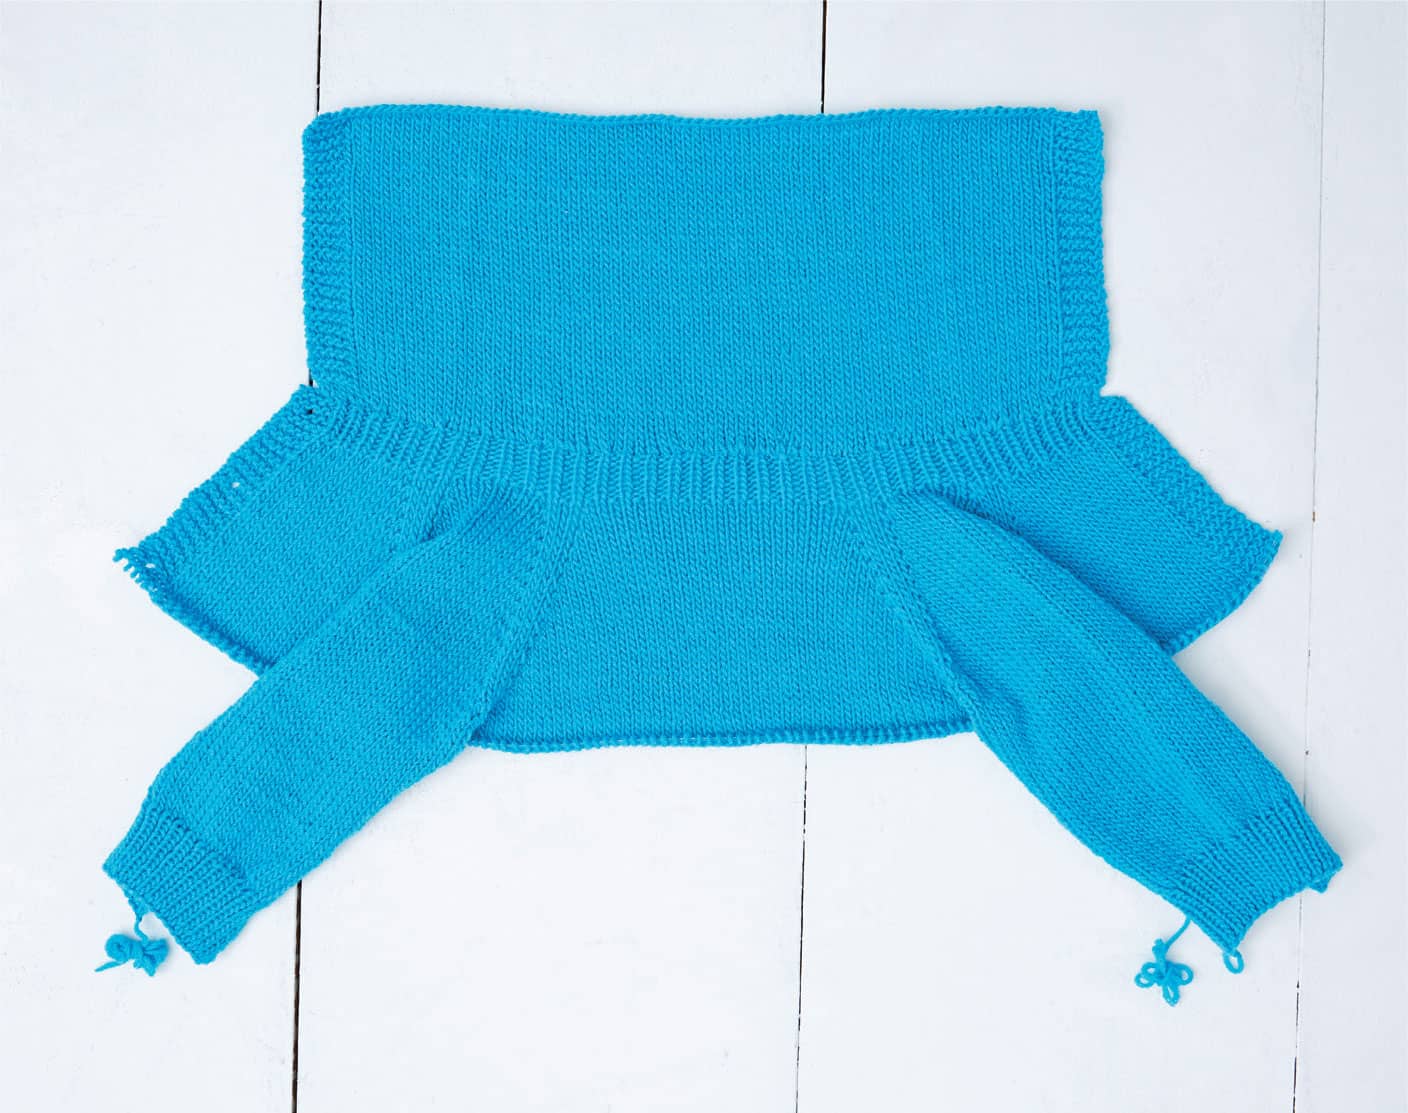
You can add a hood to a top-down sweater. Measure from the base of the neck on one side up over the head to the base of the neck on the other side. Add a little length for ease of wearing, and divide this measurement in half. Using the larger needle recommended for the weight yarn that you are using, cast on the same amount of stitches stated for neck edge. Work back and forth in rows in stockinette stitch for the length determined. Then change to the smaller needle recommended, and continue with instructions from neckline (including the neckline ribbing). When the sweater is complete, fold the hood in half, and sew a seam.
Pockets
Add pockets to any of the sweaters, following these instructions. Both styles are fairly inconspicuous, but they may add visual weight to the lower third of the sweater, which can be beneficial for an inverted triangle body type.
PATCH POCKETS
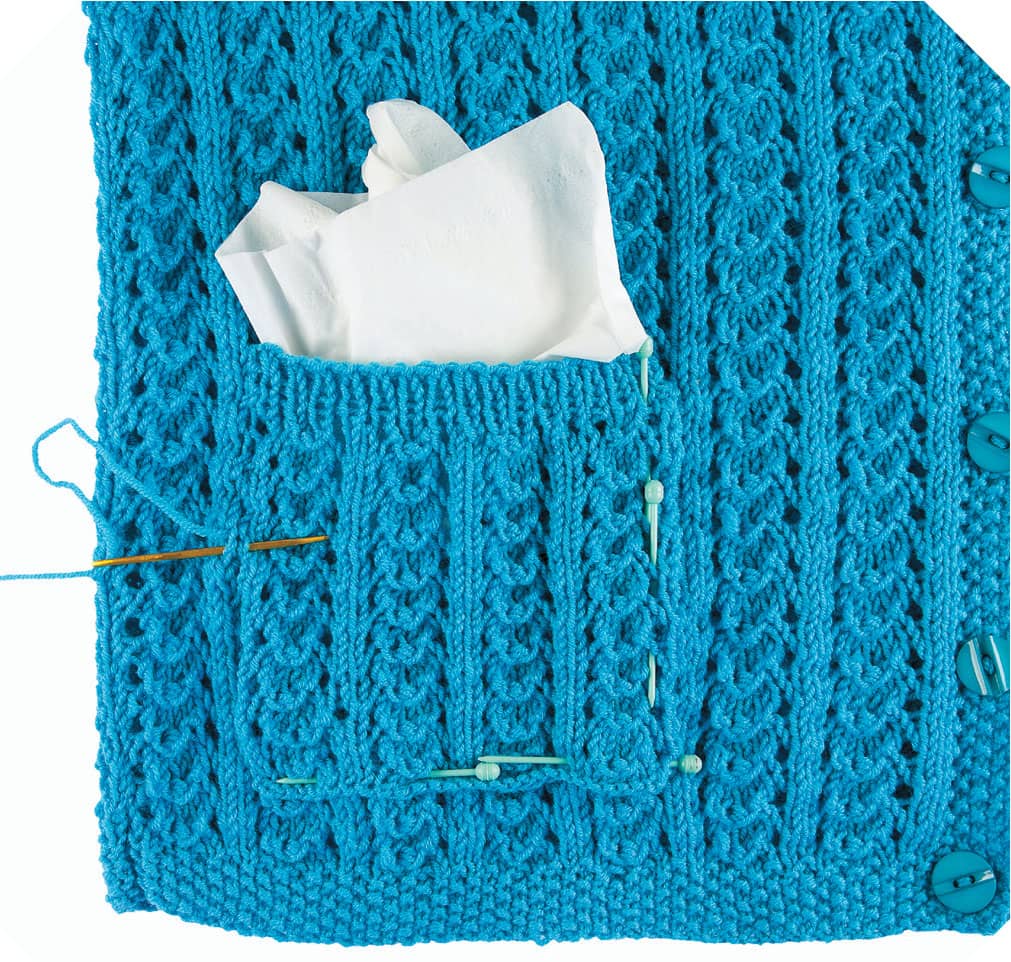
1. To add a patch pocket, decide how wide you want the pocket to be, cast on and work in same pattern as the sweater for about 4 or 5 inches (10 or 12.5 centimeters), work 1 inch (2.5 cm) of a border such as ribbing or seed stitch, bind off. Pin pocket in place on Front of sweater and sew in place.
2A. Using a crochet hook, pick up a loop in each blanket stitch and transfer the stitches to a knitting needle.
2B. Another tool for picking up the stitches has a crochet hook at one end and a knitting needle at the other end.
3. When all stitches are picked up and on the knitting needles, knit one row, then bind off.