3
Getting Ready to Sew
It takes more than just tossing the fabric on a table to cut out your pattern. Early care in preparing your fabric and good cutting and marking practices go a long way toward making your final garment look better.
Equipment
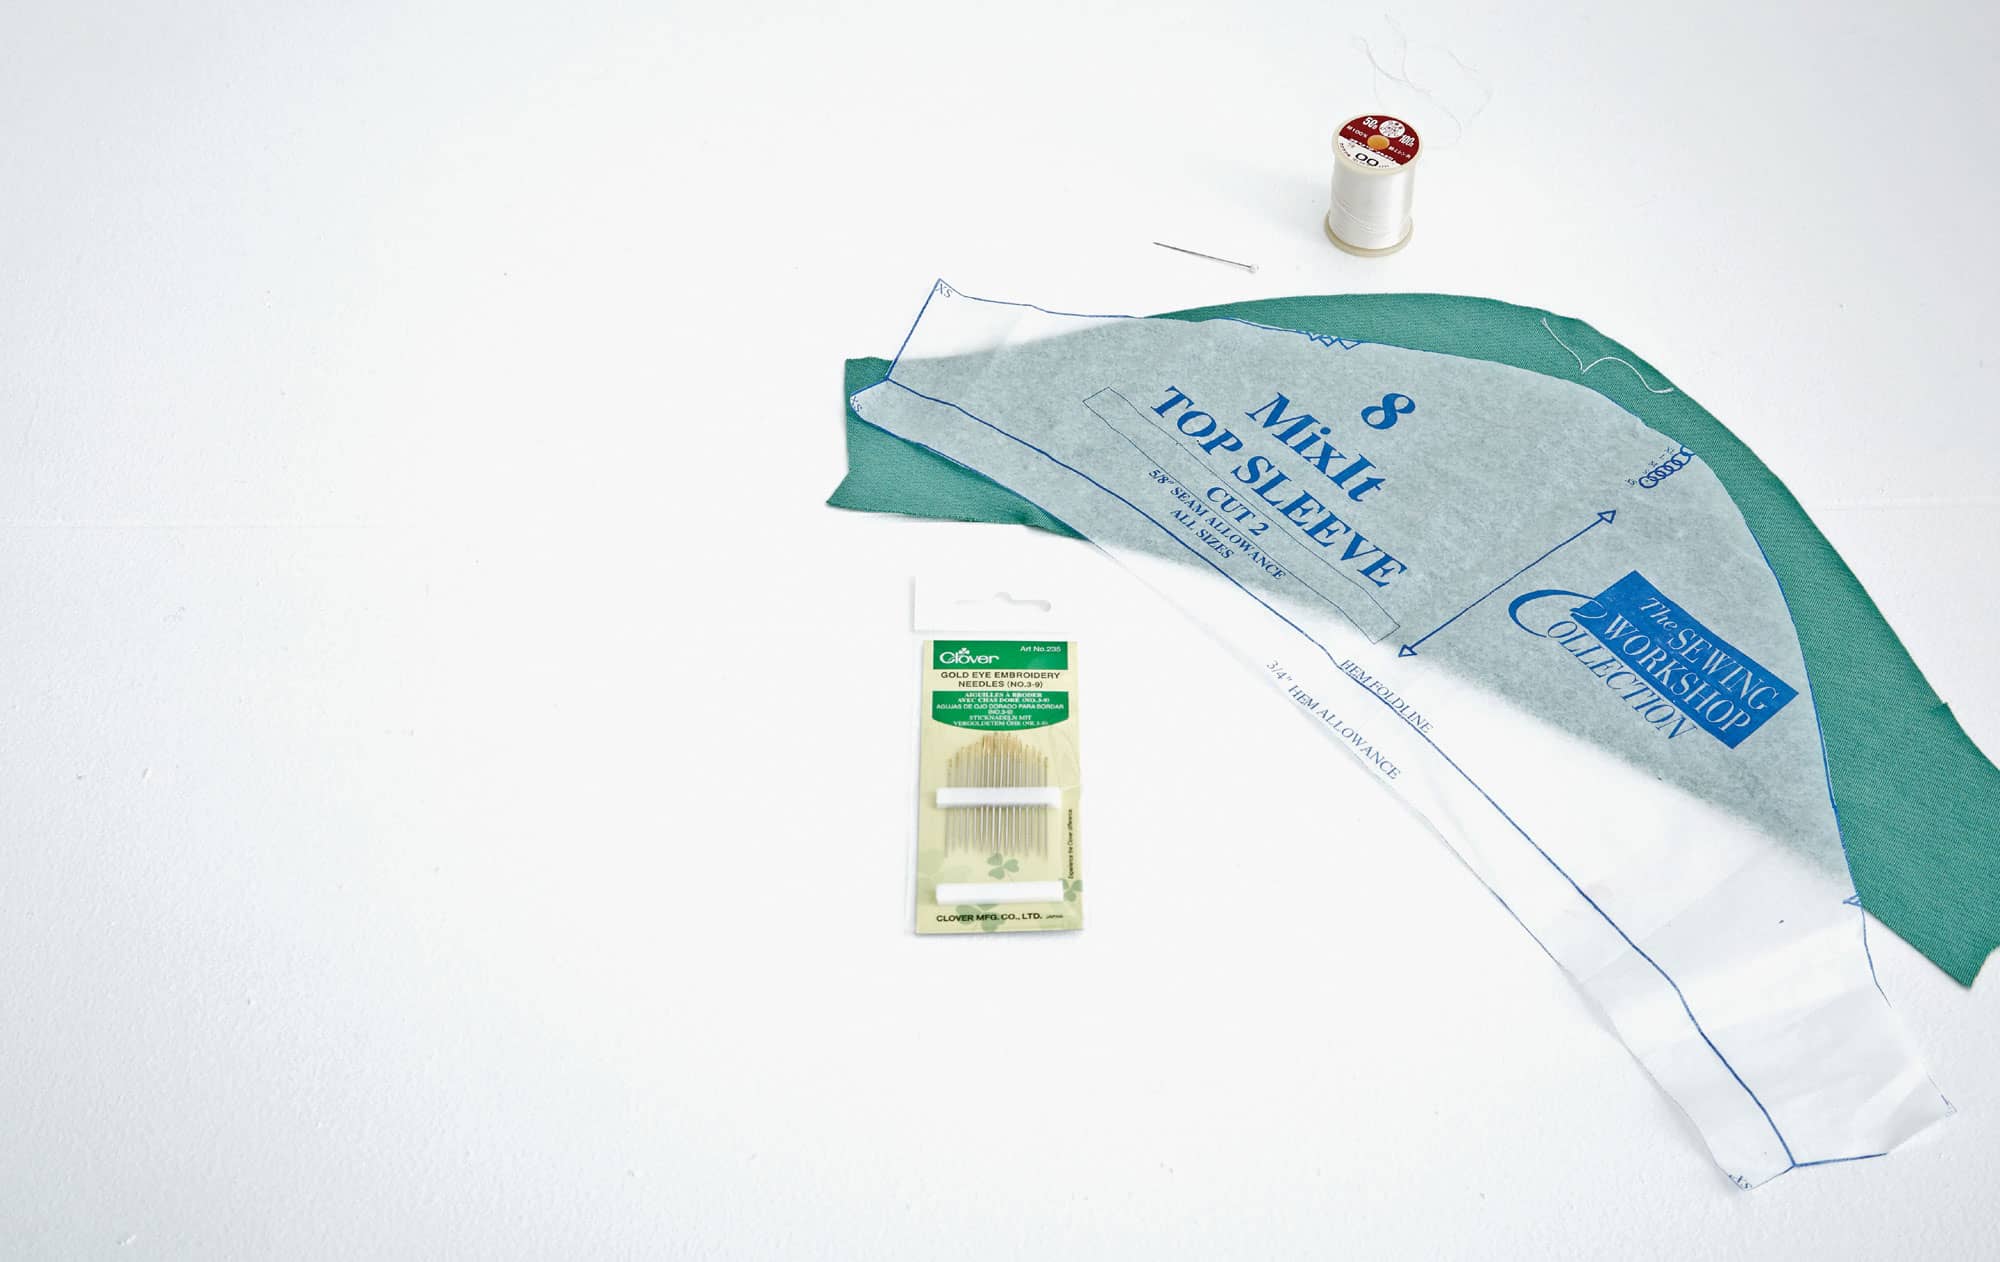
The number one piece of equipment you need to sew knits is a sewing machine. While any project can be sewn with this singular piece of equipment, there is no question that adding a serger to your equipment ups the quality and makes sewing faster, especially if you are interested in borrowing design details and good finishing techniques from ready-to-wear knit pieces. A variety of pressing tools is also essential, starting with a good iron.
Cover Stitch
Sewing Machine
Serger
Sewing and Serging Equipment
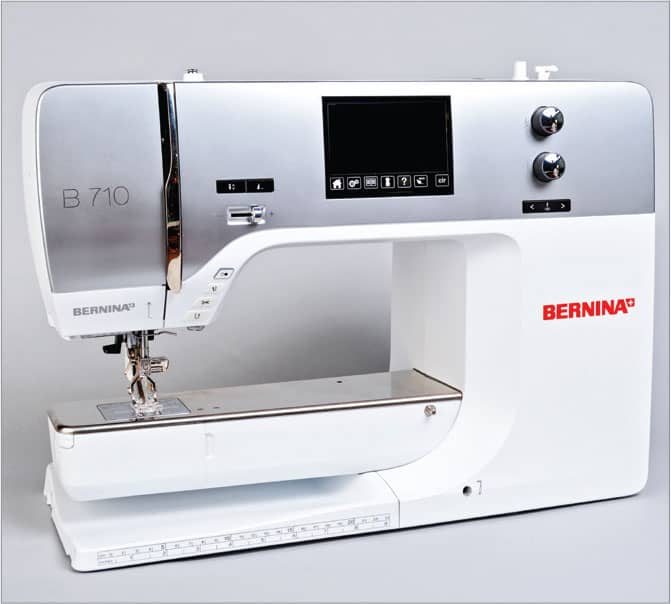
The range of sewing machines, from the most basic to the highly sophisticated is almost endless. But the reality is that all you need is a sewing machine that is in good working order with a quality straight stitch and a zigzag stitch. Also helpful is a good selection of presser feet, like a walking foot. A model that has a built-in even-feed feature is also useful.
Presser Feet
The most common challenge when sewing knits is that the fabric doesn’t feed through the machine easily. It may hang up and create stitches that are too small or the fabric my get lodged and jammed in the throat plate.
A sewing machine is designed with a presser foot that rests on top of the fabric putting some pressure on the fabric, and with a set of feed dogs under the fabric that feeds the fabric through the machine. With knits, the feed dogs carry the under layer of fabric through just fine, but the top layer often gets left behind and the fabric doesn’t feed evenly. The easy solution to this problem is to either attach a walking foot or engage the even-feed feature (if your machine has it). These help the machine feed both layers of fabric through the machine at the same time.
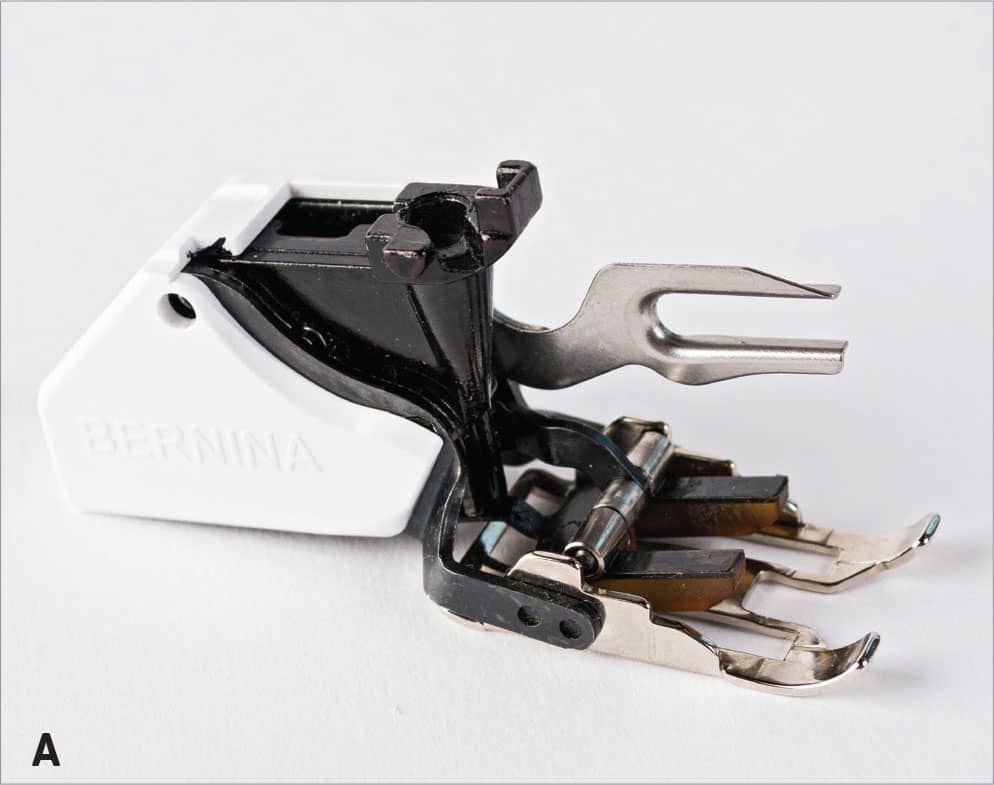
The walking foot (sometimes called an even-feed foot) is an extra accessory (A) and usually is not included in the price of the machine. It is not an inexpensive addition and it is absolutely essential for sewing any type of knit, in any weight. Built-in even-feed features are usually available in the higher-priced sewing machine models.
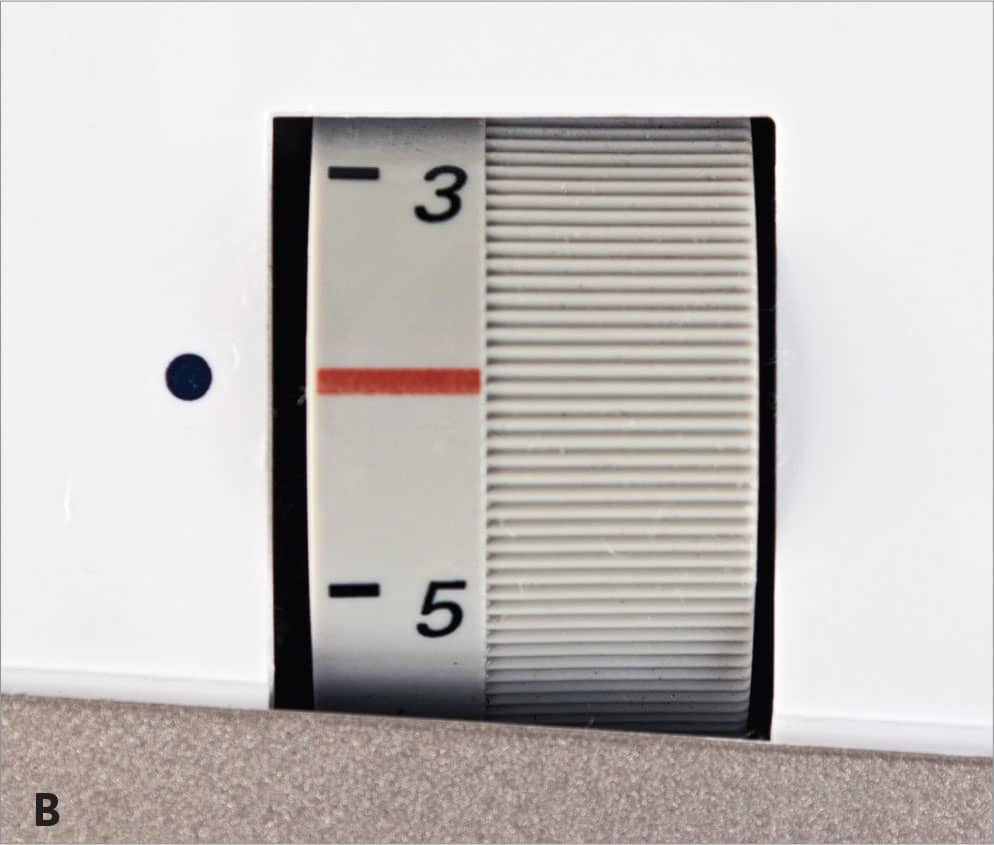
If you do not have a walking foot or one is not available for your sewing machine model, try increasing the presser foot pressure. This usually involves turning a knob (B) or engaging an icon on a screen. By increasing the pressure of the presser foot on the fabric, the fabric may feed through more evenly.
Needles
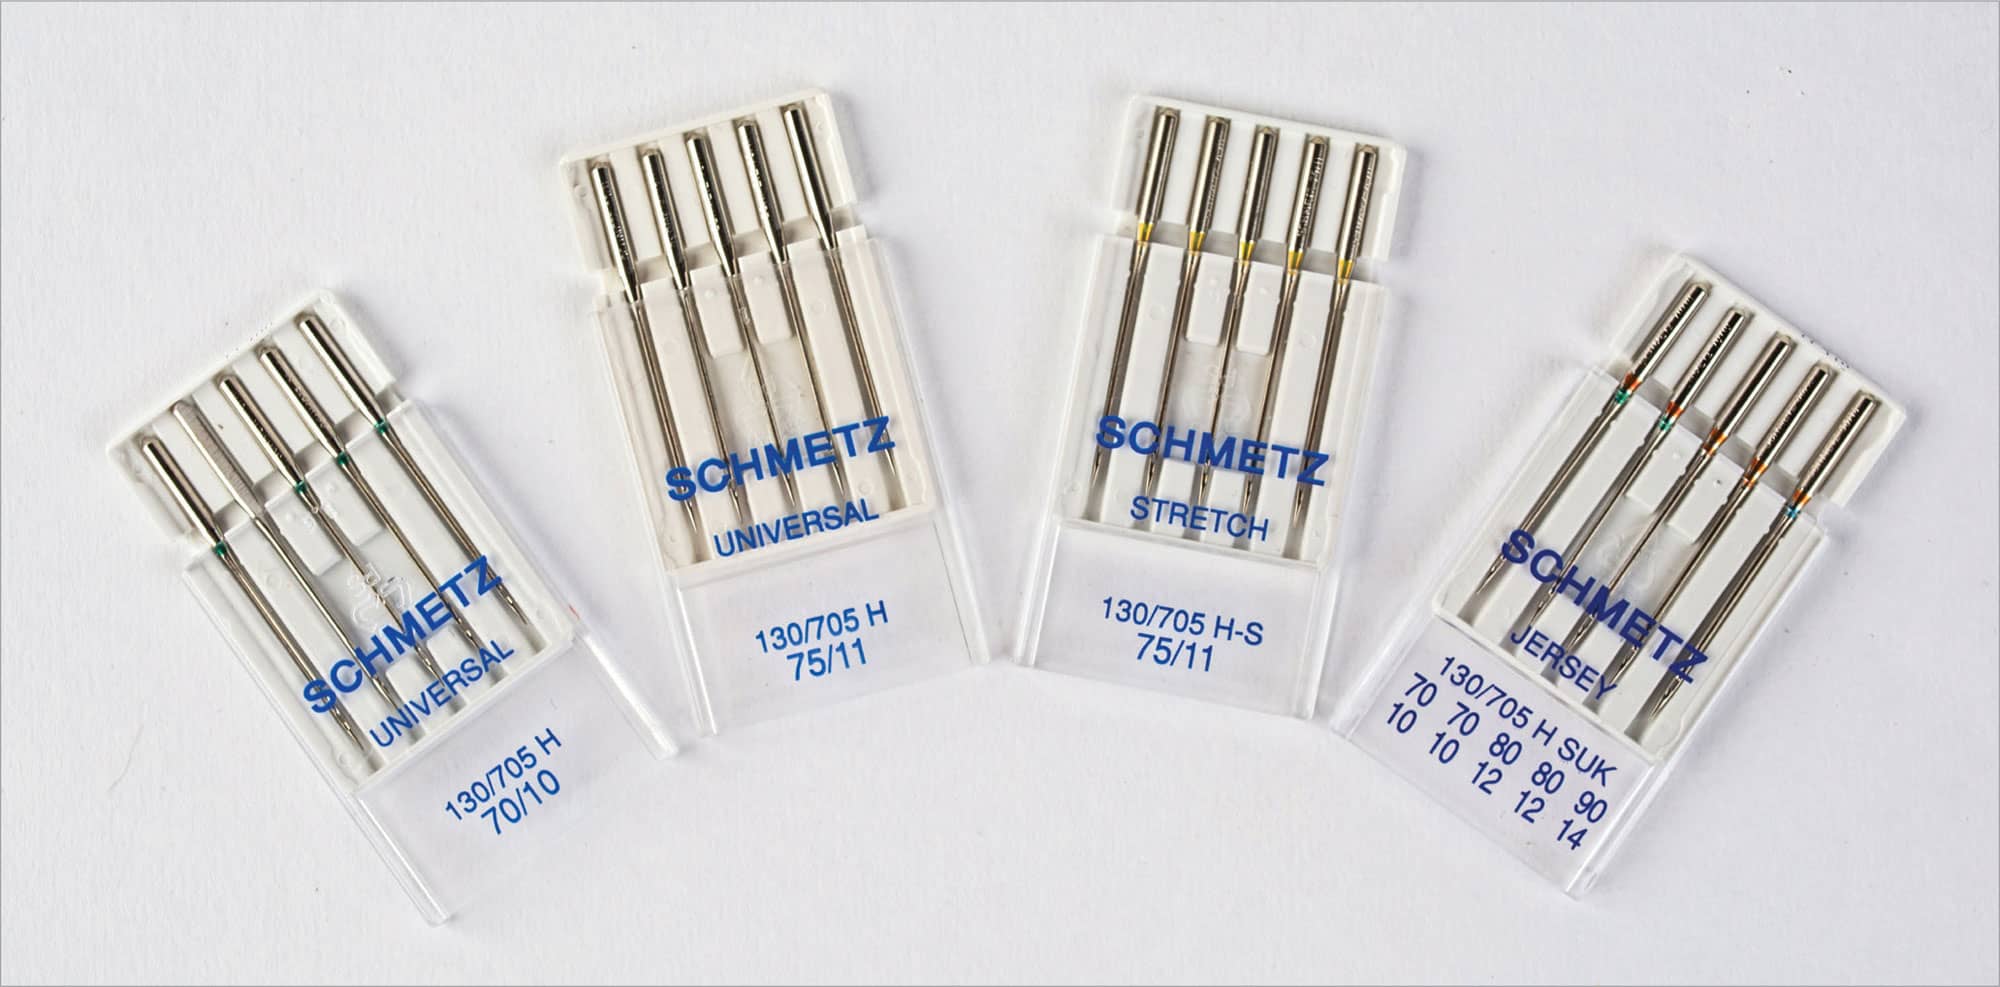
The best needle choices for sewing knits are either universal or jersey needles in sizes 75" (11 mm) or 80" (12 mm). Heavier knits require larger needles. A 70" (10 mm) needle might be used on a tissue weight, while a thick and heavy sweater knit may require a 90" (14 mm) needle.
For super stretchy knits or when an elastic fiber such as spandex has been added to a knit, a stretch needle in the appropriate size might help eliminate skipped stitches.
It is important to have a variety of needle types and sizes on hand when making test samples to determine the best needle for sewing every type of knit fabric.
Caution: Ballpoint needles can leave holes in the knit, even after laundering the garment.
Throat Plates
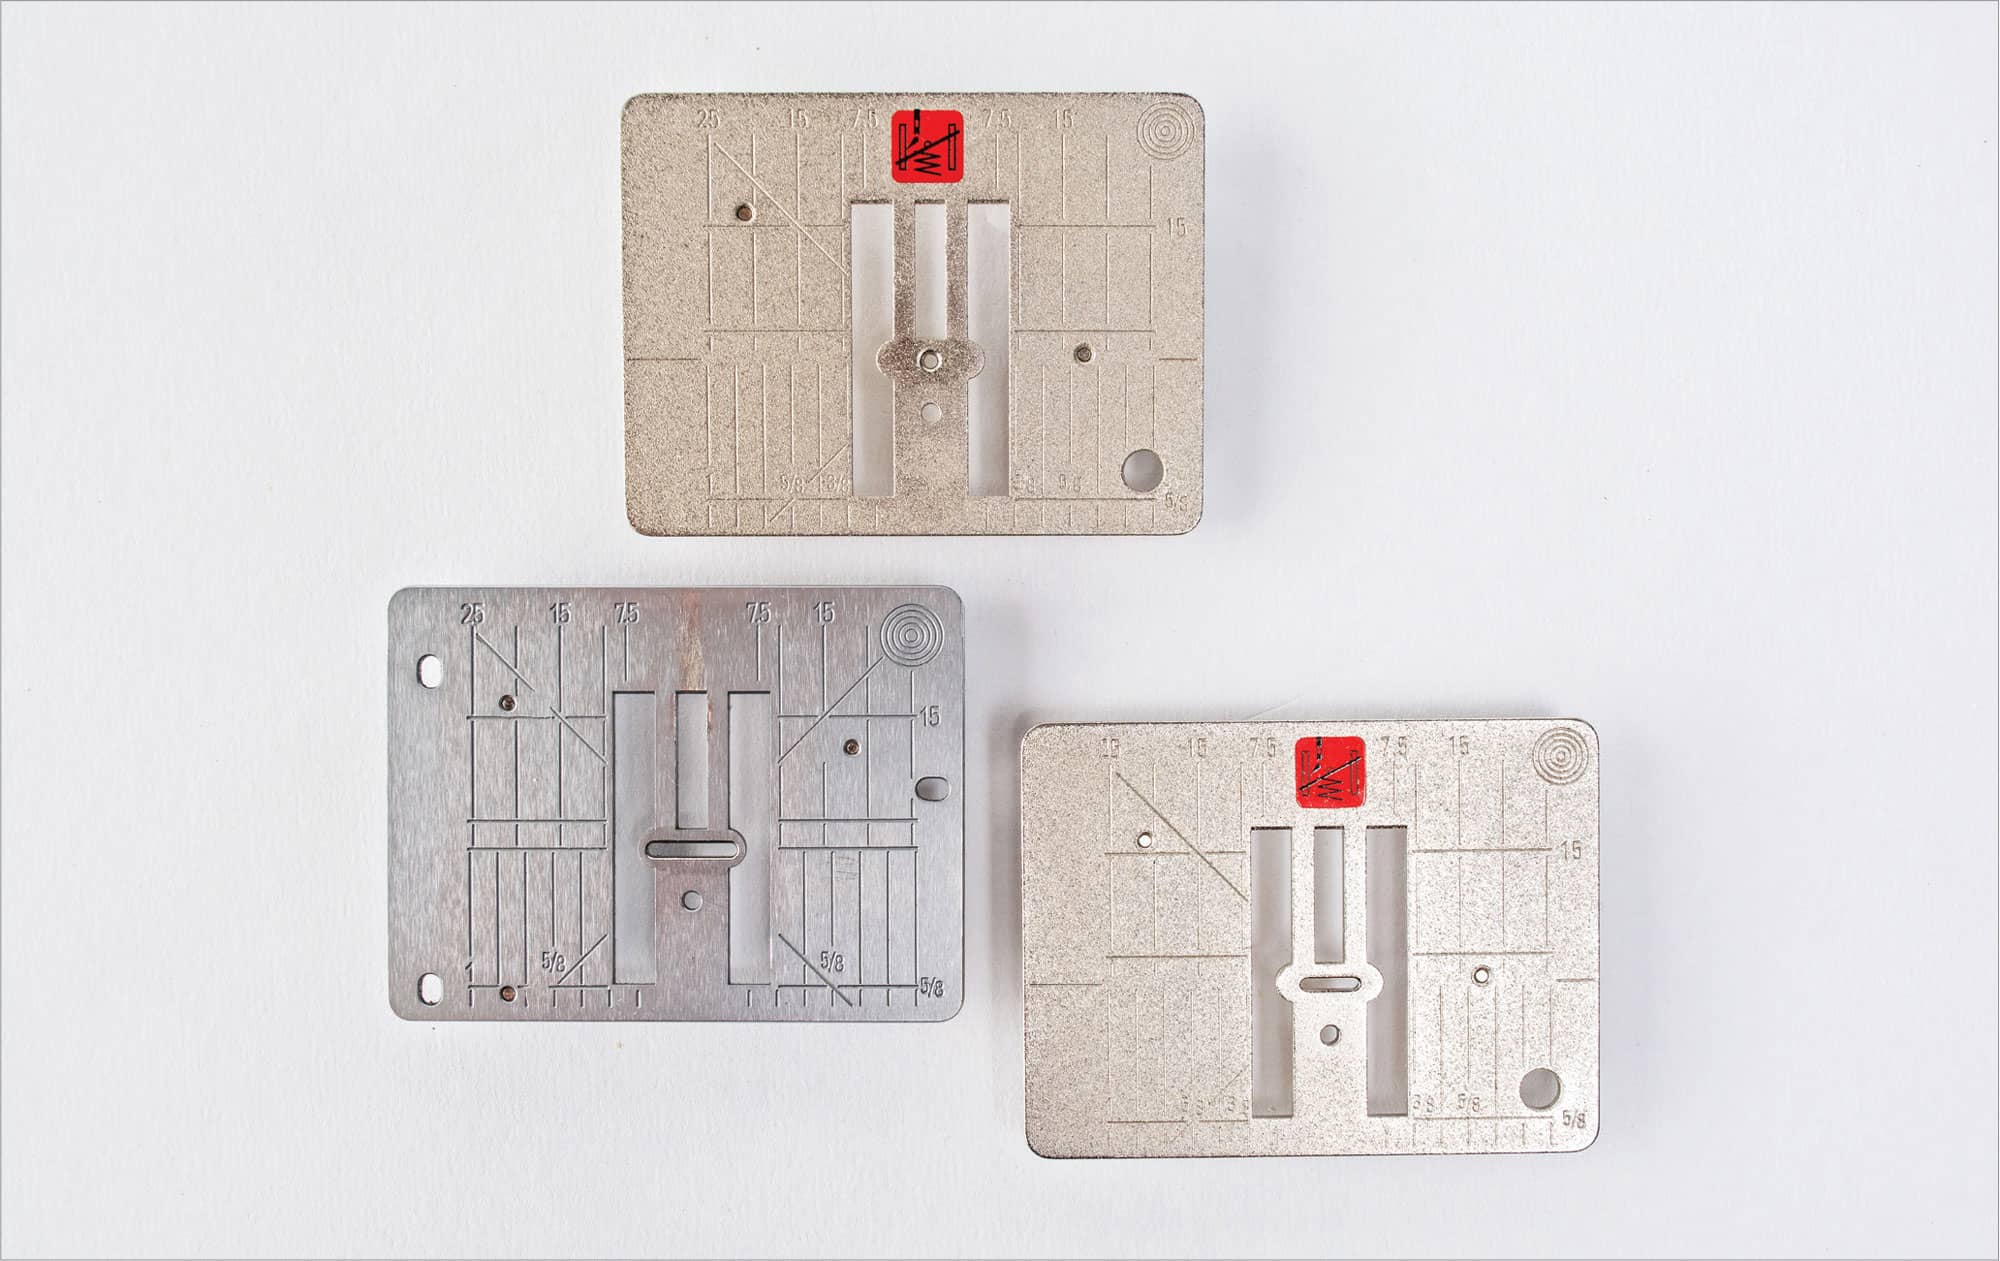
There are a variety of throat plates available for most sewing machines. Newer models that are capable of machine embroidery, feature a throat plate with a 9 mm (1/3 inch)-wide needle opening in order to make multimotion and decorative stitches, but this wider opening ca n cause knits to jam. Throat plates with smaller-sized openings are more suitable and useful in preventing the fabric from jamming into the opening. A single-hole throat plate is the very best, but can only accommodate straight stitching. The 5 mm (.20 inch)-wide throat plate is the best compromise, allowing you to straight and zigzag stitch and sew buttonholes while moving the fabric through the machine easily.
Serger
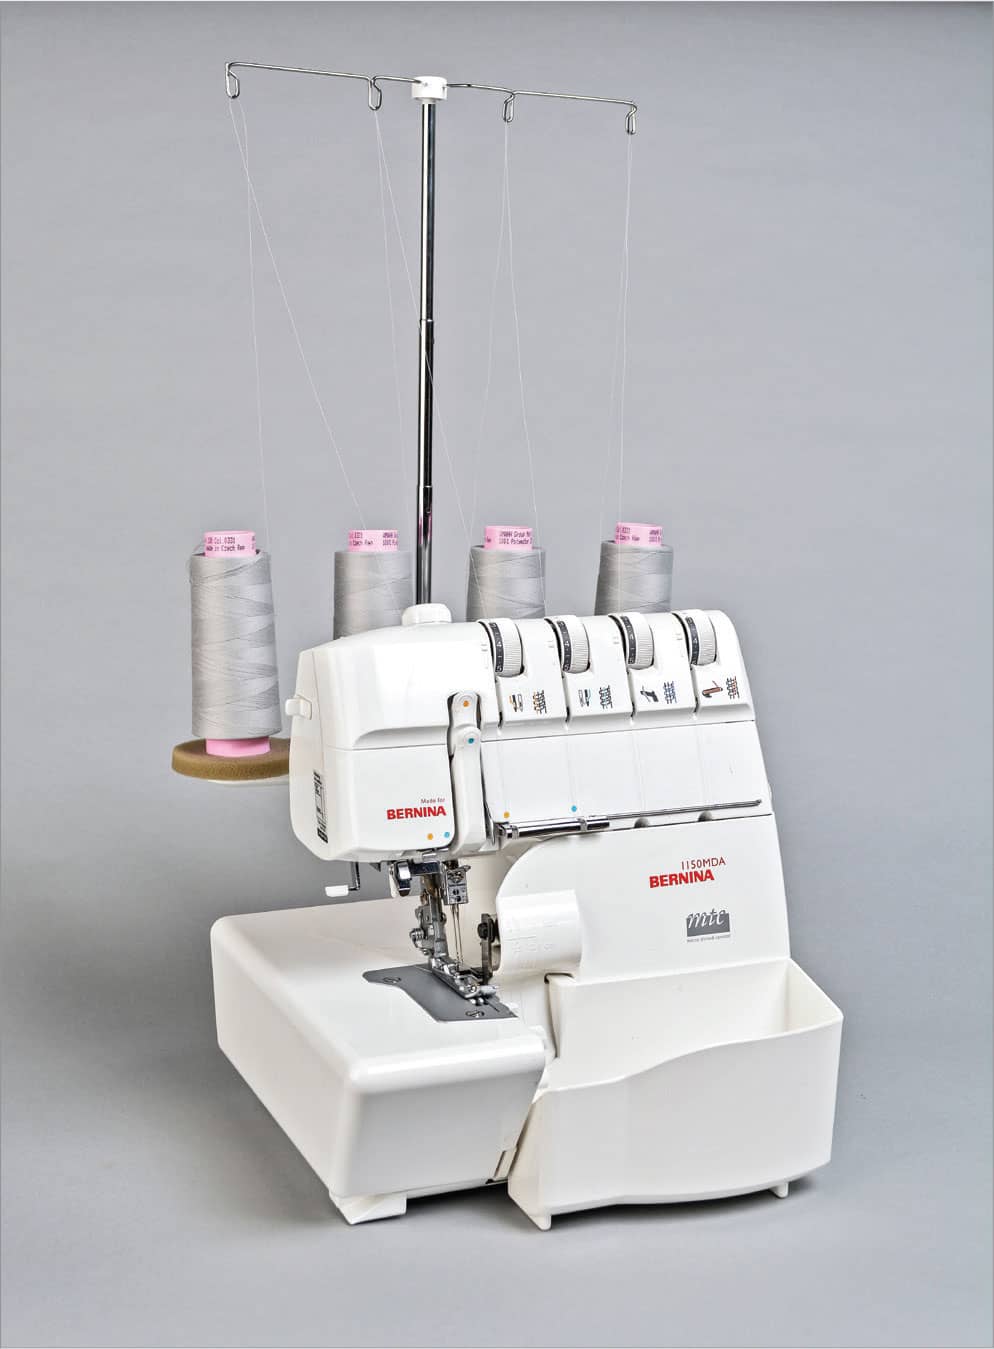
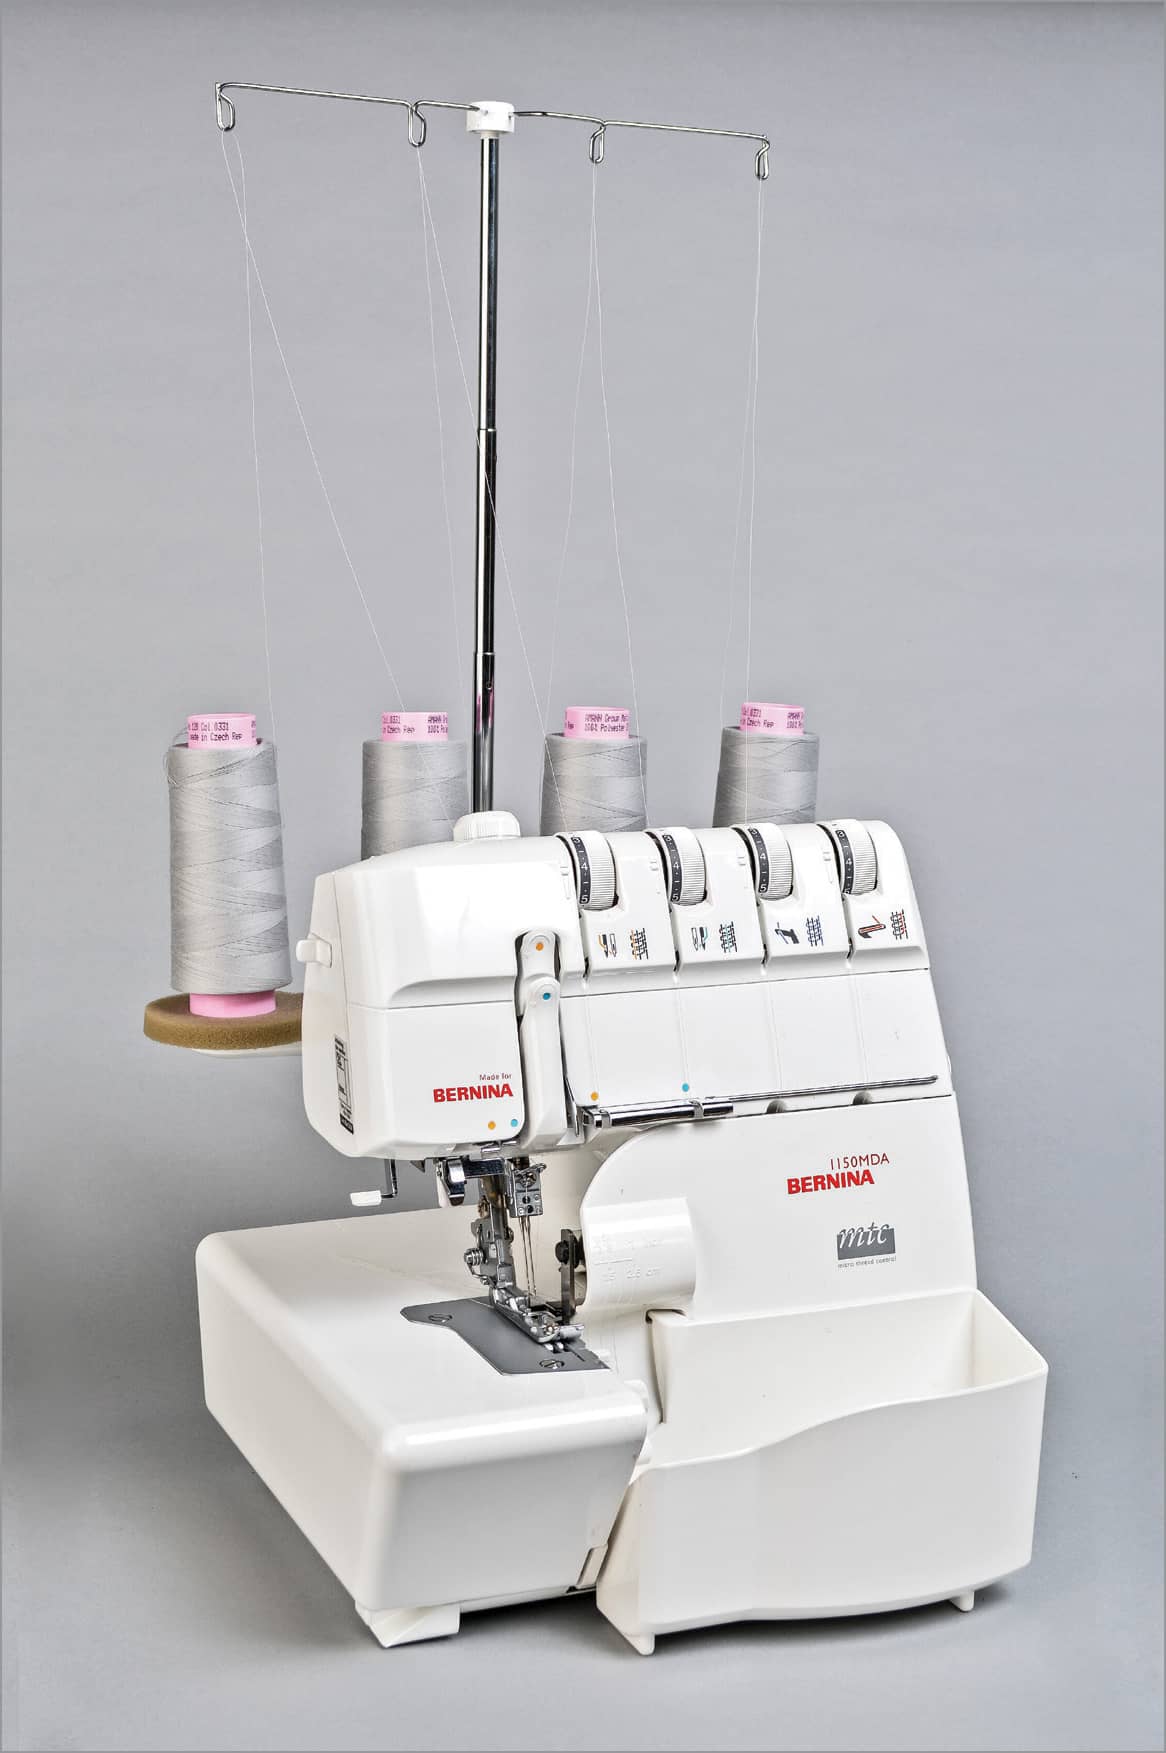
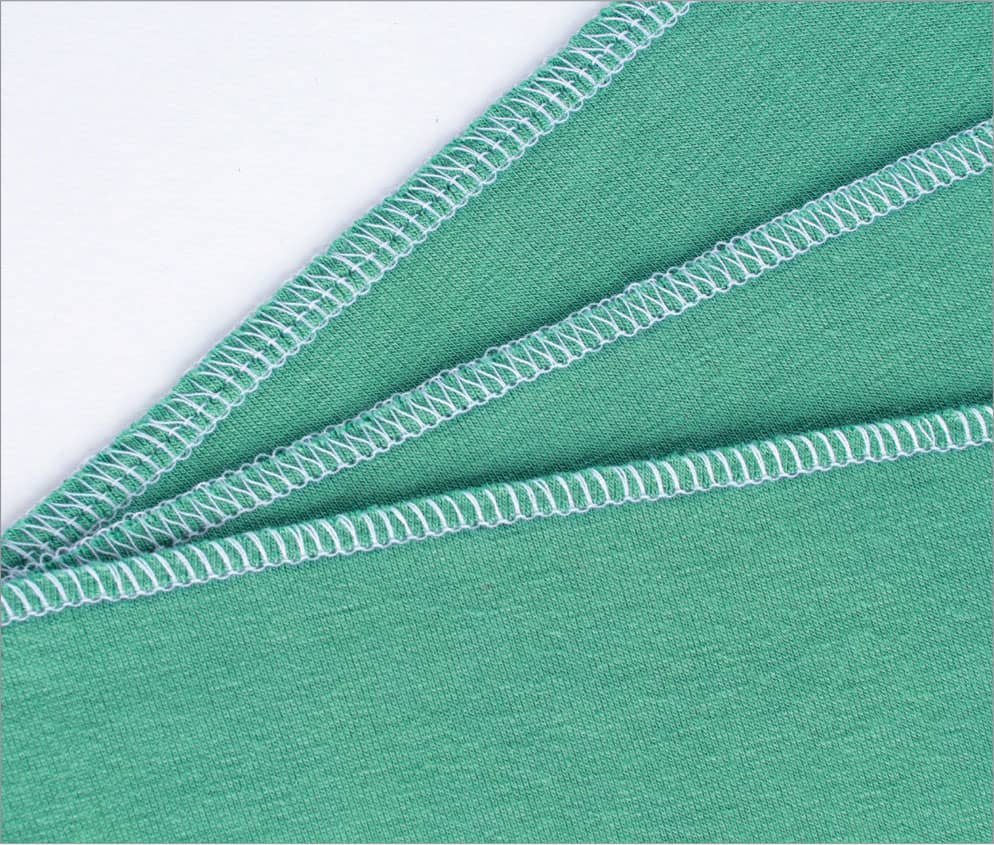
A serger is a machine that produces the multithread interlocking stitch commonly used in ready-to-wear for both seam construction and edge finishing knits. A combination of needles and loopers carry and interlock the threads to produce fully finished wrapped edges.
When purchasing a serger, make sure that the machine produces two-thread, three-thread, and four-thread stitch formations. You might want to test stitch on even the thinnest of knits before buying it. The finished stitch should be flat without rolling or torque, with even stitches on the face and underside of the fabric, and a floating thread along the very edge of the fabric.
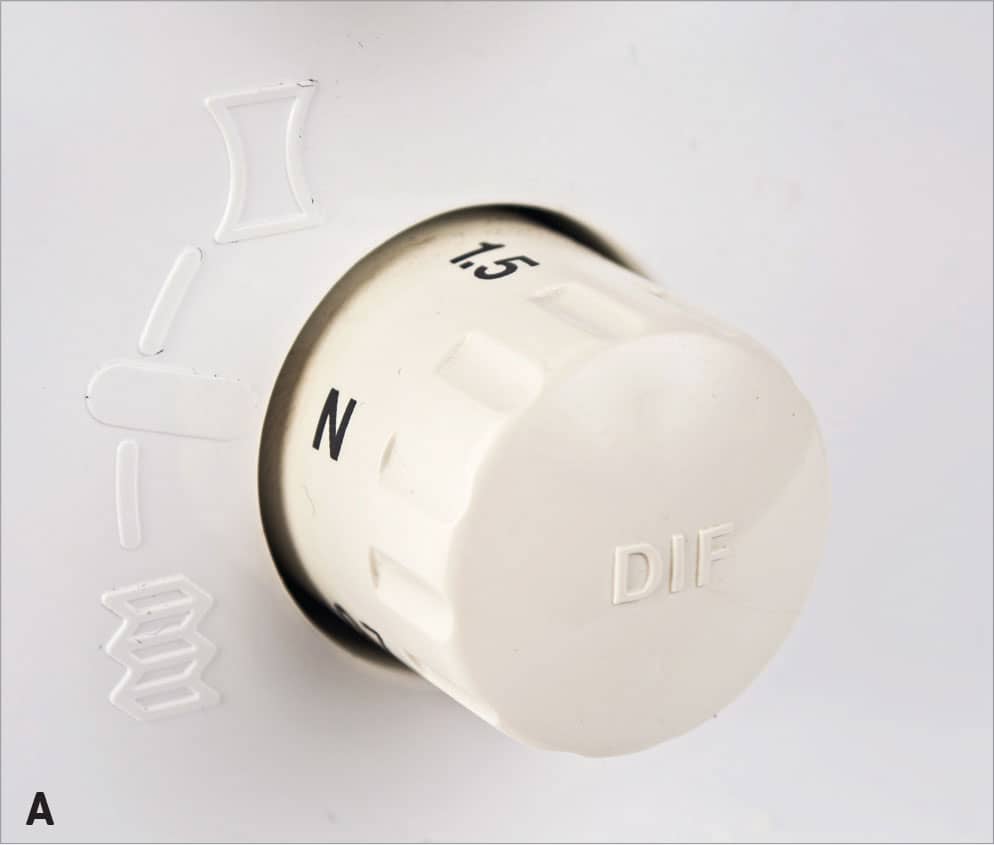
Other features to look for include a large range of stitch length and width adjustments and a setting called a differential feed (A). Differential feed changes how the fabric is fed through the machine and allows the fabric to remain flat without puckers, waves, or drawing up.
Coverstitch Machine

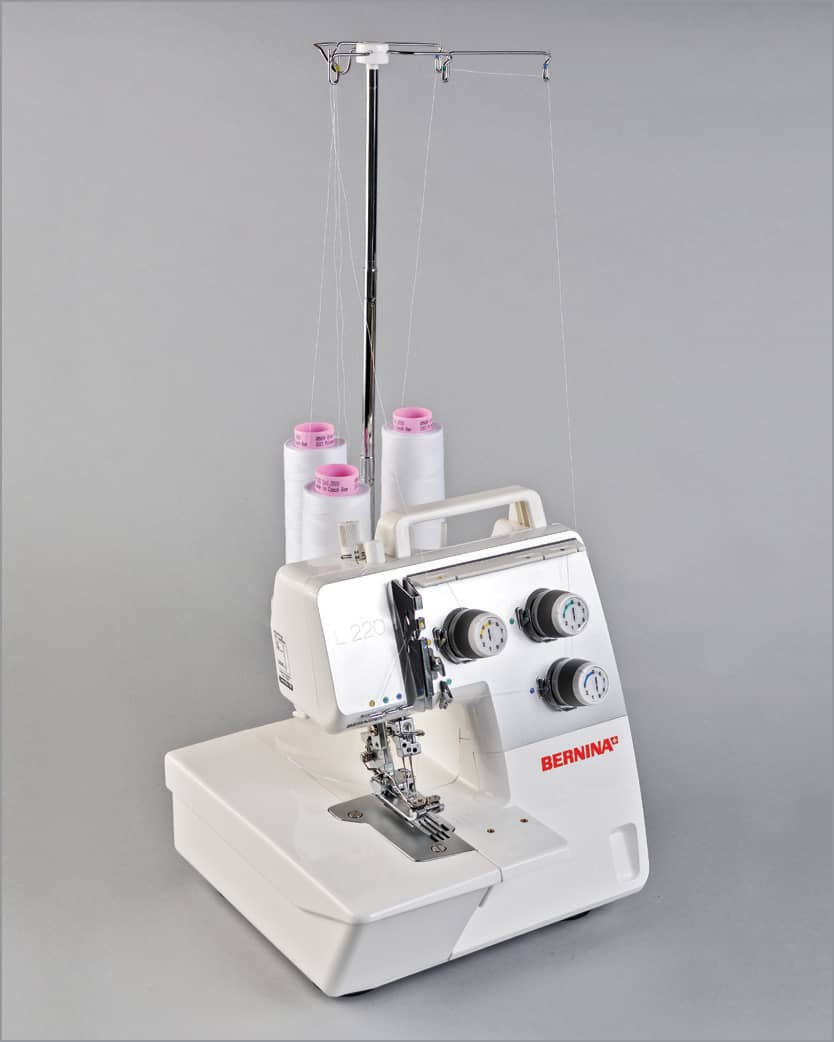
For years, the home sewer was unable to duplicate the double-needle-looking stitch that is universally used in ready-to-wear. But now, thanks to the coverstitch machine, duplicating ready-to-wear is possible.
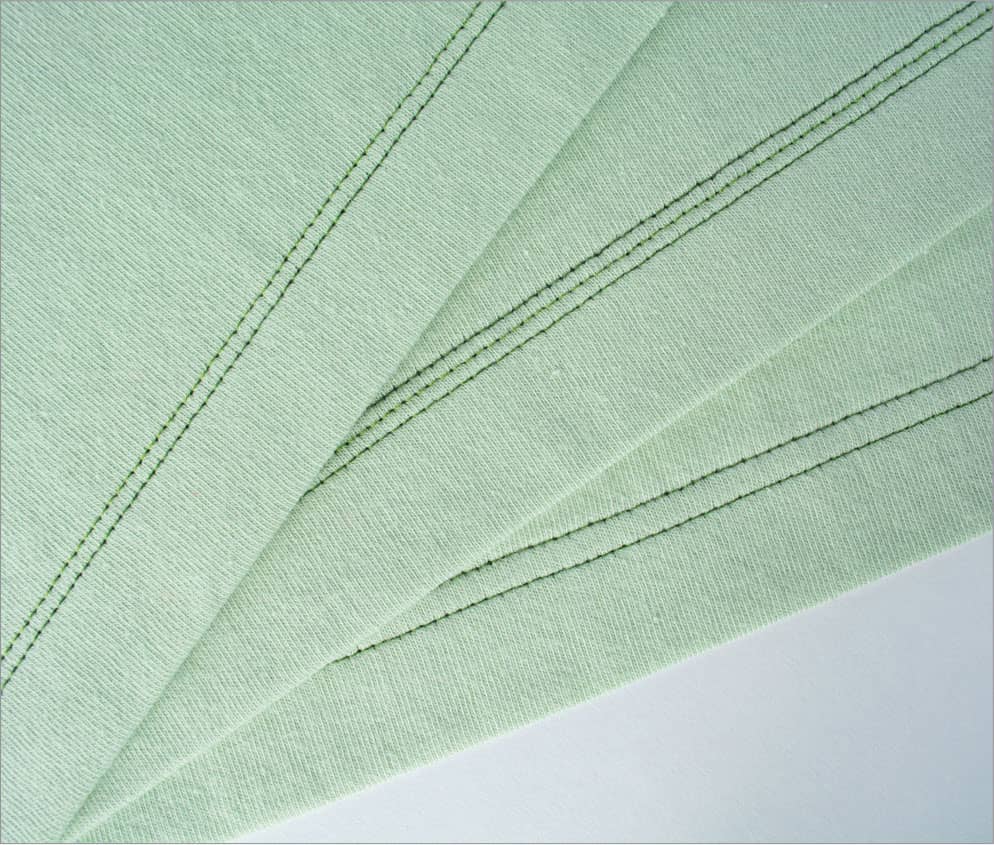
The most popular coverstitch is produced with two needles and three threads. There are two rows of straight stitches on the top and a series of looping stitches on the bottom. It is most commonly used for hemming, with the connecting stitches on the bottom side covering the raw hem edge, producing a beautifully finished hem on both sides. There is often the option to use three-needles for three parallel rows of straight stitches, as well as a variety of width choices.
The coverstitch is available as a feature on some sergers (usually higher-priced models) or as a dedicated machine that looks like a serger but only produces coverstitches.
Pressing Equipment
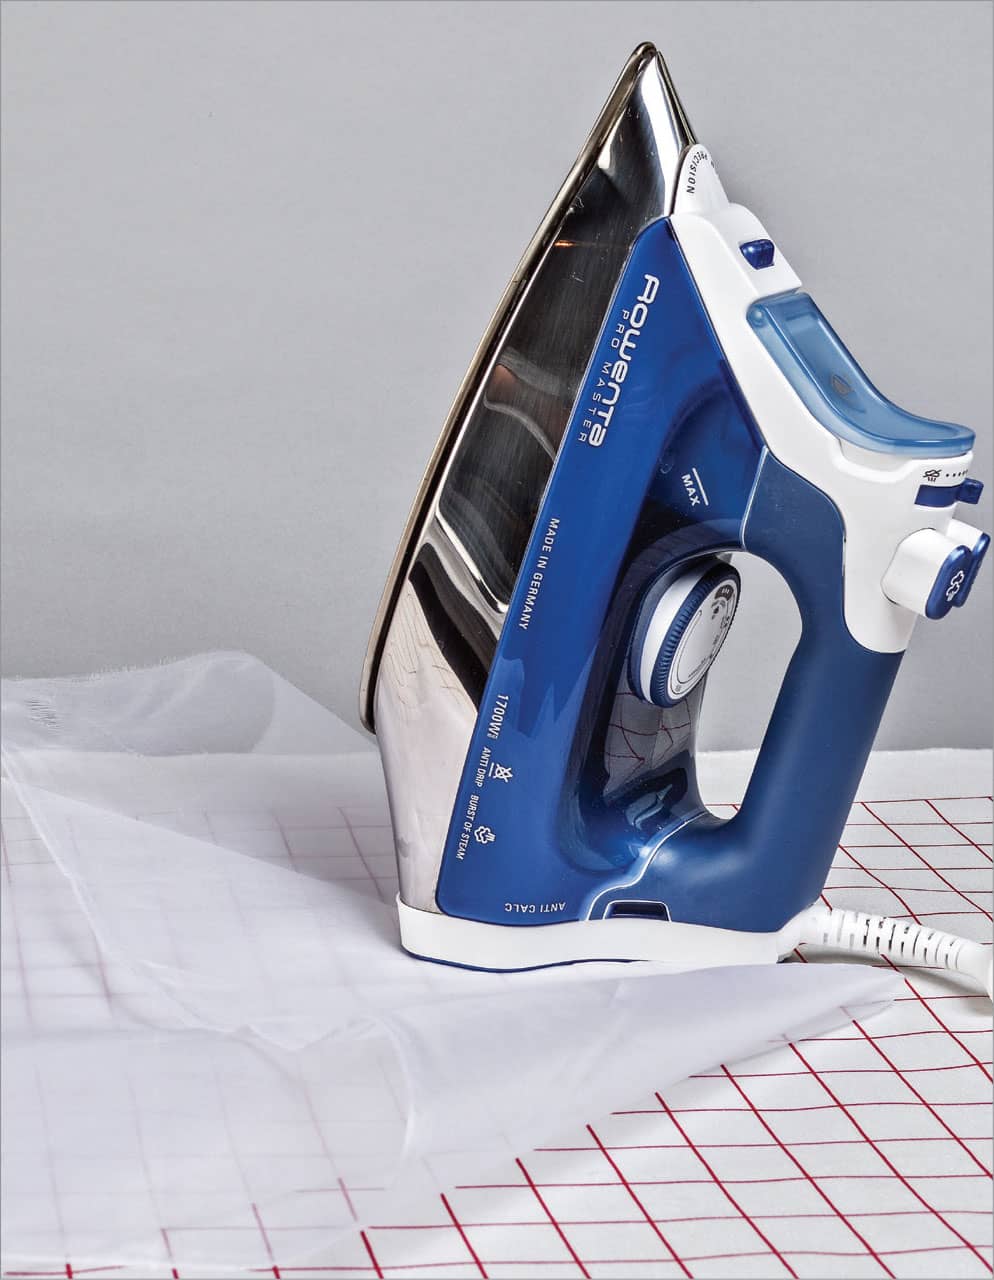
Pressing tools help you press specific areas correctly, building shape into a garment. As long as you have a good-quality steam iron and a sturdy ironing board, you can add various pressing tools as the need arises.
Iron
Buy the best iron you can afford. Choose an iron that produces good steam, has a smooth sole plate, and doesn’t spit or leak.
Ironing Board Cover
An ironing surface needs to breathe to achieve a good press. A cotton canvas cover is the best choice, and a printed grid allows you to align hems and edges.
Press Cloth
Use a press cloth to help prevent melting and scorching and reduce potential shine. To make a press cloth, use pinking shears to cut an 18" x 18" (46 x 46 cm) piece of silk organza. This sheer cloth allows you to see what you are pressing and it reduces shine.
Tailor’s Ham and Holder
Press darts, neck bindings, and curved areas, including seams over a tailor’s ham. Not only does this tool help retain the shape of a garment, but it raises the area to be pressed and prevents creasing other areas.
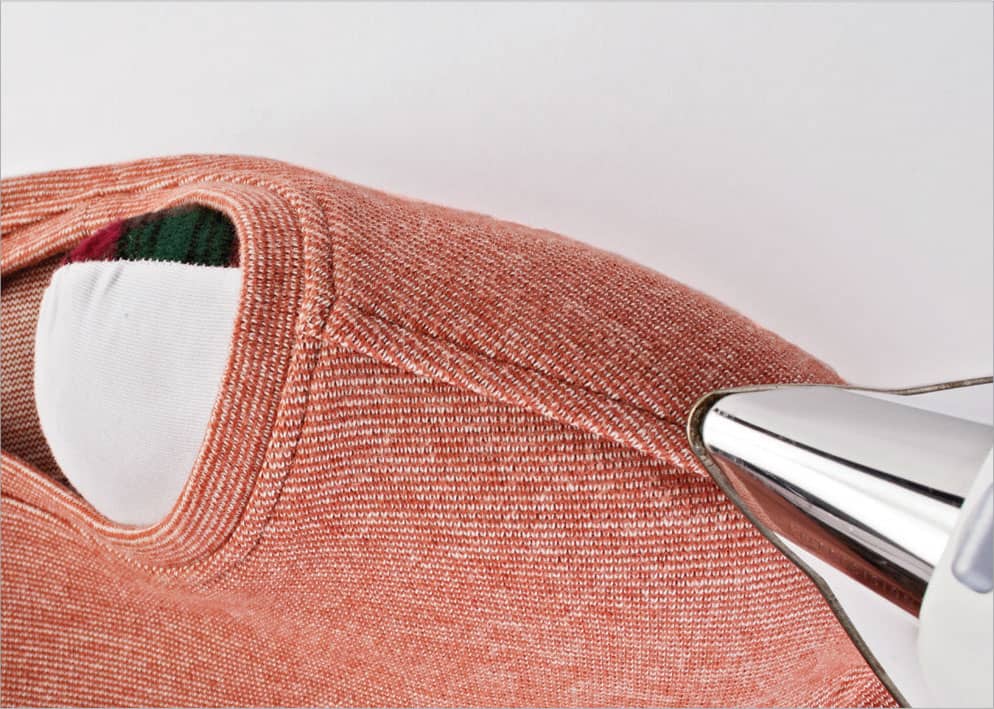
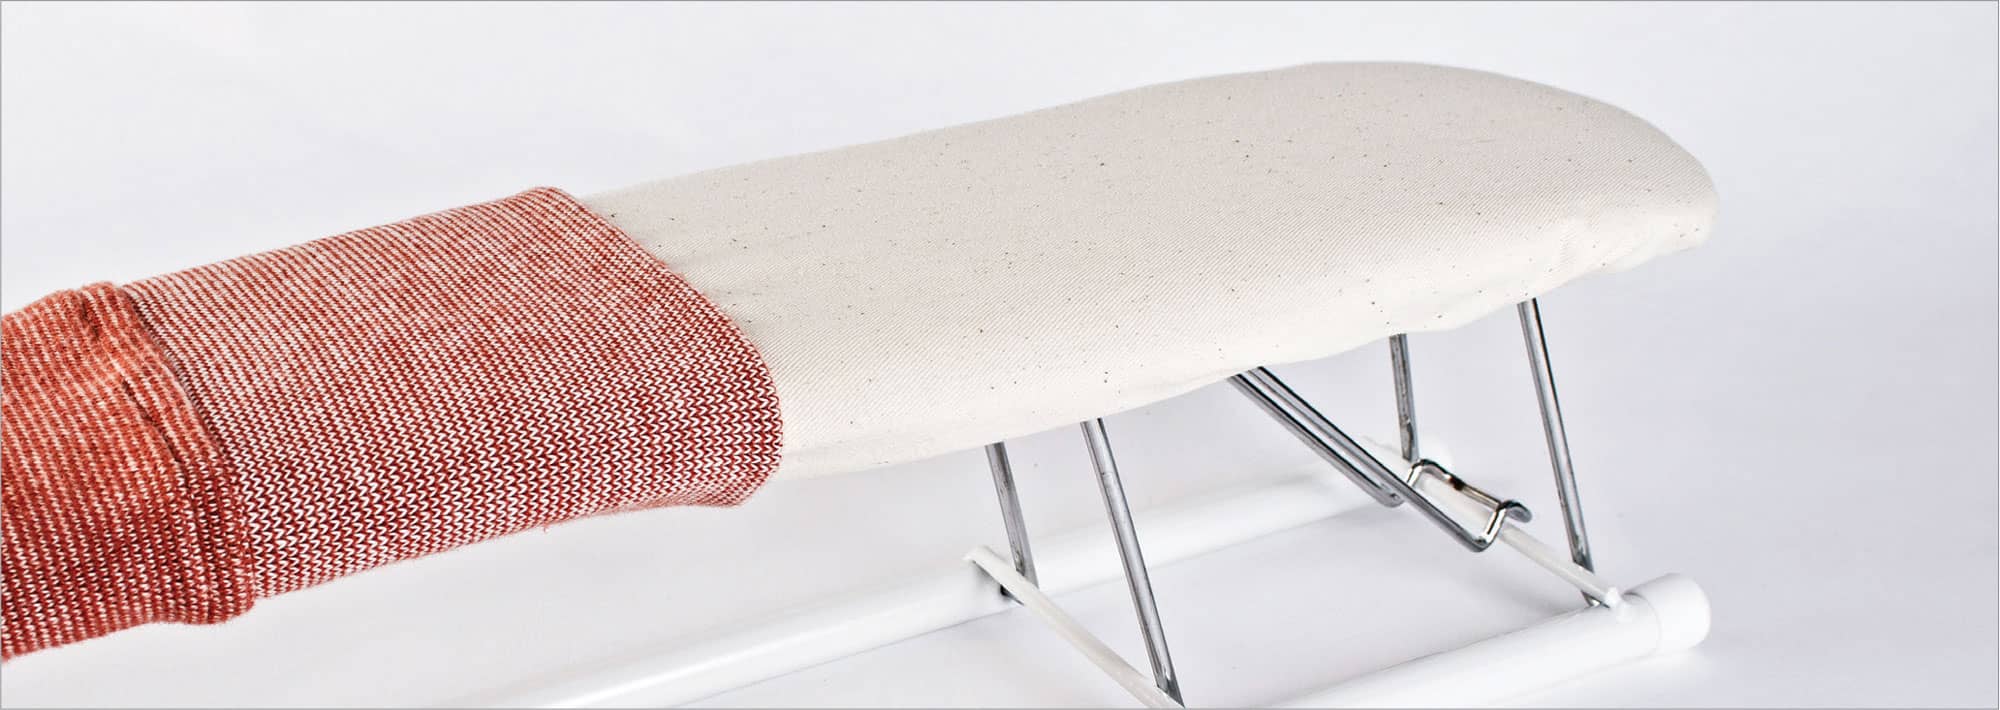
Sleeve Board
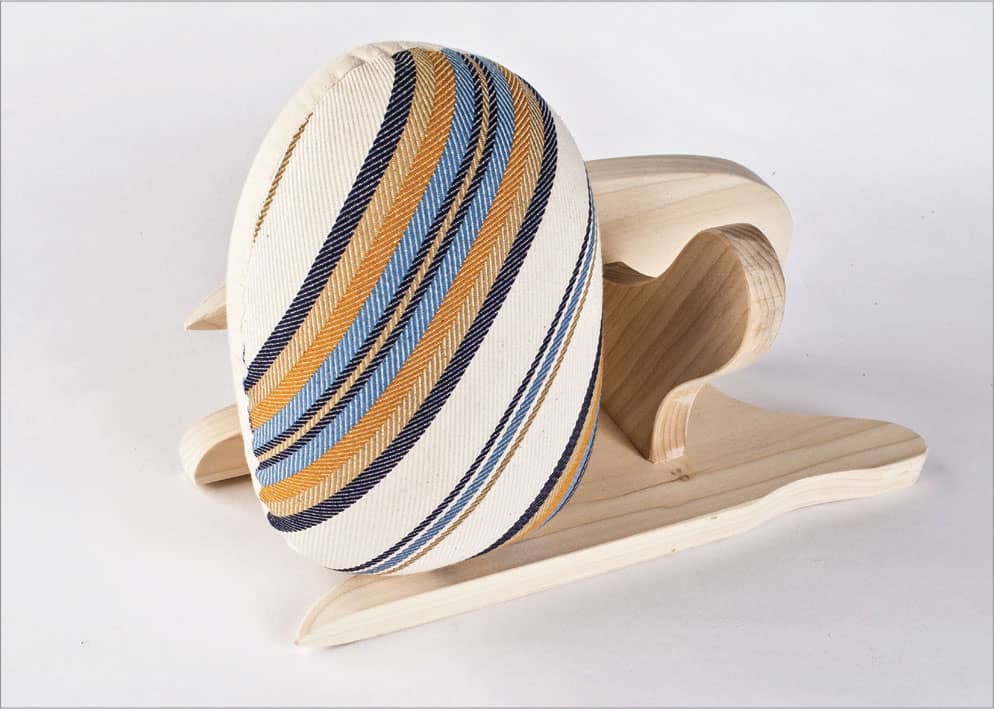
A sleeve board (below) allows you to press narrow tubular areas such as pant legs, sleeves, and cuffs easily.
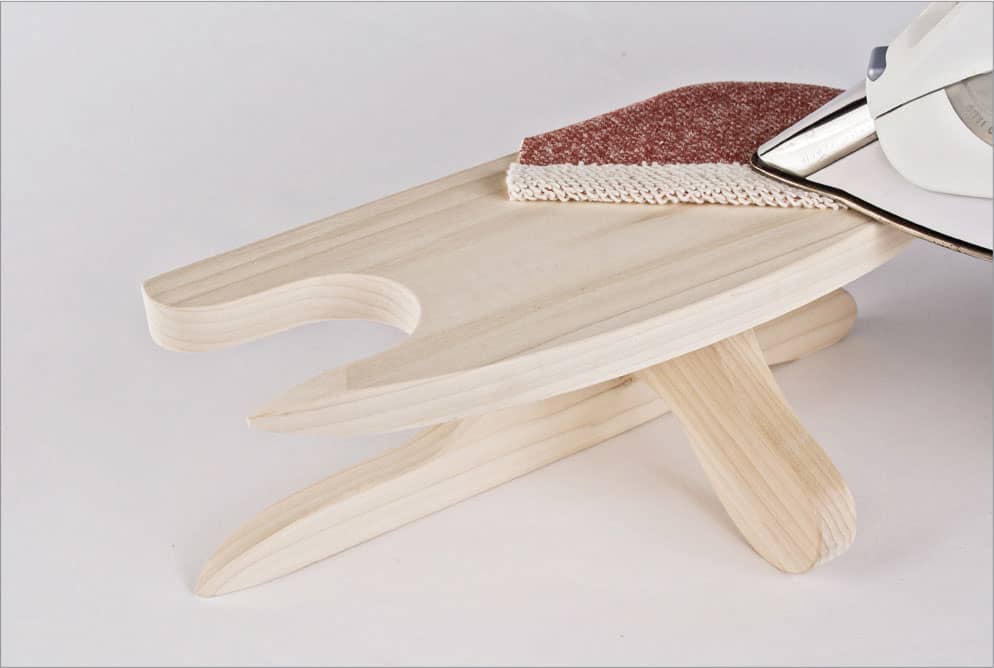
Tailoring Board
This unique pressing tool (right) is made of hard wood and has many different shapes and edges to help refine your pressing. The wood absorbs the steam, leaving a crisp press. It is especially useful when pressing seams open on straight edges and curves, especially in small areas. It also doubles as a ham holder.
Prepping the Fabric
Almost all knit fabrics are washable. Some shrink and change character more than others, so testing a sample is important.
Testing and Pre-shrinking
Cut a 4-inch (10 cm) square of the fabric and throw it in the washing machine along with other laundry and wash it in hot water and dry it, too. Then measure the laundered square to see how much it changed. Some knits will shrink in both directions, others in one direction only. This will help you determine if you need to preshrink the entire fabric yardage before cutting out the pattern and best way to launder the finished garment.

Washing knit yardage usually results in some distortion of the grain. Off-grain knits can rarely be straightened, so you will need to decide if perfect grain (a stripe, perhaps) is essential.
You may decide to preshrink the fabric using the hottest settings, but treat the finished garment differently. You might want to wash the finished garment in milder settings or even hand wash and air-dry it. This helps the fabric wear better and last longer.
Dry cleaning is always an option for any knit. One particular fabric, wool-jersey might benefit from dry cleaning. If you want to keep the original look and feel of wool jersey, then it definitely should be dry cleaned. Washing it will shrink and felt it, turning it into a completely different fabric.

Straightening Grain
Establishing the straight of grain of a fabric is one of the most important things you can do you insure that your garment hangs nicely, but it can be really difficult to determine the straight of grain of a knit.
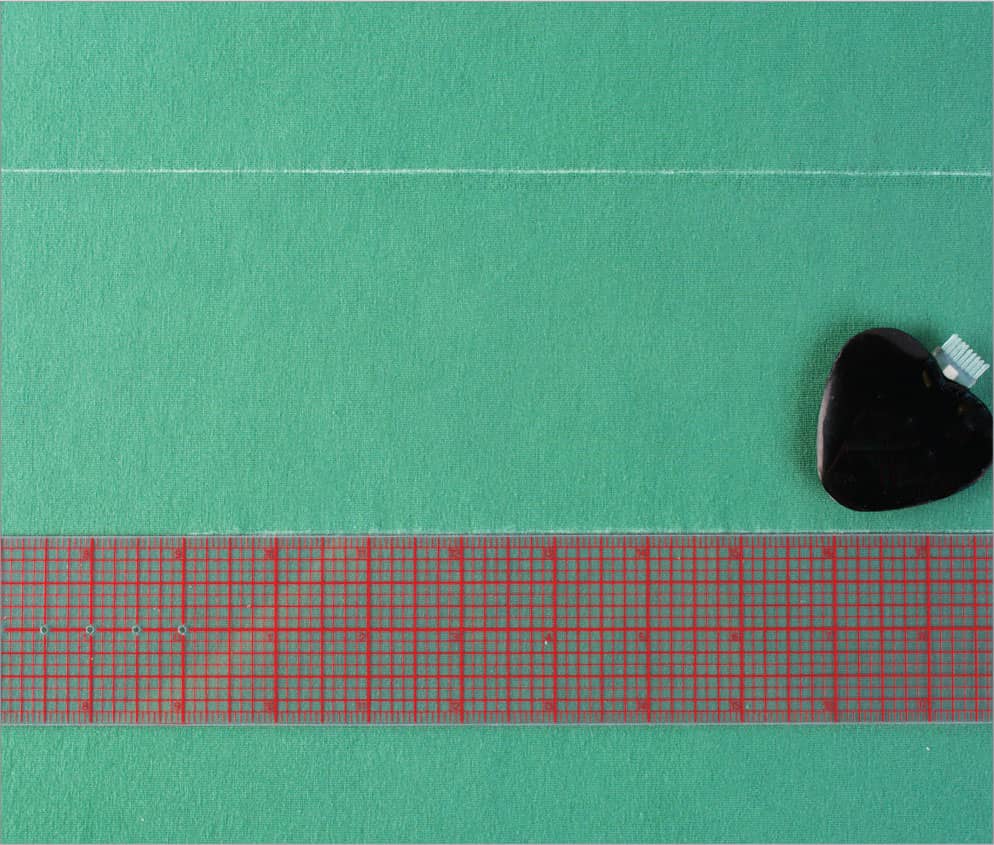
Try to find the vertical ribs on the right side of a knit and use a chalk marker to mark a few rib lines throughout the yardage. Try to align these marks parallel to the edge of the cutting surface for regular references when you are laying out the pattern pieces.
Pressing
As with all sewing, careful pressing techniques are essential. Knits are a bit unique.
Always test press your knit fabric to determine the best temperature and to make sure that the fabric doesn’t melt, pucker, or scorch. Some knits press well, while others hardly retain a crease. Whatever the situation, over pressing can result in unwanted shine. Knit garments should have a softly pressed finish. Use an up-and-down motion, as opposed to a back-and-forth motion to avoid distorting and stretching the fabric. Don’t overpress.
Rather than waiting to press the garment once it is finished, press as you sew.
Laying Out the Fabric
Most knits do not lie flat. More than likely, the selvages draw the fabric up at the edges. Use a rotary cutter to remove the selvages. There may be a texture difference between the selvage and the fabric or some small holes running parallel to the selvage that can be your guide for trimming (see below).

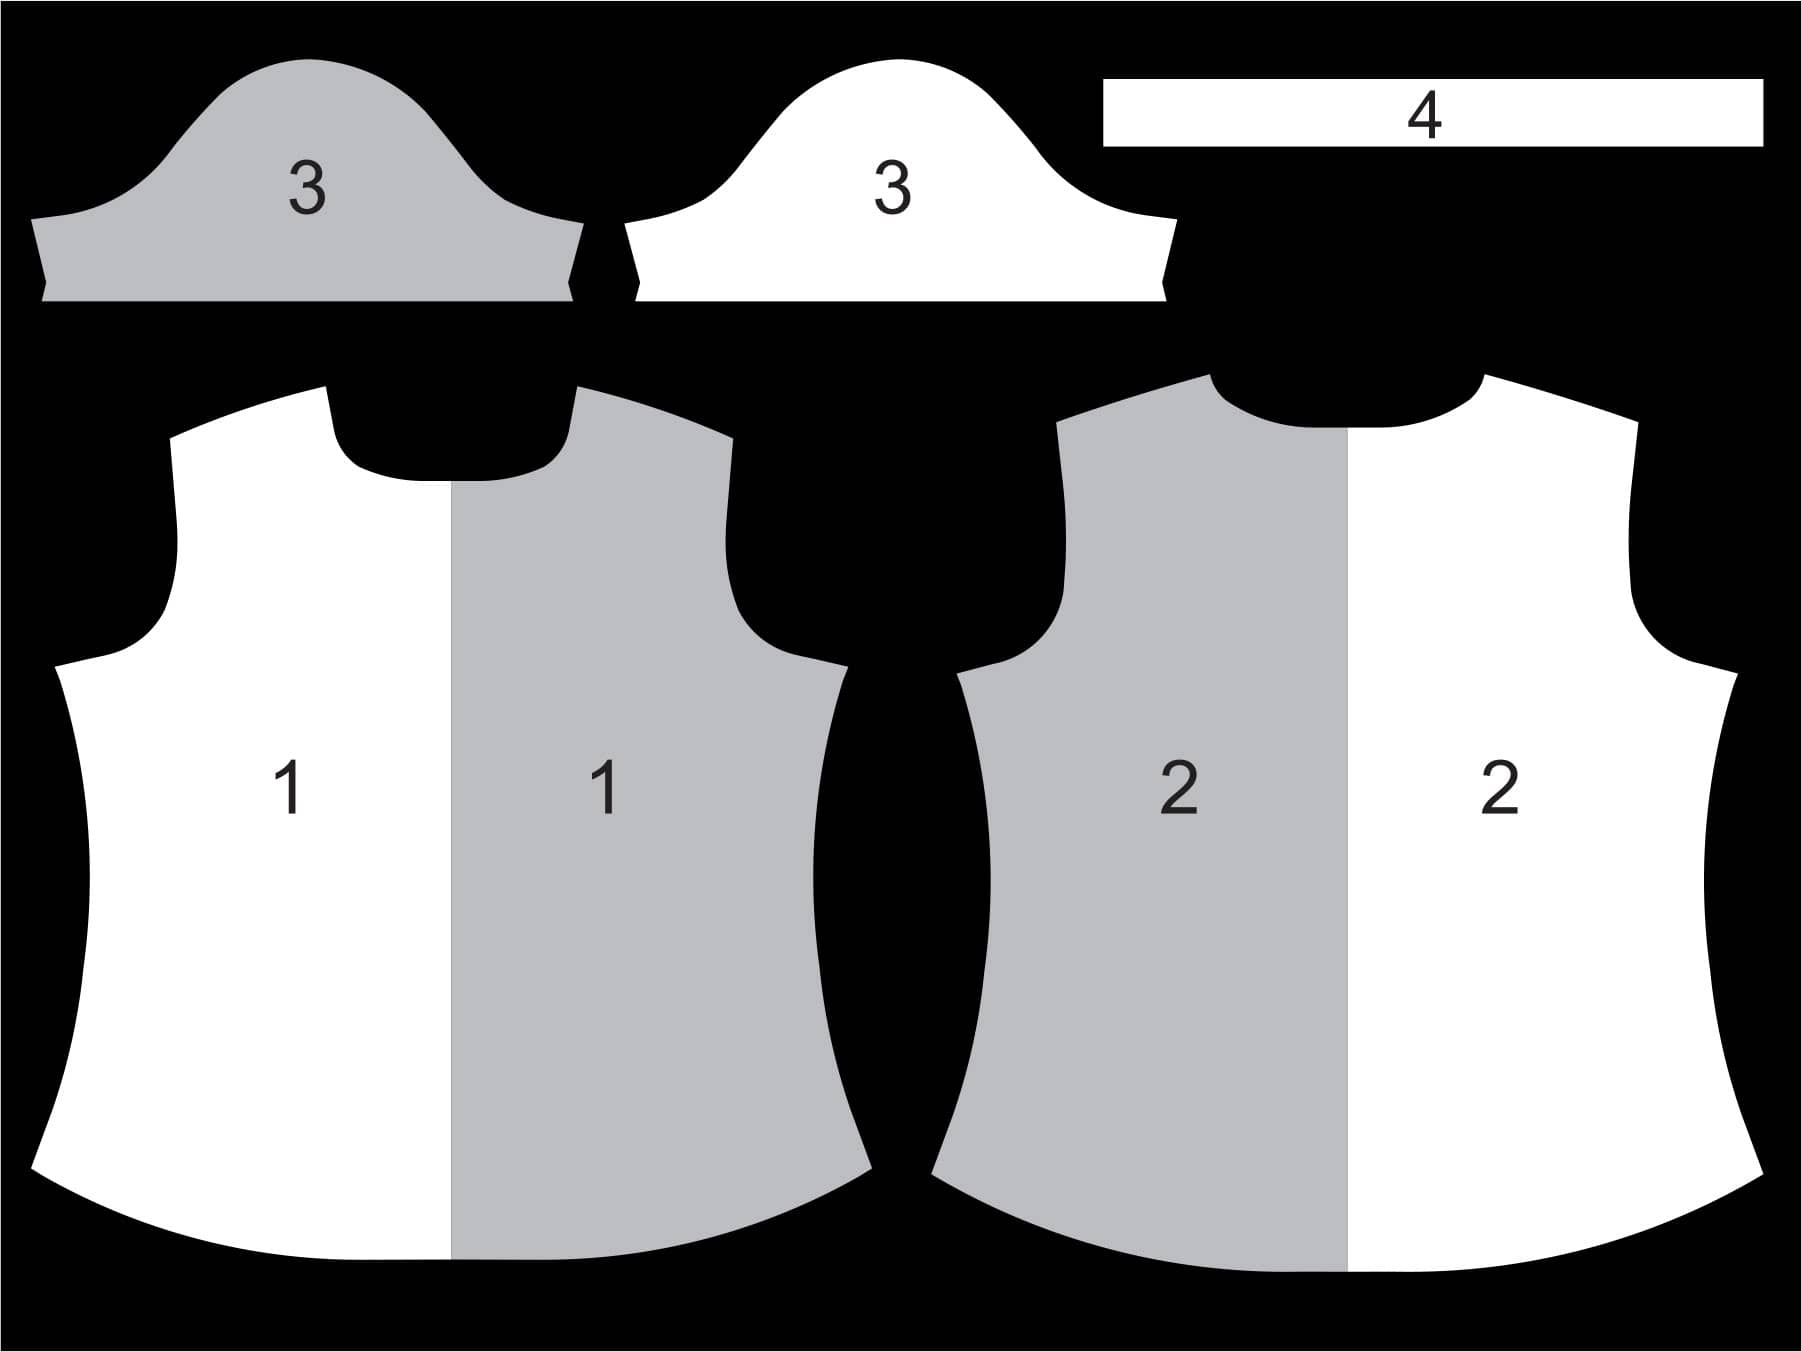
Knits are best cut out in a single layer of fabric. If you are unsure whether you have enough fabric, use pattern drafting paper to trace pattern pieces that need to be cut more than once and to complete half-pattern pieces such as the back of a T-shirt pattern that is cut on the fabric fold. Laying out as many pieces as possible all at once also prevents moving the fabric too much and minimizes shifting. This is also very helpful when working with stripes or plaids that need to match at the seams.
Work on as large a surface as possible, preferably on a cutting mat (so you can use a rotary cutter). Don’t let the ends of the fabric fall off of the table. Roll the fabric up at one end if needed. Make sure that the pattern pieces are arranged on the fabric with the most stretch going around the body.
Many knits have a nap that can’t be see when the fabric is flat on the table. Lay out all pattern pieces in the same direction so there are no shade differences that might appear when the garment is finished.
Pinning and Cutting
Although you can use pins to secure the pattern pieces to the fabric, fabric weights hold the pattern pieces and fabric in place while pins tend to shift the fabric, making cutting less accurate.
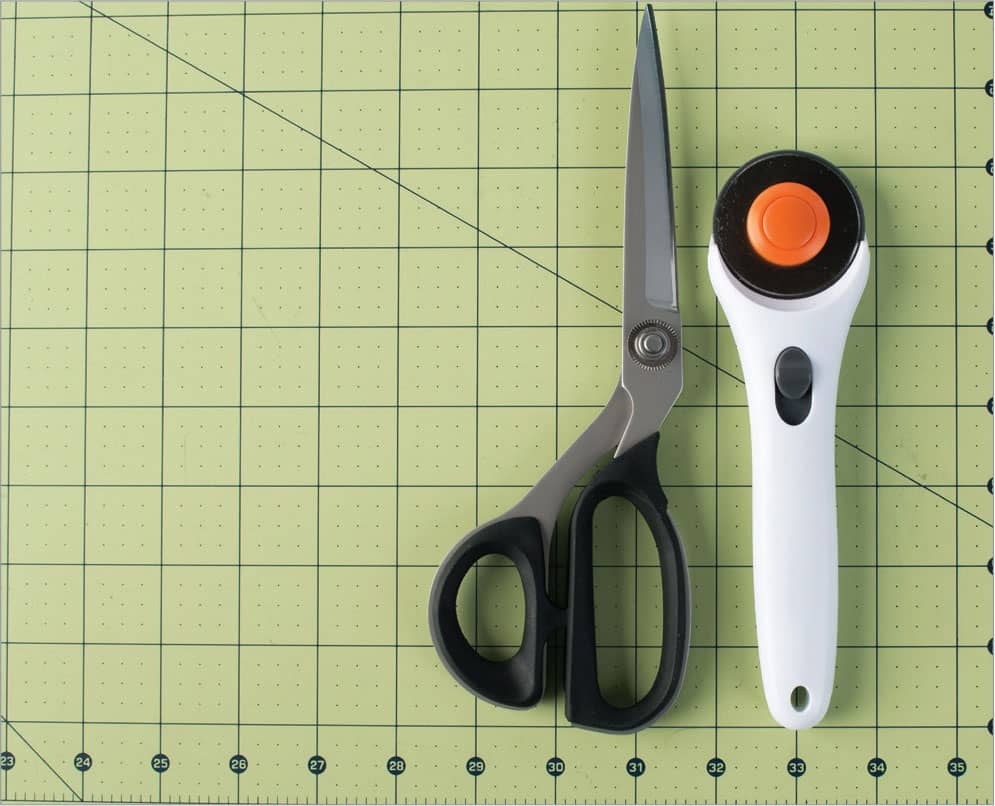
Since many knits do not ravel and, therefore, may not be finished on the edges, you want as smooth a cut as possible; a rotary cutter is the best option for cutting even edges. If you prefer shears, use the largest blades that you can handle for a smoother cut.
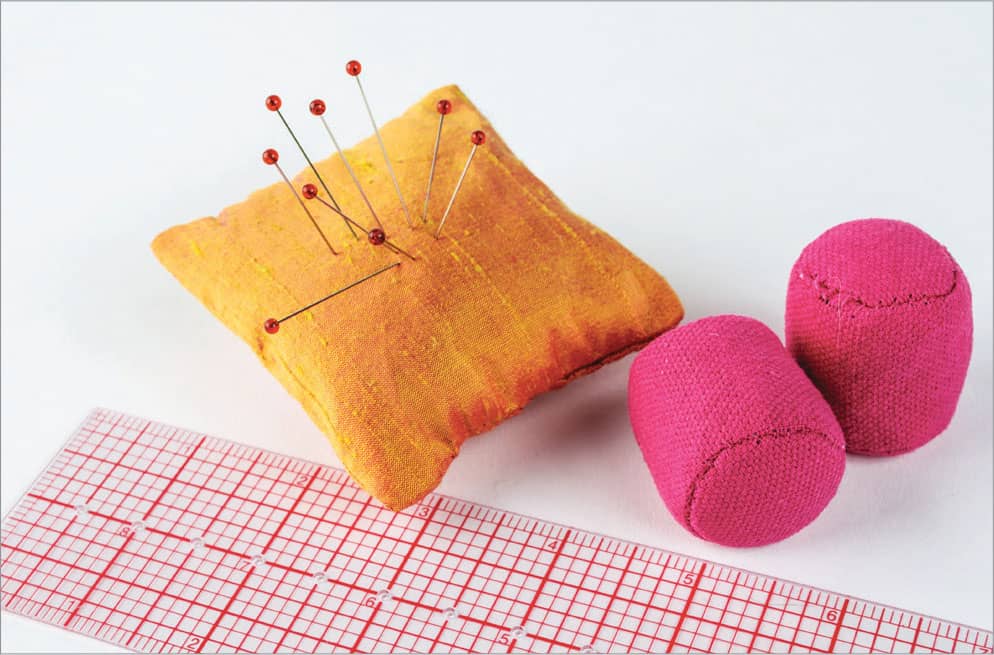
When there are straight edges on the pattern pieces, use a see-through ruler, together with a rotary cutter, for smooth cuts.
To hold fabric layers together during sewing, glass head silk pins are my pins of choice. Look for pins with a really sharp point that slip through the fabric smoothly. Don’t sew over pins, throw bent and dull pins away, and replace your pins frequently.
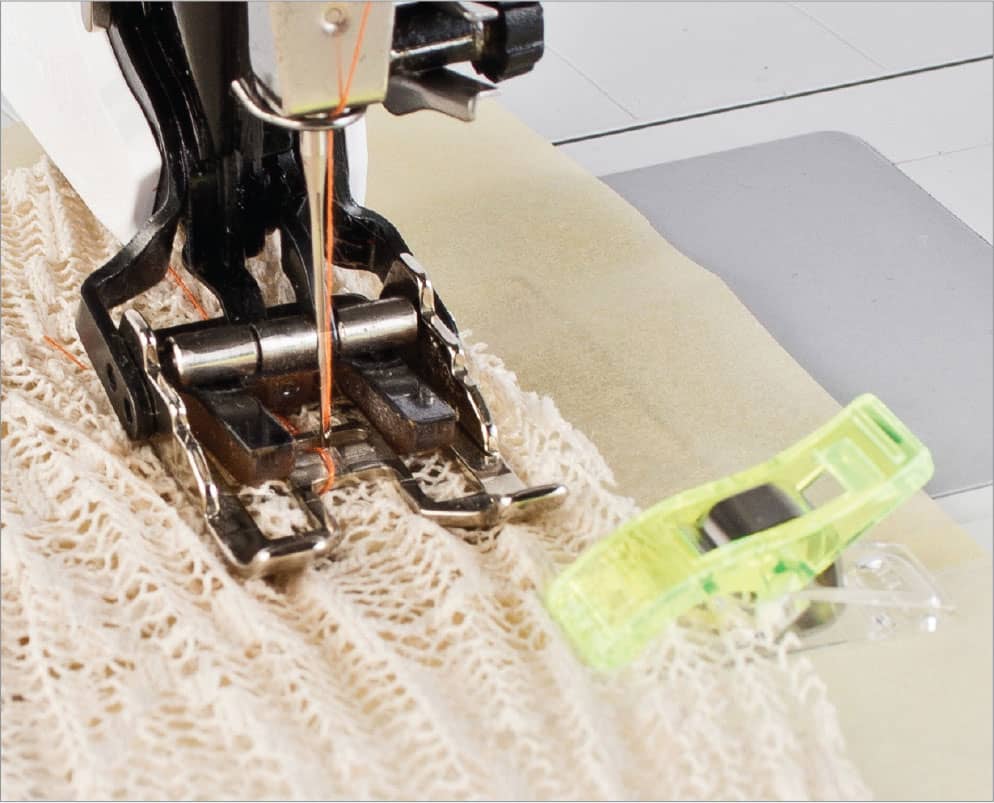
Because pins don’t typically work well on such fabrics as lace, crochet, and other open weave novelty knits and thick sweater knits, use small clips to hold the edges together while sewing.
Marking
It is essential to mark all notches, circles, and other important match points before the cut piece is removed from the cutting table. It is almost impossible to re-establish the perfect match of pattern and fabric.
Fabric marking pens and pencils claim to “disappear” with either water or air. Test these tools on a scrap of fabric first to make sure they live up to their packaging. Chalk markers disappear as you are working with the fabric. Tailor’s tacks and small snips into the seam allowance are the best marking methods for knits.
Interior Markings
The most dependable and accurate method of marking knits is with tailor’s tacks. These are used primarily for interior markings such as circles, squares, and triangles, which are used to mark seamlines, darts, tucks, and buttonhole and button placements.
To Make Tailor’s Tacks:
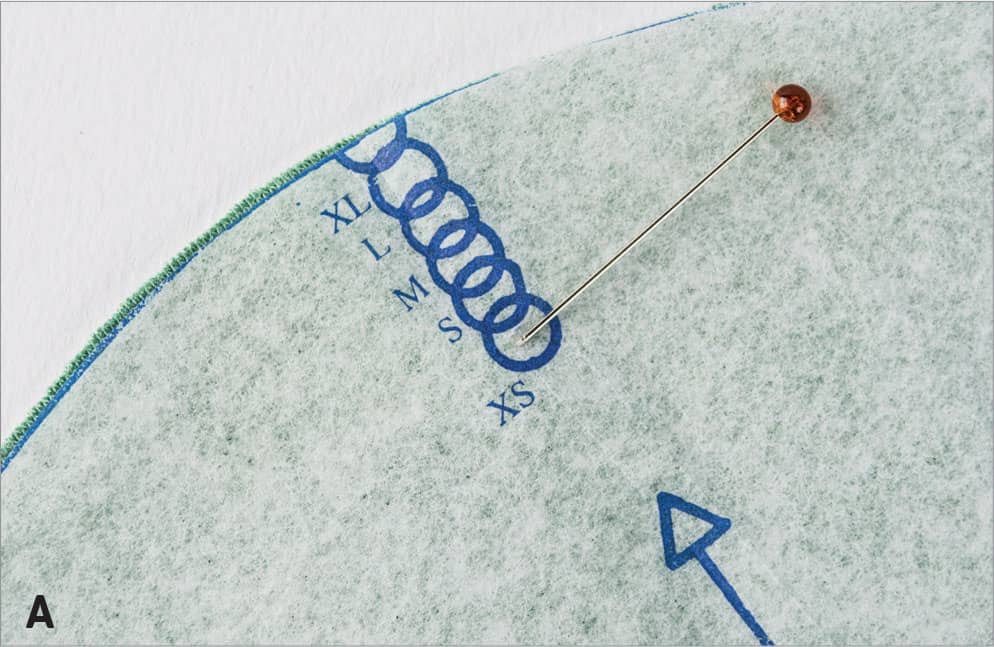
1. Mark the location for a tailor’s tack by inserting a pin through the mark on the pattern and into the fabric (A).
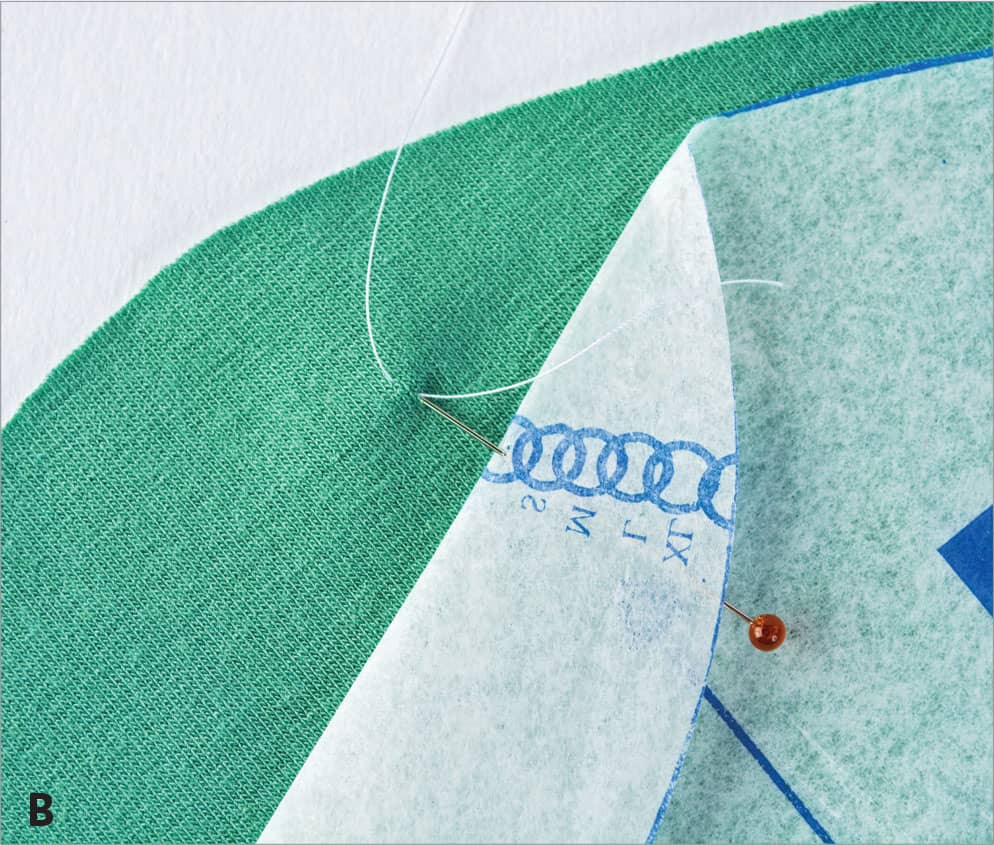
2. Pull the tissue away from the fabric. Using a fine hand-sewing needle and a single strand of thread, take one stitch where the pin enters the fabric, leaving a 1" (2.5 cm) thread tail (B). Then take one more loose stitch. Cut the thread to leave another 1" (2.5 cm) thread tail (C).

Exterior Markings
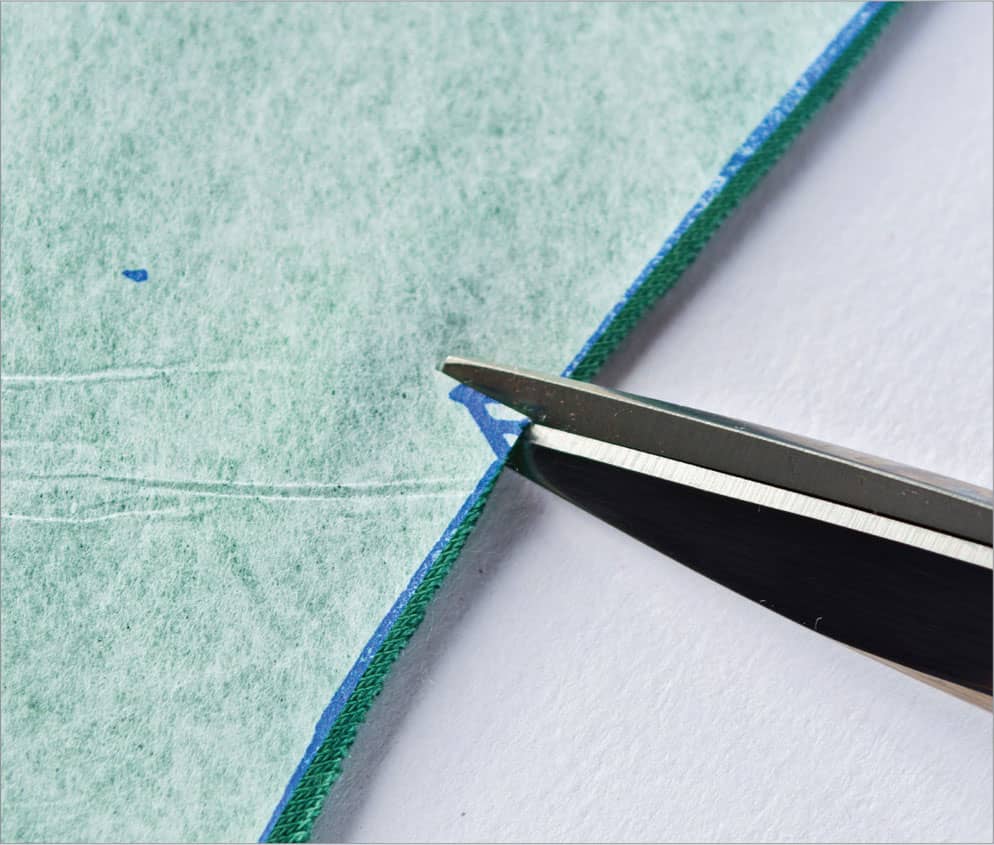
When there are notches along the outer edges of the pattern, use small trimming scissors to snip into the seam allowances. Cutting around notches that extend outward from the cutting line lifts the fabric too much and distorts the cutting line.
Marking Open-Weave Knits
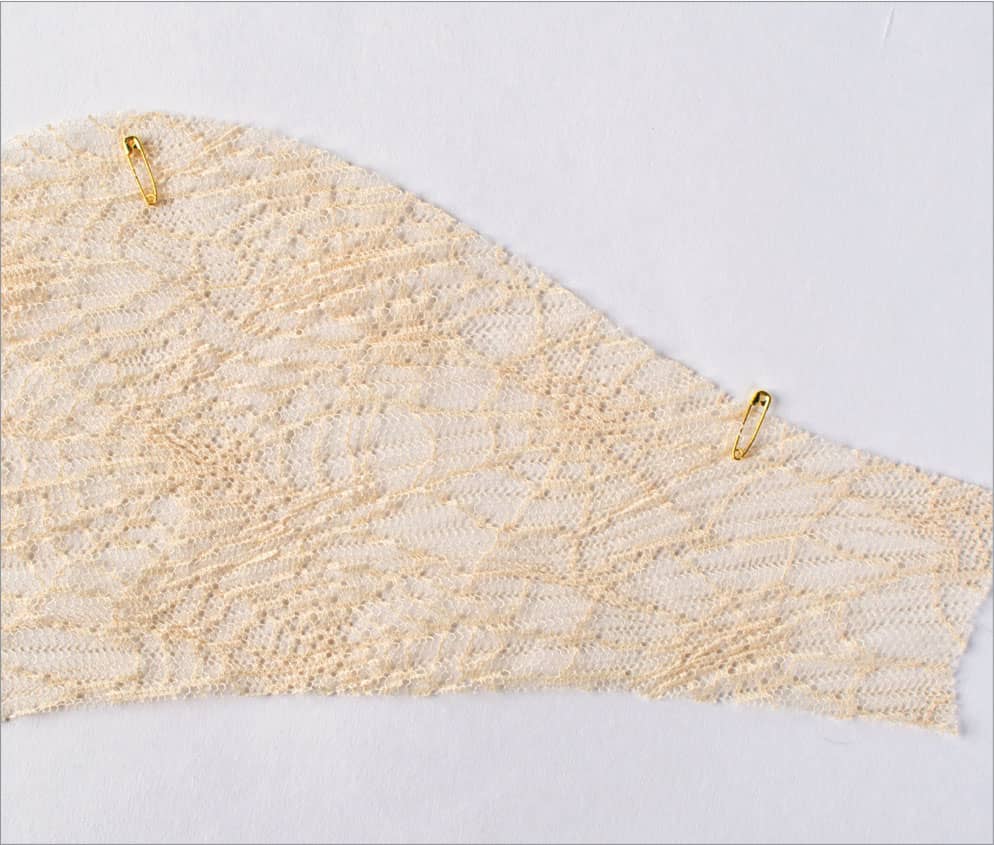
For open-weave knits such as stretch lace, crochet, or other novelty textures, use small safety pins to mark interior markings and outer notches.
Interfacing
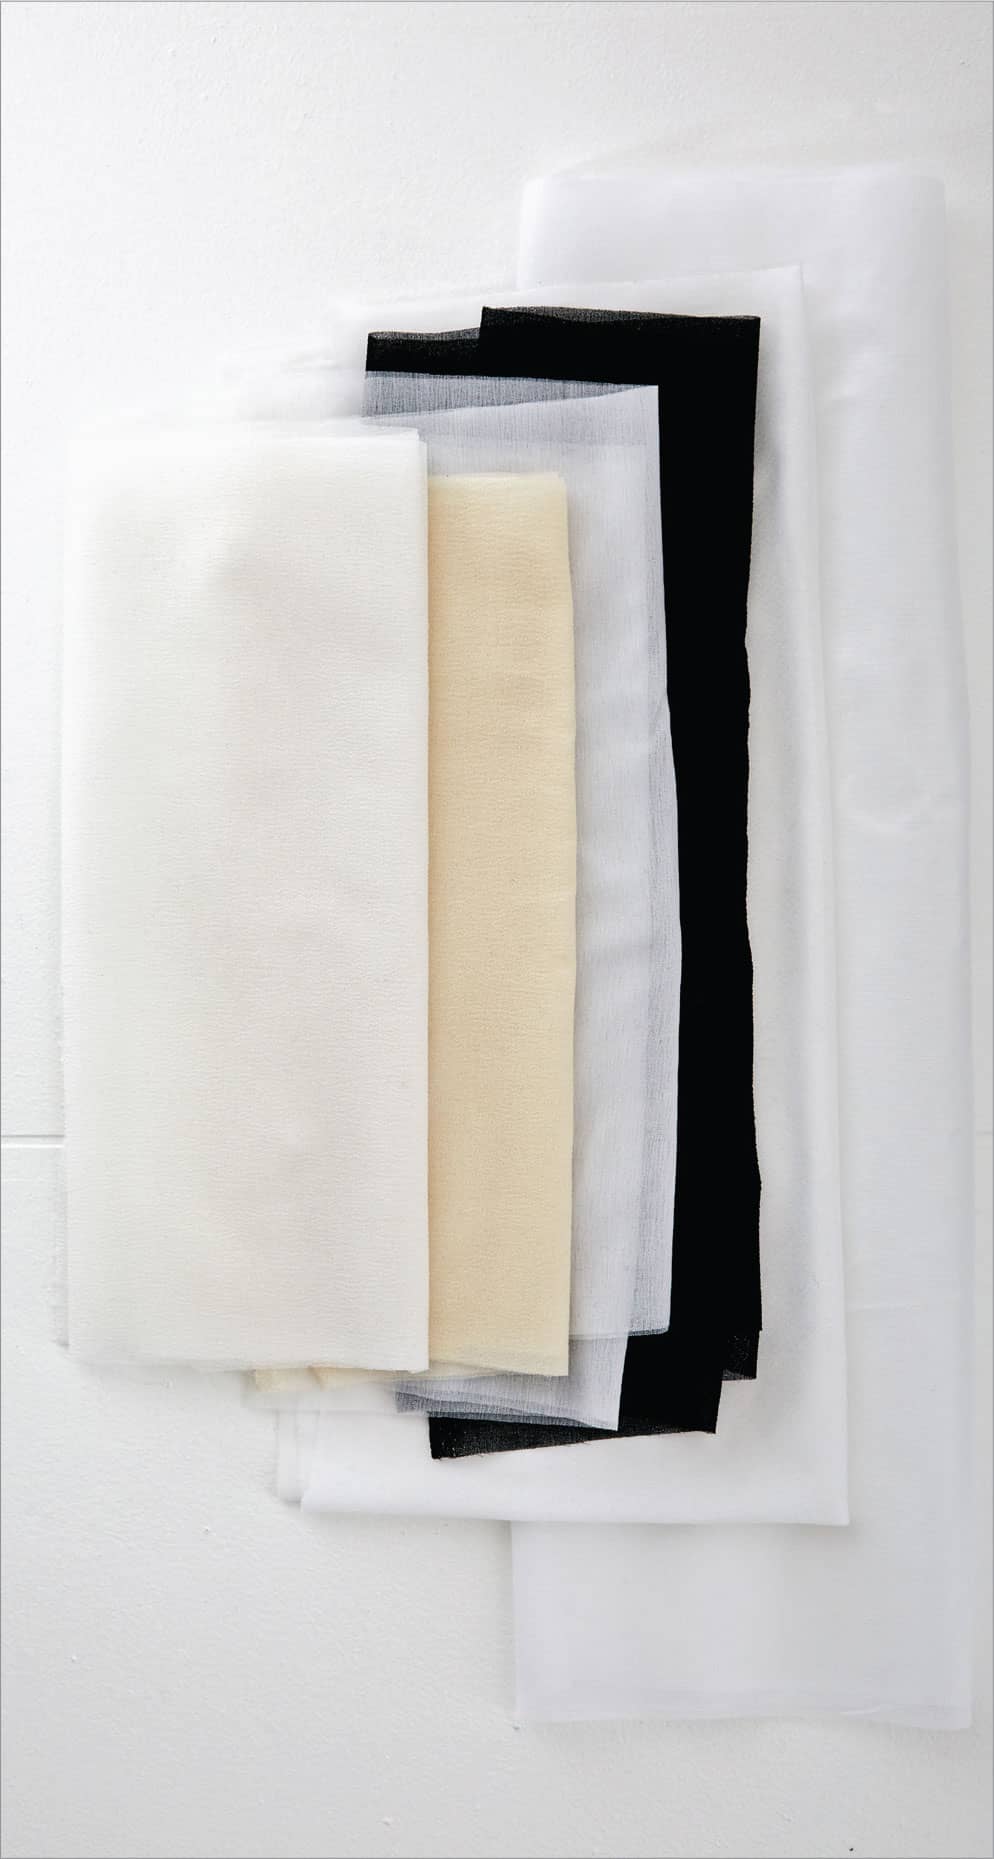
By choosing to work with a knit fabric because of its stretch factor, it seems logical that an interfacing should be able to move and stretch along with the fabric. The decision to interface a knit is all about the style of the garment and the type of knit. Lightweight knits may need to be supported with interfacing. Many stable knits such as ponte do not need to be interfaced at all.
The usual locations that might benefit from interfacing are no different from those of woven fabrics. Facings, plackets, collars, cuffs, and buttonholes are areas that may need to be supported.
Tricot interfacing is the most common choice, and the more lightweight, the better. Whether you use a fusible or a sew-in interfacing is a personal choice, but fusible interfacings have improved so dramatically that there is no reason not to consider using them.
All interfacings should be tested on a scrap of fabric before committing to the actual project to make sure they don’t change the hand feel of the fabric.
The interfacing can actually be preshrunk on the fabric itself before permanently fusing it in place. With the garment wrong side up, position the interfacing in the desired location. Hold the iron over the work and without touching the fabric or interfacing, activate the steam. Once the interfacing has drawn up, press it firmly to fuse it to the fabric.

When interfacing a small, curved pattern piece such as a collar, it is easier to interface a section of fabric, and then cut out the pattern from the preinterfaced yardage. When laying out the pattern pieces on the yardage, identify where you will be positioning these smaller pieces and chalk-mark the area. After the major pieces have been cut, you can interface these smaller sections of fabric.

Testing Stitches
Eliminate potential sewing issues by test sewing on scraps of your actual fabric. Experiment with different needles, threads, presser feet, and sewing aids such as paper stabilizers and throat plates with smaller stitch openings, before ever starting the actual project. This testing actually saves time in the end.
Thread
For a sewing machine:
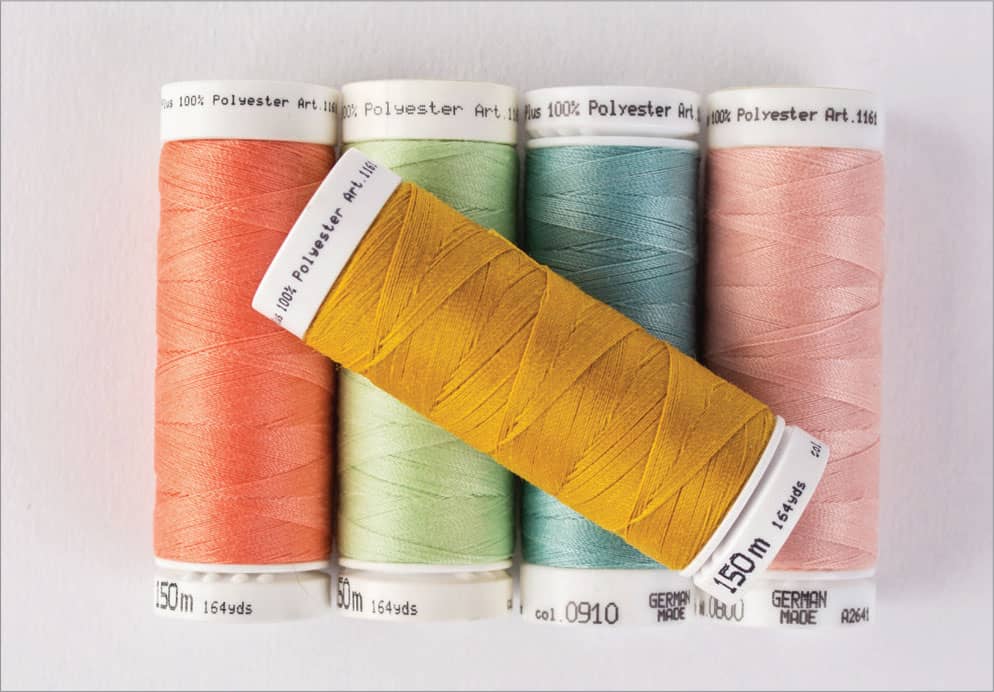
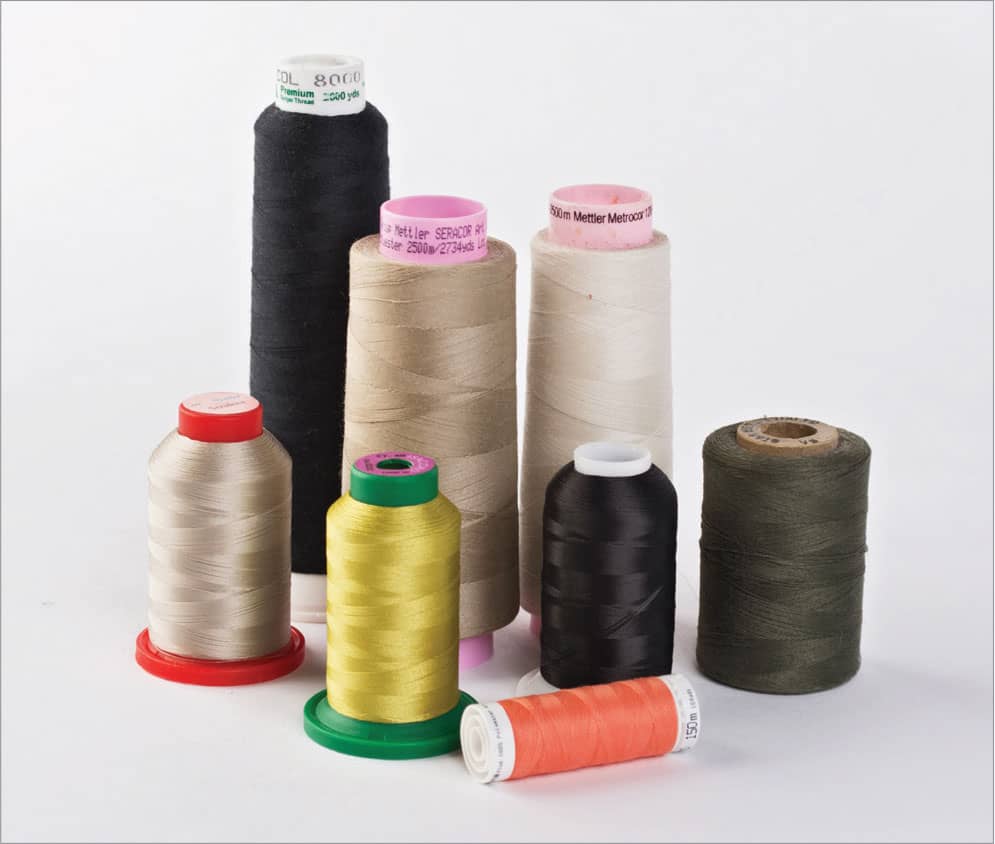
Good-quality, cross-wound polyester thread is the best choice. The thread comes off cross-wound spools evenly, adding to the quality of the stitches. Polyester thread has more strength than cotton and stitches are not as apt to pop during normal wear and tear.
For a serger:
Buy four spools of regular sewing thread to match your fabric. Use one in your sewing machine and three in the serger needle(s). This method insures the best match through the project.
Buy large cones of good quality polyester thread made specifically for serging to use in the loopers. Don’t be tempted to buy large, inexpensive cones, these tend to be slightly heavier with thick and thin sections and they produce lots of lint. The most refined, smooth threads for serging are also threads designed for machine embroidery.
For a softer, more blended serged edge, use matching color woolly nylon in the lower looper.
Stitch Quality
When making test samples, use the same fabric you will be using in your project and under the same set of conditions. For example, test on a single layer, a double layer, and an interfaced layer. Practice stitching in multiple directions until you get the right combination of needle, thread, stitch length, and stitch width.
Problems that need to be sorted out and solved are skipped stitches, puckering, too much stretching, minimal fabric feeding, and throat plate jams. Every knit fabric behaves differently, so there are no hard-and-fast rules. It takes some experimenting to find the right combination. Making test samples will help eliminate these problems.