PROJECT 4
STUFF-YOUR-FACE THROW PILLOWS
Finished pillow: 10˝ diameter

Unlike like emoji faces on the other projects, you do not have to turn under the edges for these throw pillows. Because you are only sewing through the yellow faces when you appliqué the features, I recommend using a stabilizer behind the face to help the feature appliqués lie smoothly if you are going to satin stitch them. Note that the materials and cutting lists allow for making three throw pillows.
MATERIALS
Makes 3 pillows.
Solid: ⅜ yard for pillow backs
Yellow: ⅜ yard for faces
Scraps: For features
Fusible web: 90 square inches (if you are using it to fuse the features)—¼ yard from a 12˝ roll
Stuffing: Such as polyfill or beanbag Styrofoam (I used 5 oz. of fiberfill.)
CUTTING
Solid: Cut 3 circles 12½˝ in diameter, using the 12½˝ circle pattern, which has a seam allowance.
Yellow: Cut 3 circles 12½˝ in diameter, using the 12½˝ circle pattern, which has a seam allowance.
CONSTRUCTION
Seam allowances are ½˝ unless otherwise noted.
EMOJIS
1. Prepare the fusible emoji features (see Fusible Appliqué).
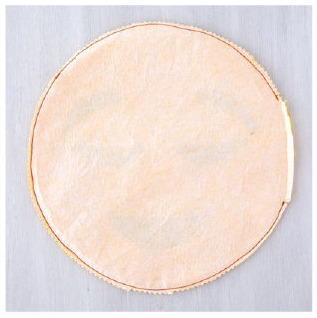
2. Fuse or pin the stabilizer to the back of the yellow faces.
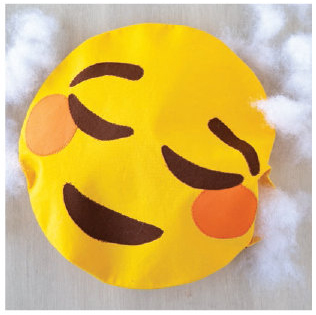
3. Arrange and fuse the features on the front of the faces. Stitch the features down (see Fusible Appliqué).
THROW PILLOW CONSTRUCTION
1. Place a pillow front (a face) and a pillow back right sides together and pin.
2. Stitch around the edge, leaving a 3˝ opening for turning. Trim the seam allowances down and cut V-notches around the circle.

3. Turn right side out, using a turning tool to press out the seam smoothly.
4. Stuff the pillow firmly with the stuffing of your choice, inserting the fill a little at a time to keep it smooth and not clumpy.

5. Tuck the seam allowance inside the opening and use a slip stitch to close it.