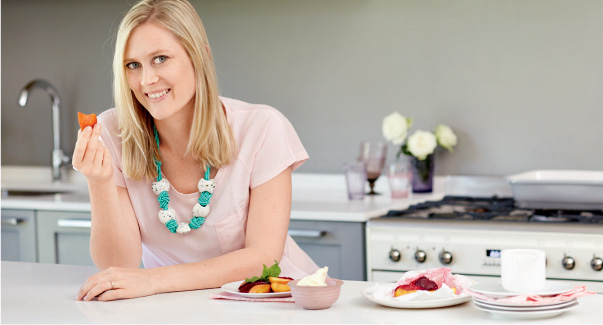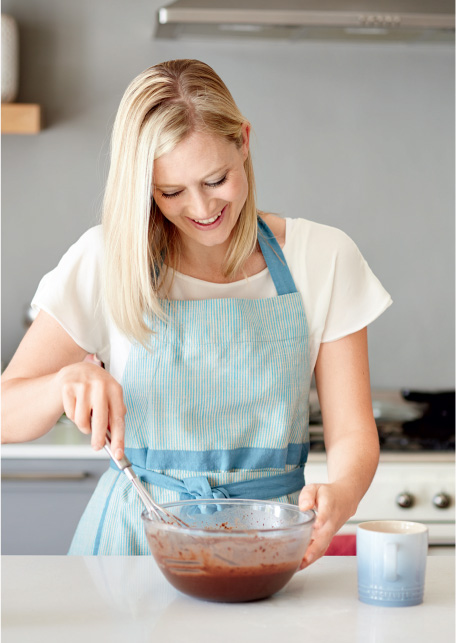
In Swahili, that beautiful lilting language that is native to parts of East Africa, safari means ‘journey’. And I love that. I love that I have had the privilege of seeing so much of our continent, and the picture it has given me of our food heritage in Africa being such a melting pot of colour and character, food that has been cooked and shared against a beautiful backdrop of lives lived in all its magnificent corners, of stories told, of meals shared around campfires, wood stoves, BBQs (braais) or full and happy tables. And I also love coming home. I love sharing the ideas and inspirations that are gathered along the way.
I grew up in our own little corner of Africa, where my parents have a small game reserve and run a lion conservation project. Where the savanna bends gently against the breeze and the sun seems to shine endlessly out of an enormous blue sky. Responsible tourism has always been at the heart of what my family does, and through it I’ve been lucky enough to walk with Maasai in remote parts of northern Kenya; feel the exquisite white sand of Zanzibar between my toes; ride elephants and bottle-feed lion cubs in our own backyard; stare in awe at the glory of Table Mountain in the rose-pink light of sunset, and so much in between.
Through our work, there have also been visits to Istanbul, the bright lights of Beijing, New York and so many other special places. With this book, I wanted to share some of that with you, and some of the food that makes these memories come alive. Food that’s connected to places that I’ve been, and places I’d like to go.
What I think I’m trying to say is that this book is about more than just recipes, it’s an account of sorts, with heartfelt anecdotes that I hope will keep you company in your own kitchens as you prepare food for feeding the people who you love. It’s about our sense of home, with all the splashes of colour that we add to it as we journey through life.
There are, of course, more ‘ordinary’ dishes that give us a generous helping of simple, uncomplicated everyday food – anyone who knows me knows that I’m all for delicious kitchen quick-fixes and I have never claimed that my food is revolutionary. You will also see my own twists on so many old South African favourites, just their names conjure up an exquisite kaleidoscope of food memories and moments for so many of us: bobotie; snoek; milk tart (melktert); malva pudding; chakalaka… And then there are the dishes that take a little longer to coax to glory, but it’s so worth making their acquaintance. Those quiet moments at the stove are moments well spent.
So, here’s to full and happy tummies and empty plates around merry tables. I hope that you will enjoy this little kitchen companion that is packed full of an abundance of all of the beautiful, simple, honest and sincere recipes that I love to cook; the meals that keep us company as we all meander through our colourful lives.
With the firm belief that there is no point in reinventing the wheel, these are adapted from bitten. (my first book) and then further updated from smitten. (my second book), and remain my firm favourites in my little arsenal of kitchen what-to-dos.
Clean up as you go along; this means you don’t get to the end of the cooking process and your kitchen looks like a bomb went off. I usually keep the bin in the middle of the kitchen floor when I’m cooking more than one thing at a time, so that I can just discard things quickly and easily as I go along. Also, peel vegetables directly over a piece of newspaper for easy cleaning up afterwards.
If we are having people round, I always lay the table before I start cooking. This means that on the odd occasion when you might still be enshrouded in steamy kitchen chaos and hear their knock at the door, it still looks like you’re ready for them. It also means that you are not the host who spends most of the evening in the kitchen instead of actually sitting and chatting with your friends.
Wherever possible, I encourage you to explore where the food you are buying comes from, and to opt for well-loved ingredients. If that means eating fewer, but better quality meat and seafood dishes, then go for it. Try to buy free-range or organic where you can, and also take the time to read more about meat-free Mondays and other tips for how to be ‘selective omnivores’ on my blog.
Always make sure you read the recipe the whole way through before you start cooking. I am a classic culprit for always wanting to get right to the good stuff and have learnt this lesson the hard way!
Being efficient in the kitchen is a whole world easier when you have what you need at your fingertips. This will mean you’re more likely to cook and you’ll also save money by not eating out or getting take-aways as often. That said, you can very well improvise in a lot of areas, so don’t be put off if you don’t have some of these things or can’t afford them at this stage. Check out my Kitchen Starter Kit on the following page for the basics.

This section is a little companion of convenience as you learn to meander your way through all manner of kitchen paraphernalia.
As well as the usual that you should have lying around the kitchen, here are a few extras that I use regularly when preparing the meals in this book and which I recommend you try to get your hands on at some point. I even think that giving someone this book along with some of the following trinkets is a really fantastic gift idea (of course I do!). All of these items should be easily available at your local supermarket or homeware stores.
One of the best things I ever did was invest in a nifty little oven thermometer. They are actually reasonably inexpensive and save you a world of pain in the form of burnt or undercooked goodies.
While a proper food processor is amazing if you have one, I often use my faithful stick blender. It liquidises brilliantly and some makes come with a chopper and/or a whisk attachment, which is perfect for finely chopping garlic or ginger, or making pesto and sauces, or whipping cream.
Food processor | Electric hand or stand beater | Round and square loose-bottomed baking and fluted tart tins | 12-hole muffin tray | Loaf tin | Quality kitchen scale, preferably electronic | Grater | Small fine grater, for zesting | Set of measuring spoons and measuring cups | 1-litre glass microwave-proof measuring jug | Rolling pin | Pastry brush | Whisk | Kitchen scissors | Assortment of SHARP knives | Wire sieves, large and small | Colander | Good-quality vegetable peeler | Good-quality potato masher | Array of wooden spoons, spatulas and a good ladle

Use your oven thermometer (see page opposite).
The easiest method is to take a small square of grease-proof baking paper and a small dollop of butter and work your way around the tin using the paper to hold the butter and smother the surface of the tin gently. I also use baking spray.
A cake is usually done when you insert a skewer or sharp knife and it comes out clean, or if you gently press down on the top with your finger and it ‘springs’ back out. Don’t bother opening your oven to check if something is ready until you can smell it, then you know you’re getting close.
This means beating room temperature butter in a mixing bowl with an electric hand mixer or stand mixer (or a wooden spoon and a lot of elbow grease), and adding in the sugar a little at a time until everything is well blended, fluffy, smooth and ‘creamy’.
Blind baking means baking a pie or tart crust without the filling so that it firms up, bakes to a light golden colour and doesn’t become soggy when you add the filling. As pastry usually shrinks when blind baking, be generous with your pastry. Prick it a good few times with a fork before baking, line loosely with baking paper and a layer of lentils or ceramic baking beads to weigh the pastry down and prevent shrinkage, and bake for 10–15 minutes at 180 °C before removing and allowing to cool to room temperature before filling.
This can be made easily using a ratio of about 3:1 of sifted icing sugar to butter – e.g. 1 cup icing sugar to 1⁄3 cup butter. Blend by adding about 1 Tbsp hot water and flavour as you like with vanilla essence, lemon juice and zest, etc. Beat until extremely light and fluffy.
The difference it makes to any meat – if you give it a chance to rest for 5–10 minutes or longer if it has been slow-roasted and covered loosely with clingfilm or tinfoil – is significant. This ensures the meat remains tender, moist and juicy. Also remember that the meat carries on cooking a little after removing it from the heat and during resting, so if you would like your meat medium-rare, take it off slightly sooner. By the time it’s finished resting it should be just right.
CONVERSION TABLE.
| Metric | US cups | Imperial |
|---|---|---|
| 5 ml | 1 tsp | 1 tsp |
| 15 ml | 1 Tbsp | 1 Tbsp |
| 60 ml | 4 Tbsp (1⁄4 cup) | 2 fl oz |
| 80 ml | 1⁄3 cup | 23⁄4 fl oz |
| 125 ml | 1⁄2 cup | 41⁄2 fl oz |
| 160 ml | 2⁄3 cup | 51⁄2 fl oz |
| 200 ml | 3⁄4 cup | 7 fl oz |
| 250 ml | 1 cup | 9 fl oz |