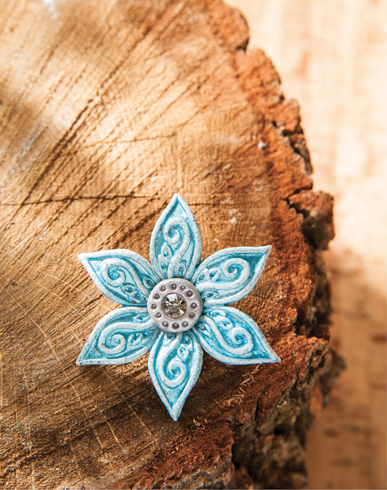

Delicate flowers, interpreted in stone, are everlasting. Receiving flowers as a gift is a double-edged sword. They are beautiful, colorful, often fragrant … but so short-lived. In this project, you will learn to make a composite mold. You will make a master petal, then mold it many times over to produce duplicates. You will then go on to make flowers in every color of the rainbow—a gift of flowers that will last forever.
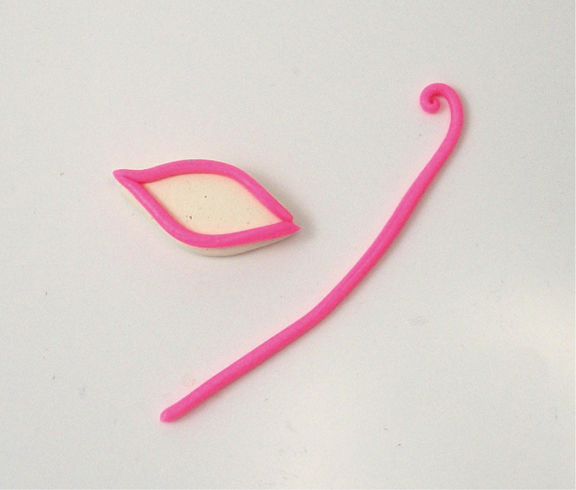
STEP 1 Begin by creating a master petal. Flatten a football shape of scrap clay onto your tile and roll a long, thin snake to make details. Outline the petal shape with your snake.
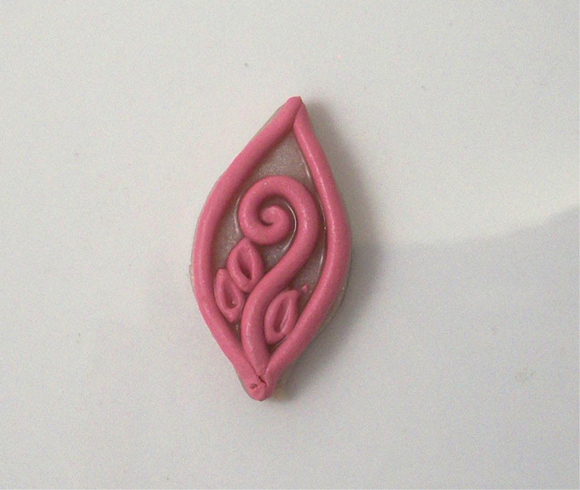
STEP 2 Create spirals, dots and swirls to place within the petal shape. Use your poking and shaping tools to make indentations as you like. Make your own pattern, or follow the illustration. Gently press your shapes into place.
When you are pleased with the petal design, brush a thin layer of liquid clay over the shapes. Allow it to flow under the snakes where they attach. Doing so accomplishes two things. It holds the snakes in place for baking and prevents undercuts during molding. Bake for 30 minutes and cool. Do not remove the petal from the tile.
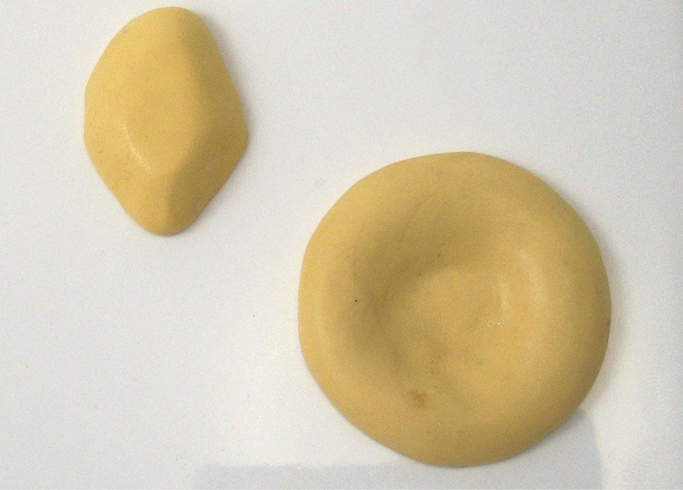
STEP 3 Mix up some silicone mold putty. Place some of the putty over the petal shape, right on the tile, to create a mold. Use the rest of the putty to create a round patty with an indentation in the middle as pictured. This piece of silicone will serve as a baking support for your flower. As you can see in step 5 below, the size of the baking support should correspond to the size of the petal you created. The petals should drape over the side of the support, allowing them to curve gently.
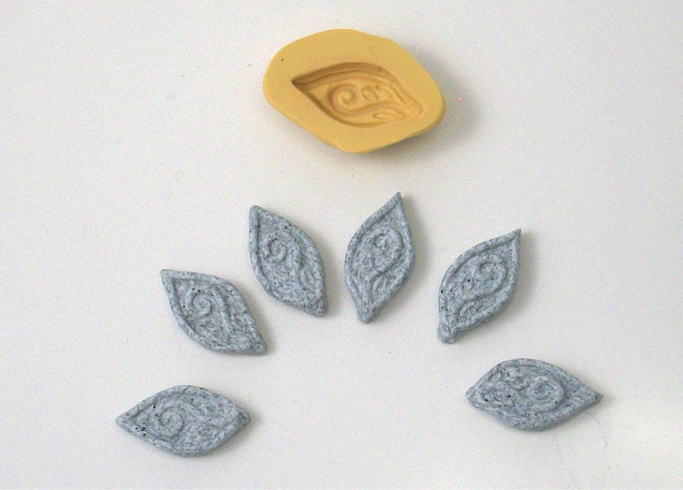
STEP 4 Use your petal mold to create 5 or 6 petals with the gray clay, checking to see how many will fit nicely in a circle on your baking support. Our flower has 6 petals.
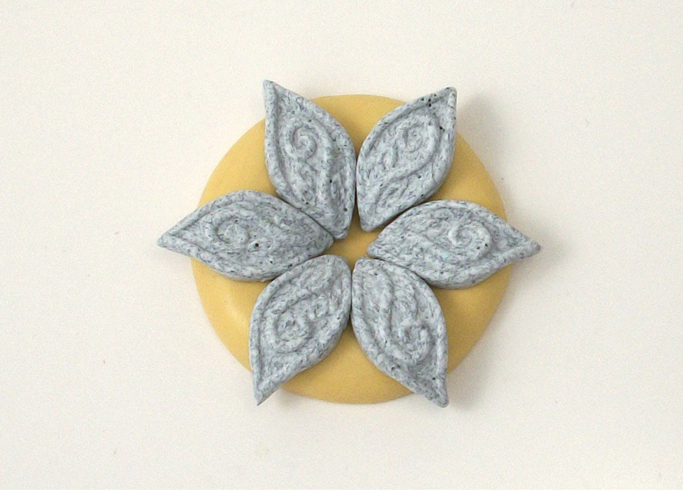
STEP 5 Arrange the petals on the support ring on the tile. It’s OK if there is a slight gap in the center, as you will be putting epoxy clay there at a later step. Gently press the petals together at their sides. Bake for 30 minutes and cool.
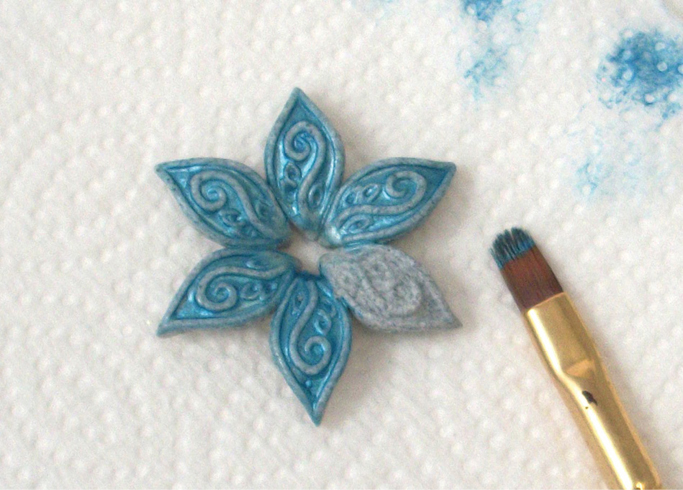
STEP 6 Antique the baked flower with the metallic paint. Paint a layer onto each petal, making sure to get paint into all the depressed areas of the petals. While the paint is still wet, use a dry paper towel to remove the paint from the high points of the petals. Allow the paint to dry.
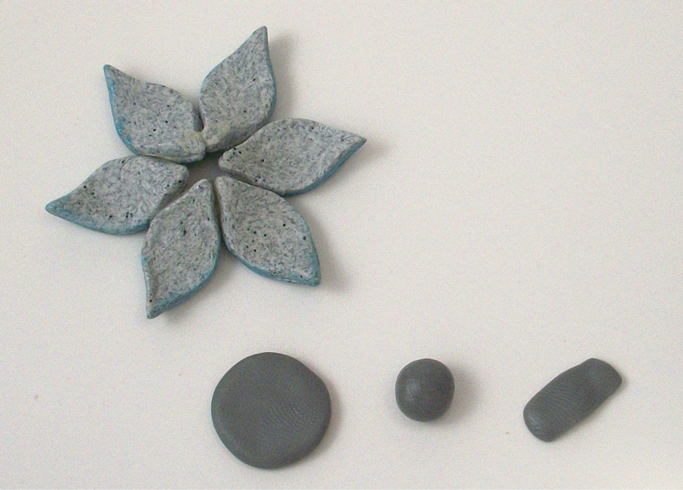
STEP 7 Prepare for assembly by mixing up a small amount of epoxy clay, opening the pin back and placing your rhinestone and pigment powder nearby. The epoxy clay has a short working time, so you will have to work quickly.
Form 3 pieces with the mixed epoxy clay: a large circle for the flower back, a pea-shaped ball for the flower center and a strip to hold the pin back.
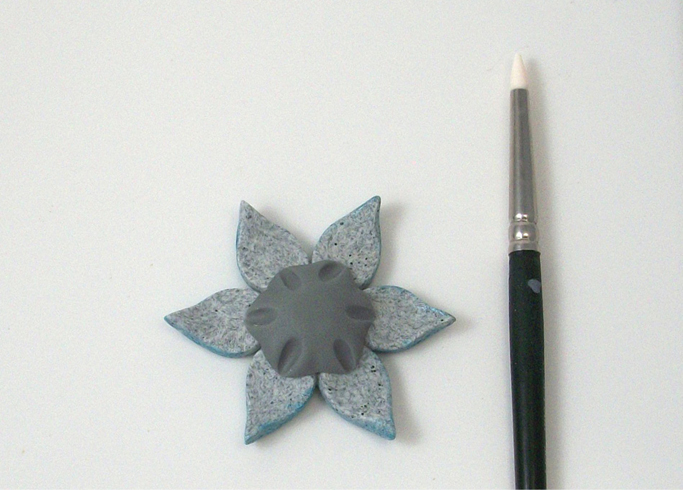
STEP 8 Press the circle onto the flower back. Use your shaping tool to make it look like a calyx, and press the calyx firmly onto the petals.
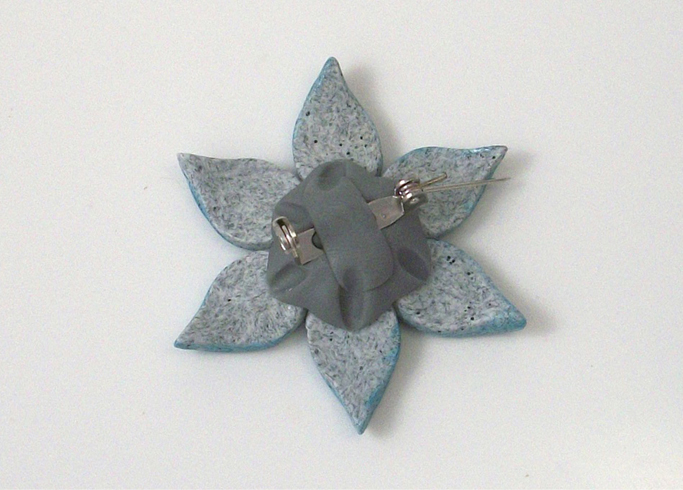
STEP 9 Firmly press the open pin back onto the calyx, and cover with the thin strip of epoxy clay. Blend the seam with your fingers and shaping tool.
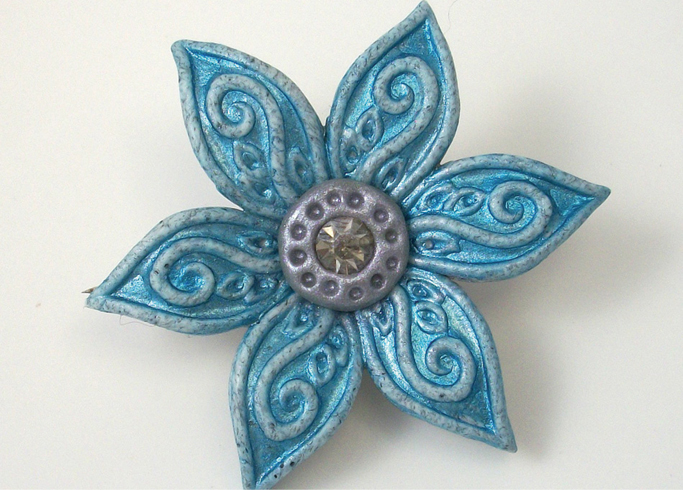
STEP 10 Flip the flower over and place the small ball of clay in the flower center. Press the rhinestone into its center, and use your tools to make dots around it. If you like, brush some metallic pigment powder onto the flower center to make it sparkle. Allow the brooch to set for 24 hours so epoxy can cure before handling.
You can purchase a convertible pin back that allows you to hang this as a focal bead. Or pin it to a fabric headband for a sparkly hair accessory.