

How does your garden grow? The bold beauty of a flower garden is the inspiration for this piece that incorporates vintage glass tags, molded petals, inks, powdered pigments, a vintage button and some resin. This project is the perfect opportunity to use old metal buttons that you may not have any other use for while creating a new masterpiece.
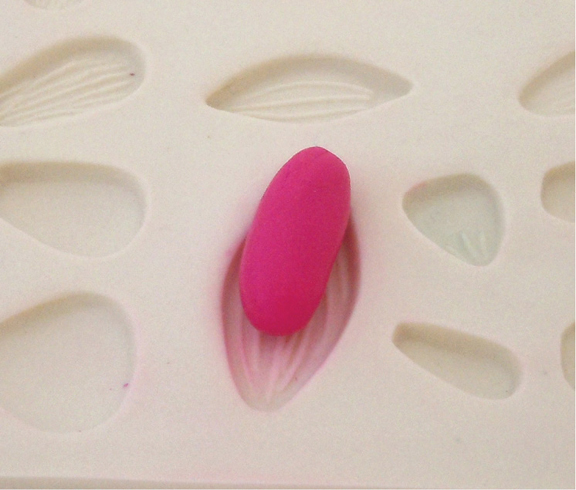
STEP 1 Condition a small piece of fuchsia clay and roll into a ball. Roll the ball between your hands to elongate it. Lightly wet your mold with water so that the clay releases easily. Press the elongated piece of clay into a large flower petal mold.
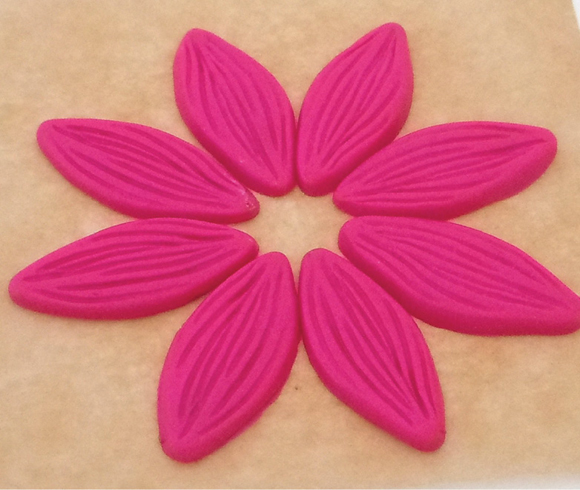
STEP 2 Trim the excess clay away with your blade. Remove the petals from the mold. Create a total of 8 petals. Arrange the petals on a piece of parchment paper in the shape of a flower.

STEP 3 Roll out a small sheet of clay on the thickest setting of your pasta machine. Using a circle cutter, cut out a circle in the clay. Roll the circle into a ball and place it in the center of the flower.

STEP 4 Slightly flatten the clay circle. Arrange the 8 glass tags on top of the petals in your desired layout and use the glue to adhere to the clay. If your glass tags have holes on one side, place the holes facing toward the center of the flower.
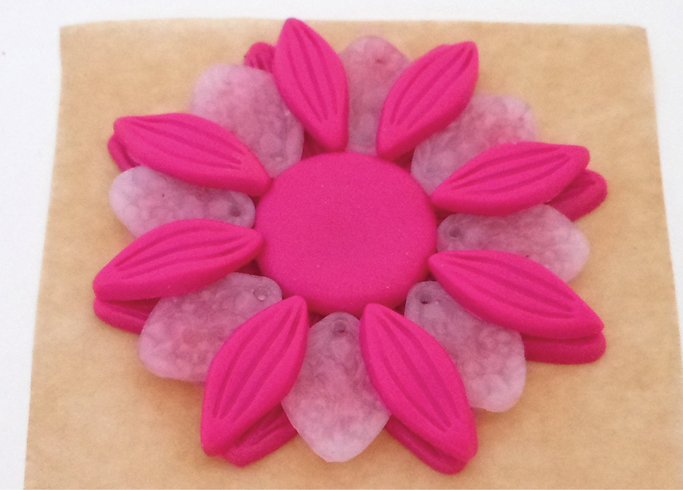
STEP 5 Repeat steps 1 and 2 to mold 8 smaller flower petals. Arrange the smaller flower petals on top of the glass tags in your desired layout. Glue in place.

STEP 6 Add glue to the back of a vintage button with a recessed design. Place the button into the center of the flower, pressing firmly into the clay.

STEP 7 Roll a small sheet of clay through the third thickest setting of your pasta machine. Use the 3⁄8" (1cm) flower cutter to cut out 8 pieces. Roll each flower into a ball. Place a ball in between each of the smaller petals on top of the glass tags. Add a small amount of glue to each ball and press lightly to adhere.
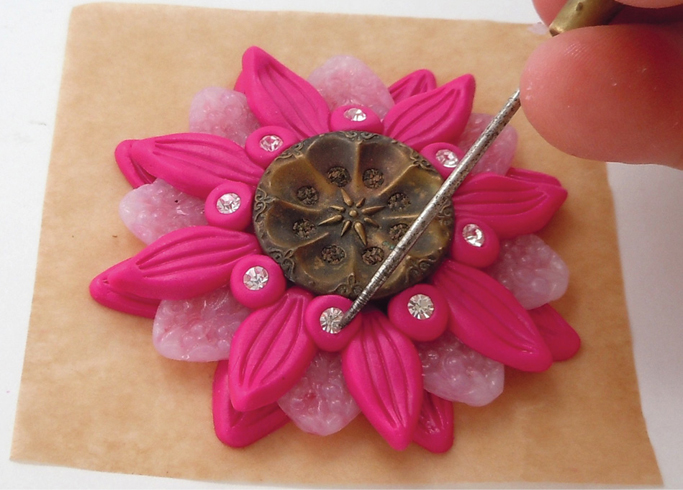
STEP 8 Add a crystal to each ball using a needle tool or knitting needle to push into the clay.

STEP 9 Mix equal parts magenta and purple alcohol ink on a piece of wax paper or parchment paper. Using a felt-tip applicator, rub the color onto the surface of the vintage button.

STEP 10 Add highlights to the petals with silver pigment ink, then on top of the silver ink, add a light dusting of interference red pigment powder.
Wear an apron or old smock and gloves as the alcohol ink stains.
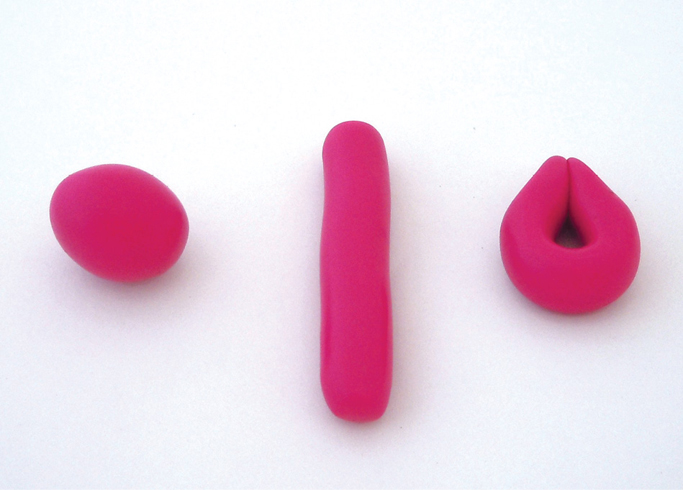
STEP 11 Roll a ball a little bigger than the center of the flower. Roll it between your hands to make it into a thick snake. Bend the snake until the ends touch. Press the ends together so they adhere to each other, forming a loop that will hold your pendant.

STEP 12 Glue the loop to the back of the flower and let dry.

STEP 13 Roll a flat sheet of clay through the thickest setting on your pasta machine to cover the back of the pendant and the loop you just created to hang the pendant. Trim the excess clay with your blade and smooth out the edges.

STEP 14 Highlight the back of the pendant and the front and back of the loop with silver pigment ink and red interference powder. Bake the piece according to the manufacturer’s instructions (about 30 minutes). Let cool.

STEP 15 Add a pinch of fine glitter in a coordinating color to the recessed area of the vintage button. Add a layer of UV-curing resin to the button on top of the glitter. Let the resin cure in the sunlight or in front of a UV lamp until it’s hard. Insert wire necklace through loop.

You can create a number of these flowers in different colors to coordinate with different outfits; just put the neck wire on whichever one you choose to wear. In this variation, we attached a metal bail to the pendant prior to baking, adding pigment ink to color the bail so it blends with the pendant.