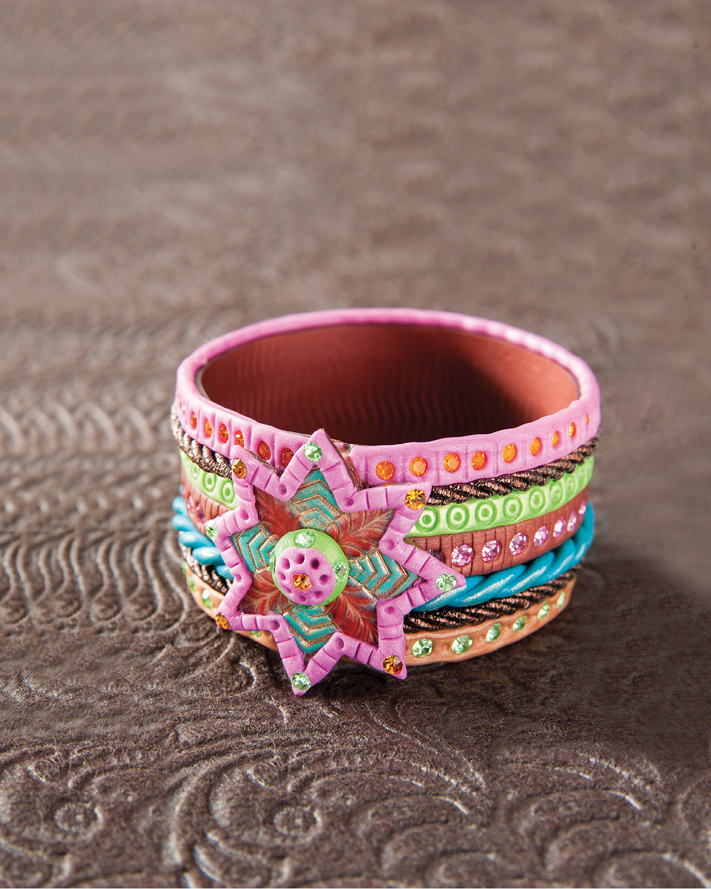

Bright colors, textures and textiles inspired this chunky funky bracelet. There are so many intriguing cultures in the world, and this bangle captures a cultural feel. You will learn how easy it is to embed stones and fibers into polymer clay to create a vibrant piece.

STEP 1 Condition the bronze clay and roll out a long sheet using the medium-thin setting on your pasta machine (we used setting 4). Be sure this piece is at least 8" (20cm) long and about 11⁄2" (4cm) wide.
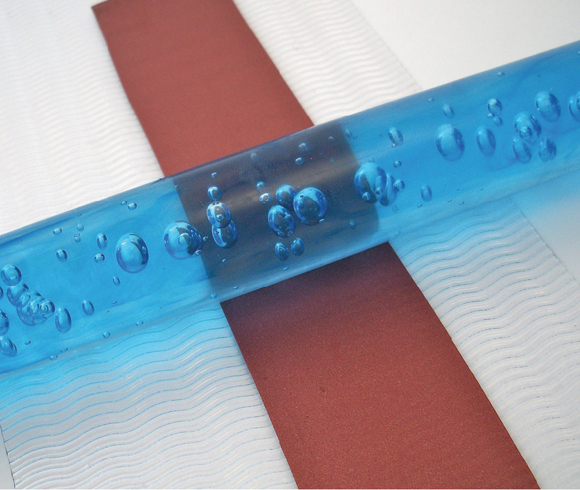
STEP 2 Cut the piece to 11⁄2" × 8" (4cm × 20cm) with the blade. Lightly texture one side of this base strip by laying it on a texture sheet and rolling gently with an acrylic roller.
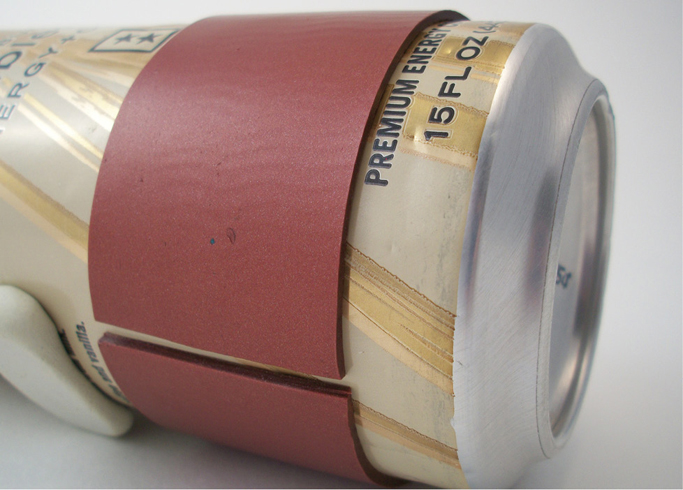
STEP 3 Place the sheet texture side down around your empty can. Do not let the ends of the clay piece touch. If they do, the clay will be difficult to remove.
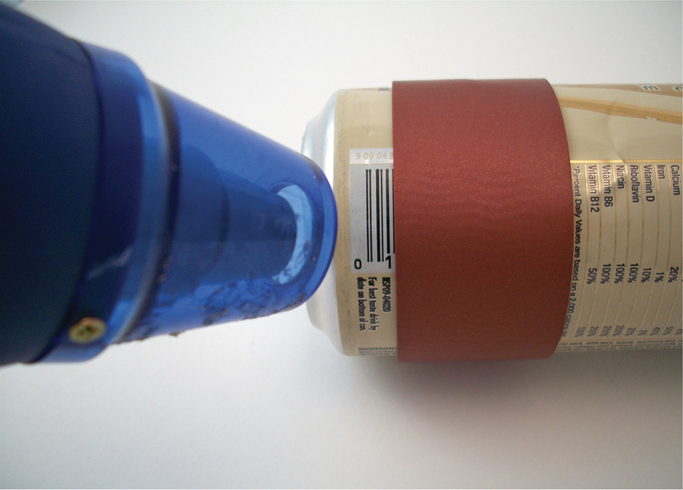
STEP 4 Partially cure the strip with your heat gun for about 30 seconds. This will help the clay keep its shape as you continue working. Be very careful, though: The can will get hot.
The empty can in step 3 has a piece of epoxy clay stuck to the bottom of it. The cured clay works as an armature, holding the can in one position while I work. It can be baked, too. I keep several sizes of cans with clay in my studio for armatures.
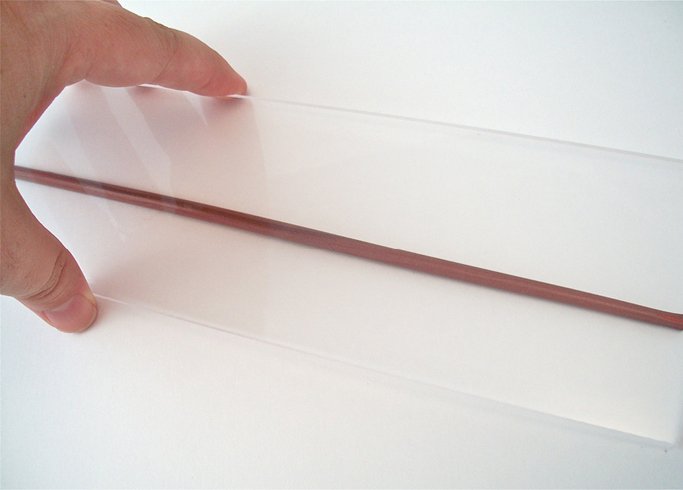
STEP 5 Roll out a long snake of bronze clay for the bracelet’s center strip. Flatten the snake, using the acrylic roller panel, if you like, to help make the snake even.
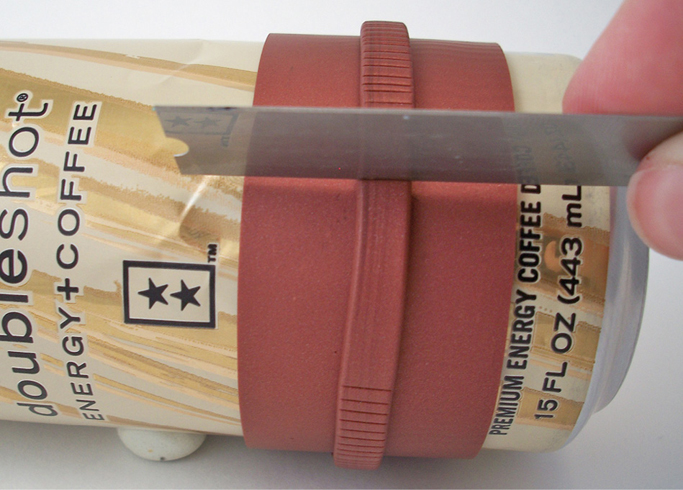
STEP 6 Press the flattened snake around the center of the bangle. Apply texture using the back of your blade.
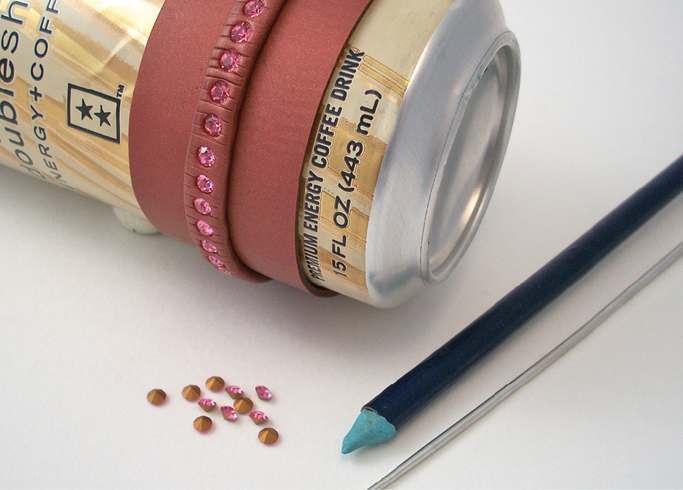
STEP 7 Place rose crystals all the way around the snake. Be sure to press them in far enough so they won’t fall out when you wear your bangle. We used the smallest Etch ‘N Pearl tool to press the stones into the clay.

STEP 8 Roll a snake of lime green clay and place it next to the bronze. Use a tool to apply a texture, then use your finger to apply some gold powdered pigment to highlight both the bronze and green bands, as desired. Partially cure these new bands with the heat gun.
Place a piece of mounting putty, like that used for hanging posters, on the end of an unsharpened pencil. It makes a great tool for picking up rhinestones and other small items from your work surface.

STEP 9 Roll 2 thin snakes from the teal clay. Then twist them to make one snake.
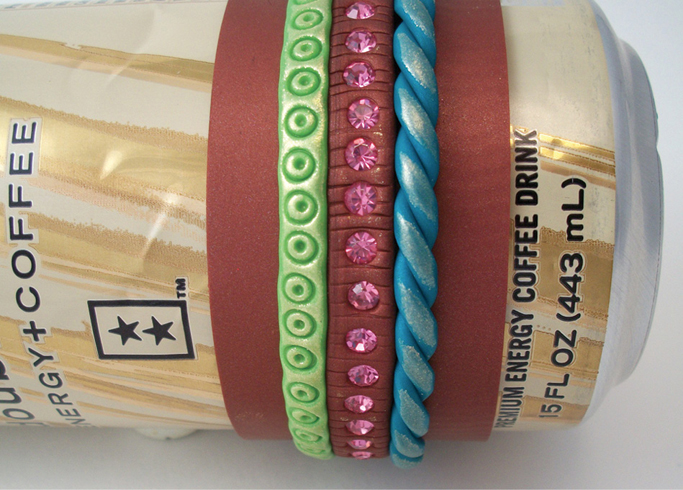
STEP 10 Press gently and apply the twisted snake on the other side of the bronze strip. Highlight the new piece with powder.
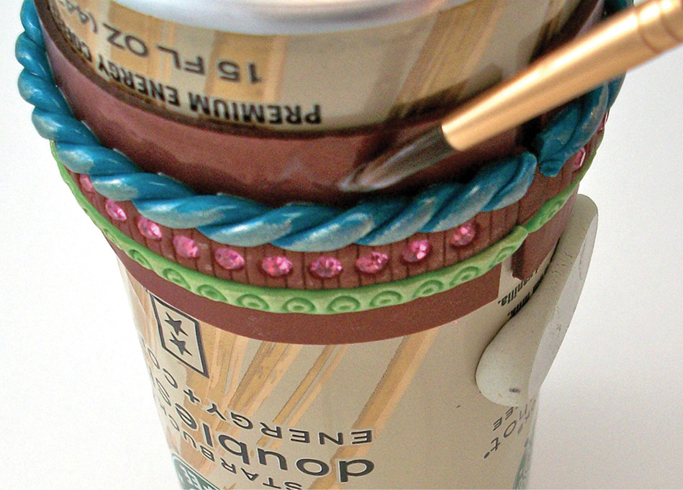
STEP 11 Flip the can so it is standing and use your paintbrush to apply some liquid clay along the space where this twisted snake meets the base layer. Use your heat gun to cure the liquid clay, holding the twisted band in place.
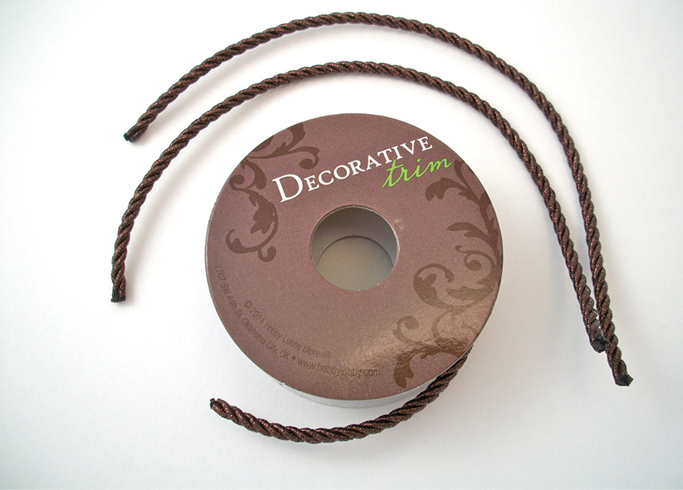
STEP 12 Measure 2 pieces of decorative trim against the bangle and cut them to size. Note that the edges may fray, so quickly dip each end in liquid clay and cure them with a heat gun.
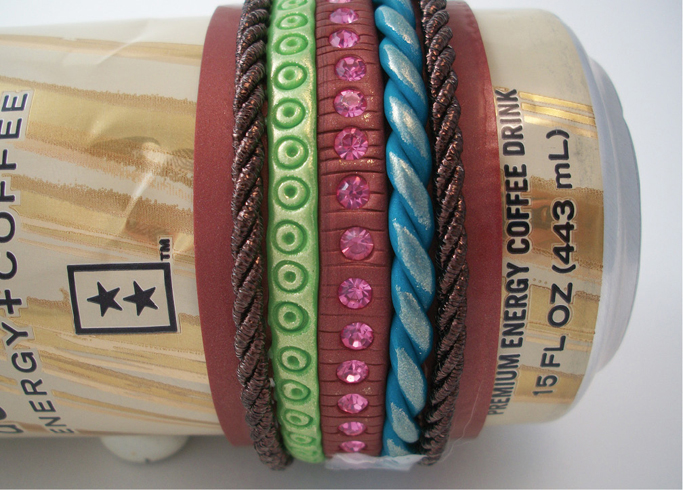
STEP 13 Apply a thick bead of liquid clay 1⁄3 of the way around the bangle where you want to place the first piece of trim, next to the teal band. Cure with your heat gun and continue until the entire first piece of trim is cured in place. Place the second strip of trim next to the lime green band.
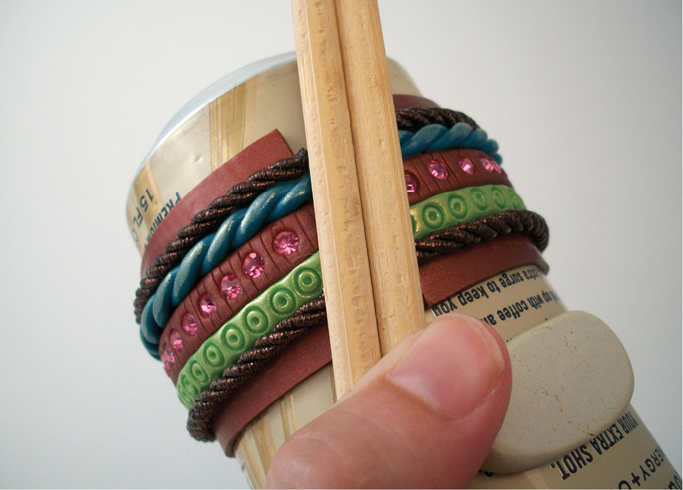
STEP 14 Use a nonmetal tool (such as a pair of chopsticks) to gently press against the trim and keep it in place while you cure it with the heat gun. Be careful and take your time as you go around the bracelet, applying liquid clay and curing with the heat tool.
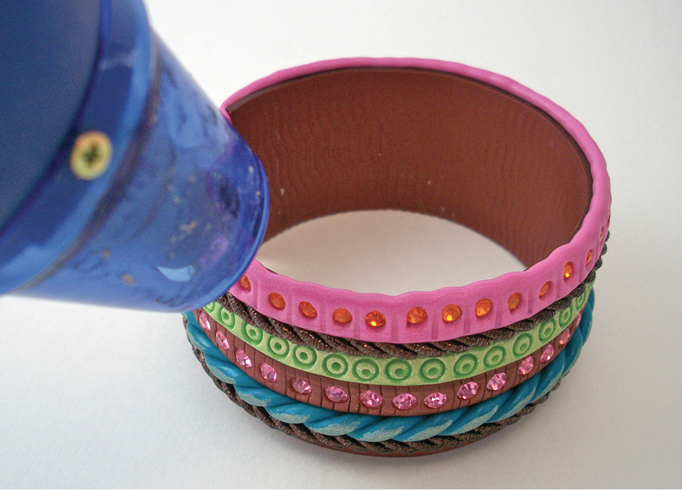
STEP 15 Roll a snake from magenta clay and flatten it. Place the magenta band on one edge of the bangle and add orange crystals. Roll a snake from copper clay, and repeat on the other edge, adding peridot crystals. Use the edge of a needle tool to poke and press patterns between the crystals after applying them. Doing so helps create a ridge around the crystals and holds them into your design. Use powders to highlight the design as desired. Cure with the heat gun.
Twist to gently remove the bangle from the can and bake for 10 minutes at the clay manufacturer’s suggested temperature. If the ends of the bands touch, make a seam by gently cutting straight up between the attachment points of all the bands.
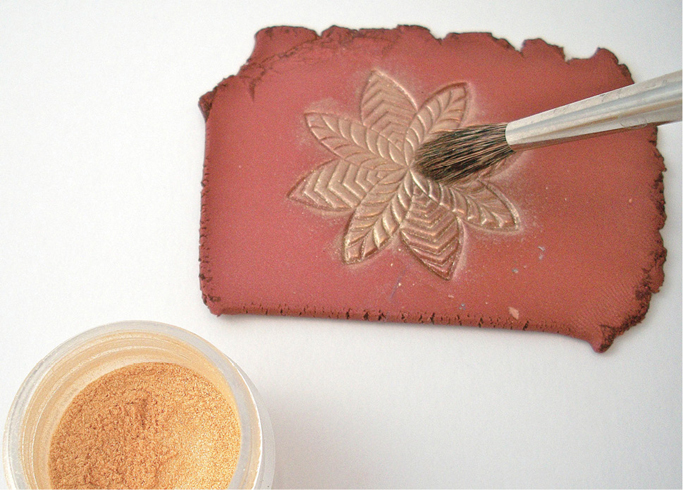
STEP 16 Run a piece of bronze clay through the third (medium-thick) setting on your pasta machine. Press the flower stamp into the clay, then use a soft brush to coat it with powdered pigment.
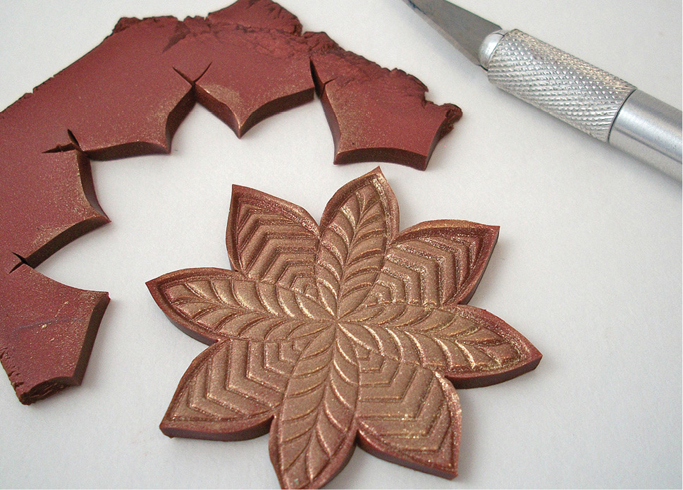
STEP 17 Cut out the flower with a craft knife. Be sure to leave an edge on the flower so you can eventually fill the petals with liquid clay.
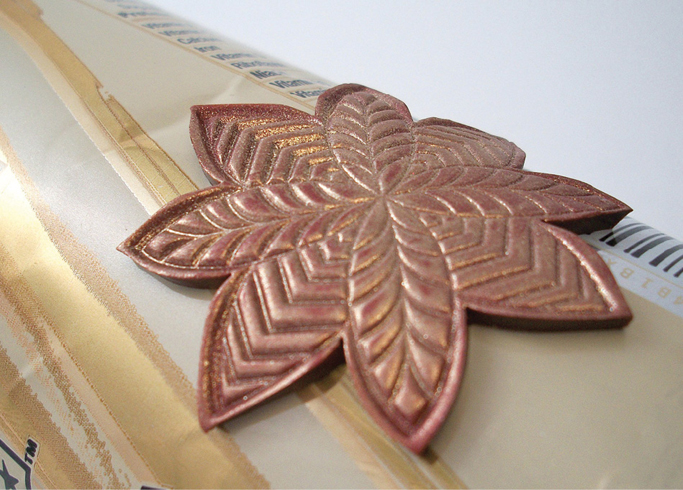
STEP 18 Place the flower on the can so it has the same bend as your bangle, and partially cure it with the heat gun.
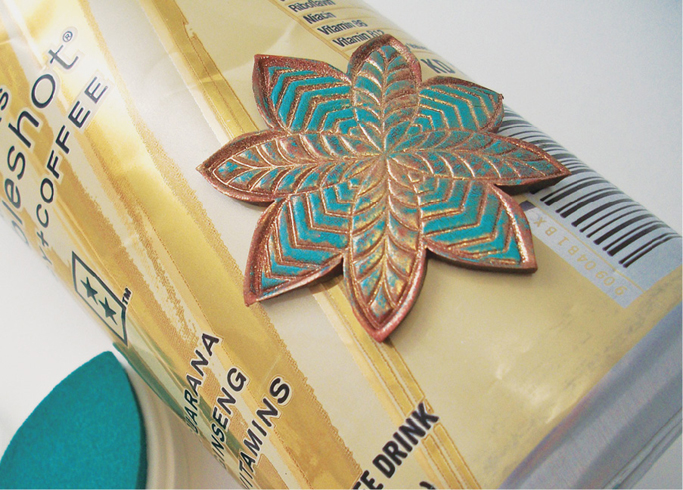
STEP 19 Use your finger to control the placement of teal pigment ink on the flower and give it the look of a metal patina. This type of ink requires heat to set it, so use the heat gun on it for about 10 seconds.

STEP 20 Use your finger again to selectively place pink alcohol ink on the flower petals. Heat set the ink again.
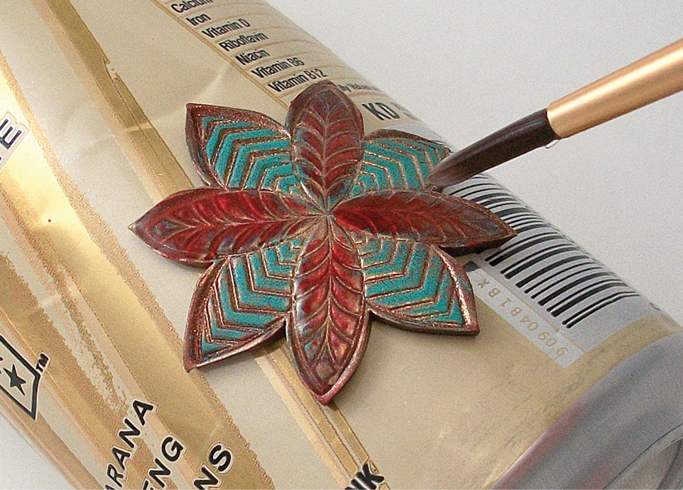
STEP 21 Fill every other petal with a thick layer of liquid clay, using a paintbrush. Carefully use the heat gun to set the liquid and bring up the shine. You can fill all the petals if you like, but we liked the contrast of filling every other petal.
Roll a small piece of bronze clay to support the seam from the inside, and press and smooth it in place.
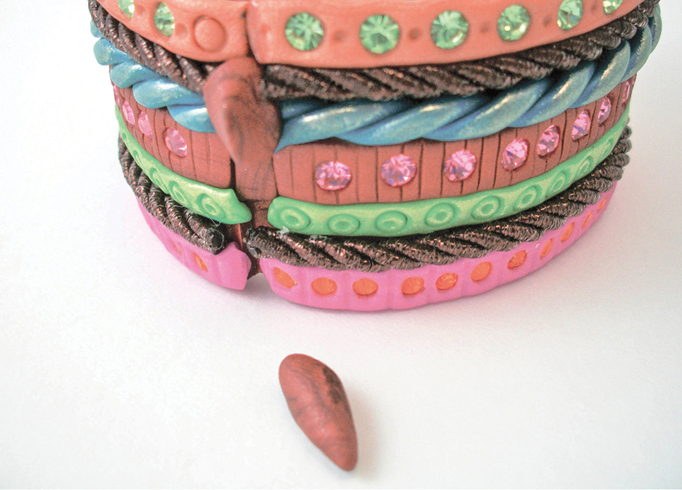
STEP 22 Prepare 2 teardrop-shape pieces of clay. Press them into the outside seam so they fill it. Allow them to overflow the front of the seam.
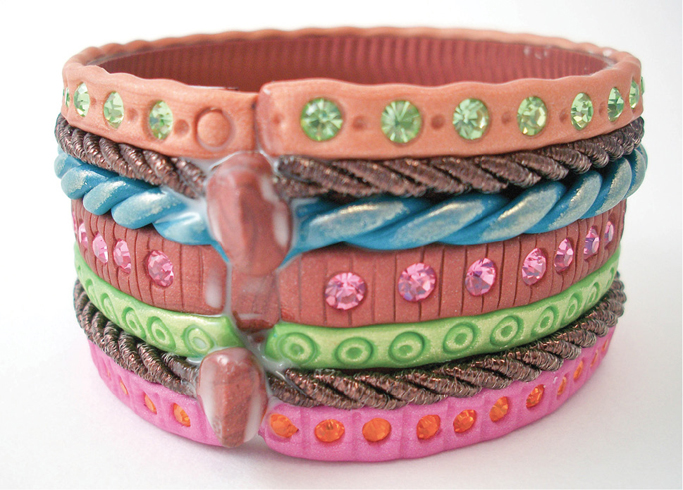
STEP 23 Coat the teardrop shapes with liquid clay, and press the flower flush with the bracelet. These pieces will support and bond the flower attachment. Use a tool if necessary to smooth any clay that emerges from the sides of the flower. Check under the flower to be sure it is making contact with the soft clay that has protruded from the seam.
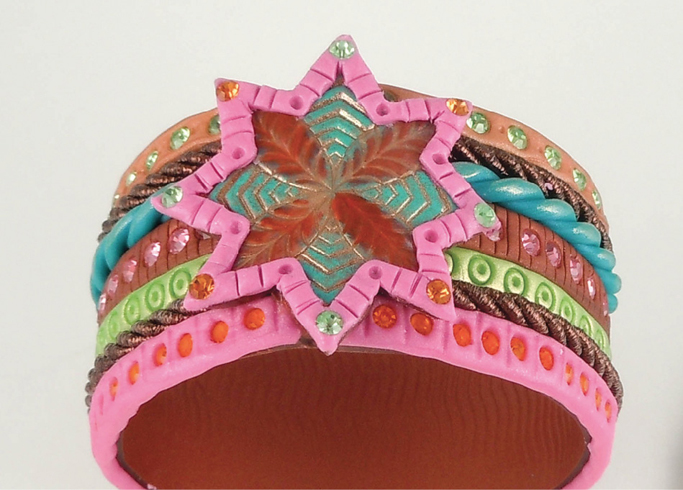
STEP 24 Roll a snake of the magenta clay and wrap it around the flower edges. Flatten it gently and remove any excess clay with your blade. Place a topaz crystal or a peridot crystal at each point of the flower, alternating colors as you go. Use the end of the stylus tool or the tip of a pen to place dots on each bend of the flower. Use the back of your blade to add texture to the flattened snake.
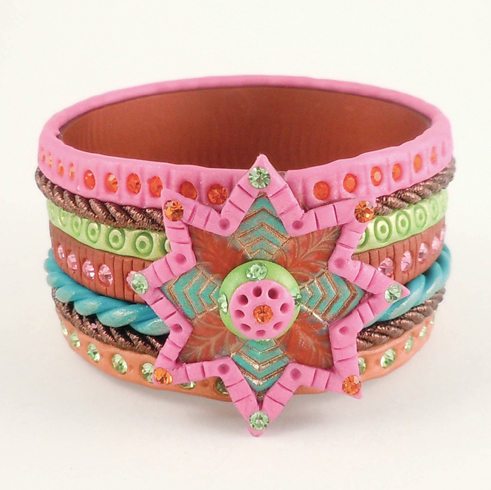
STEP 25 Roll a small ball of lime green clay and add a small ball of magenta pearl clay on top. Add 4 small peridot crystals to the lime green clay and add 1 small topaz crystal to the center of the magenta clay. Gently flatten the balls together and use the end of your ball stylus or the tip of a pen to add texture around the topaz crystal. Adhere this decoration to the center of the flower by pressing firmly.