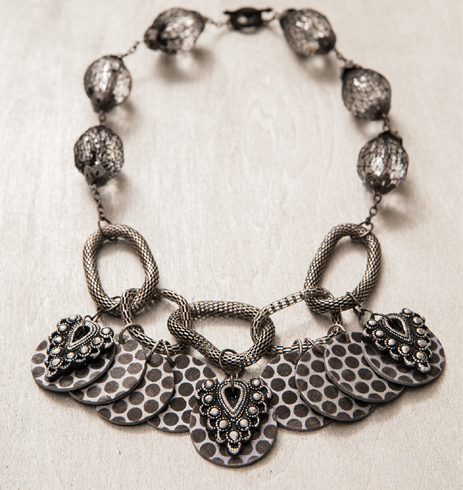

Bold and beautiful, this necklace will capture your wild side. Paired with a little black dress or a pair of jeans, it will make a statement. Fabulous and funky, it incorporates mesh chain, mesh acrylic beads, punchinella (sequin waste) and a molded vintage button.
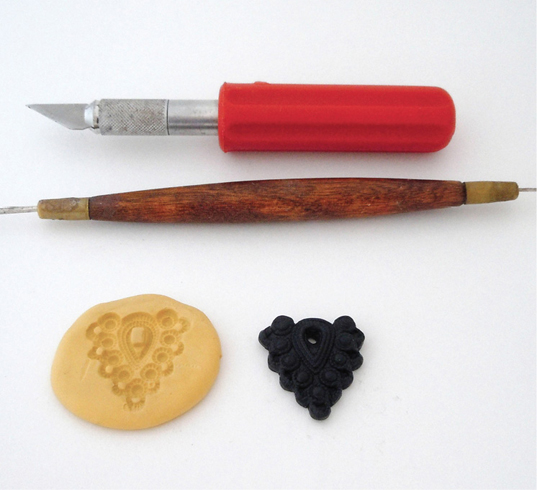
STEP 1 Condition a small piece of black clay and press it into the button mold; you can use your rod to flatten the back. Remove the clay from the mold. Trim around the piece and use your needle tool to smooth out the edges and to poke a hole in the center for hanging. Repeat to make a total of 3 molded pieces.

STEP 2 Use your finger to add silver pigment ink to the raised areas of the molded pieces until you reach your desired coverage. Set aside and let dry a little.
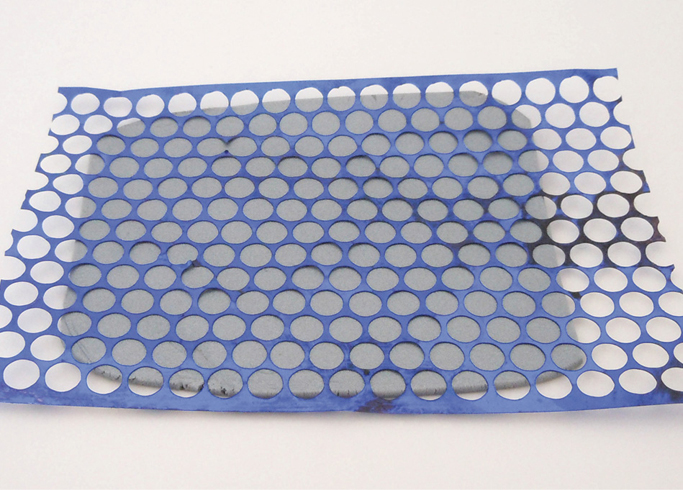
STEP 3 Roll a sheet of silver clay through the third thickest setting of your pasta machine. Lay a piece of sequin waste on top of the clay. Lightly press the sequin waste into the clay; you can use your acrylic roller to roll over it, if you like.
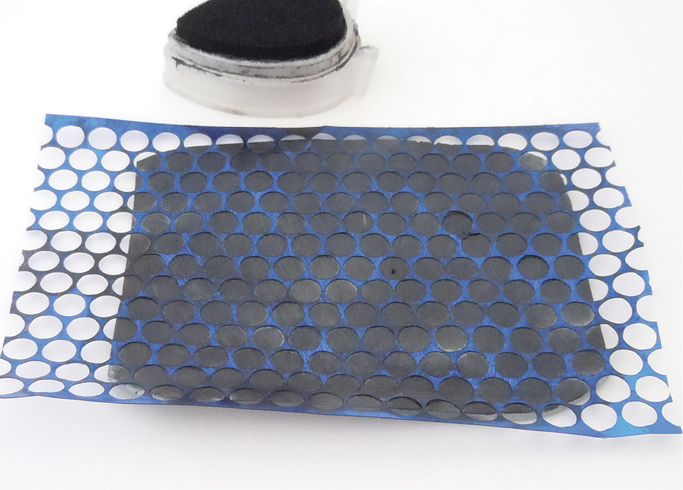
STEP 4 Apply the black pigment ink through the holes of the sequin waste. We use the stamp pad to ink the clay, but you could use a paintbrush if you like.
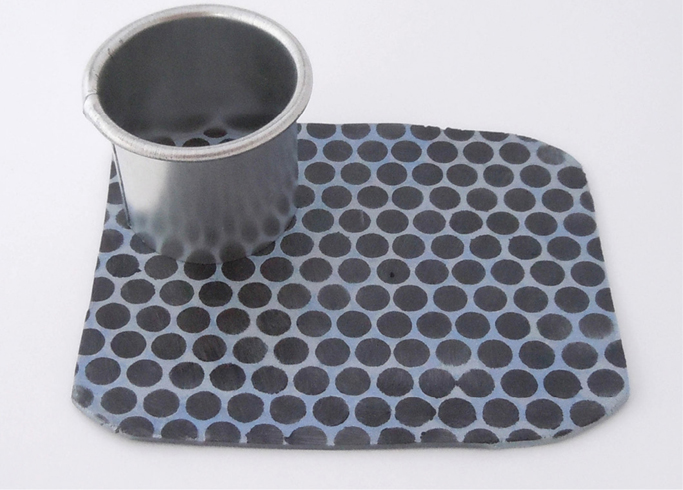
STEP 5 Peel the sequin waste off of the clay to reveal the design. Let the ink dry enough so it won’t smear. Use a round cutter to cut out 9 circles. Poke a hole at the top of each circle. Clean up the edges—be careful not to smear the ink (the ink will smear until it is heat set).

STEP 6 Place the 3 molded pieces you created on top of 3 of the circles; press gently to adhere them. If they are not sticking, you can add a little liquid clay or glue. Bake these pieces and all the circles for 30 minutes. Let cool.
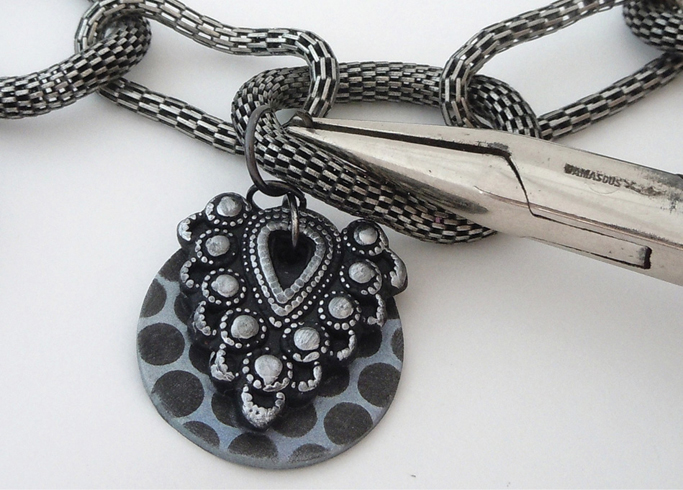
STEP 7 Place 1 large gunmetal jump ring through the hole of each molded piece and add 1 small gunmetal jump ring to the large jump ring. Close the jump rings securely. Use an extra large gunmetal jump ring to attach them to every other mesh link and close the jump rings securely.
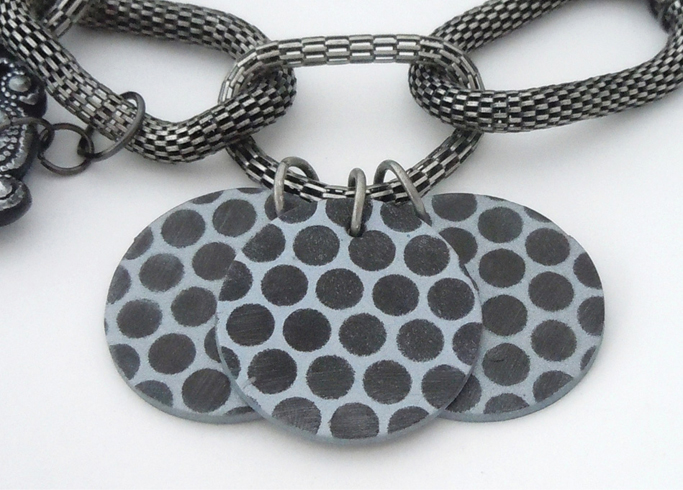
STEP 8 Add 1 extra large jump ring to each of the 6 remaining circles. Attach 3 circles to each of the 2 mesh links without the molded pieces.
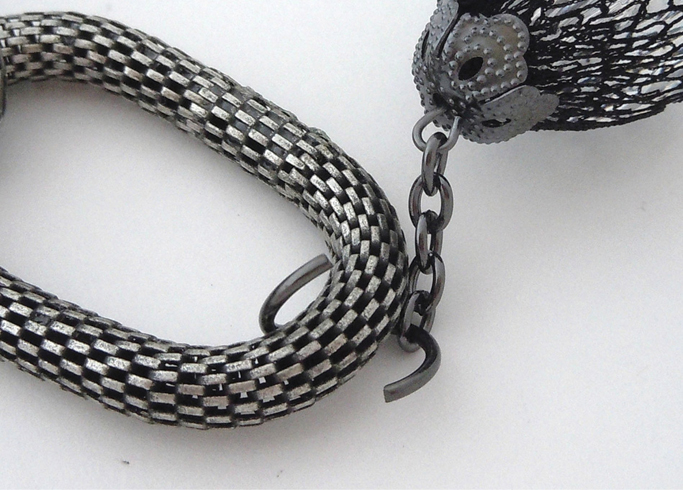
STEP 9 Use 1 extra large gunmetal jump ring to attach 1 acrylic mesh strand to one end of the mesh link. Do the same with the other strand on other end of the mesh link. Close jump rings securely.
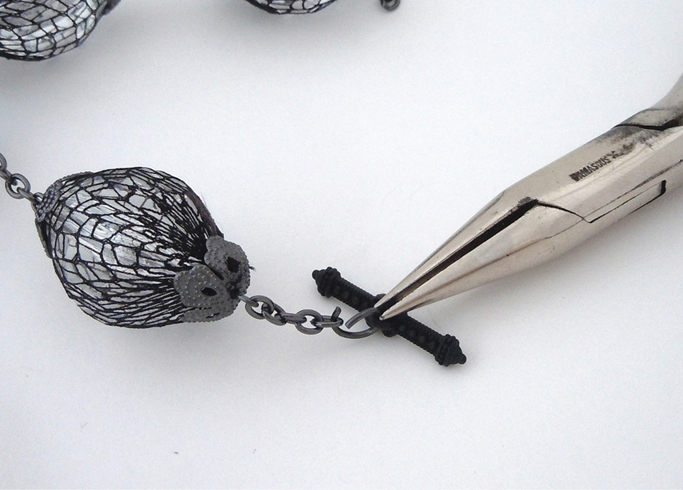
STEP 10 Add 1 small gunmetal jump ring to one side of the toggle clasp and attach to the end of the chain on the acrylic beads. Close the jump ring securely. Repeat with the other side of the toggle clasp on the other strand of mesh beads.