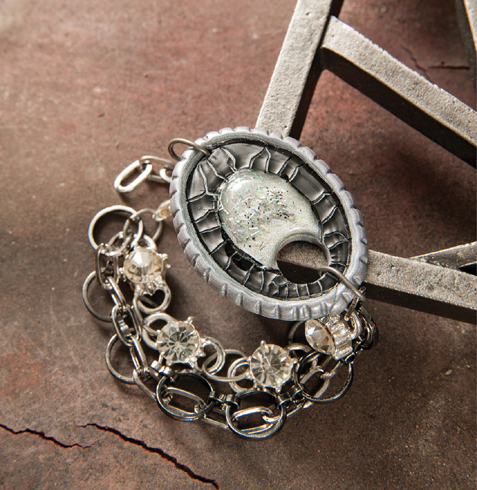

Do the words heavy metal bring back memories of music that was deafening and hard to listen to? The recent popularity of mixed metals and chunky jewelry inspired a new “heavy metal.” Wear it on your wrist. Mix up your metals and learn the perfect technique to create faux leather for your polymer clay creations.
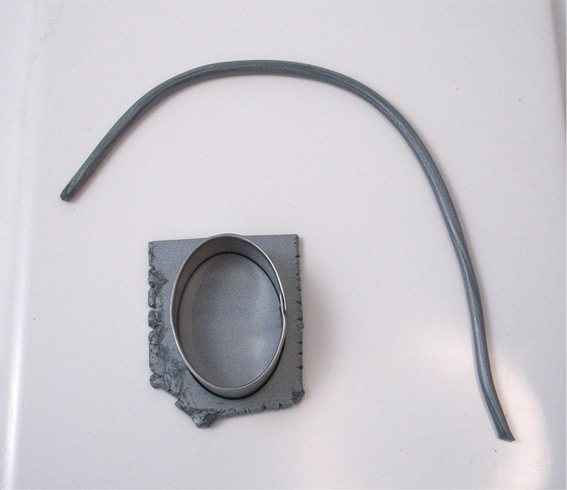
STEP 1 Roll clay to the thickest setting on your pasta machine. Cut out an oval with a cutter. Prepare a thin snake of clay.
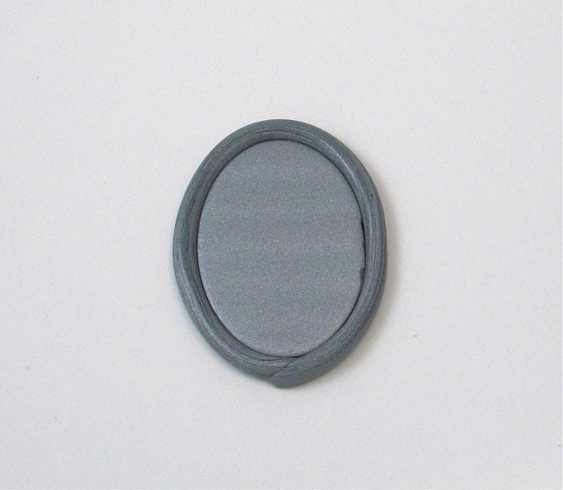
STEP 2 Attach the snake to the outside edge of the oval.
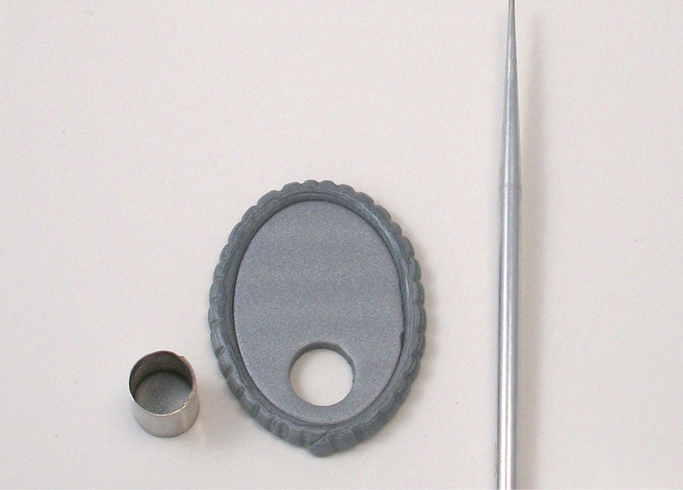
STEP 3 Detail the snake by pressing a design into it with a needle tool. Use a small circle cutter to punch a hole at one end of the oval.
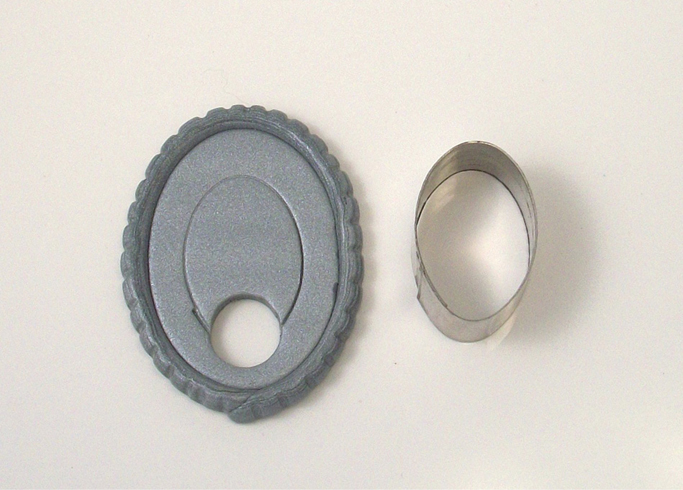
STEP 4 If you have a smaller oval cutter, use it to impress a shape inside the oval. This is just a guideline, so don’t press all the way through the clay. You can draw the shape with your needle tool, if you don’t have a small oval cutter.
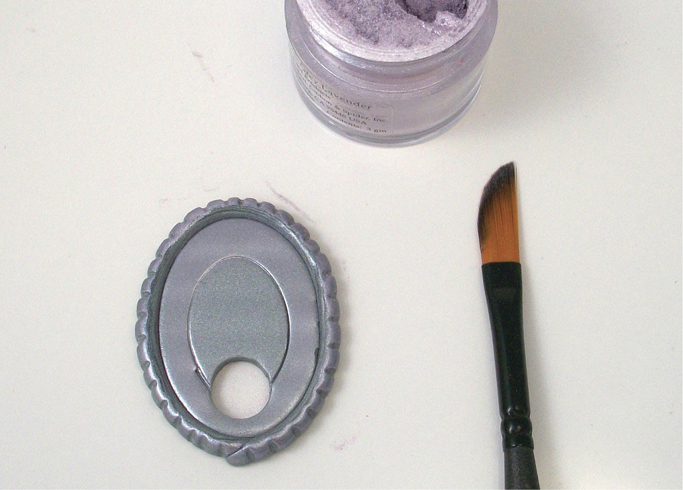
STEP 5 Use a small paintbrush to paint powdered pigment on the snake and on the inside of the outer oval shape, but not inside the small oval shape. We used purple pigment powder, you can use whatever color you like.
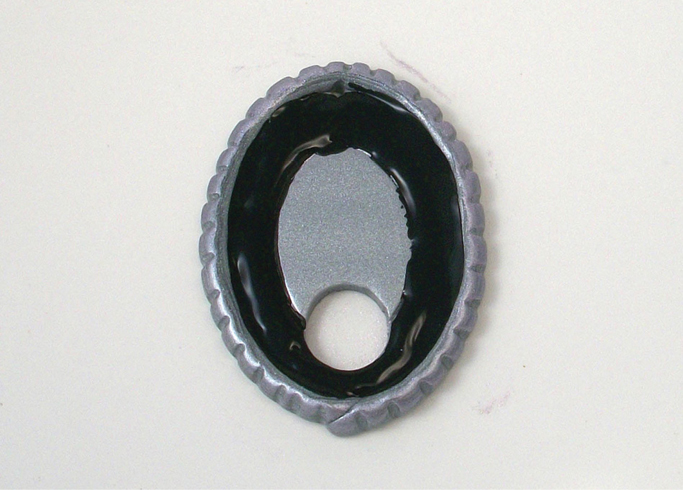
STEP 6 Poke a small hole at the opposite end of the bead with the needle. Apply a thick coat of crackle paint to the outer oval with a paintbrush you use for wet media.
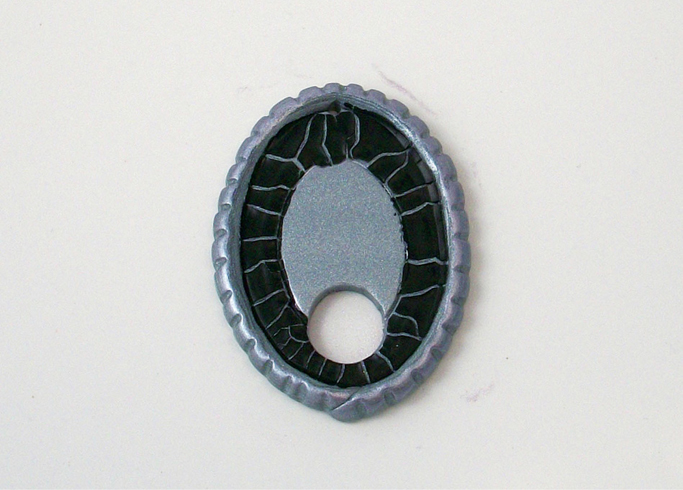
STEP 7 Allow the paint to dry completely; as it does, large cracks will form. Once the paint is dry, bake the oval for 30 minutes and cool.
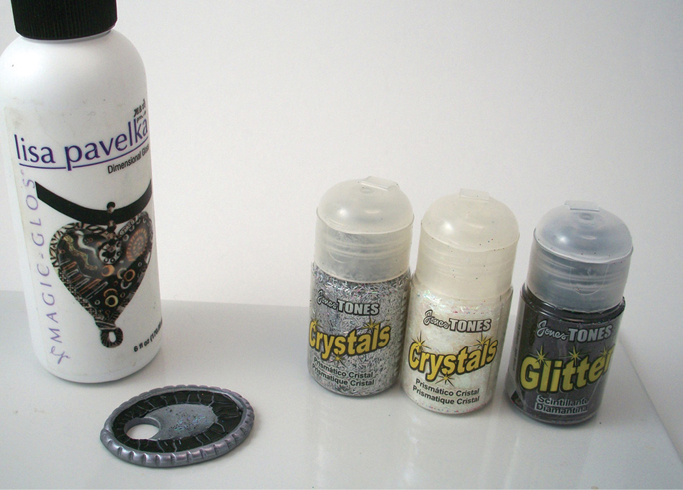
STEP 8 Pour a large droplet of resin in the center oval. Add a sprinkle of each type of glitter and stir them in with a stick. Do not leave the glitter on the surface, as it will block the light that’s needed to cure the resin.
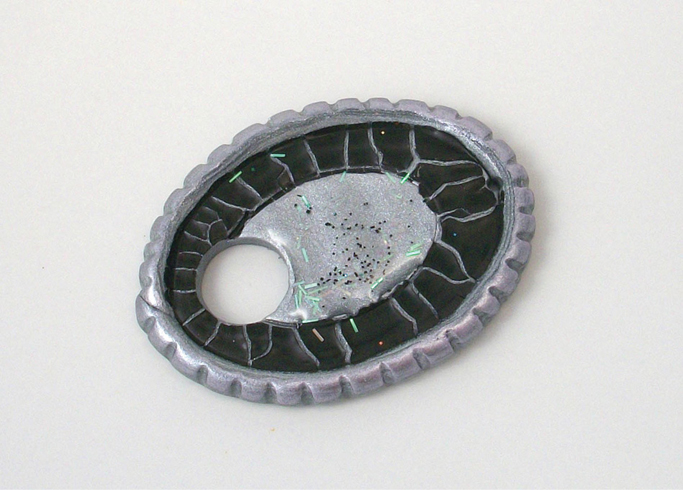
STEP 9 Place the oval in direct sunlight or under a UV lamp and cure it for 15 minutes. Add several thin layers of resin, with glitter sprinkled in, until you are satisfied with the look.
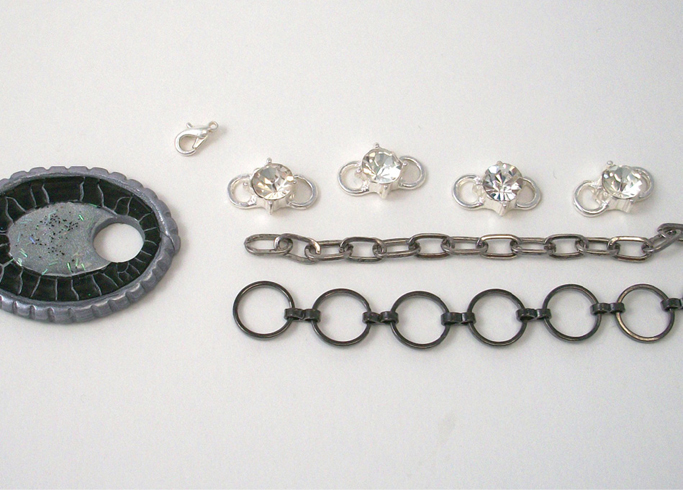
STEP 10 Cut (or create from beads and components) 3 sections of chain 4"–5" (10cm–13cm) long. The length will depend on your wrist and the finished size of your oval.
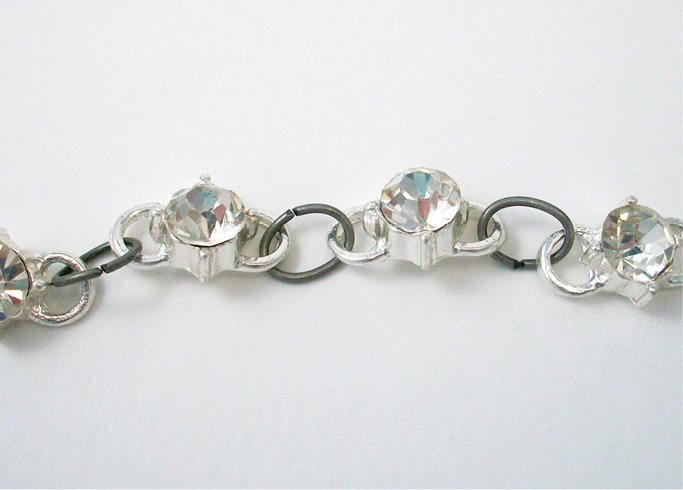
STEP 11 To create a rhinestone chain as 1 of the 3 chains, attach rhinestone links with large jump rings until it reaches the length you want. You may use beads instead of rhinestones, too.
When applying resin, thin layers work best, with tiny amounts of glitter in each layer. Thick heavy layers may not cure properly.
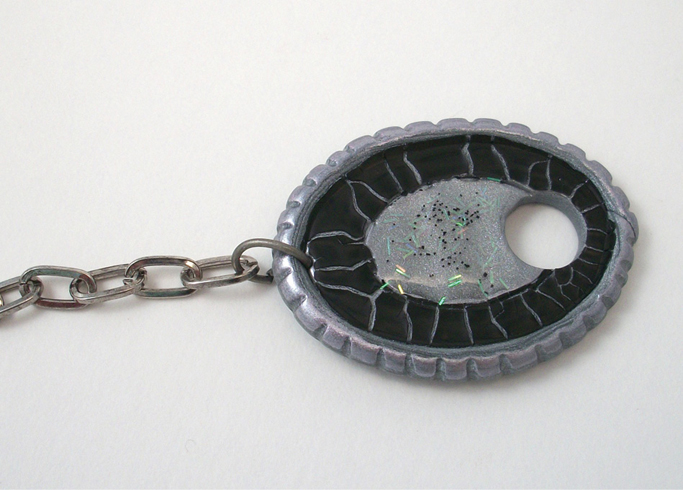
STEP 12 Put a large jump ring through the small hole in the bead and attach 11⁄2" (4cm) of extender chain. Be sure this chain has links that the lobster claw can attach to, as this will serve as your bracelet closure.
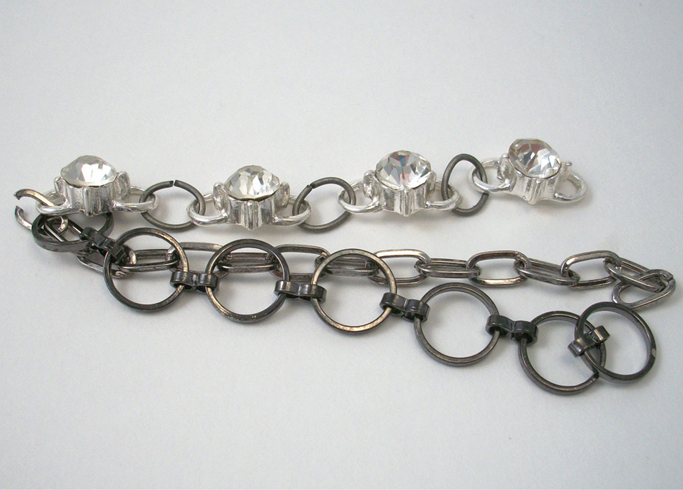
STEP 13 Attach together the ends of the 3 chains by opening up 1 link and putting all 3 chains on it. If you cannot do this because of the nature of the chains you have chosen, use a small jump ring to join them together.
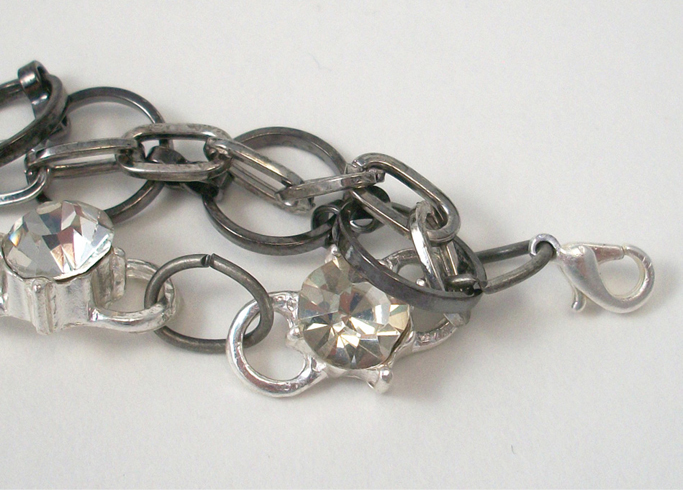
STEP 14 Put a jump ring through the link the chains are attached to and attach the lobster clasp before closing it.
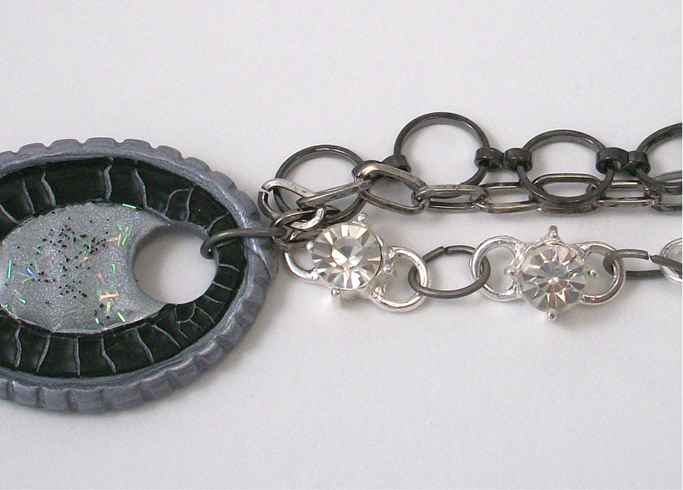
STEP 15 Put a large jump ring through the large hole in the oval. Attach the other end of the 3 chains to the jump ring. Close the jump ring securely.
The rhinestone bezels shown were deconstructed from an Art-i-Cake chain we used for the Henna Bollywood Necklace. The brass chain came with silver rhinestones, which we removed and repurposed for a second project! Always keep interesting parts and pieces around; you never know how you’ll want to combine them later!
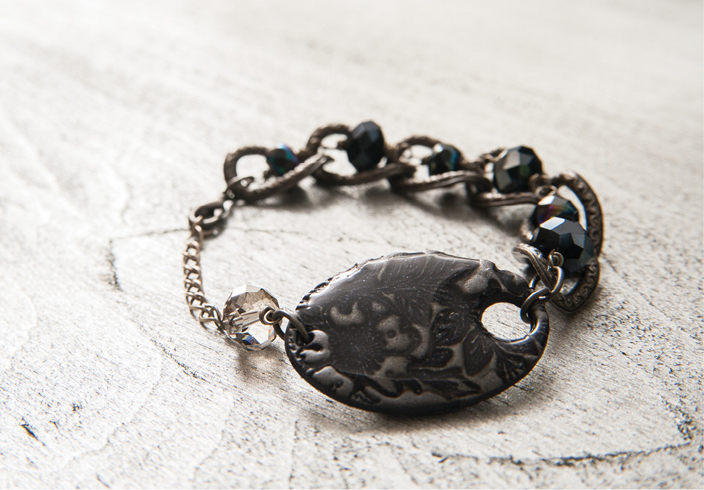
Instead of the distressed leather edge, we made a flat oval bead with a large hole at one end and a small hole at the other for this version. Use thick chain, large and small crystal beads and a sturdy clasp to re-create this chunky look.