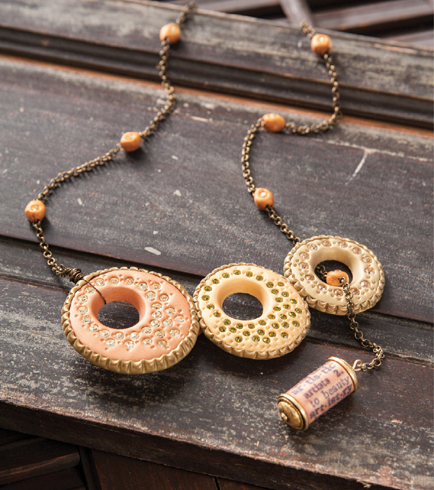

This necklace was inspired by the pavé style, which incorporated elaborate pronged settings and beaded chain, from the early 1900s. With just a little imagination, we interpreted these vintage inspirations and created a “cobblestone” lariat weighted with an antique gold statement bead. You will learn how to transfer an image onto a round surface, embed stones and use polymer clay’s strength and versatility to create a necklace that looks elaborate but comes together quickly.
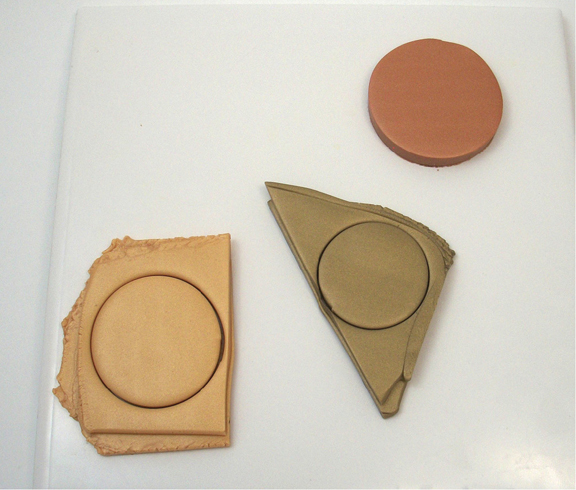
STEP 1 Condition clay and roll to the thickest setting on your pasta machine. Fold the clay over to double the thickness and cut out 3 circles in graduated sizes, 1 in each color of clay.
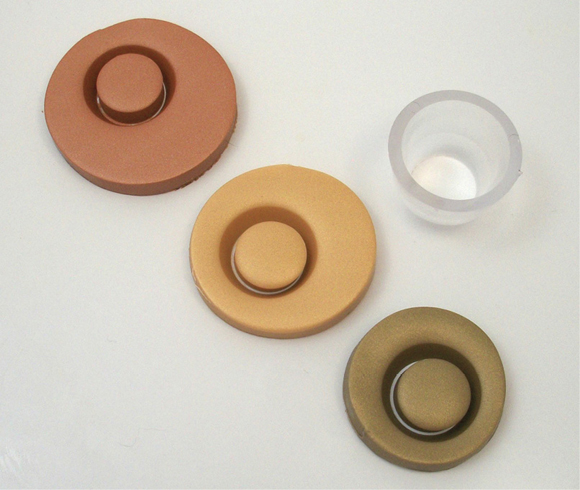
STEP 2 Cut a small bezel circle slightly off center in each of the larger circles, forming “donuts.”
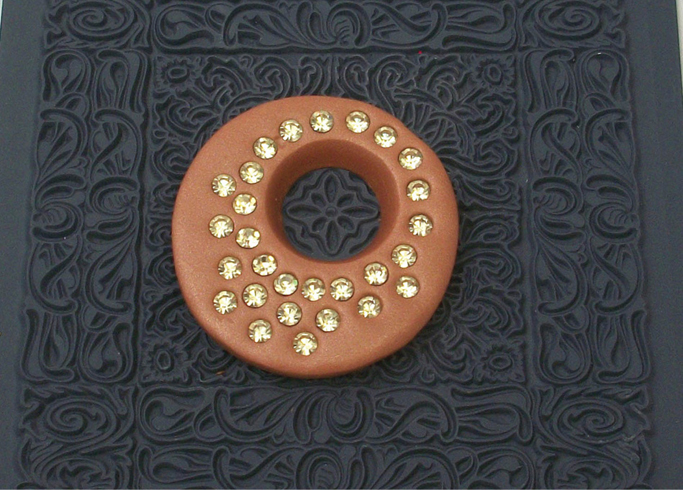
STEP 3 Lay 1 donut on the rubber stamp and press down gently. Apply rhinestones around the hole in an interesting pattern. You may add as many or few as you like. Be sure they are embedded in the clay.
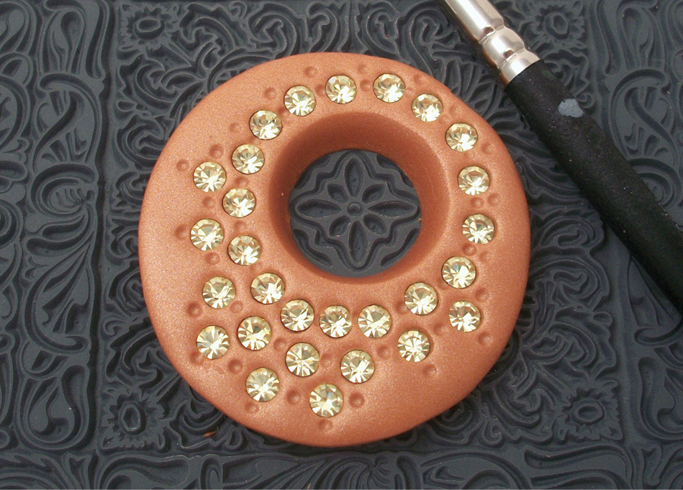
STEP 4 Use a small tool to make a pattern of dots between and around the rhinestones. This adds visual interest and also helps keep the stones embedded. Bake the donut right on the stamp, cool and remove. Repeat the process with the other 2 clay donuts.
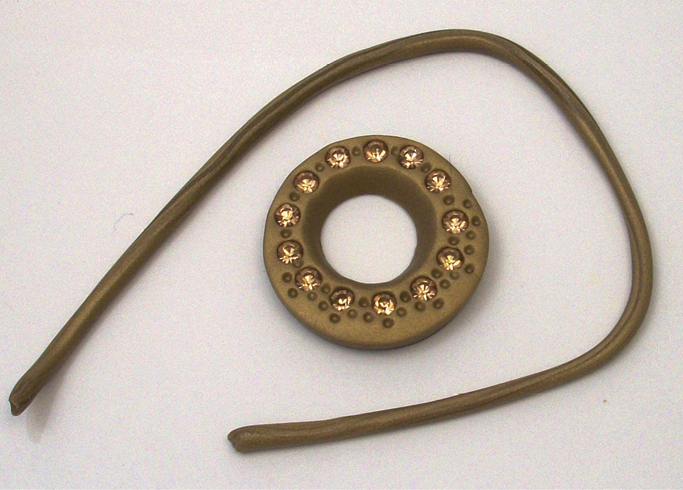
STEP 5 Roll a thin snake of clay in antique gold. Wrap a snake around each of the baked cooled donuts.
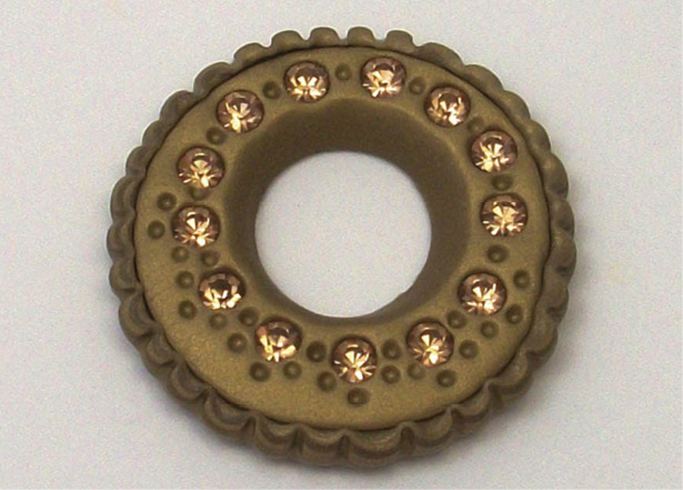
STEP 6 Use a needle tool to create a pattern all the way around the snake. It will look like a setting.
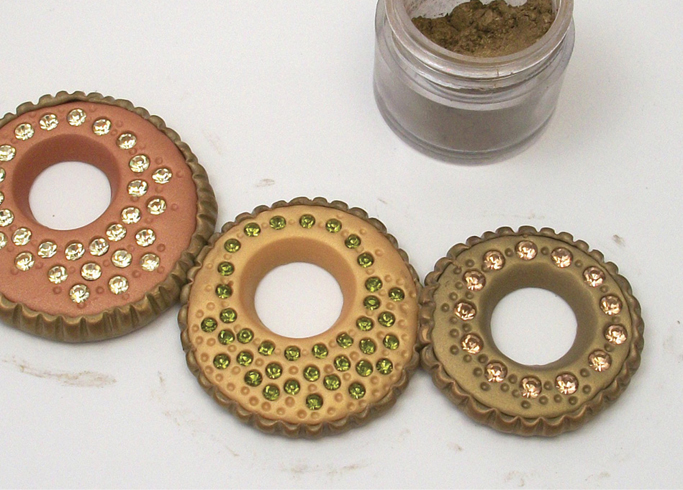
STEP 7 Push the 3 circles together, pressing together the raw settings around the donuts until they adhere. Fix anything you may need to reshape with your tools, and use your fingers to highlight the design on the raw clay with powdered pigment. Bake and cool this composite shape.
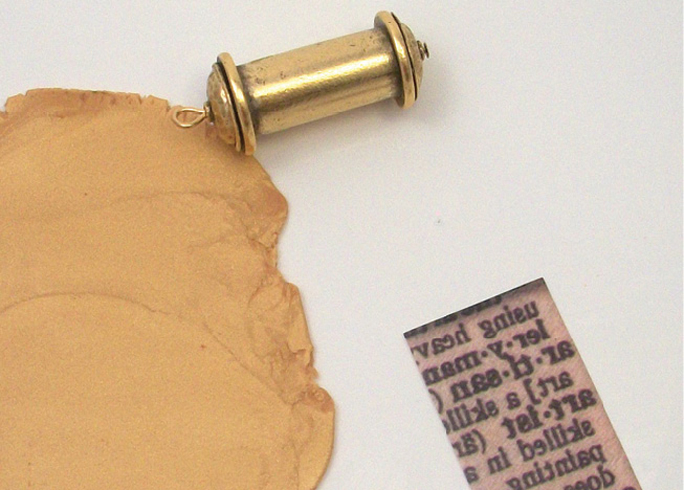
STEP 8 Roll a thin sheet of jewelry gold clay wide and long enough to fit around the pendant. Follow the instructions under Creating Image Transfers to print the image and transfer it to the clay.
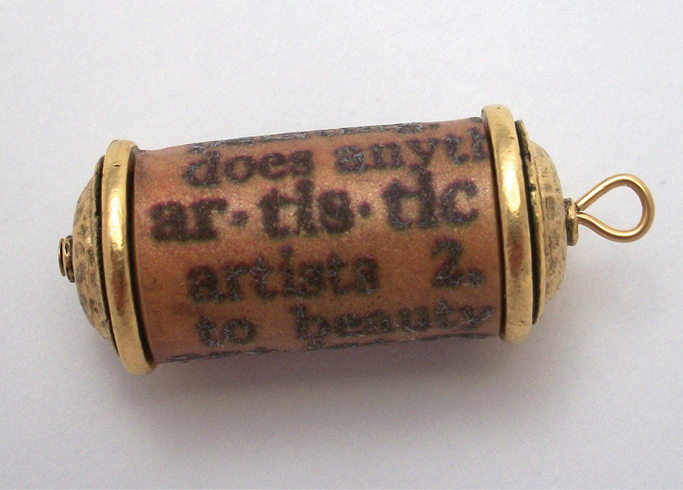
STEP 9 Trim the clay to fit around the pendant. Carefully wrap the transferred clay around the pendant. Gently flatten the seam with your fingers. Bake and cool.
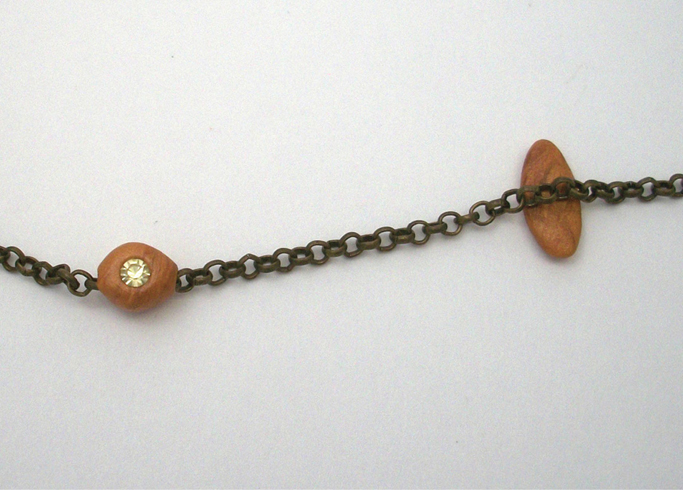
STEP 10 Starting about 3" (8cm) from one end of the chain, flatten a pea-sized ball of gold clay into an oval, and place it under the chain.
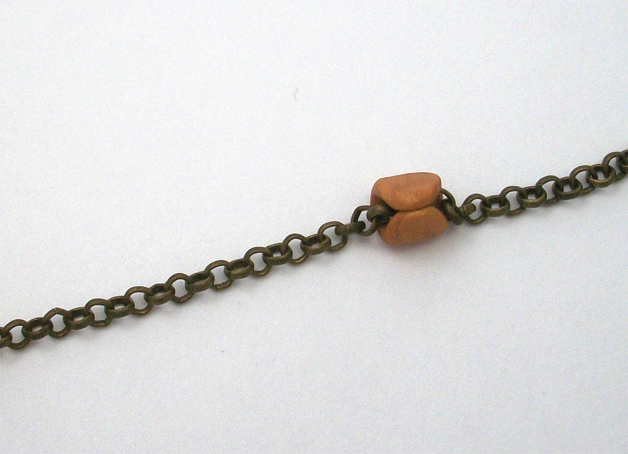
STEP 11 Wrap the clay around the chain and flatten the seam with your fingers.
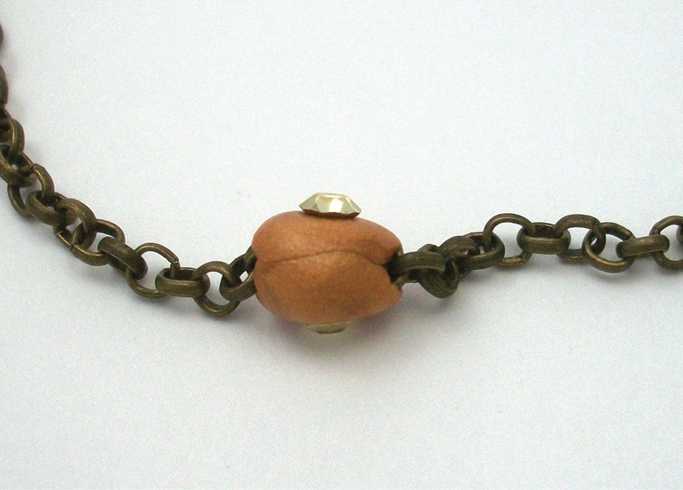
STEP 12 Place 1 rhinestone on each side of the bead and use your fingers to embed them. Make sure they are tightly surrounded with clay so they won’t fall out. Repeat the process, adding a rhinestone-studded bead to the chain every 3"–4" (8cm–10cm). Do not place beads on the ends of the chain.
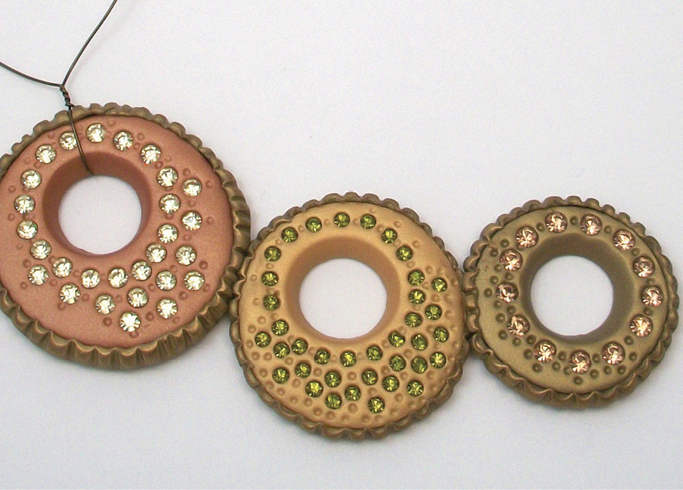
STEP 13 Using 12" (30cm) of 24- to 26-gauge wire, create a wire wrap on the largest link of the focal component. Be sure to twist up both ends of the wire. Leave the short end free so it can be securely wrapped into the loop in the next step.
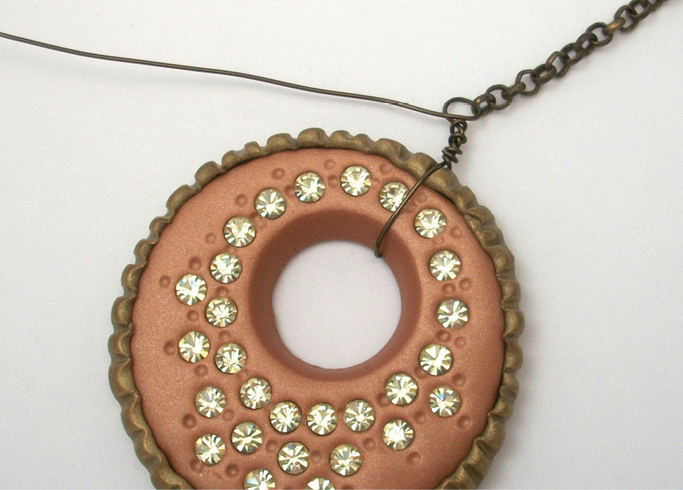
STEP 14 Slip one end of the beaded chain into the loop. Continue with a large dirty wrap (see Dirty Wrapping in techniques) and close and secure the wire wrap. Cut the excess wire.
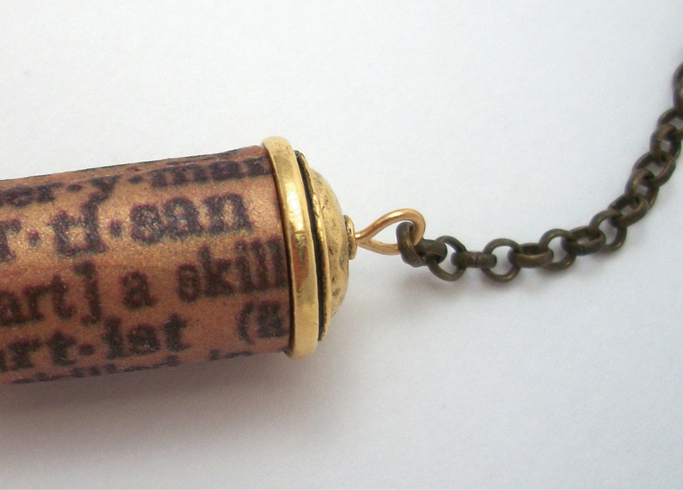
STEP 15 Open the eye-loop end of the pendant and slip the loop onto the opposite end of the beaded chain. Close the loop.
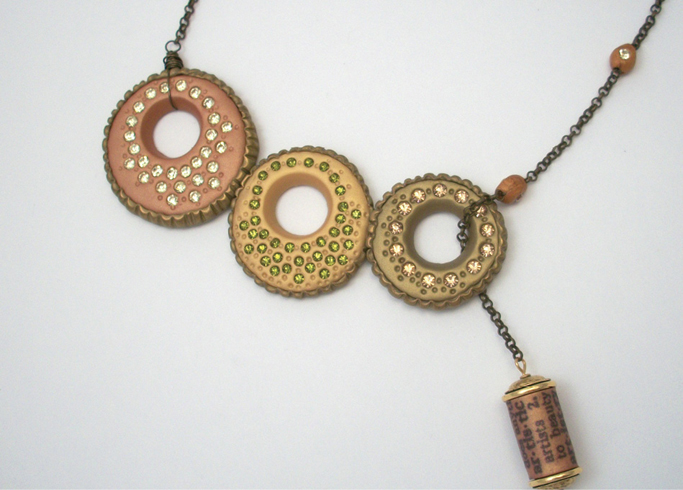
STEP 16 The necklace is now complete and can be worn in several configurations. The pendant slips through any of the circles and provides the weight needed to hold this lariat-style necklace closed.
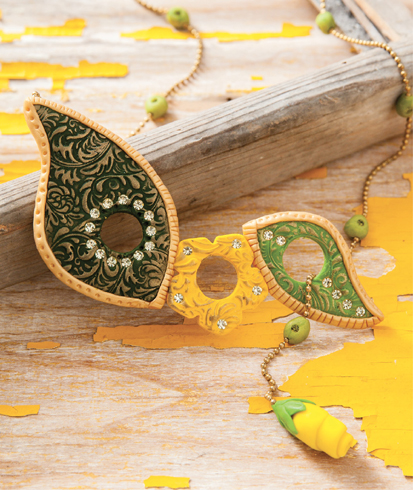
The wonderful variations for this necklace are endless. Here we used leaf- and flower-shaped cutters to create a garden-themed version. To weight the end of the lariat, create a flower bud by rolling up a piece of clay and embedding the end of the chain inside before you bake it.