The best thing about polymer clay is its extreme versatility. It can imitate many other substances, such as metal, wood, paper, glass and stone. It can be textured, cut, rolled, stretched, knotted, sculpted, molded, knitted, sewn, punched out, extruded, inlaid and embedded. If you can bake it at temperatures up to 275° F (135° C), you can use it with polymer clay.
Therefore, our list of tools and materials is extensive. If it isn’t tied or bolted down, we have probably stuck it in our clay. When you say, “Everything but the kitchen sink,” we say, “Why not the kitchen sink? I’m sure there’s a way to use that, too!” We are always finding new tools to add to our repertoire as you will, too. You will never look at a simple thing, such as a pen cap, the same way after seeing the cool impression it makes in the clay. We have discovered many new “tools” this way.
So, what do you need to create jewelry with polymer clay? The list is short. You absolutely need a very sharp blade, something to poke holes with, something to roll the clay out with, and something to cure it in. A smooth, flat tile or glass work surface is also a great idea. But what do we recommend having on hand for the best polymer clay jewelry experience? Here’s our list.
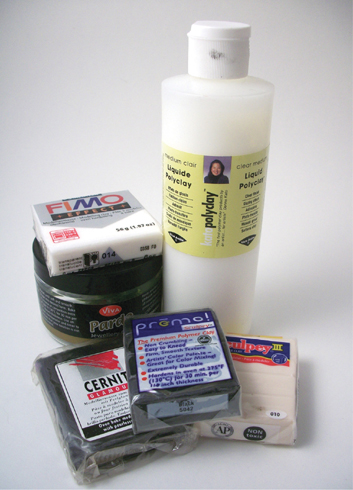
Polymer Clay! Of course, this is the main ingredient. We will be using several brands of polymer clay, mostly due to their working properties. Premo is a professional grade clay and our go-to brand. It is widely available for a good price and comes in many colors. Cernit and Pardo clays are less widely distributed but can be found online. They are softer, which appeals to Kira because of her cold hands. They don’t appeal to Ilysa because her hands are hot, and those clays turn to mush while she is working them. Cernit and Pardo come in pretty, premixed colors that Kira likes, while Ilysa prefers to work in the bold bright colors that Premo has to offer. You can mix polymer clay brands together without problems. Find the brands you like, and you will be fine. We both often mix our own colors and don’t always use the colors straight out of the pack. It’s about exploration.

Bars of various brands of polymer clay; liquid polymer clay (in bottle); Pardo clay (in jar)
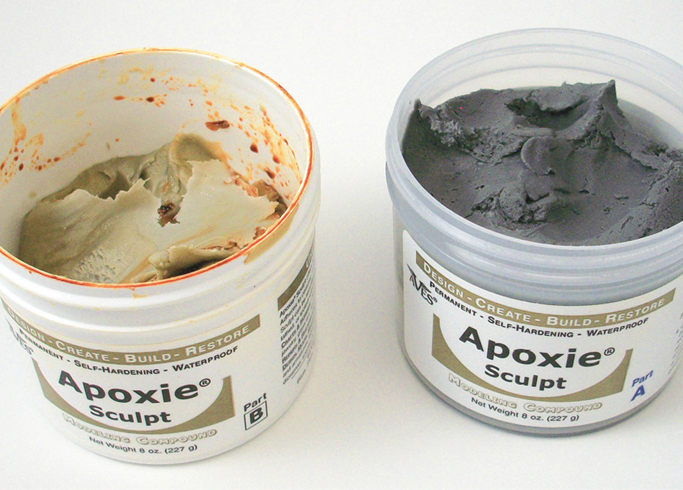
Apoxie two-part epoxy clay
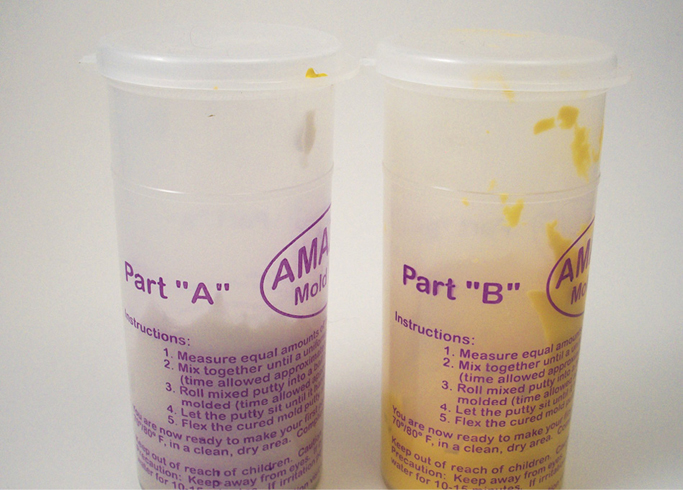
Amazing Mold Putty silicone molding putty
Liquid Clay: We use three different kinds of liquid clay because they all have different properties. Kato Liquid Polyclay and Fimo Gel are the most alike. They are fairly liquid straight out of the bottle, and they go almost clear when baked. Kato liquid can be completely clear with a glasslike finish if you gently heat it with a crafting heat gun after it has been cured for thirty minutes in the oven. Translucent Liquid Sculpey, sometimes called TLS, is thicker while liquid, looks and acts like a thick glue and will never cure completely clear. It is a good choice when you want to attach clays together, fill a seam or embed items in clay. Kato Liquid Polyclay and Fimo Gel can be used interchangeably in our projects.
Epoxy Clay: Our favorite brand is Apoxie Sculpt, a two-part clay that does not require baking. It can be useful for adding strength to a jewelry piece, making an armature, and creating a part of your project that simply can’t be baked.
Molding Putty: Amazing Mold Putty is our preferred brand for molding objects. We like it because it makes a fast and durable silicone mold. Other products are on the market, but in our opinion this one is the best and here’s why: You can add to it if you didn’t make your initial mold thick or big enough. You can make a mold all the way around an object, and you can bake directly in the mold. It remains flexible and can be manipulated into almost any shape.
Resin: We prefer Magic-Glos, which is a UV-curing one-part resin. We like it because it cures very fast, fifteen minutes under ultraviolet light or in sunlight. This means you don’t have to wait, and you don’t have to risk foreign objects (such as cat hair!) falling into your resin before it cures. You also avoid the risk of not mixing your resin correctly, because all the other kinds of resin require a two-part blend and a long setting time. The only downfall to UV resin is that if you want to embed something in it, you have to be careful not to block the light and, therefore, stop the reaction that cures the resin.
Image Transfers Paper: Placing an image onto polymer clay is easy and can create wonderful effects. We use Magic Transfer Paper for raw clay. Just remember, you must flip text and designs in order to have them transfer correctly. A graphics program can help you with this. Make sure you read the manufacturer’s instructions, too, as some papers call for ink-jet printing and some for laser only.
Inks: Pigment and dye, also called alcohol inks, work very well with polymer clay. Many pigment inks require heat setting, which is perfect since the clay does, too. Use inks either on the surface or mixed into your clay to impart color and depth. You can also use either type before and after baking for different effects.
Paints: Use your acrylic paint with wild abandon. You can use many types prior to baking, and they will dry on the clay. Try silkscreening, painting freehand or painting a thin layer, then crackling the paint by rolling over it or putting it through a pasta machine. You will need to test your acrylic paint to get the results you want, as not all brands react the same way. When we use acrylics in this book we will let you know exactly what kind we had success with. Genesis Heat-Set Artist Oil Paints also work very well on baked clay.
Metal and Plastic Foils: Mylar foils such as those made by Jones Tones and Lisa Pavelka, as well as gold, silver, copper and other real metal foils, work well with polymer clay. They stick to the surface easily, and you can do wonderful special effects with them.
Glitter, Spices, Powders, Chalk, Pastel: Dry particles can be used on and in the clay for various effects such as faux and fantasy stones, metal effects and optical effects.
Beads, Tiles, Mosaic Pieces: Embed glass, ceramic and crystal in polymer clay without fear. You will have to test acrylic and plastic pieces, however, as some will melt, even at low temperature settings.
Wire: Wire of all kinds works great with polymer clay. Fun Wire is wire coated with plastic, which bonds to the clay during baking, so it is less likely to fall out. Any other type of wire requires a “hook” embedded in the clay, so it won’t fall out after baking. But all wire works great, because it can withstand the temperature of baking.
Chain, Jump Rings, Headpins, Accent Beads: Gather up your jewelry supplies and findings—you’re gonna need them! We will also show you how to use some specialty supplies, such as channel and filigree findings.
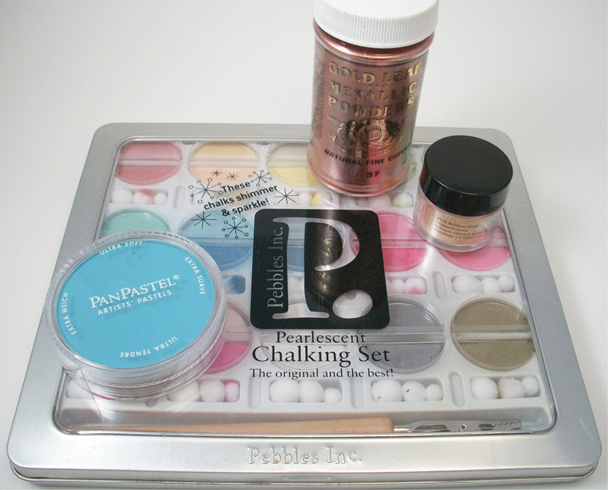
From left to right: PanPastel pastel chalk; pearlized chalks; copper powder; Pearl Ex Powdered Pigment.
Blades: You can get a tissue blade or clay blade from many online suppliers or, most likely, at your neighborhood craft shop in the clay section. This blade is usually 4"–6" (10cm–15cm) in length with a sharp side and a blunt side. Hold it on the blunt side and be careful!
We recommend using two hands when slicing, as this will give you more control. Some people like to mark the dull side of the blade, so they don’t cut themselves. If you want to mark it, we suggest using a permanent marker, not something physical that will impair your ability to use the blade for its main purpose, which is slicing. You will also find it useful to slide your blade under a piece of clay that is stuck to your work surface in order to release it, pick it up and move it around without distortion.
Blades also come in a wavy variation that is used for various special effects. You’ll find many uses for one of these specialty blades.
Single-edge razor blades work great for smaller items, if longer blades become cumbersome.
Craft knives with handles, such as the X-Acto brand, can also be useful for getting into tight areas.
Pokers: We are referring to tools that make holes in clay. Both short bamboo skewers used for cooking and knitting needles are very useful and cheap. You can purchase a needle tool that has a wooden or metal handle and is often used for pottery. You can use T-pins (used for sewing), and you can even make a handle for your T-pin from clay, like Kira does. Be creative as you collect your pokers, as you’ll want tools to make just the right size holes.
Rollers: Many clay artists use two tools to roll their clay: a pasta machine with a crank handle and an acrylic rod. The pasta machine offers a quick way to condition clay, mix colors and roll clay to a consistent thickness. Acrylic rollers offer a more hands-on way to handle the clay. We use them to impress clay on a stamp or texture sheet, to pound clay that needs to get moving and to flatten a sheet that needs to have a consistent thickness. If you plan to condition large amounts of clay, a motor for your pasta machine is also an option.
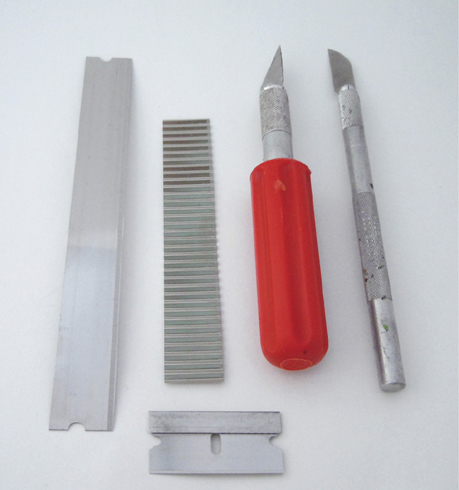
From left to right: Tissue blade, specialty blade, craft knife, X-Acto knife, single-edge razor blade
For all the projects in this book, have the following tools on hand:
Work Surface: A large tile, such as an 18" × 18" (46cm × 46cm) plain tile from a home improvement shop, works great. You can also use glass; many desks come with a glass top, which is ideal, or you can purchase a glass desktop protector to use on a nonglass desk. Teflon sheets used for crafting and cooking also work wonderfully. You need a nonporous surface so you can clean it up easily and the clay won’t stick to it. (Clay does stick to glass and tile, but you can peel it off easily or use your blade to scoop it up.)
Texture Tools: Rubber stamps, plastic texture sheets, pieces of interesting lace or fabric, the wall of your kitchen, your sidewalk, the bark of a tree—anything can be used to impart texture to clay. Once you discover texture, you may become a junkie. Make your own texture mats by rolling out a piece of scrap clay and pressing interesting things into it, such as buttons, beads, natural items such as shells and leaves—anything goes as long as pressing it into clay won’t ruin it. Remove the items from the clay and bake your texture mat. You can use the mat again and again to texture soft clay by pressing the clay onto it. Test things you plan to use for texture to see if you need a release agent to make the clay easy to remove from the texture; corn starch, silicone tire spray and water are often used as release agents. We have found the softer the clay is, the more it will stick, so take that into consideration.
Many kitchen tools work great with polymer clay, but once you use them with the clay, they should be dedicated to working with clay and not brought back into the kitchen. Polymer clay is nontoxic, but it is also porous, so bacteria can grow on it.
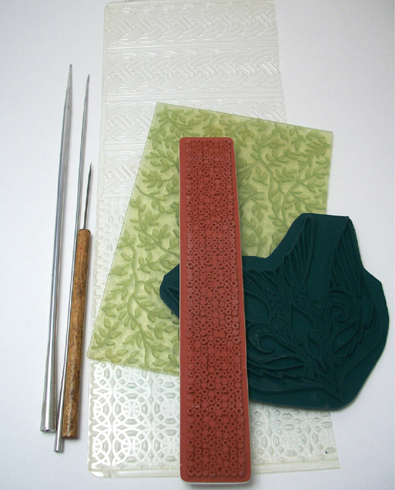
From left to right: Poking tools, texture sheets, rubber stamps.
Molds: These function just like textures. Anything that has a place to stick clay into can function as a mold. You can purchase molds made from silicone that are especially made for polymer clay, or you can look around for other sources. The kitchen again comes to mind; chocolate, candy and cookie molds can be used to mold a piece of clay. We will show you how to create your own molds so you can turn found objects like coins, buttons and charms into molds. Let your imagination run wild! Again, you will need to test each one to see if you need a release agent.
Cutters: Several tools will help you cut uniform shapes from clay. Kemper Tools makes many shapes of cutters that work well with clay. Also, cookie cutters work on unbaked clay; paper punches work on baked sheets of clay.
Paintbrushes: Brushes come in handy for various tasks. Keep a set just for liquid clay application and another set for resin application, because they will get gunked up. Wrap these brushes in wax paper between uses. Also keep some brushes just for paint and some just for powdered pigments. Fluffy watercolor-style brushes work very well for applying powders. You do not need expensive brushes, but you need to avoid ones that lose their bristles easily, as they will get into the clay.
Pliers and Nippers: Since we are working with art jewelry, your set of basic tools should include wire nippers, round-nose and straight (or chain-nose) pliers.
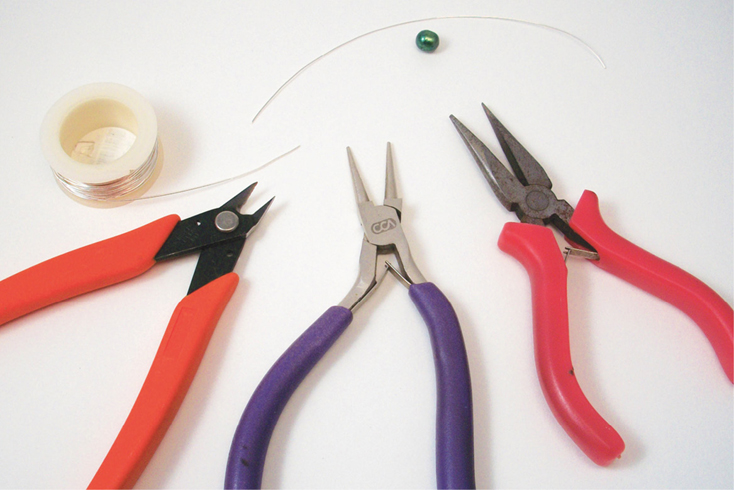
From left to right: 24-gauge wire, nippers; round-nose pliers; flat-nose pliers.