Embroidery
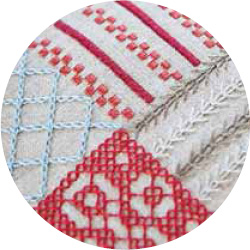
NOTE
For a few projects in this book, the pattern is placed off-center; please refer to the individual project instructions for placement guidance.
For most of the projects in this book, the embroidery pattern is applied to the center of the fabric that you will be stitching on. Preparing the fabric will help you center the pattern evenly. First, press the fabric smooth with an iron. Then, fold it in half across the width and crease it with the palm of your hand all along the fold. Now, fold it in half lengthwise and crease again in the same way. These creases will create guide marks to help you position the transfer in the center of the fabric (or off-center, if required).
To use the printed patterns in this book, trace or photocopy your chosen pattern onto a piece of thin paper. Place the copied pattern right side up on a table and tape it in place. Position the fabric on top, right side up. Lightly trace the pattern onto the fabric, using a soft pencil or a soluble- or disappearing-ink fabric marker. If it is difficult to see through the fabric, it might help to use a lightbox or hold the fabric up to a window.
Alternatively, you can use an iron-on transfer pencil or photocopy the design onto a fusible wash-away product such as Wash-Away Stitch Stabilizer (by C&T Publishing). Always refer to the manufacturer’s instructions to use the product. Please be aware that some transfer methods will produce a design the reverse of that shown in some projects. Your project will be just as nice either way. However, be aware of designs that have words in them, or other designs such as a book that opens right to left, to be sure your transfer method does not reverse the design. Also, if the design is reversed, some embroidery references in the instructions may then be reversed. Always refer to the project photo for clarification.
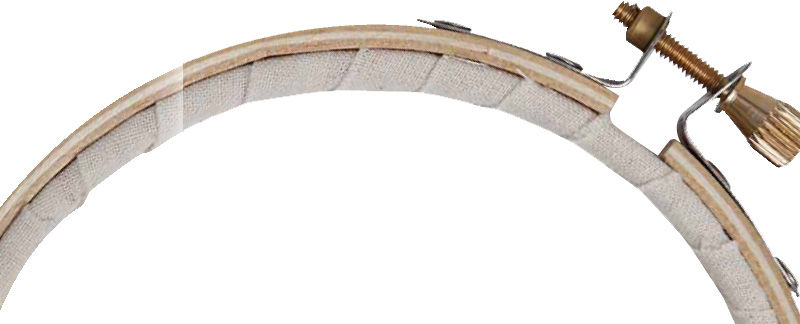
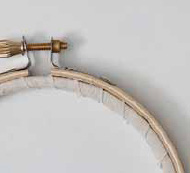
I wrap inner ring with ¾″-wide strip of unbleached muslin.
Excerpted from S Is for Stitch by Kristyne Czepuryk
To hoop or not to hoop, that is the question.
I’m comfortable with or without a hoop for continuous stitches, but I tend to favor without because I can control my stitches better and it’s just more comfortable for my hands. Some people prefer to hold a hoop rather than limp cloth.
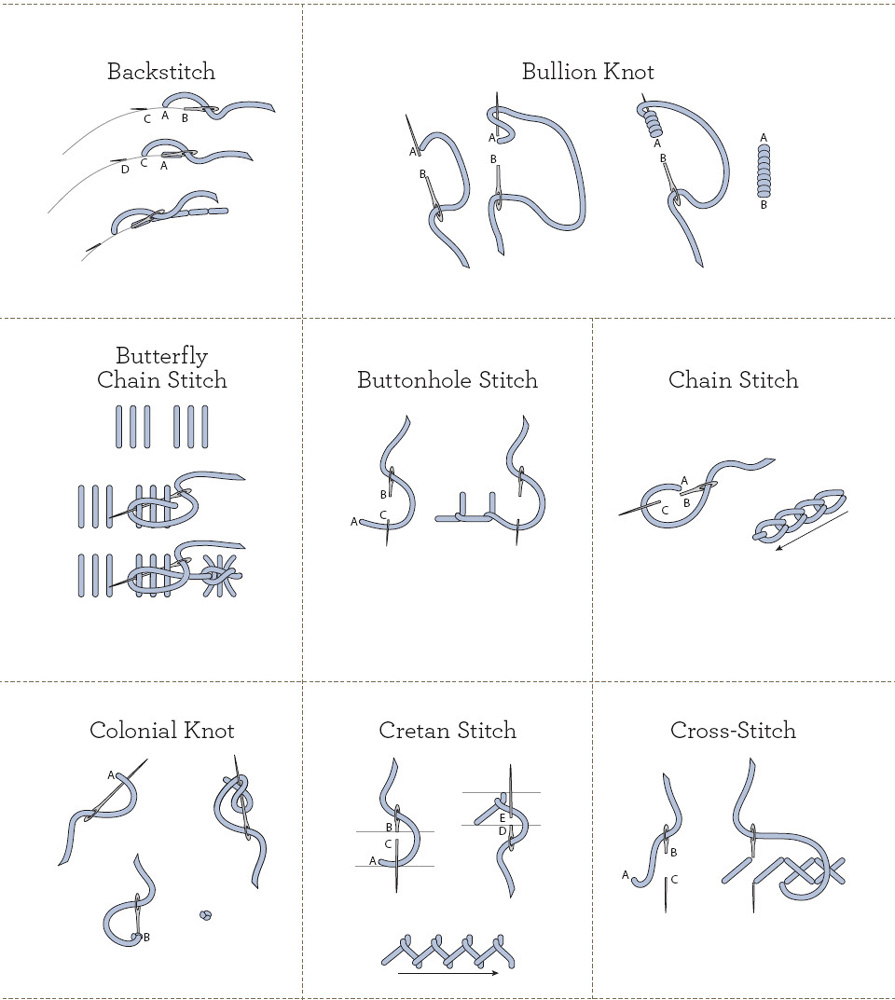
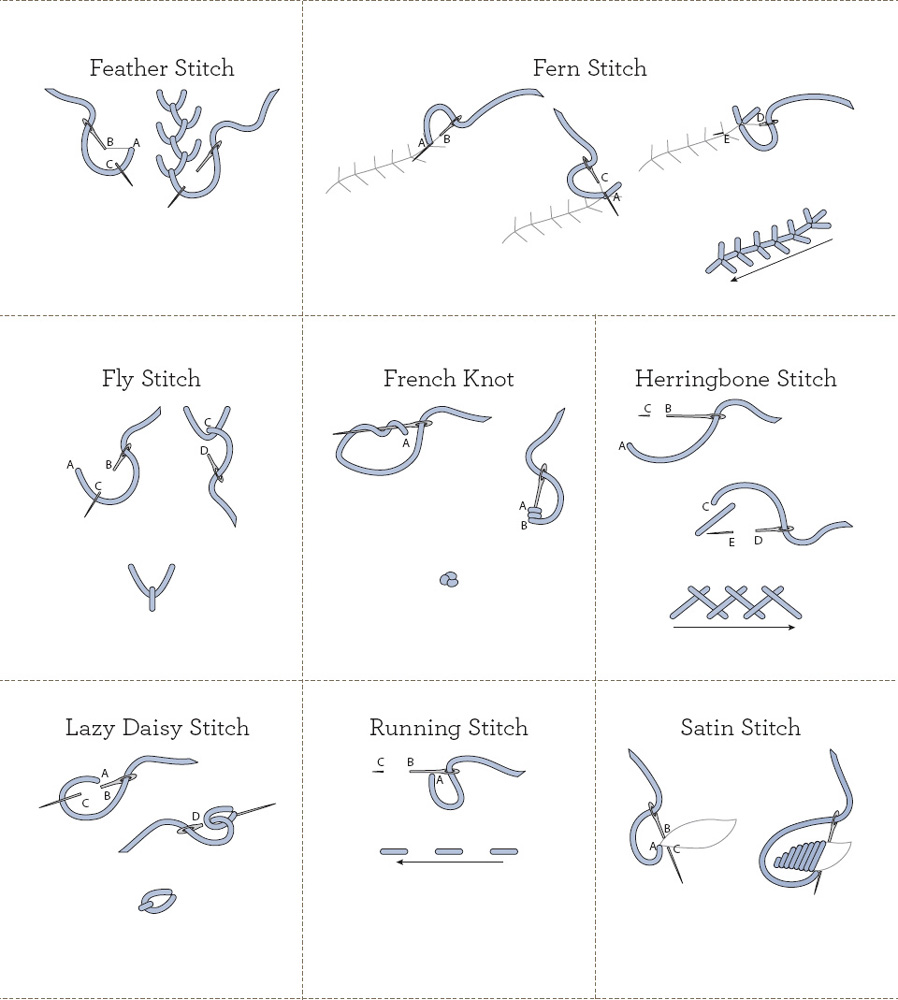
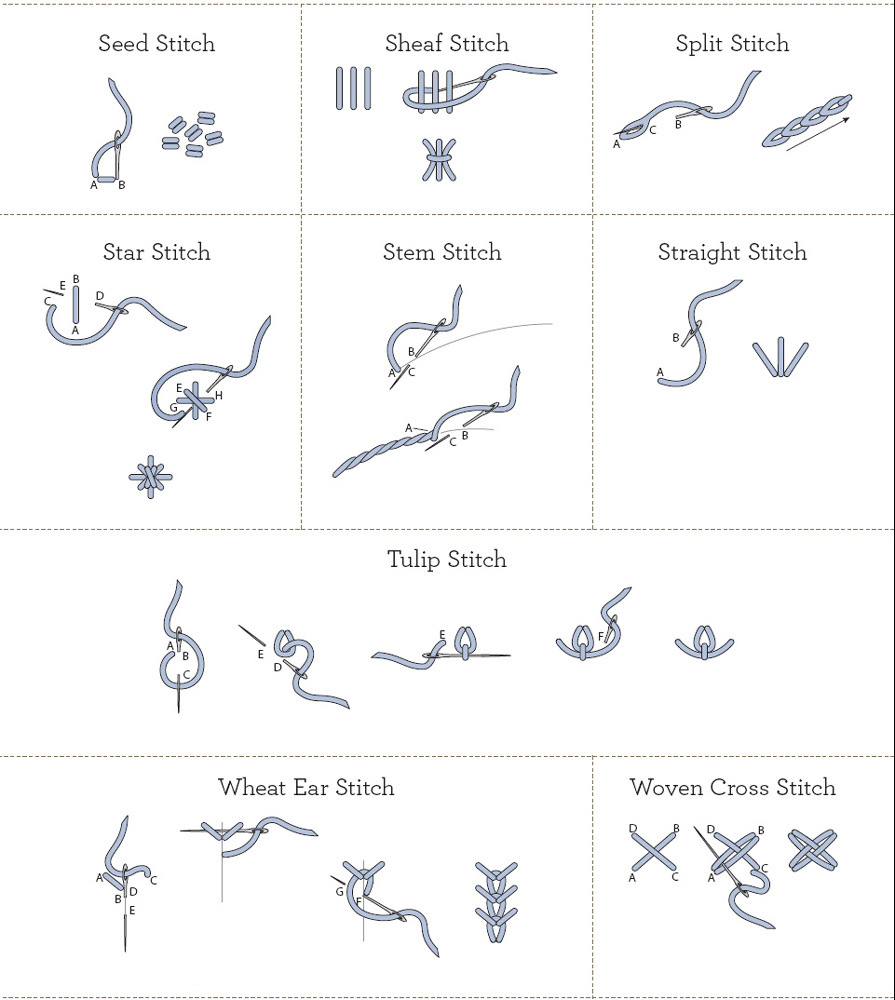
Continuous stitches can be completed by passing the needle from front to back in one movement. For example, a stem or backstitch is completed with a down-up movement of the needle before pulling the floss through the fabric.
But I prefer to use a hoop for stab stitches because I need another hand to stabilize my fabric while I’m wrapping floss around the needle for knots or for aiming my needle accurately.
Stab stitches are made by passing the needle completely through the fabric in one direction at a time. For example, colonial knots and the satin stitch are made by pulling the needle through to the top side of your fabric and then pushing the needle through the fabric to the back. In other words, two stabs equal one completed stitch.
When I use a hoop, I wrap a strip of muslin around the inner hoop to make it a little gentler on my embroidery fabric.
