The Basic Steps
As we have seen, cheesemaking is pretty simple: essentially, the process is the separation of the curds from the whey, so the solid from the liquid. The transformation of milk into cheese is one of the most extraordinary of all human discoveries. It may sound complicated, but in fact it is a fairly simple and easy process. Making cheese at home can be great fun – you will definitely make good cheese, and you may even make some very good cheese!
1. START WITH MILK
Before you start cheesemaking, it is important to know that the key to a delicious cheese is the quality of the milk. I would always try and find a raw, unpasteurized milk from your local farmers’ market, farm shop or specialist deli. Ultra-pasteurized or ultra-high temperature (UHT) milks will not form proper curds for cheesemaking as they can contain additives that inhibit proper coagulation and curd development. Raw, unpasteurized milk is very flavourful and rich, which will result in a great and complex cheese. If that’s not possible, use whole organic milk, the fresher the milk, the better. I would buy it and use it on the same day, if you can. Use milk straight from the refrigerator, transfer it to a large pan and begin to heat slowly. When warming the milk to a certain temperature, you are creating the perfect environment to activate the soon-to-be-added starter cultures.

2. ACIDIFY THE MILK
There are many ways to acidify your milk, whether by adding a natural acid like lemon juice, vinegar or citric acid, or a culture or live bacteria. Either way, given time, heat and lack of competitor bacteria, these cultures will acidify (transform the lactose in the milk to lactic acid).
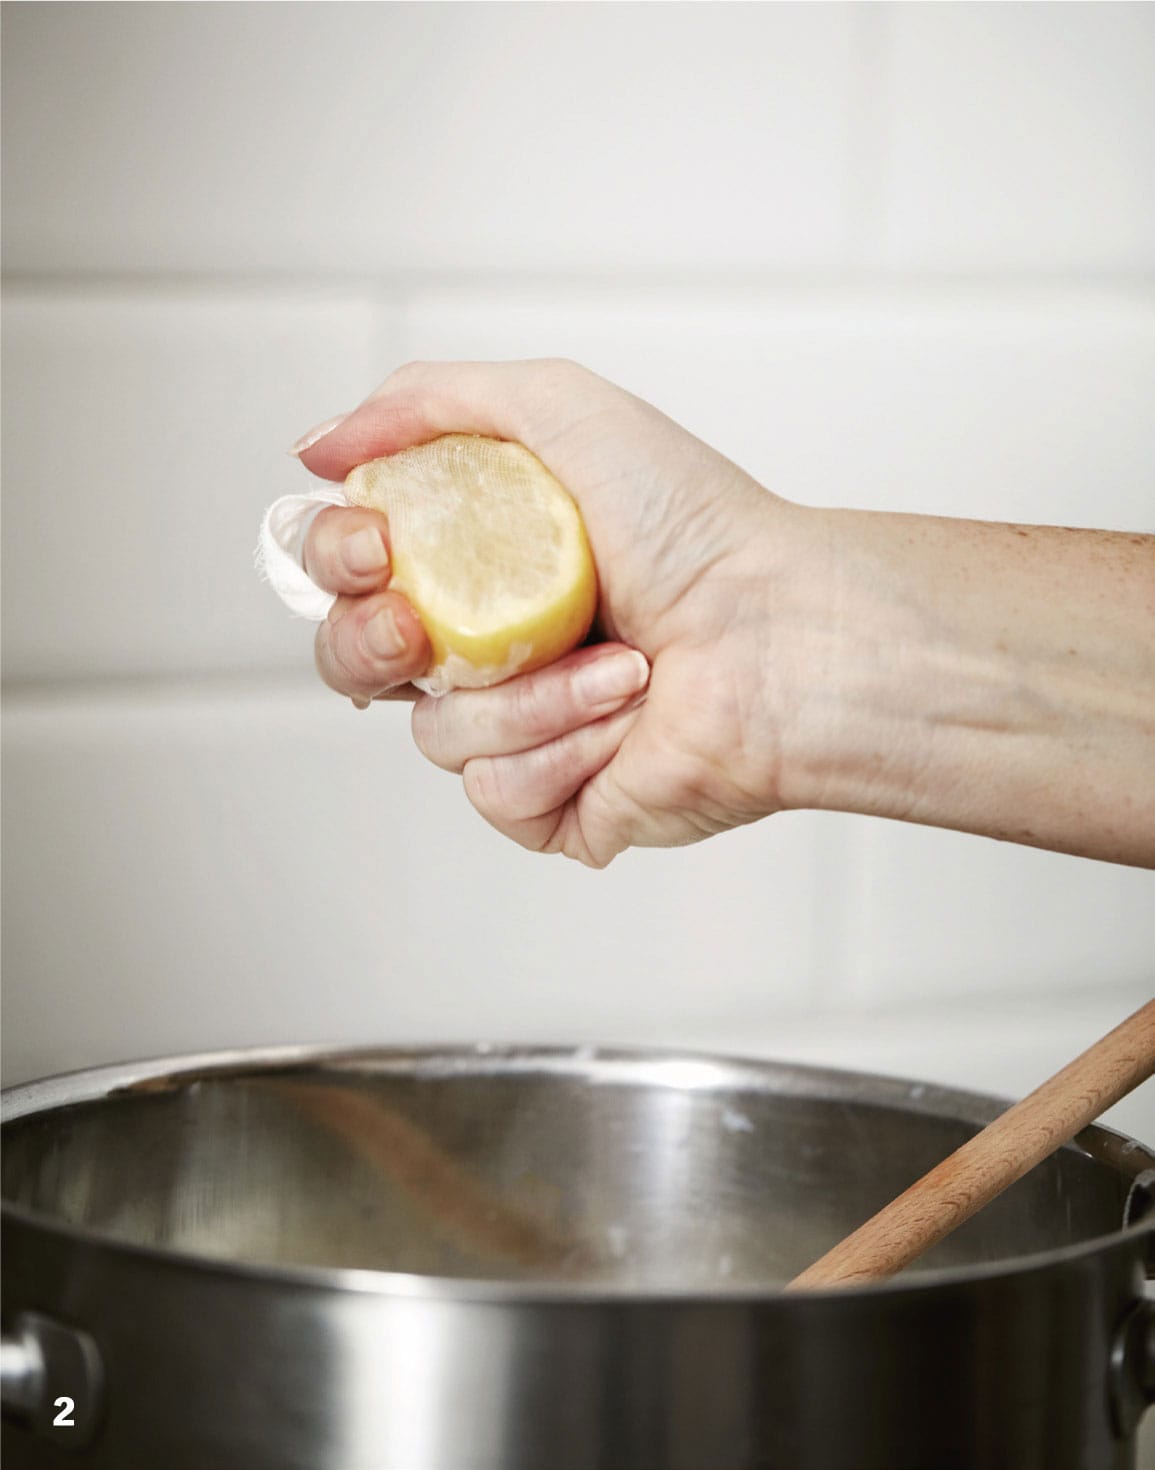
3. HEAT THE MILK
The recipes will vary in temperature and timing, but a good rule of thumb I stick to is to heat the milk slowly; it is not a race, so take your time. The way in which you heat the milk will influence the quality of the cheese you produce. So it is important to keep an eye on the temperature of the milk. You do not want it to overheat, so be sure to remove it from the heat if you see this happening.

4. ADD THE RENNET
Rennet is the enzyme that causes the proteins in milk to link together rather than repel. Adding rennet to the milk will cause it to coagulate and turn to a gel.
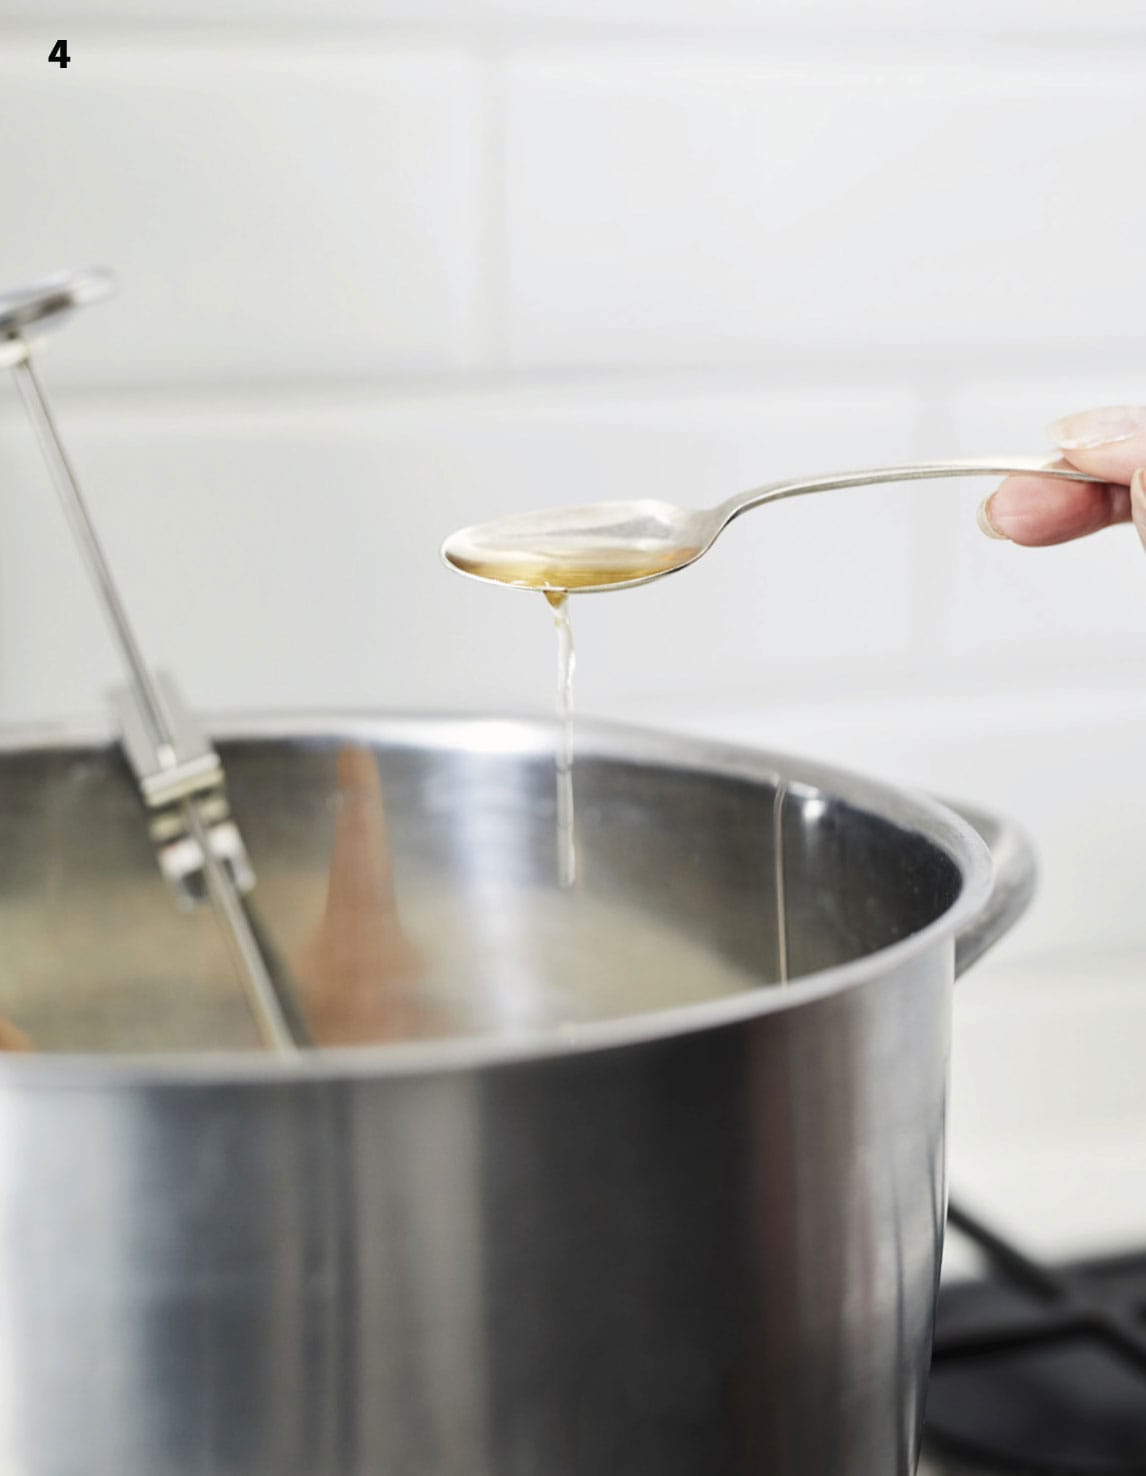
5. TEST THE ‘GEL-NESS’
When the rennet has had enough time to work on the proteins in the milk, the milk will have transformed from a liquid to a gel. You can test its ‘gel-ness’ by pressing (with a clean hand) onto the surface of the milk. You should have a big wobbly block of jelly-like curd.
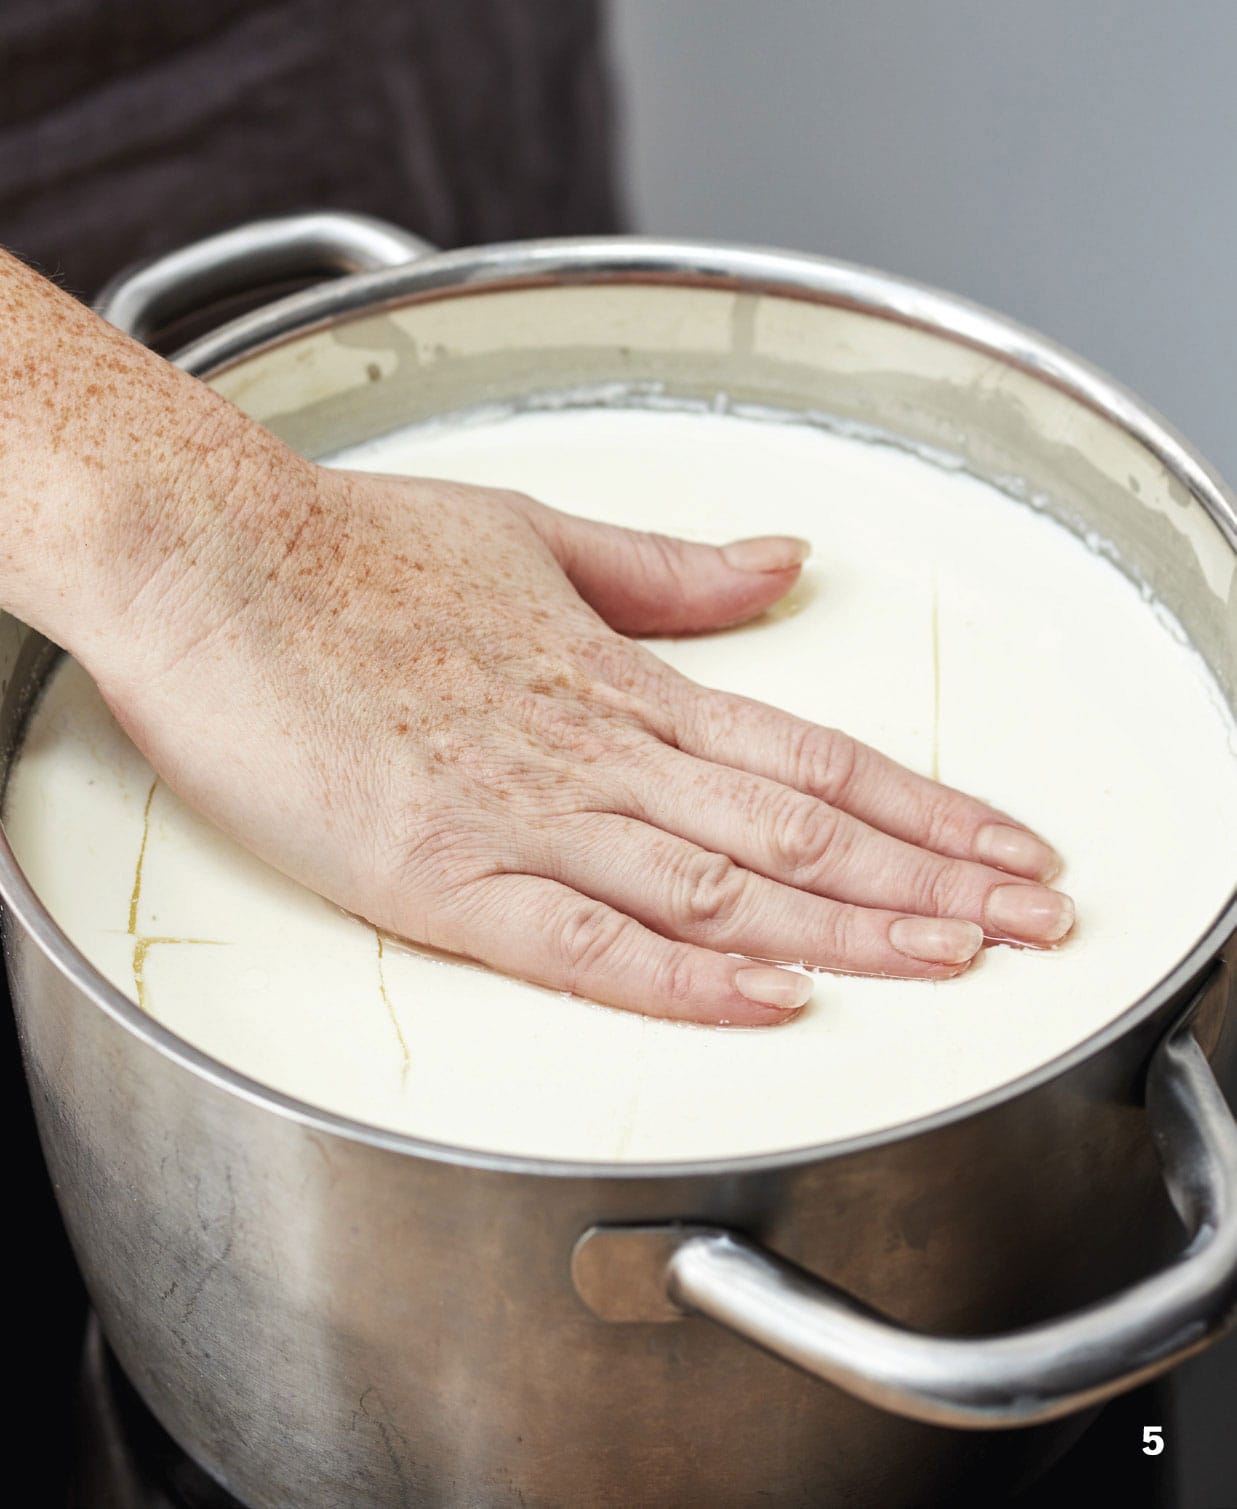
6. CUT THE CURD
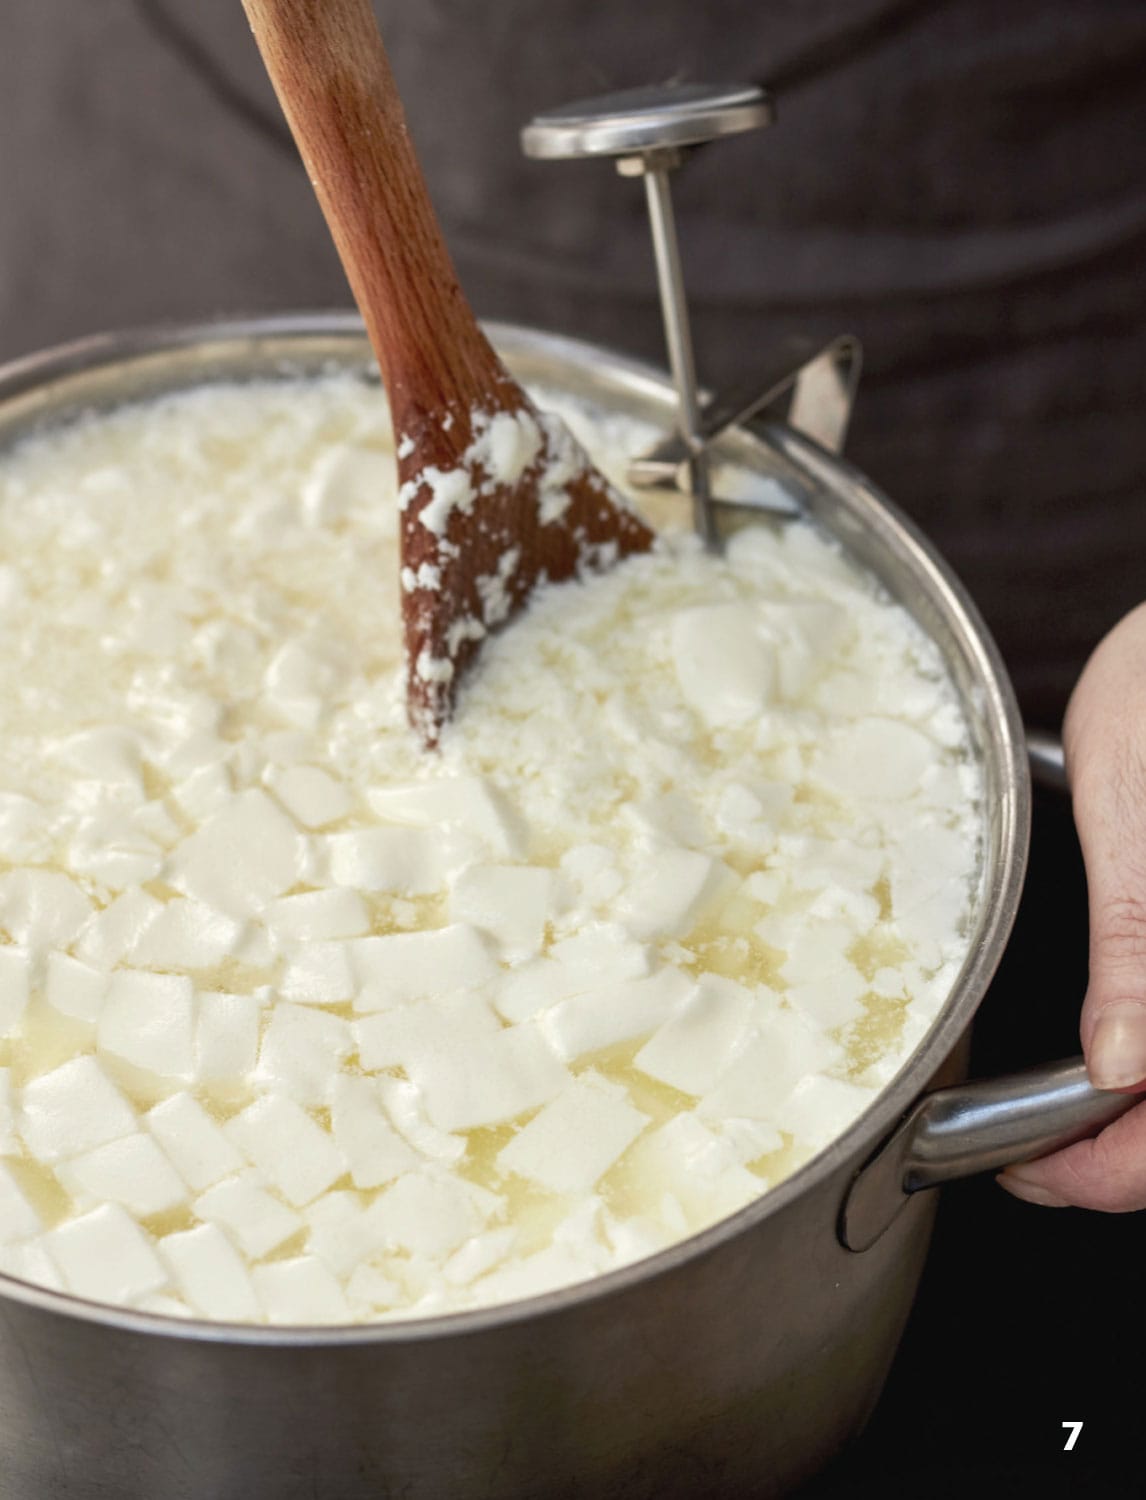
What you have to do now is cut the curds into small blocks. You can do this with a curd knife or a long flat knife. The way you cut the curd will affect the amount of moisture that will remain in the final cheese: the smaller the pieces, the drier the cheese will be, and more suitable for ageing.
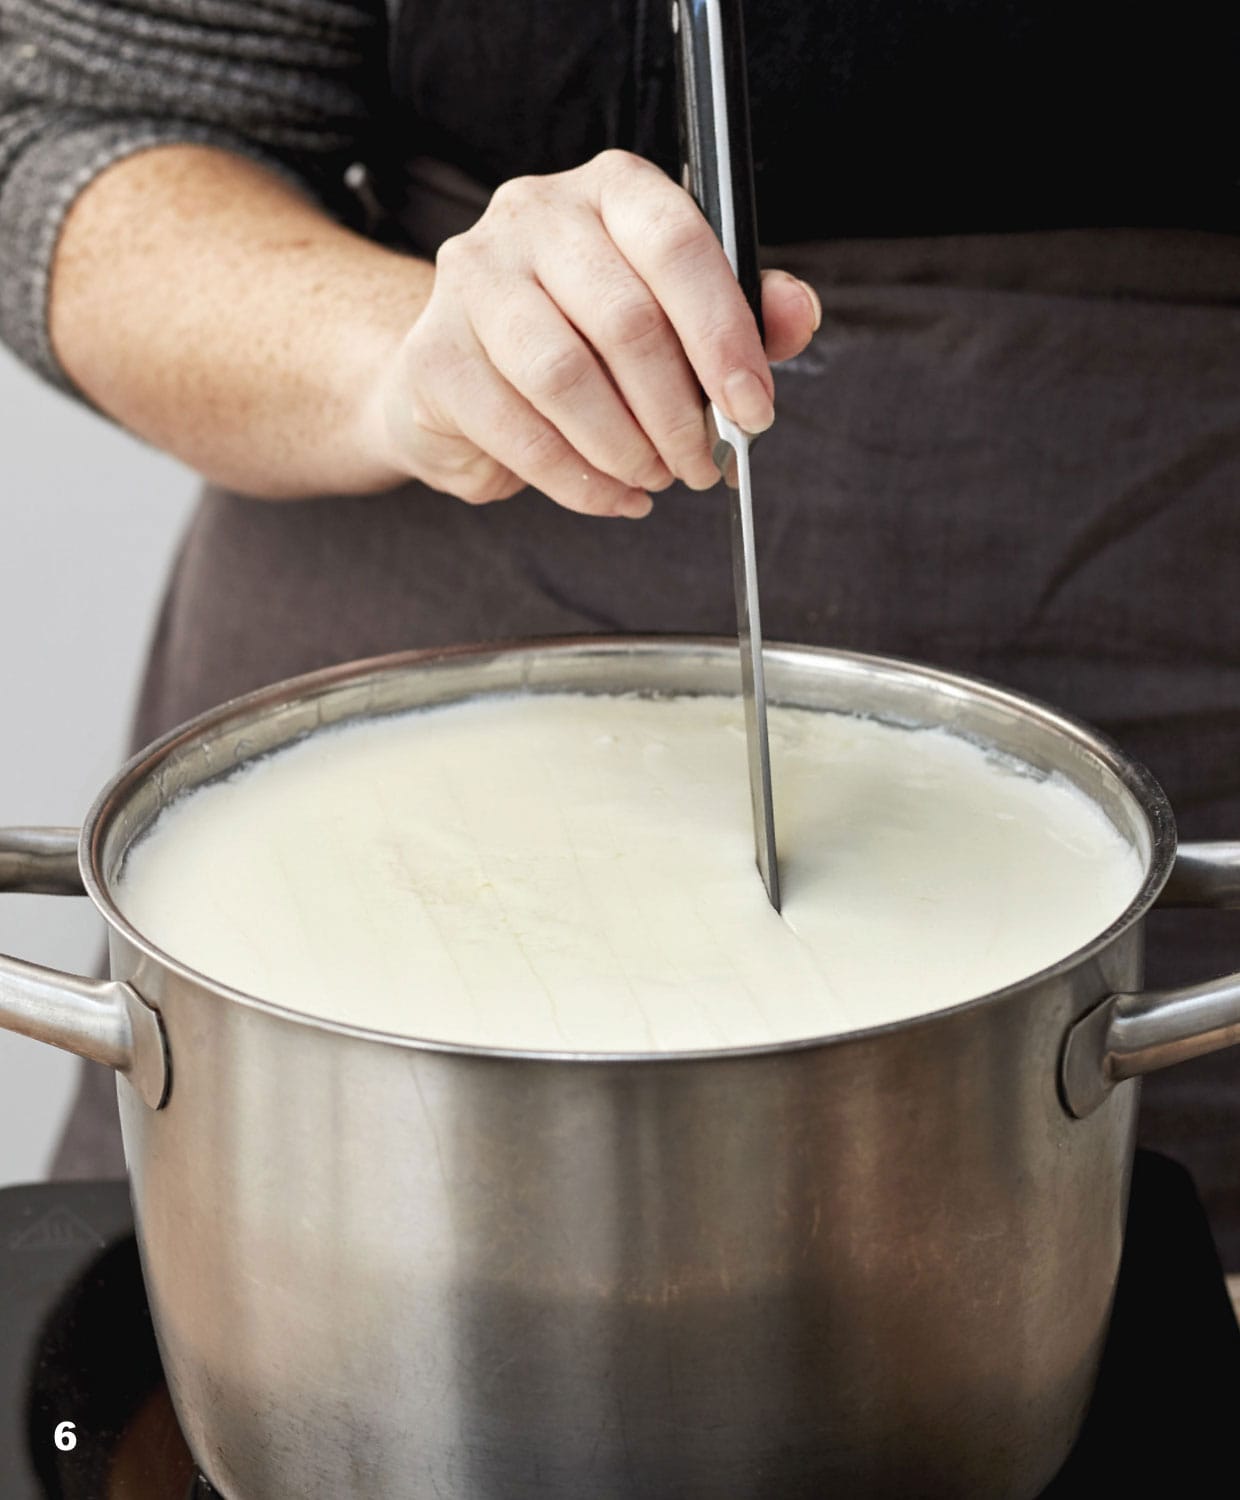
7. COOK AND WASH THE CURD
Dependent on the type of cheese, next you should stir the curds, if necessary over a low heat. This is important as the acids are still developing. The more the cheese is cooked, and the more you stir the curds, the drier the cheese will be. Lastly, washing the curds by adding water will get rid of any excess whey. The water will create a milder, sweeter-tasting cheese.
8. DRAIN THE CURDS
Now it’s time to separate the curds from the whey. You could do this by simply transferring the contents of the pan into a sieve (fine-mesh strainer) in a sink and leaving to drain. The way that I do it is to line a strainer with cheesecloth or muslin, and place it over a large bowl.

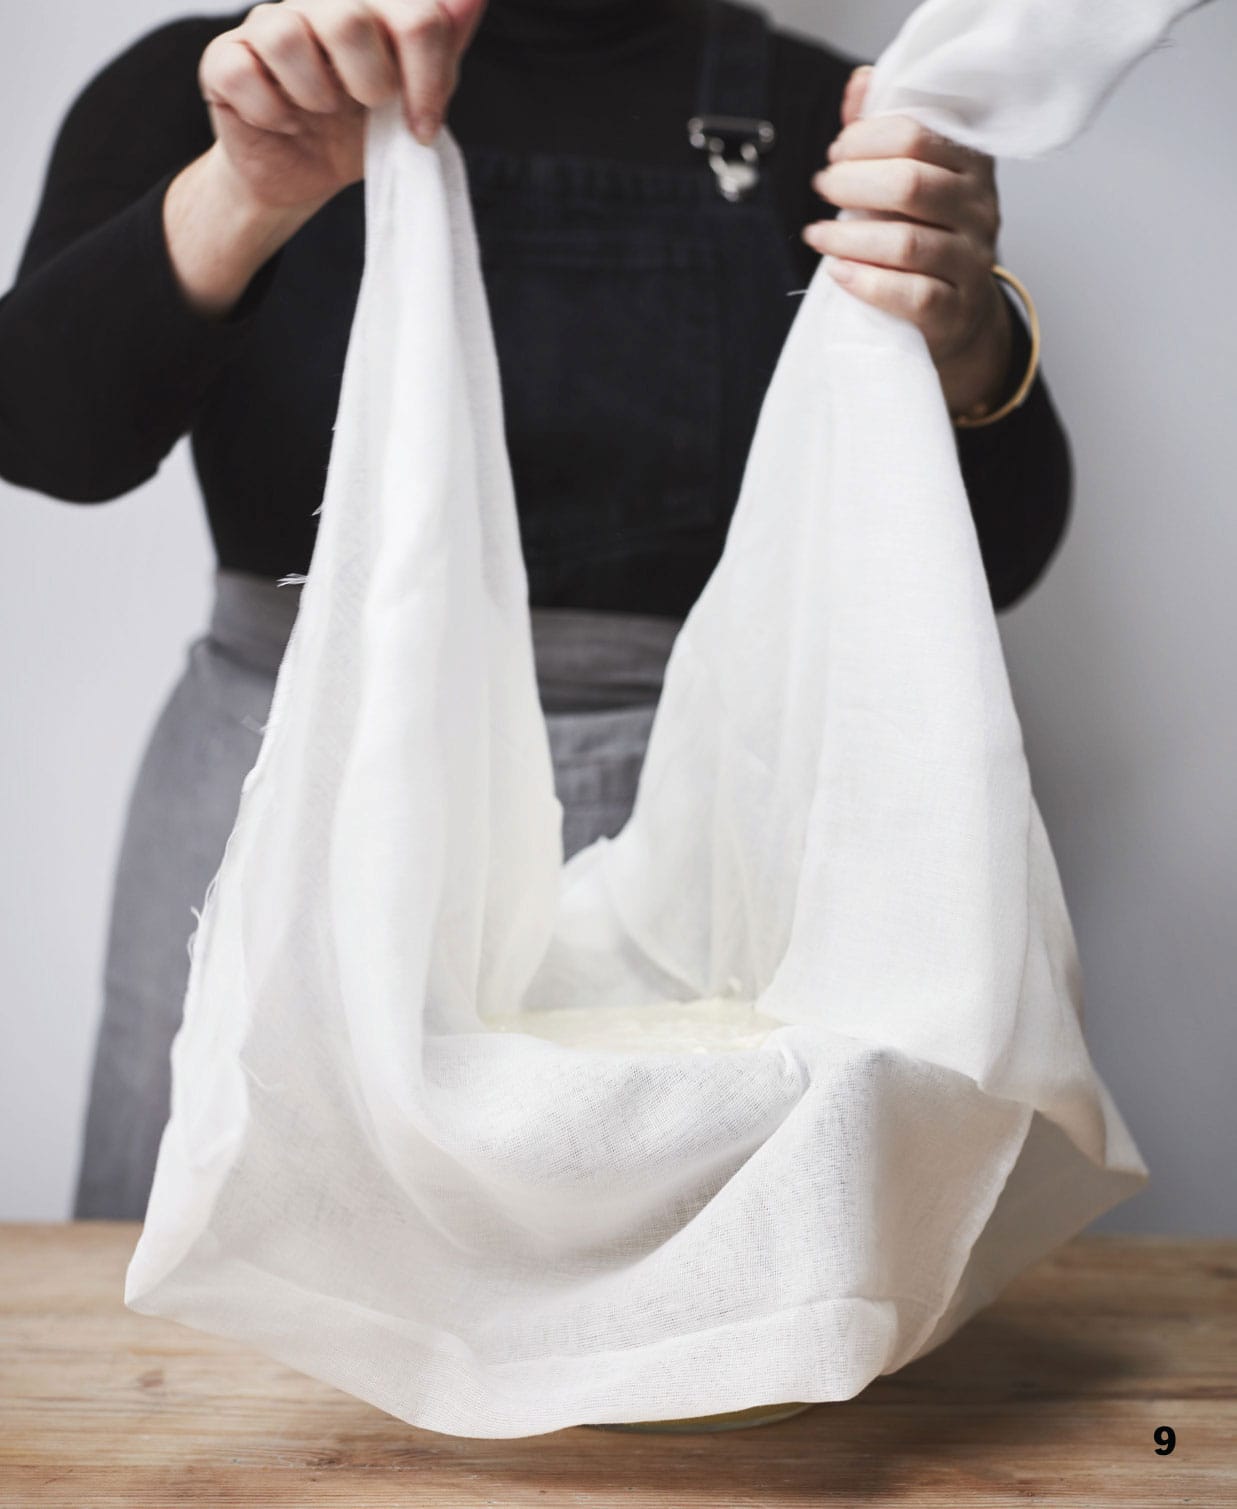
9. GATHER UP THE CLOTH
Next, gather the four corners of the cloth and bring them together. Try to do this quickly because you want to keep the heat in the curds, encouraging them to mash back together to form a nice smooth wheel. If you wait too long, the curds get cold and the cheese falls apart.
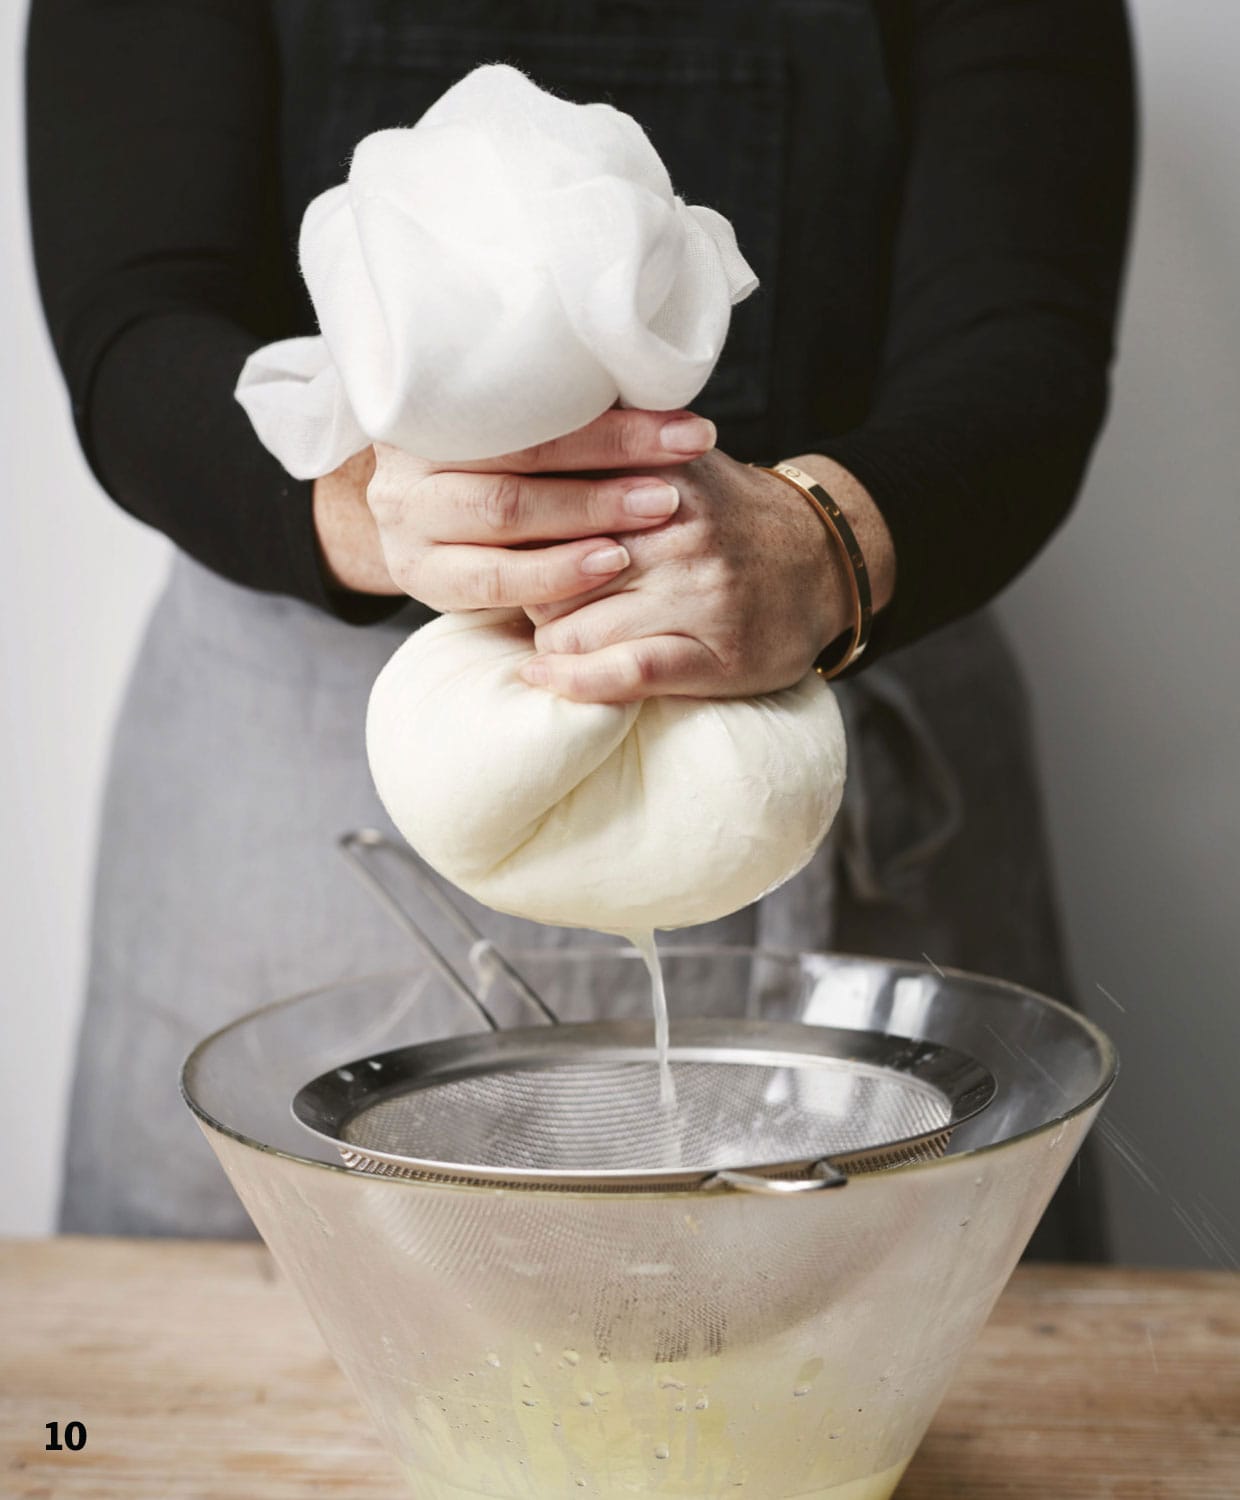
10. SQUEEZE OUT THE WHEY
Once you have created the bag, all you need to do is gently squeeze the top to allow the whey to drain away from the curds. You don’t need to use a lot of pressure, just enough so you see liquid leaving the bag.
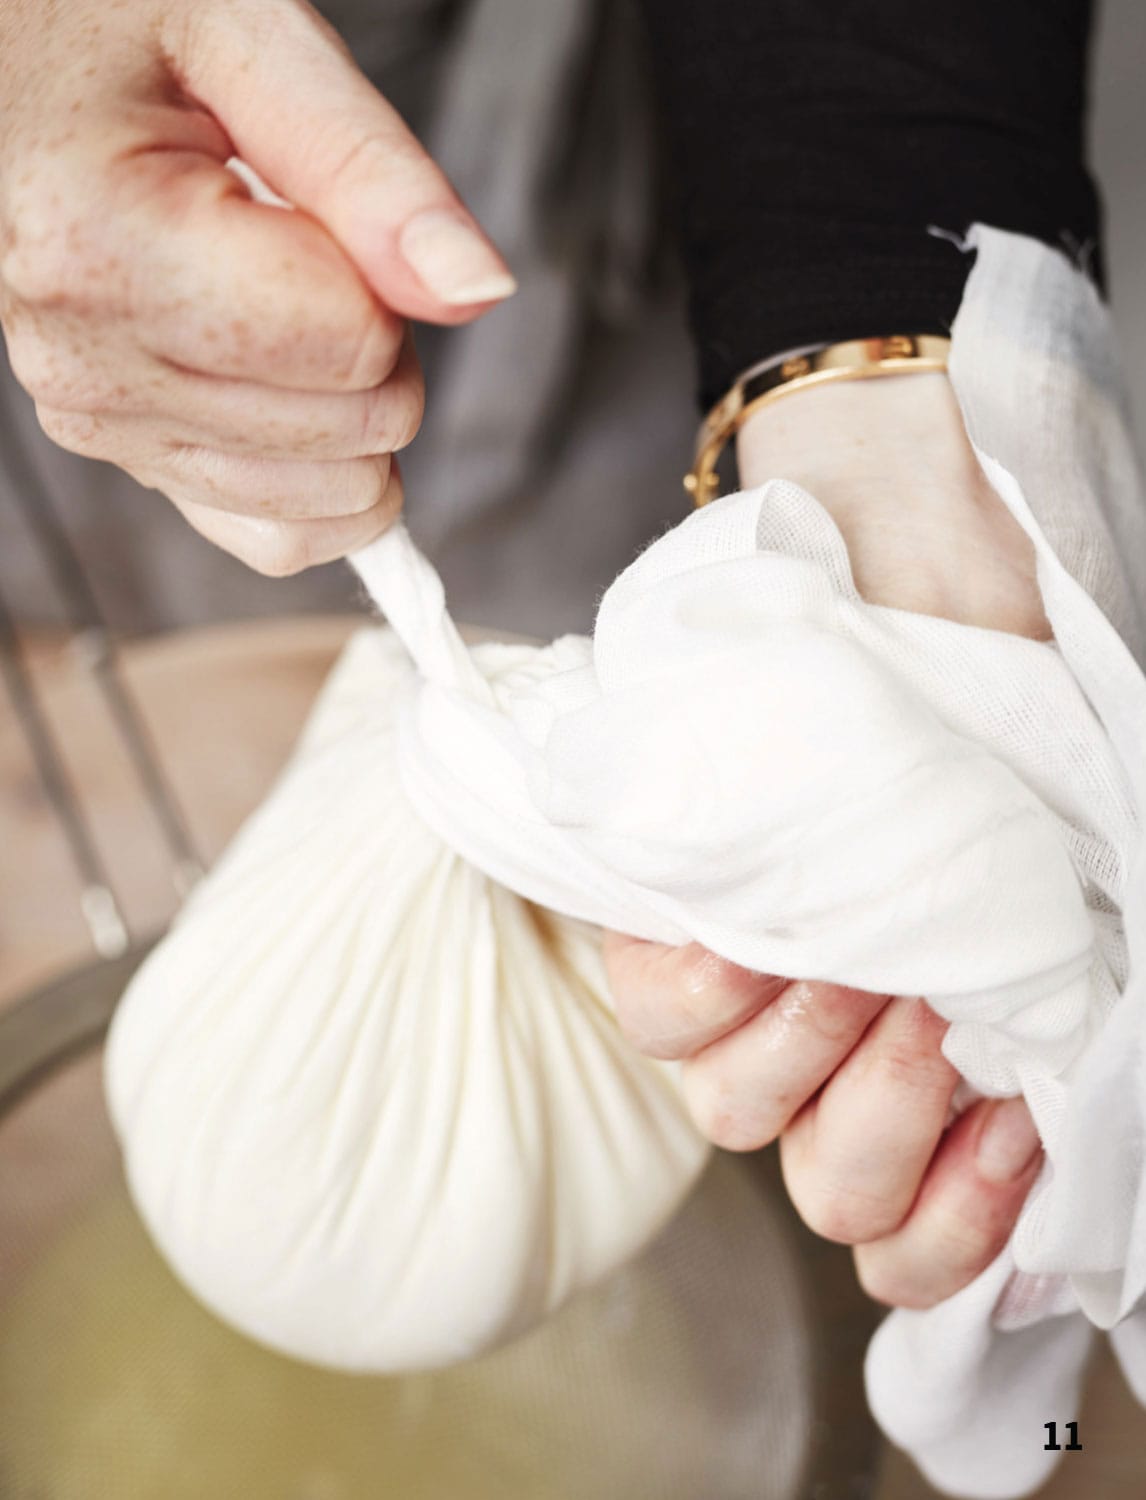
11. TIE THE CLOTH IN A KNOT
Next, close the bag. Tie up the corners of the cloth if you can do a simple secure knot, or just use a short length of kitchen string.
12. HANG THE CURDS OUT TO DRY
Now grab a wooden spoon or use the kitchen tap (faucet). Suspend the bag from the spoon or tap (faucet) and leave it to drip above a bowl or sink for a couple of hours, or however long the recipe specifies. This will allow the whey to drain off slowly and completely.
