CHAPTER 2
Working with Files
Create a New File
When you open an Office program (except Outlook and OneNote), the program’s Start screen greets you; see Chapter 1 for details. If Word, Excel, PowerPoint, Access, or Publisher is already open and you want to create a new document, workbook, presentation, database, or publication, you create a new file using Backstage view. When you do, you have the option of creating a blank file or basing the file on a template. Outlook opens by default to the Inbox, and OneNote opens to an explanatory page in a OneNote file that you use. See Part VI for details on Outlook and Part VIII for details on OneNote.
Create a New File
Create a New Word, Excel, PowerPoint, Access, or Publisher File
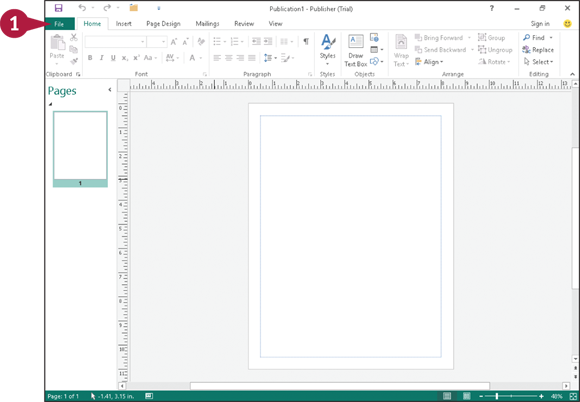
 Click the File tab.
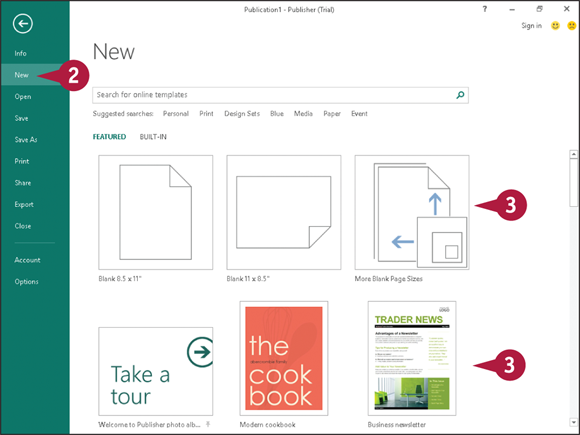
 Click New.
The New screen appears.
 Click the type of file that you want to create.
If you click a template, a preview appears; if you like what you see, click Create and the new file opens.
Note: A template contains predefined settings that serve as the foundation for your document, saving you the effort of manually creating the settings.
If you click a blank document, no preview appears; instead, a new blank document appears.
Create a New Outlook Item
Note: Outlook by default hides Ribbon buttons and displays only tabs. To view the buttons, click any tab.
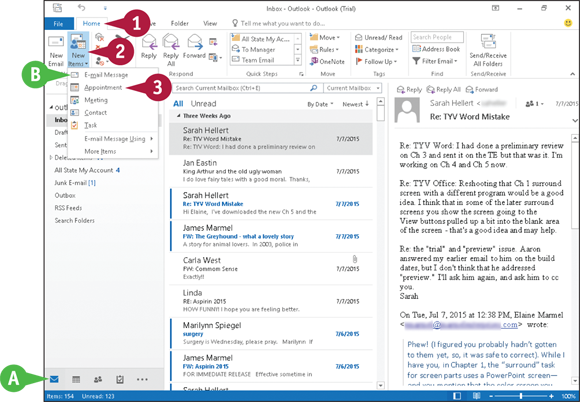
 You can use the Navigation bar at the bottom of the Outlook window to switch between the types of items Outlook supports: email message, calendar item, contact, or task.
Click Home.
Click New Items.
 A list of available types of Outlook items appears.
Click the appropriate type of item you want to create. For example, to create an email message, click E-mail Message. To create a Calendar item, click Appointment or Meeting, and so on.
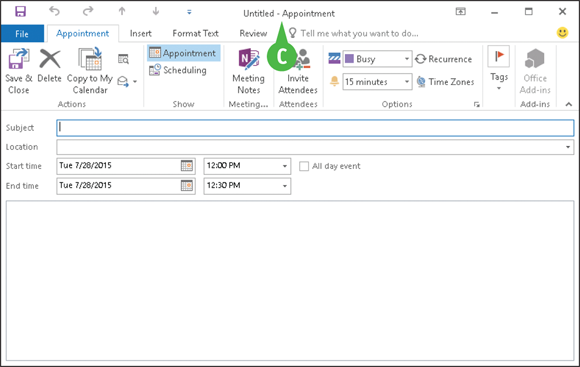
 The new item, an appointment in this example, opens.
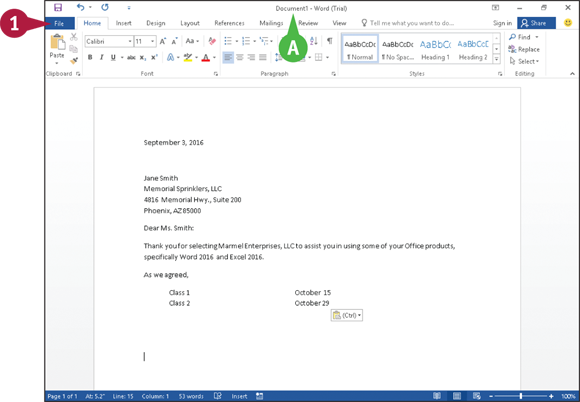
Save a File
You save files you create in Office programs so that you can use them at another time. When you save a file, you can give it a unique filename and store it in the folder or drive of your choice.
After you save a document for the first time, you can click the Save button ( ) on the Quick Access Toolbar (QAT) to save it again. The first time you save a document, the program prompts you for a document name. Subsequent times, when you use the Save button () on the QAT, the program saves the document using its original name without prompting you.
Save a File
Before you save a document, the program displays a generic name in the title bar.
Click the File tab.
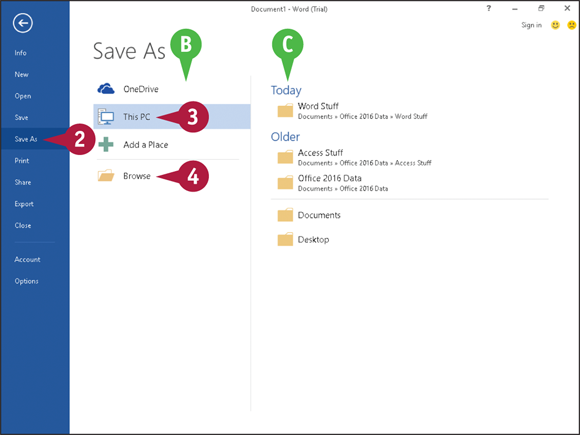
Backstage view appears.
Click Save As.
Locations where you can save files appear here.
Note: Once you select a location, folders available at that location appear on the right side of the screen.
Click the location where you want to save the file; this example uses This PC.
If the folder in which you want to save the document appears here, click it and skip to Step 5.
 Click Browse.
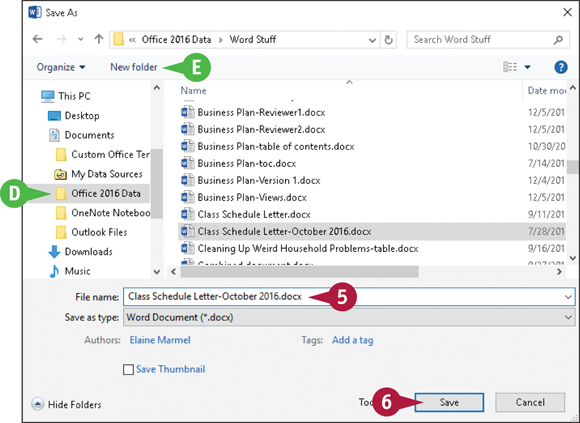
The Save As dialog box appears.
 Type a name for the document.
 You can click in the folder list to select a location on your computer in which to save the document.
 You can click New folder to create a new folder in which to store the document.
 Click Save.
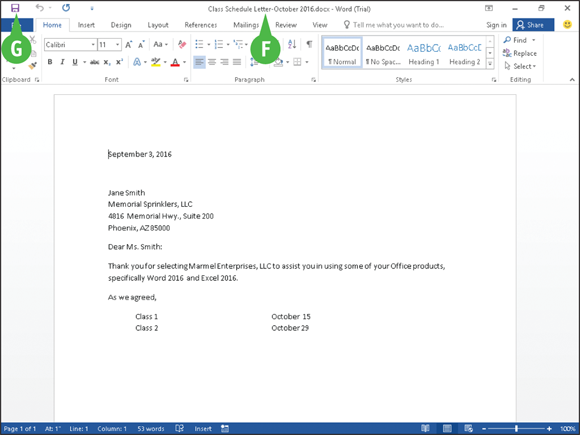
 Word saves the document and displays the name you supplied in the title bar.
 For subsequent saves, you can click the Save button () on the Quick Access Toolbar to quickly save the file.
Open a File
You can open documents that you have saved previously to continue adding data or to edit existing data. If you are not sure where you saved a file, you can use the Open dialog box’s Search function to locate it.
In Word 2016, you can open and edit PDF files. Because Word optimizes PDF files to enable you to edit text, editing a PDF file in Word works best if you used Word to create the original PDF file. If you used a different program to create the PDF file, the result might not look exactly like the original PDF.
Open a File
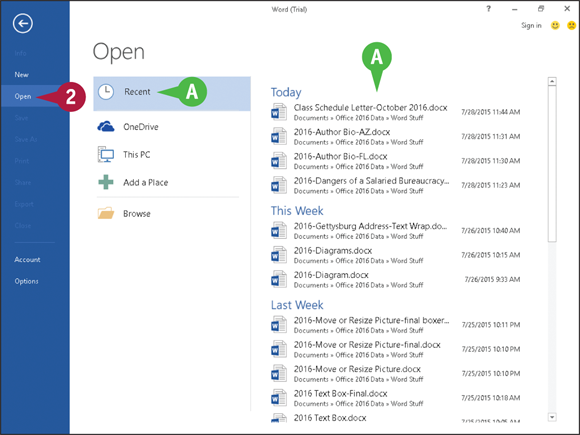
Click the File tab.
Backstage view appears.
Click Open.
By default, the Office program displays recently opened documents. If you see the file you want to open, you can click it to open it and skip the rest of these steps.
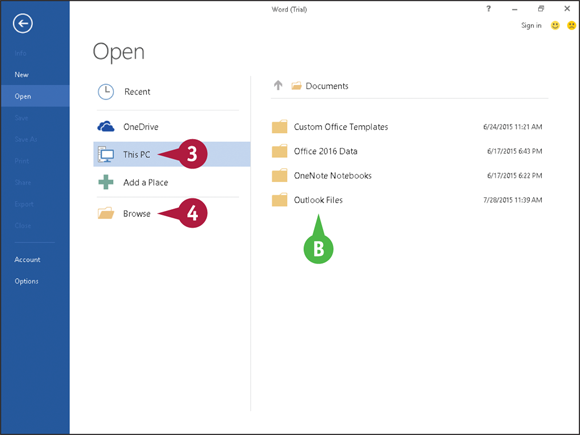
Click the place where you believe the document is stored. This example uses This PC.
If the folder containing the document appears here, click it and skip to Step 6.
Click Browse.
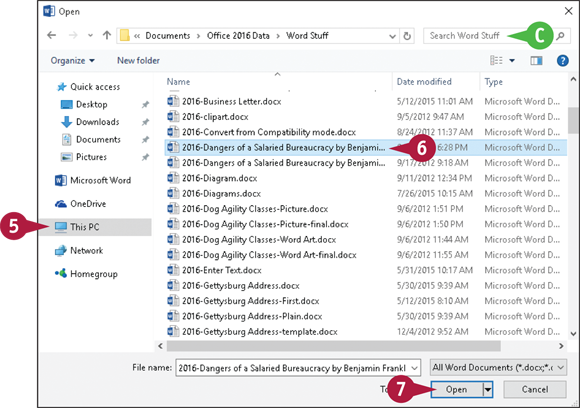
The Open dialog box appears.
If you chose the wrong place, you can search for the file by typing part of the filename or content here.
Click in the folder list to navigate to the folder containing the document you want to open.
Click the document you want to open.
 Click Open.

The file opens in the program window.
To close a file, click the Close button ( ) in the upper right corner. If you have not saved the file, the program prompts you to save it.
Print a File
If a printer is connected to your computer, you can print your Office files. For example, you might distribute printouts of a file as handouts in a meeting.
When you print a file, you have two options: You can send a file directly to the printer using the default settings, or you can open the Office application’s Print screen to change these settings. For example, you might opt to print just a portion of the file, print using a different printer, print multiple copies of a file, collate the printouts, and so on. (Printer settings vary slightly among Office programs.)
Print a File
Click the File tab.
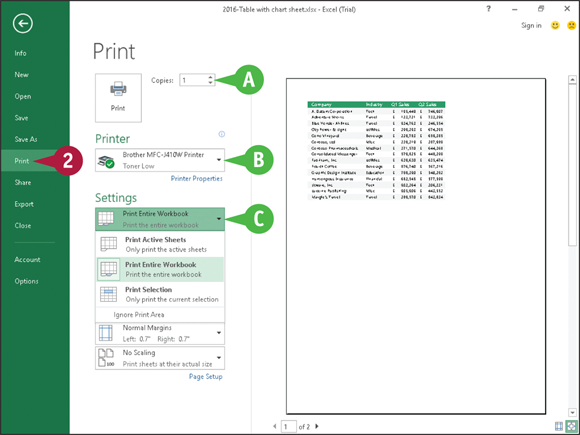
Backstage view appears.
Click Print.
You can specify the number of copies to print by clicking the Copies  .
.
You can choose a printer from the Printer drop-down list.
You can choose to print a selection from the file or specific pages using the available settings in the Settings list.
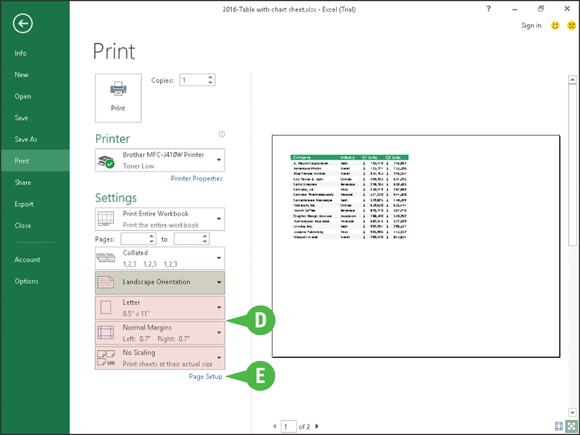
You can select additional print options under Settings. For example, you can choose from various paper sizes and to print in landscape or portrait orientation.
If you do not see the setting you want to change, click Page Setup to view additional settings.
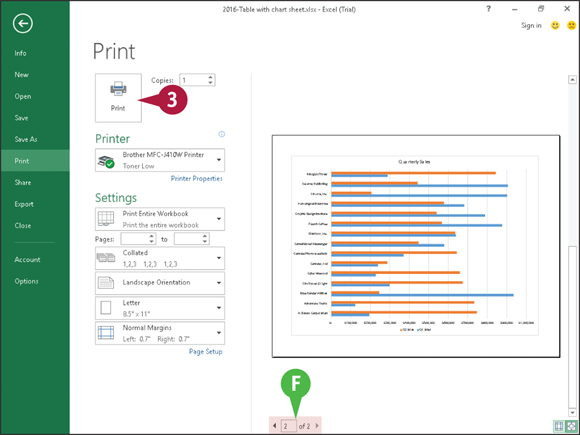
You can page through a preview of your printed file by clicking these arrows ( and ).
Click Print.
The Office program sends the file to the printer for printing.
Check Your File for Hidden or Personal Data
You can remove any personal information that an Office program stores in a document. For issues of privacy, you may want to remove this information before you share a document with anyone.
Depending on the Office program, the Document Inspector searches your document for comments, revision marks, versions, and ink annotations. It searches document properties for hidden metadata and personal information. It inspects for task pane apps saved in the document as well as information like hidden rows, columns, or worksheets. If your document contains custom XML data, headers, footers, watermarks, or invisible content, the Document Inspector alerts you.
Check Your File for Hidden or Personal Data
In the document you want to check for sensitive information, click the File tab.
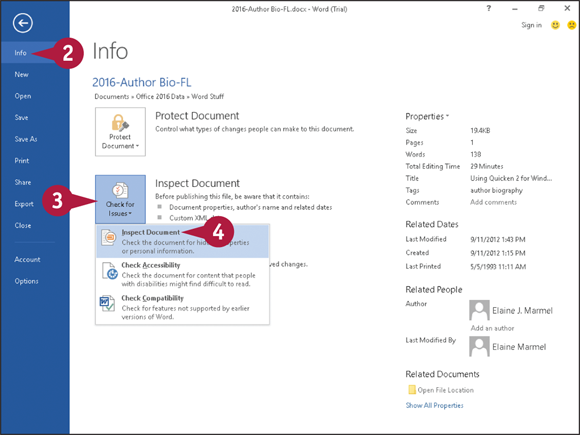
Backstage view appears.
Click Info.
Click Check for Issues.
Click Inspect Document.
Note: If you have unsaved changes, Word prompts you to save the document, which you do by clicking Yes.
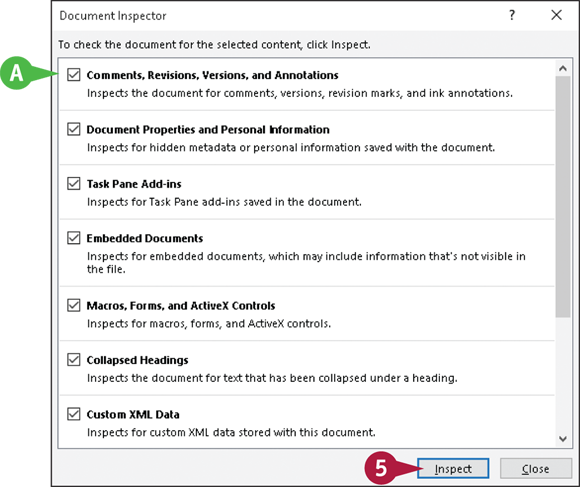
The Document Inspector window appears.
You can deselect check boxes ( changes to
  ) to avoid inspecting for these elements.
Click Inspect.
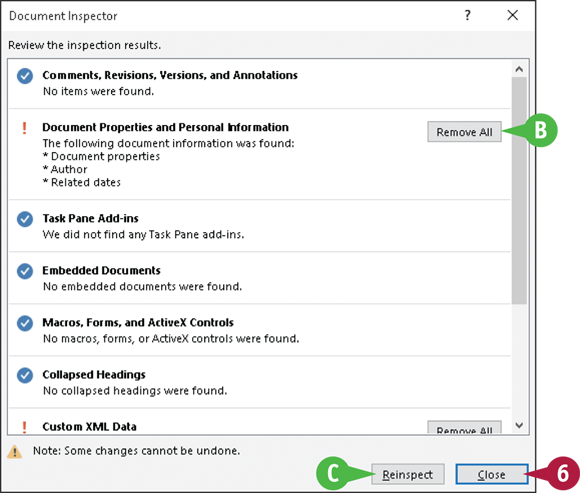
The Document Inspector looks for the information you specified and displays the results.
You can remove any identified information by clicking Remove All beside that element.
You can click Reinspect after removing identifying information.
Click Close.
Email a File
You can share a file with others via email. For example, suppose that you have a colleague who must present a project for approval at an upcoming meeting. Your colleague approaches you, asking for guidance concerning what to discuss. You put together a skeleton PowerPoint presentation and you want to email it to your colleague.
Although you could create a new email message with an attachment, you can send a file from the program you used to create the file, as described here. Note that, to open a file, recipients must have the appropriate software on their computer.
Email a File
With the document you want to share via email open, click the File tab.
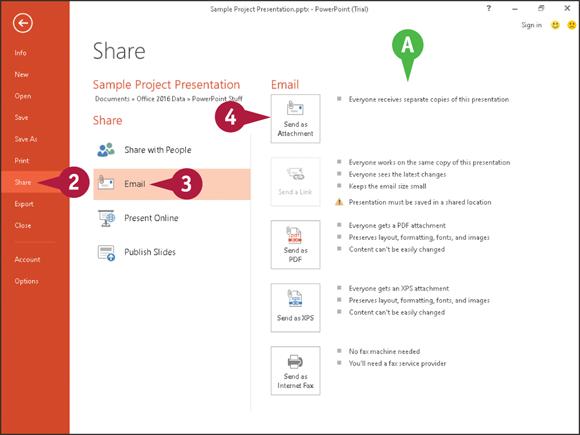
Backstage view appears.
Click Share.
Click Email.
Options for emailing the file appear here.
Click Send as Attachment.
Note: If you are sending a file that you do not want anyone to edit, click Send as PDF or Send as XPS.
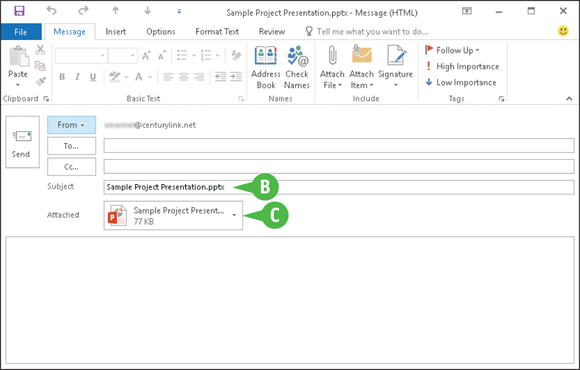
Office launches an Outlook new message window.
The name of your file appears in the window’s Subject line.
The file is attached to the message.
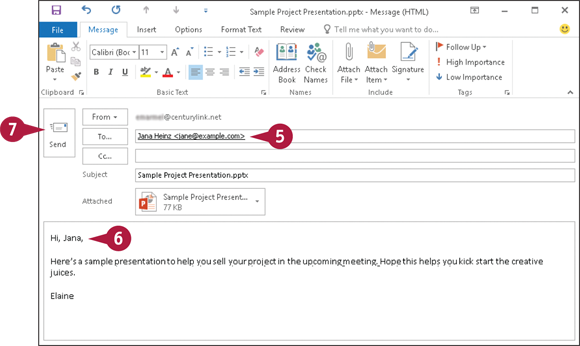
Type the message recipient’s email address in the To box.
Type your text in the body of the message.
Click Send.
Office places the message in your email program’s outbox.
Select Data
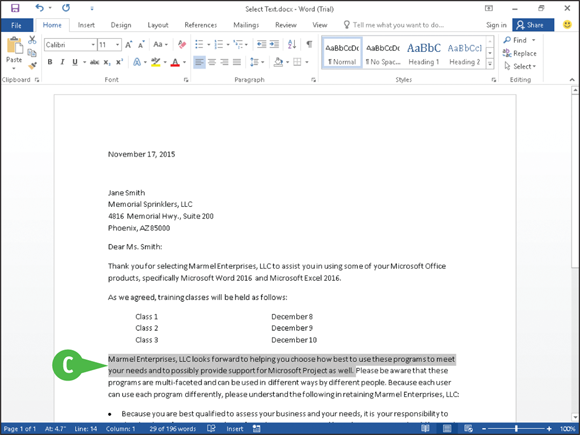
You can select data in your file to perform different tasks, such as deleting it, changing its font or alignment, applying a border around it, or copying and pasting it. Selected data appears highlighted.
Depending on the program you are using, Office offers several different techniques for selecting data. For example, in Word, PowerPoint, Outlook, and Publisher, you can select a single character, a word, a sentence, a paragraph, or all the data in the file. In Excel and Access tables, you typically select cells. In OneNote, use the technique appropriate to the type of data you want to select.
Select Data
Select Data in Word, PowerPoint, or Publisher
Note: You can use this technique to select characters, words, sentences, and paragraphs.
Click to one side of the word or character that you want to select.
Drag the mouse ( ) across the text that you want to select.
The program highlights the characters to indicate that they are selected.
To cancel a selection, click anywhere outside the text or press any arrow key on your keyboard.

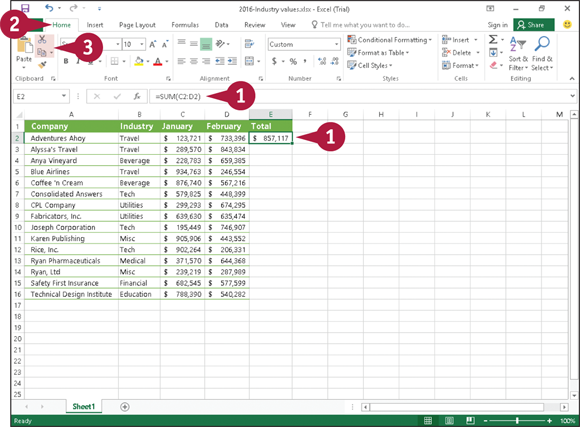
Select Cells in Excel or Access
Click the cell representing the upper left corner of the cells you want to select.
Drag the cell pointer across the cells you want to select.
The program highlights the characters to indicate that they are selected.
To cancel a selection, click anywhere outside the text or press any arrow key on your keyboard.
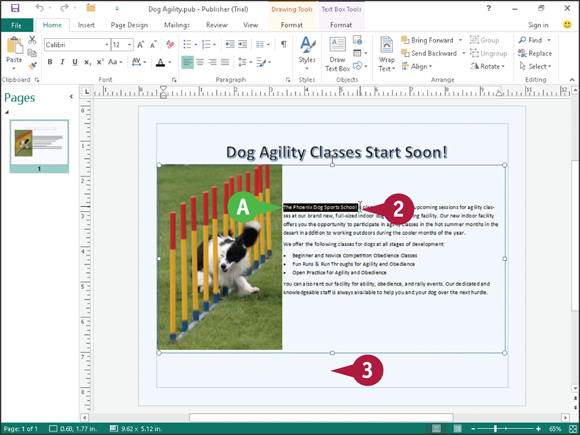
Cut, Copy, and Paste Data
You can use the Cut, Copy, and Paste commands to move or copy data. For example, you might cut or copy text or a picture from a Word document and paste it elsewhere in the same Word document, in another Word document, or in a PowerPoint slide or a Publisher file.
When you cut data, it is removed from its original location; when you copy data, the program duplicates the selected data, leaving it in its original location. You can move or copy data using two methods: drag-and-drop or buttons on the Ribbon. This section demonstrates drag-and-drop using Word, and Ribbon buttons using Excel.
Cut, Copy, and Paste Data

Arrange Windows
You can simultaneously view multiple files. For example, you might view two versions of a Word document side by side to compare their contents or view two Excel workbooks to compare data. If the files you want to compare are particularly long, you can enable the Synchronous Scrolling option to scroll both files at the same time.
In addition to viewing multiple files simultaneously, you can split the window of one long file into scrollable panes to view different portions of it. For example, you might split a document to compare how portions of it are formatted.
Arrange Windows
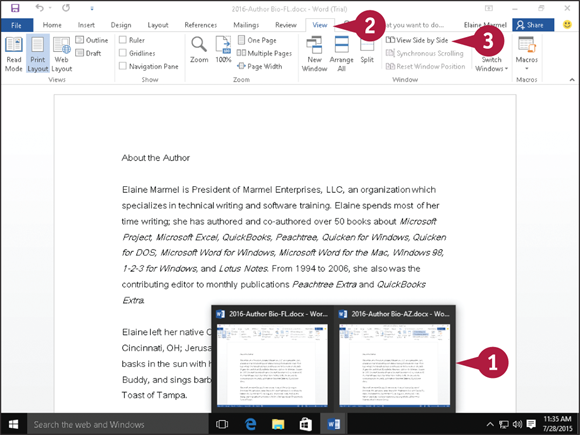
View Multiple Files
Open two or more files.
Click the View tab.
Click View Side by Side.
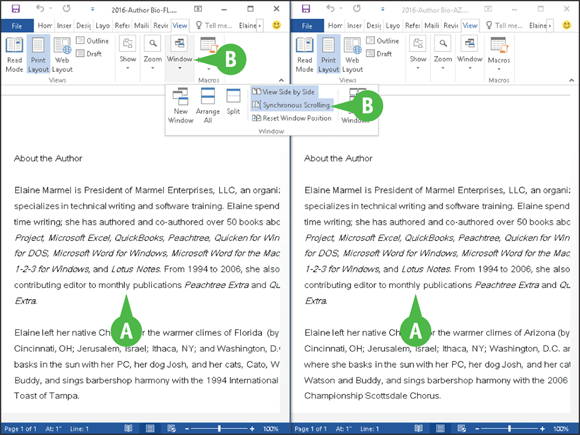
Both files appear on-screen side by side.
To scroll both files at the same time, you can click Window and then click Synchronous Scrolling.
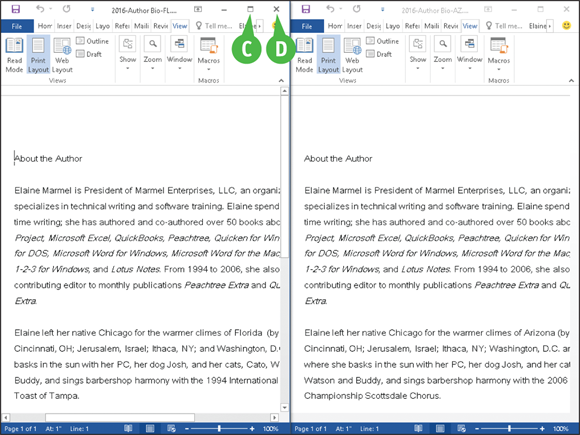
You can click the Maximize button ( ) to restore a window to its full size.
You can click the Close button () to close a file.
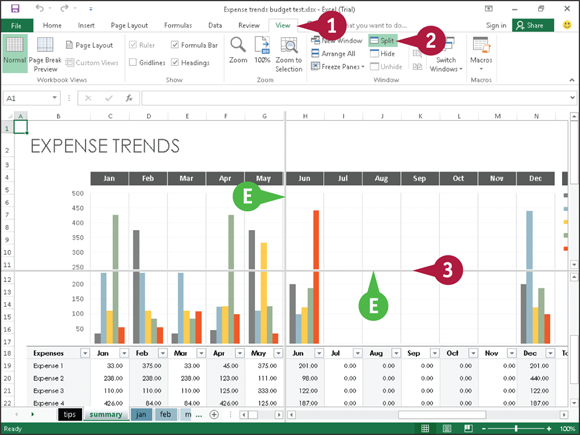
Split a Window
To split the window displaying a single file into scrollable panes, click the View tab.
Click Split.
Horizontal and vertical bars appear.
Drag the bar up, down, right, or left to resize the panes, and click to set the bar in place when the panes are the desired size.
To return the page to a full document, click Split again.
 . To copy the data, you can press and hold
  as you drag, and
  .
.
 ) to move data or the Copy button (
 ) to copy data.
 to cut data or
  to copy data.
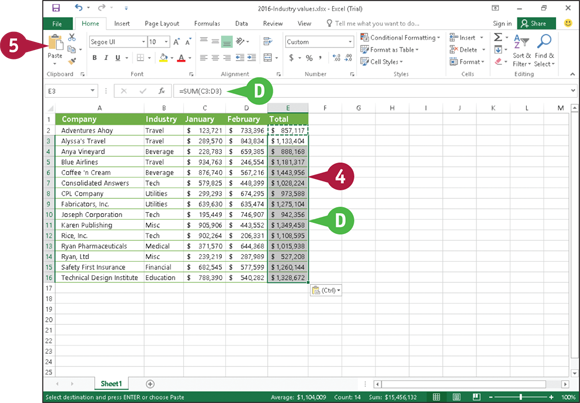
 below the Paste button and position your mouse (
 to paste data.