CHAPTER 20
Publisher Basics
Create a Publication
You can use Publisher to create all kinds of publications, such as brochures, flyers, newsletters, and letterhead stationery. Publisher installs with a wide variety of publication design templates, including templates that control the layout and formatting of the publication. In addition, you can search for templates on the Internet.
If none of Publisher’s predesigned publication templates suits your needs, you can create a blank publication, populate it with your own text boxes, and design your own layout. For example, you might want to create your own brochure or invitation and customize it.
Create a Publication
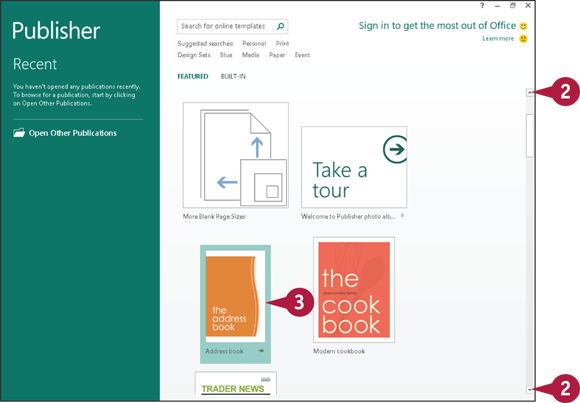
 Open Publisher.
The Publisher Start screen appears.
Note: If Publisher is already open, click the File tab and then click New.
 Click these arrows (
 and
and  ) to scroll through the available publication templates.
 Click a publication design to preview it.
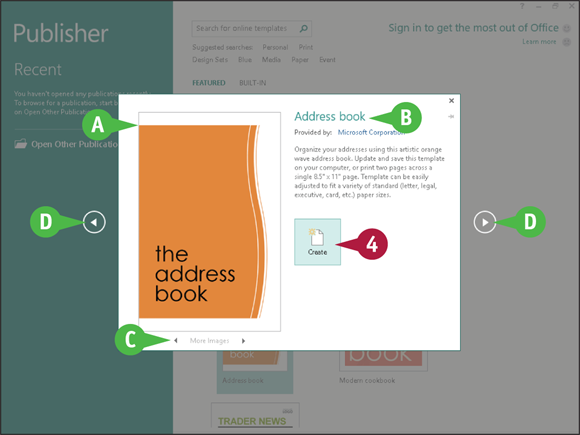
 Publisher displays a preview of the selected design template.
 A description of the template appears here.
 You can click these arrows (
 and
and  ) to view more images of the template.
 You can click these arrows (
 and
and  ) to preview the next or previous template design.
 Click Create.
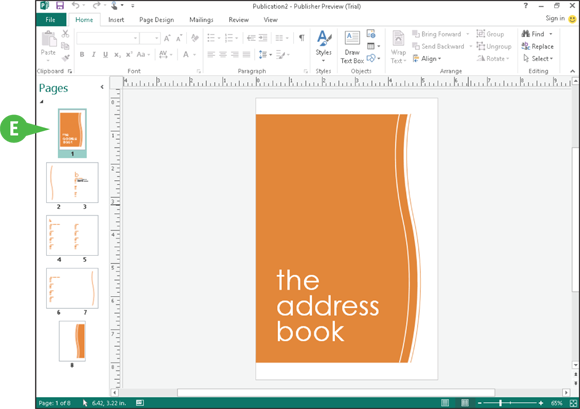
Publisher creates the publication.
 Thumbnail images of each page of the publication appear here.
Zoom In and Out
You can use Publisher’s Zoom feature to control the on-screen magnification of your publication. By default, Publisher displays your document in a zoomed-out view so that you can see all the elements on a page. When you begin adding text and formatting, you can zoom in to better see what you are doing.
There are a few ways to zoom in and out of your publication. One is to use the Zoom settings on the View tab. Another is to use the Zoom buttons. A third is to use your keyboard. You learn how to use all three of these techniques in this section.
Zoom In and Out
Specify a Magnification
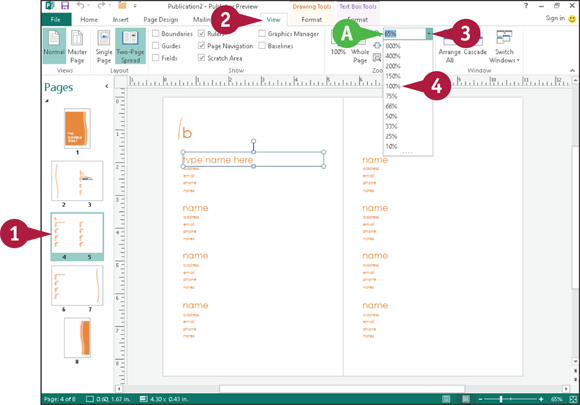
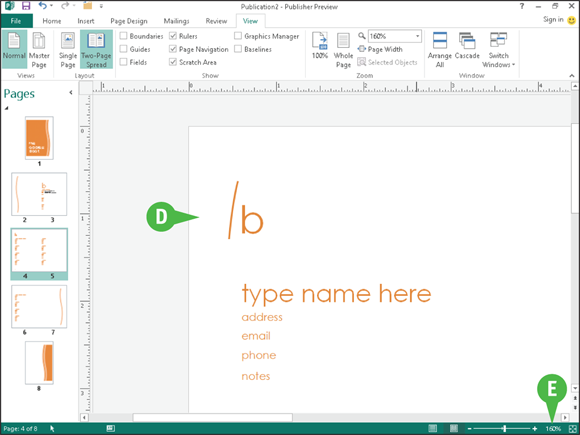
Click a page in the publication.
Click the View tab.
Click the Zoom  .
.
Click a percentage.
You can also type a value in the Zoom field.
Publisher changes the magnification setting for your publication.
Using Zoom Buttons
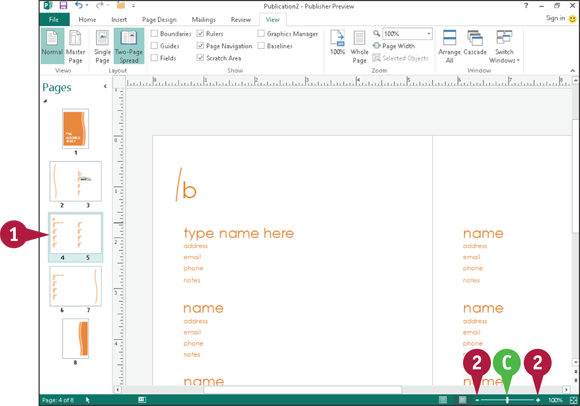
Click a page in a publication.
Click a Zoom button to magnify the view.
You can click the Zoom buttons multiple times to change the level of magnification.
You can also click and drag the slider to change the level of magnification.
Publisher changes the magnification setting for your publication.
You can see the current magnification level here.
Add Text
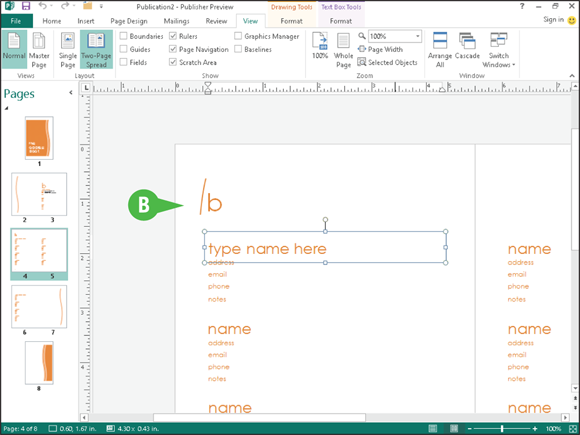
When you create a new publication based on a design, Publisher inserts a layout for the text and displays placeholder text in the text boxes, also called objects or frames. The placeholder text gives you an idea of the text formatting that the design applies and what sort of text you might place in the text box.
As you build your publication, you replace the placeholder text with your own text. After you add your text, you can apply formatting to it, as well as move and resize it. For help formatting, moving, and resizing text in Publisher, see Chapter 21.
Add Text

Click the text object that you want to edit.
You may need to zoom in first to see the text object; see the previous section, “Zoom In and Out,” for details.
Publisher surrounds the selected object with selection handles ( and
and  ).
).
Select the placeholder text within the object.
Note: The Mini Toolbar might appear. You can ignore it for this section.

Type your own text.
Publisher replaces any placeholder text with the new text that you type.
Note: To apply formatting to text and to move and resize text box objects, see Chapter 21.
Click anywhere outside the text object to deselect the text box.
To edit the text at any time, you can click the text box and make your changes.
Add a New Text Box
You can add new text boxes to a publication and type your own text. For example, you might need to add a new text box to an empty area in your layout to include additional information, or you might need to add new text boxes to a blank publication.
When you add a text box to a publication, Publisher does not supply any placeholder text. After you enter text, you can format it or move and resize it, as described in Chapter 21.
Add a New Text Box
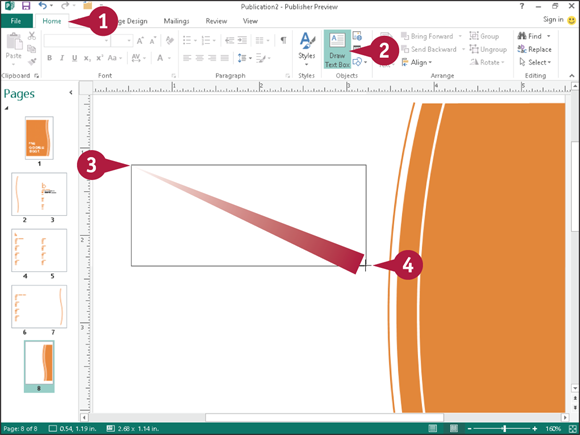
Click the Home tab.
Click Draw Text Box.
 changes to
  .
.
Click at the spot that represents the upper left corner of the text box.
Drag down and to the right until the text box is the size that you need.
 Release the mouse button.
The text box appears on-screen, with the insertion point inside ( changes to  ).
).
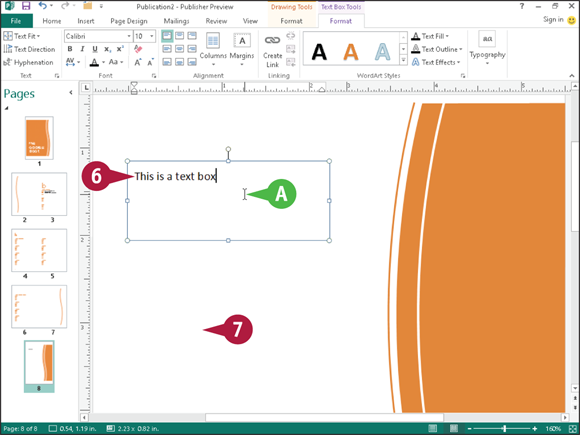
 Type the text that you want to insert into the text box.
Note: To apply formatting to text and to move and resize text box objects, see Chapter 21.
 Click anywhere outside the text object to deselect the text box.
Swap Pictures
You can add pictures to your publication — pictures stored on your hard drive or pictures you download from the Internet — as described in Chapter 3. But you might not know what photo you want at a particular spot in your publication.
Publisher’s Swap Pictures feature enables you to insert several pictures simultaneously into the scratch area, a space outside the publication page. Then, you can swap a picture in your publication for a picture in the scratch area. You can continue substituting different pictures until you find the right one for your publication.
Swap Pictures
Note: This section assumes that you already have inserted one picture, as described in Chapter 3.
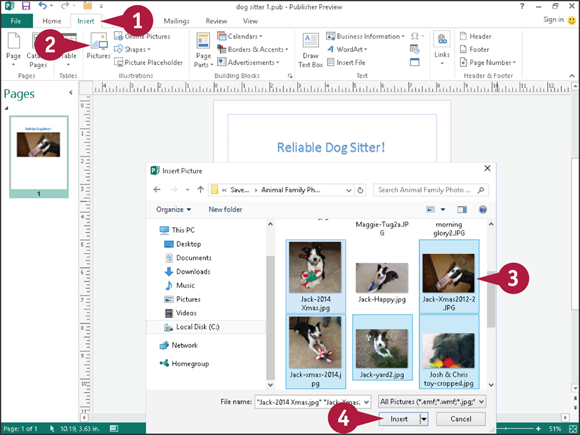
Click the Insert tab.
Click Pictures.
The Insert Picture dialog box appears.
Navigate to and select the pictures you want to consider.
You can select multiple pictures by holding  as you click each one.
Click Insert.
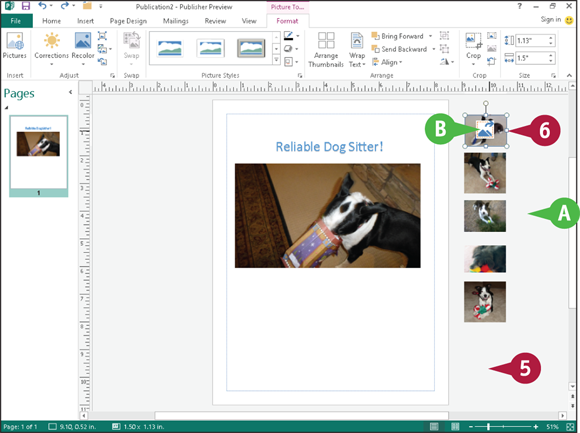
The pictures appear in the scratch area outside your publication page.
Note: Publisher surrounds each picture with selection handles ( and ) to indicate they are all selected.
Click anywhere in the scratch area outside the pictures so that none is selected.
Click a picture you want to place on the publication page.
A button containing an image of a mountain ( ) appears in the center of the selected picture.
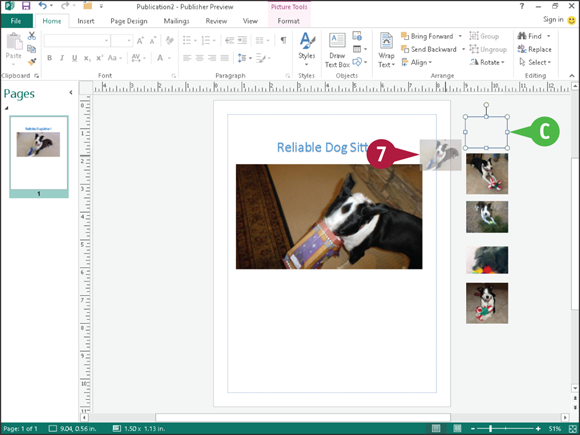
Drag to place the picture from the scratch area on top of the image that is already on the publication page.
The picture disappears from the scratch area as you drag it to the publication page.
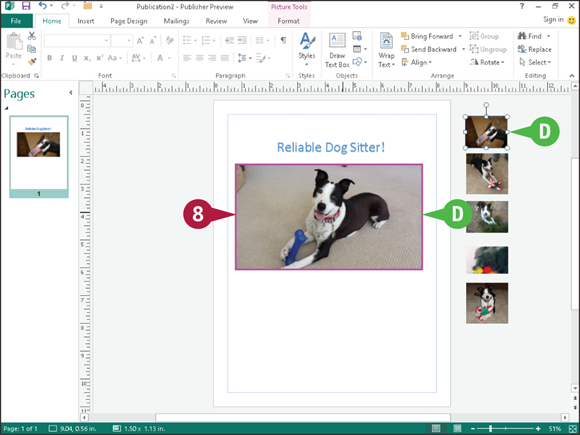
 Release the mouse button when a pink outline appears.
Publisher swaps the original picture for the new one.
Save a Publication for Photo Center Printing
Publisher enables you to save each page of a publication as an image that you can print as a photo using any photo printing method. Publisher saves each page of the publication as a JPEG or TIFF image — using the best possible resolution for photo printing — in a folder on your hard drive, and Publisher names the folder using the name of your publication.
You can print photos from your own printer, take a CD or DVD of photos to a photo printing location like Costco or Walgreens, or upload photos to commercial websites that will prepare printouts of your images.
Save a Publication for Photo Center Printing

Open the publication containing the pictures you want to save for photo center printing.
Note: Publisher saves each page of the publication as a separate image.
Click the File tab.

Backstage view appears.
Click Export.
Click Save for Photo Printing.
Click and choose whether you want to create JPEG images or TIFF images.
Click Save Image Set.
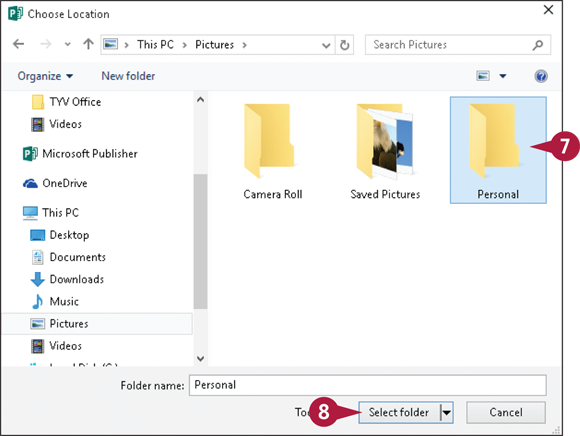
The Choose Location dialog box appears.
Navigate to the folder where you want Publisher to save your images for photo printing.
Click Select folder.
Publisher displays a progress bar as it saves your images. When it finishes, your publication reappears on-screen.
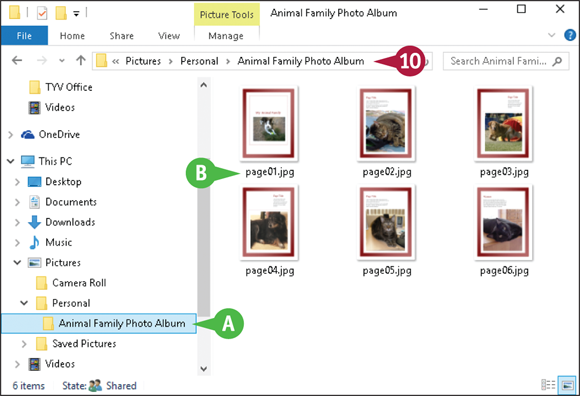
 You can view the folder using File Explorer.
 Navigate to the folder in which you chose to save your images.
Publisher saves the images in a folder using the name of your publication.
Publisher assigns image names to each page based on the page number in the publication.