Since the Shiny framework is such an awesome and powerful tool, a lot of people, and of course, the creators of RStudio and Shiny have built several packages around it that are enormously extending the existing functionalities of Shiny. These almost infinite possibilities of technical and visual individualization, which are possible by deeply checking the Shiny ecosystem, would certainly go beyond the scope of this chapter. Therefore, we are presenting only a few important directions to give a first impression.
In this chapter, you have learned how to build a Shiny app consisting of two files: the server.R and the ui.R. To include every aspect, we first want to point out that it is also possible to create a single file Shiny app. To do so, create a file called app.R. In this file, you can include both the server.R and the ui.R file. Furthermore, you can include global variables, data, and more. If you build larger Shiny apps with multiple functions, datasets, options, and more, it could be very confusing if you do all of it in just one file. Therefore, single-file Shiny apps are a good idea for simple and small exhibition apps with a minimal setup.
Especially for large Shiny apps, it is recommended that you outsource extensive custom functions, datasets, images, and more into your own files, but put them into the same directory as the app. An example file setup could look like this:
~/shinyapp
|-- ui.R
|-- server.R
|-- helper.R
|-- data
|-- www
|-- js
|-- etc
To access the helper file, you just need to add source("helpers.R") into the code of your server.R file. The same logic applies to any other R files. If you want to read in some data from your data folder, you store it in a variable that is also in the head of your server.R file, like this:
myData <- readRDS("data/myDataset.rds")As said earlier, you can expand the functionalities of Shiny with several add-on packages. There are currently ten packages available on CRAN with different inbuilt functions to add some extra magic to your Shiny app.
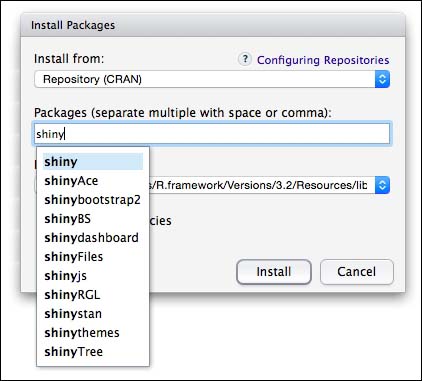
shinyAce: This package makes available Ace editor bindings to enable a rich text-editing environment within Shiny.shinybootstrap2: The latest Shiny package uses bootstrap 3; so, if you built your app with bootstrap 2 features, you need to use this package.shinyBS: This package adds the additional features of the original TwitterBootstraptheme, such as tooltips, modals, and others, to Shiny.shinydashboard: This packages comes from the folks at RStudio and enables the user to create stunning and multifunctional dashboards on top of Shiny.shinyFiles: This provides functionality for client-side navigation of the server side file system in Shiny apps.shinyjs: By using this package, you can perform common JavaScript operations in Shiny applications without having to know any JavaScript.shinyRGL: This package provides Shiny wrappers for the RGL package. This package exposes RGL's ability to export WebGL visualization in a shiny-friendly format.shinystan: This package is, in fact, not a real add-on.Shinystanis a fantastic full-blown Shiny application to give users a graphical interface for Markov chain Monte Carlo simulations.shinythemes: This packages gives you the option of changing the whole look and feel of your application by using different inbuilt bootstrap themes.shinyTree: This exposes bindings tojsTree—a JavaScript library that supports interactive trees—to enable rich, editable trees in Shiny.
Of course, you can find a bunch of other packages with similar or even more functionalities, extensions, and also comprehensive Shiny apps on GitHub.