Project 3: Worm Bins
Why would you want to do this? Simply put, less garbage is good for the earth. And why spend money buying compost when you can use your own kitchen scraps—which you’ve already paid for—to make compost at home? Plus, if you have kids, a worm box is a great educational tool.
Why wouldn’t you want to do this? You’re squeamish about worms, bugs, or occasionally dealing with rotting food.
Is there an easier way? If you want to spend the money, you can order ready-made worm bins, which are very basic but can look nicer than my plastic-tub version.
Cost comparison: If you can’t get the worms for free, they will likely cost more than the plastic tubs, but your total cost will still be cheaper than that of a prefab worm bin.
Skills needed: Patience and willingness to put up with possible failure (which can be yucky) until the system balances out.
Learn more about it: Worms Eat My Garbage (Flower Press, 2nd ed., 1997) by Mary Appelhof will inspire anyone to become a worm composter. It includes many different styles of worm boxes, including a coffee-table model that renders moot any protests about not having room to compost. The Worm Book (Ten Speed Press, 1998) by Loren Nancarrow and Janet Hogan Taylor is very instructive and helpful when dealing with imbalances in the box.
For those who don’t have the ground space, the volume of materials, or the interest or ability to maintain a compost pile, worm bins (also known as vermicomposting bins) are a great alternative. Worms do a lot of the work in a cold compost pile anyway, so having a container in which they live and do their work fits well with the urban-farm lifestyle.
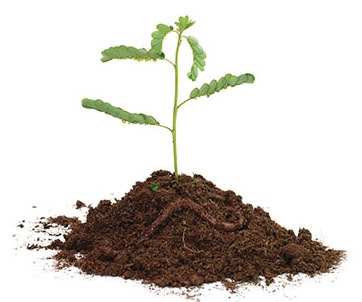
In a natural, outdoor environment, compost happens as the result of millions of organisms working together to break down biodegradable matter. While all of the organisms are helpful and contribute to the process, foremost among the workers is the humble worm. Composting with worms (vermicomposting), in essence, capitalizes on nature’s methodology and is quite simple, given proper conditions.
You’ll see soil-like matter (the worm’s castings) begin to form around the food materials.
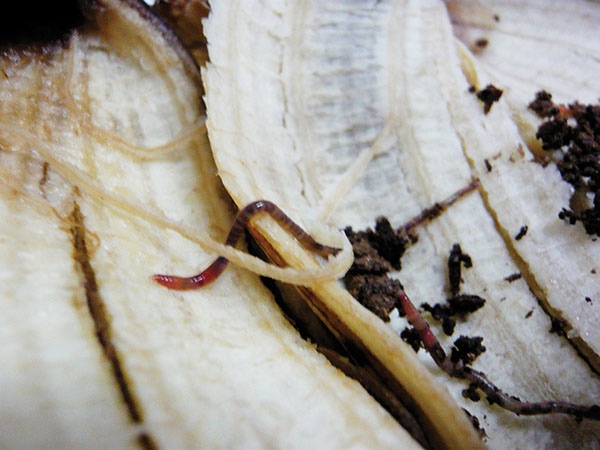
Did you know that there are a variety of different worms, and the one that helps in composting is not the well-known night crawler, or earthworm (Lumbricus terrestris), of fishing-bait use? The best compost worm is the red wiggler (Eisenia fetida), not to be confused with the red worm (Lumbricus rubellus), an earthworm relative.
One of the reasons for calling attention to this difference is where the worms live and what they prefer to eat. Earthworms inhabit—yup—earth, in the lower reaches of native soils, and they prefer to eat things found on top of the soil. They like their burrows undisturbed and will crawl up to the top and pull surface items down below. Red wigglers don’t mind having their burrows disturbed, which is important in composting because you’ll be mixing the material regularly. They will readily eat a wide variety of decaying vegetable matter and can eat their own weight in food daily. Red wigglers are prolific in reproducing, too, possibly doubling their numbers in sixty to ninety days. See if you can find a friend with a compost pile who’ll collect some worms for you; otherwise, you can buy them from a nursery or online (be aware that they’re not cheap).
Because worms have a tendency to travel, it is best to keep them contained in bins for composting. The bins must allow air circulation, and because worms like cool, moist conditions, you must not let the bins dry out or overheat.
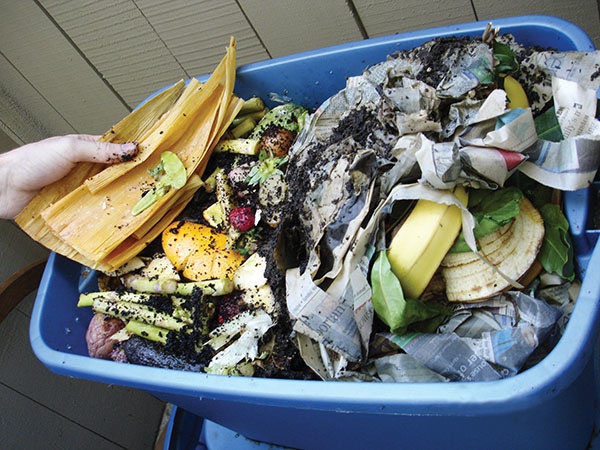
Worms can be fairly finicky eaters. They don’t do too well with larger or coarser materials, such as cornstalks or pits. Mine do not like any onions whatsoever, and they tend to avoid citrus. I’ve spoken to other composters who say that their worms love oranges but won’t go near potatoes. I’ve read that worms love coffee grounds in modest amounts, but they appear to eschew tea bags.
Other bugs and creepy crawlies can, and usually do, appear in a worm bin—tolerance depends on your level of comfort. All of the creatures that find their way into a worm bin are decomposers on some level and therefore beneficial.
Materials:
•Two plastic stacking containers or tubs with snug-fitting lids, 14- or 18-gallon size (they can be any shape as long as they leave a little space between the bottoms when stacked)
•Drill with drill bits
•Newspaper
•Red wiggler worms
Step 1: Prepare your materials. If you’re using new tubs, wash them out to get rid of that plastic smell. Shred the newspaper into thin strips of any length, either by hand or with a paper shredder, but keep a few sheets of newspaper intact for later. Have a supply of kitchen scraps and your worms on hand.
Step 2: Turn over one of the plastic tubs and drill holes all over the bottom of it. Holes from 1⁄8 inch to 3⁄16 inch are best, and you’ll need to make many of them. Be sure to put plenty of holes in any areas where liquid could settle.
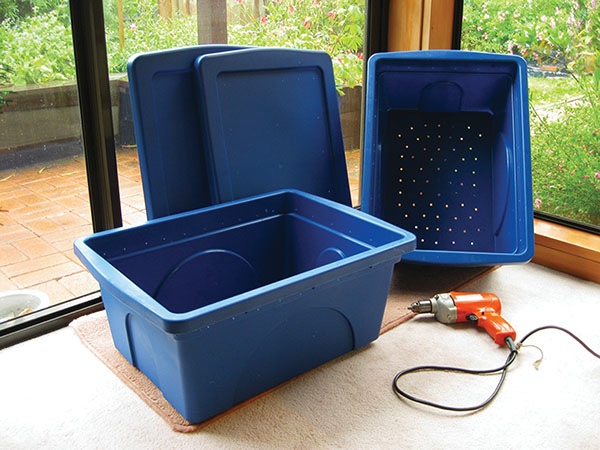
Step 2: Drill holes in the bottom of the container.
Step 3: Stack the drilled container in the solid one.
Step 4: Moisten a whole sheet of newspaper and lay it flat on the bottom of the container, covering the holes.
Step 5: Wet a generous amount of shredded newspaper in a bucket or bowl of water, and then wring it out and scatter it loosely over the flat sheet of newspaper. Fill the bin a quarter to half of the way full, loosely with the shreds; this is the start of the worms’ bedding. You can also add dead, dry leaves or some light, fluffy dirt. The worms like cool, dark places to hide.
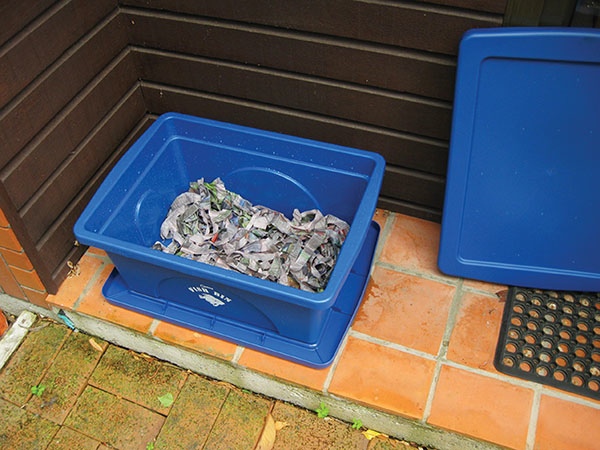
Step 5: Add shredded newspaper to the bin.
Step 6: Scatter the worms on top of the shredded paper. Watch them a bit—they’re cool creatures, and their movements can be mesmerizing.
Step 7: Scatter the kitchen scraps around where you’ve put the worms. Don’t dump the scraps right on top of the worms; you don’t want to smother them.
Step 8: Put another moist newspaper sheet on top of everything and put the lid on the bin.
You’re done! Keep the bin in a cool environment where you’ll be able to check on it regularly—outside is good, because it will attract fruit flies indoors. In the summer, find a shady outdoor spot, out of direct sunlight. In the winter, find a place where it will not freeze. The compost acts as insulation of sorts in cold weather, but freezing temperatures will kill the worm population.
Now comes the hard part: you’ve got to be patient and give the worms exactly what they need to create their little ecosystem. They don’t like to be overfed, so wait to give them more scraps until you start to see dark spots that look like coffee grounds forming in the food (about a week or two). These spots are the worms’ waste, or castings. Worms eat our food and excrete a very rich soil amendment, so the more stuff that looks like granular dark soil, the more comfortable the worms are. They are starting their settlement.
If you are patient and careful with the early stages of setting up your bin, you’ll be amazed at how efficient and helpful the worms can be once it’s up and running, turning your waste into garden gold that your plants will love. Worms are still some of my favorite pets.
You’ll know that the worms are settling into their surroundings when you see their castings, or waste.

As the worms do their job, you’ll see more soil-like material than food in your bin.
Additional Advice
•The worm bin must stay moist, but not wet. The lower tub will collect extra liquid and should be emptied periodically. The liquid is called compost tea and makes a great additive to watering cans for potted plants.
•Don’t let the level of liquid in the bottom bin reach the bottom of the upper bin. Worms can drown. You can attach a spigot to the lower box if you’d like, but it’s not hard to just remove the upper box and empty the lower. Be careful, though, because if the liquid leaks or spills, it can stain.
•Keeping a moist layer of paper on top of the food waste will discourage fruit flies and minimize odors. It will also help regulate the moisture within the box. A light layer of damp newspaper is good, or you can use a wet burlap sack that has been wrung out. Pull it back to dump in the scraps, and then replace it to cover them. Sprinkling water on top of this cover will keep it moist and soften it, but don’t worry if it dries out periodically. It will usually mold and eventually rot; you can leave it in place and put another layer of the same material right on top. I’ve used plastic-weave landscape cloth, which is great because you don’t have to worry about keeping it moist (it holds moisture underneath it), and it doesn’t rot. It also can be hosed off. If you use a nonrotting material, make sure that it is permeable. Worms can suffocate.
•Worms occasionally try to escape. Sometimes they’ll crawl down and drown (hence the need for the bottom paper layer), but usually they’ll crawl up the walls of the tub. This can indicate that something isn’t right. Check if the materials are too wet or too compacted. Worms like air circulation around them and their food.
•Once the worm population is thriving, try to keep the material inside mixed up as you notice the dark, soil-like castings appearing. When you remove the bin’s lid, fold back the inner cover and gently stir the mixture of food and newspaper bedding, trying not to tear the lowest layer of paper. This will also help you see how much of the food the worms are consuming and give you an idea of when it’s time to add more.
•In theory, the worms will migrate to where the food is. As your population grows and you add more food, you can alternate sides of the tub. This helps when it’s time to take out the finished compost (when you can’t see anything that’s recognizable as food on one side of the tub, it’s time to remove the compost from that side.)