Project 5: Make Your Own Planters
Why would you want to do this? You want to garden or try to grow your own food but have no yard or no place to dig in the ground.
Why wouldn’t you want to do this? You have nowhere to put large pots or planters outdoors.
Is there an easier way? You can buy a large pot (or pots) from a nursery or hardware store and fill it with soil; this will be much easier but will also be much more expensive and possibly not as durable.
Cost comparison: Large store-bought planters of the size discussed in this project can be very expensive. When you make your own planters, the biggest expense is that of the potting soil.
Skills needed: Basic construction skills and the ability to do a bit of heavy lifting.
Learn more about it: McGee & Stuckey’s Bountiful Container (Workman, 2002) by Rose Marie Nichols McGee and Maggie Stuckey.
Even if you don’t have a yard or ground space, you have no excuse not to try gardening and growing your own food. Many apartment and condominium dwellers have gardens of their own, and I’ve been to restaurants that grow their own produce on the roofs of their buildings. With some creativity, there are many possibilities for people whose homes have no outdoor space.
The list of containers that can be used as planters and materials that can be adapted into use as planters is a long one. In Project 6 (Vertical Growing) of this section, I talk about using gutters for planters; I have also drilled drainage holes in extra recycling bins to convert them into planters. Many people recycle tires by utilizing them to grow potatoes: fill the center of an old tire with soil or mulch, plant your potatoes, and then stack on another tire (and add more soil or mulch) as the plant grows. I’ve used metal 55-gallon drums, both whole and cut to half height, and I’ve turned a whole straw bale into a planter, which is a lot of fun—but a lot of mess for an apartment dweller to be left with at season’s end. In England, many urban dwellers use big bags of soil intact, planting through holes or slits cut directly in the plastic (there are even special devices to keep the holes open and help with watering). I began pondering the wide variety of options when a restaurateur for whom I grew produce told me about a friend who grew carrots in big plastic kiddie pools.
For our front porch, I purchased nice pots, wanting my citrus trees showcased with a Mediterranean feel. Large ceramic pots are usually the best looking but also the most problematic. In addition to being heavy and expensive, terra-cotta pots can easily split or break. If they are unglazed, the pots breathe, which means that keeping the plants from drying out is a challenge. Plastic pots are cheaper and lighter than terra-cotta; however, they not only lack quality but also are not UV-stable and can fade and splinter over time. There are rigid Styrofoam-like pots made to resemble stoneware or terra-cotta—I tried these on our upstairs deck—but they dent and chip when bumped and don’t look so attractive after a couple of years.
You can use wine or whiskey half-barrels as planters, which give a size and volume comparable to my project, but the wooden staves will eventually rot out and loosen, and the barrels are hard to find cheaply anymore.
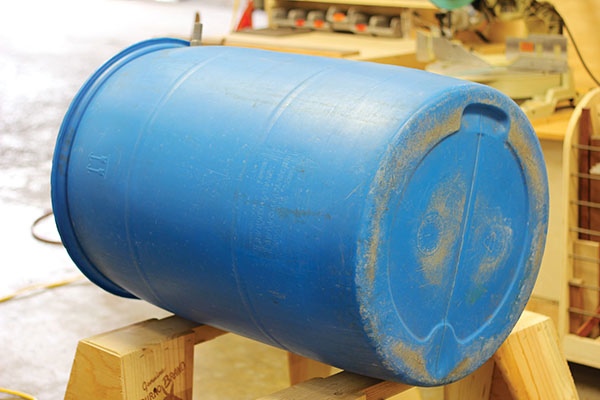
This project uses a big plastic barrel and gives some leeway as to the orientation. When you cut the barrel in half horizontally, you’ll have two circular planters, each with 3 square feet that can be thickly planted because of the 17-inch depth. Cutting the barrel vertically, I created two shallower planters with more area (almost 6 square feet) but less root room (my carrots love them) and a semicircular profile that maximizes drainage.
Materials:
•Food-grade plastic 55-gallon barrel
•Indelible marker
•Saw (I recommend a reciprocating saw; try to borrow or rent one if you don’t have one)
•Drill with 1/4-inch or 3/8 inch bit
•Piece of mesh, screen, or landscape cloth
•Four bags of potting soil
•Eight bricks
Step 1: Decide how you want to cut the barrel: either around the center, at its “waist,” or down the middle, from top to bottom.
Step 2: Using an indelible marker, draw a line that you will follow when cutting. It doesn’t have to be straight—you can get creative with curves if you want.
Step 3: Cut the barrel along the line with your saw (you’ll see why I recommend a reciprocating saw).
Cut the barrel in half either vertically or horizontally, depending on how much growing area and depth you want in your planters.
Step 4: Drill holes in the bottoms of both halves of your barrel. If you’ve cut your barrel from top to bottom, leave the bungs (stoppers) in place and drill a single line of holes about every 2 inches at the deepest point of each half. For the bottom half of the horizontally cut barrel, drill a smattering of holes all over the bottom, especially in any areas where water could collect. For the top half, unscrew and remove the bungs and then drill holes all over the rest of that end, again focusing on areas where draining water would collect.
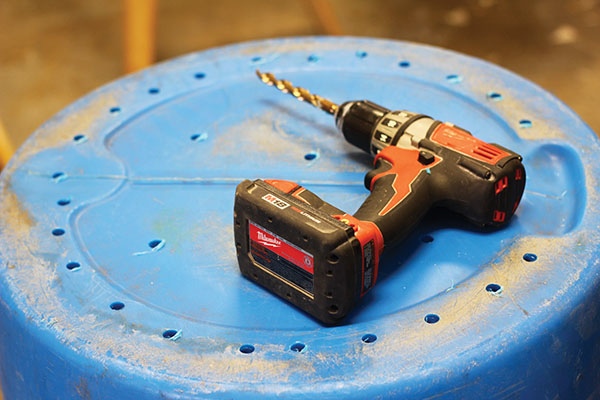
Drill drainage holes all over the bottoms of the barrel halves.
Step 5: Flip both halves so that the open sides face up. Move the empty planters to their intended locations.
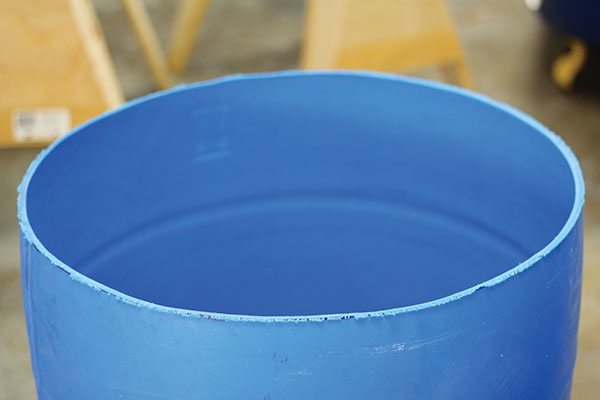
Half of a barrel that was cut across its “waist.”
Step 6: Place four bricks in a square or rectangle under each empty planter, making sure that the planter is stable. The bricks secure the planters from rocking as well as raise them to allow water to drain out.
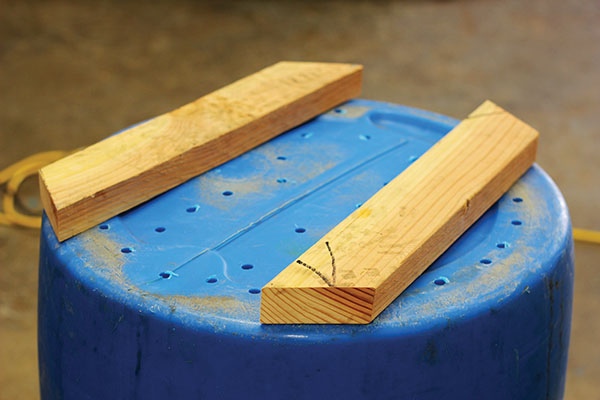
Cut pieces of lumber can act as “risers” if you don’t have bricks.
Step 7: With a horizontally cut barrel, place a small piece of mesh, screen, or landscape cloth over the big holes where the bungs were to keep your soil from spilling out.
Step 8: Fill the planters with potting soil, which contains ingredients to keep it lighter and prevent soil compaction. For my carrots, I used a very sandy mix, and the planters are impossible to move now.
Step 9: Plant and water.

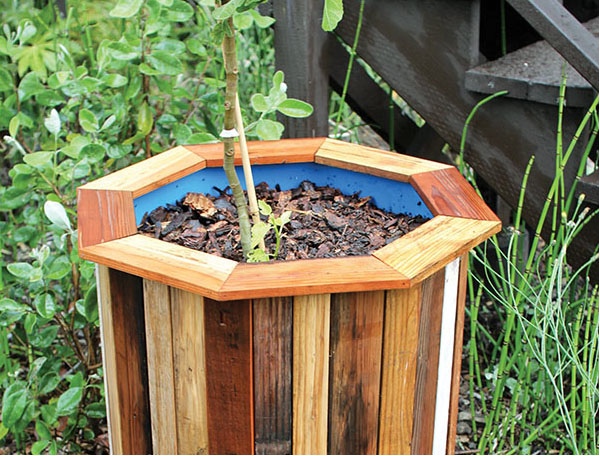
Get crafty with the outside of your barrel to give it aesthetic appeal and match it with the rest of your garden decor.
Additional Advice
•If you are concerned about bending over to plant or harvest, build a sturdy stand for your planters so that they are higher and easier to work with. I welded metal supports for mine.
•You can paint the planters if you’d like to dress them up a bit; there are brands of paint made specifically for plastic, but I’ve found that some still flake off in time.
•You can disguise the planters by hiding the plastic with foliage: cluster other plants in smaller pots around the planters, or plant trailing plants at the planters’ edges to drape over the sides.
•Make your planters look less like barrels or hide the containers entirely by wrapping them in an attractive material, such as a piece of bamboo privacy screen, a strip of salvaged linoleum, or aluminum flashing. You can adjust the appearance of the planter, but you can’t beat the functionality!