CHAPTER 3
NAVIGATING THE MAP AND MENU
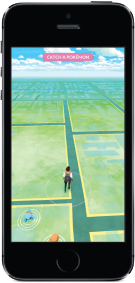
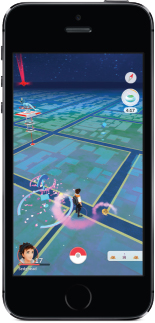
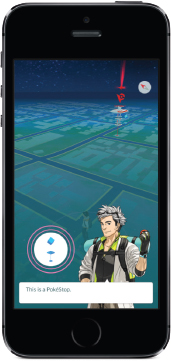
Now that we’ve learned the key items, terms of the game, and how to catch Pokémon, it’s time to explore the map and find new Pokémon to catch. When you look at your map, you’ll see your trainer standing in what looks like a green open field layered with different streets. You may see PokéStops (we’ll get into those more later) and tall platforms with resting Pokémon (gyms) on the map. To explore, all you have to do is walk around, and your trainer will go to that same location you are, but on the game’s map. Here you can see how the map has streets colored as grey and buildings in the green squares.
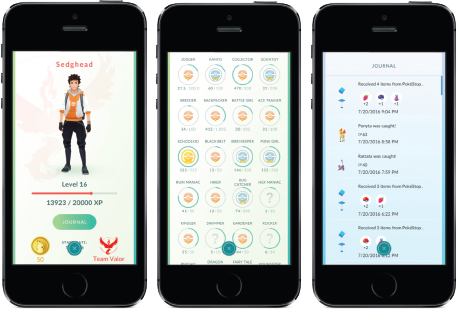
The map also shows you different information aside from what Pokémon, PokéStops, or gyms are nearby. In the bottom left-hand corner is a picture of your trainer along with your current level, and a colored bar underneath. This bar represents how much XP you need to level up and become more powerful. Pressing on this picture will show things, such as the specific XP required to get to the next level, the amount of coins you have to purchase items, and a journal detailing your progress so far in the game. If you’ve gotten to level 5 yet, it shows what team you’re a part of and what medals you’ve received. Medals are earned based on certain things you’ve accomplished in the game, like collecting a certain amount of Pokémon or visiting a certain number of PokéStops.
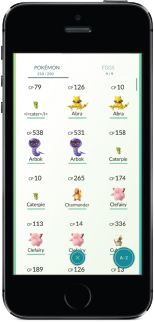
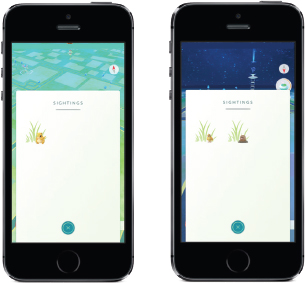
Also on the map in the bottom right corner, you can see a gray bar. It shows what Pokémon are in your immediate area. If there’s just an empty outline of a Pokémon, that means there’s a new type of monster you haven’t caught yet nearby. If the full picture of the Pokémon appears, that means you have one of these monsters. I’ve captured all of the Pokémon in the bottom right corner, so their full pictures are displayed.
If you press on that bottom right bar, it’ll bring up a bigger menu of Pokémon. These are the ones that are in your immediate area, so if you walk around nearby, you might bump into them.
The compass in the top right corner represents what direction you’re facing. The red pointer is facing north and the grey is pointing south.
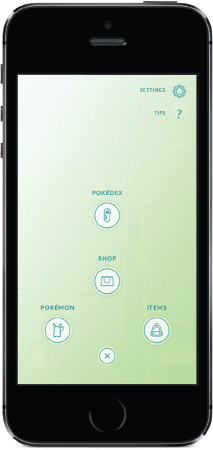
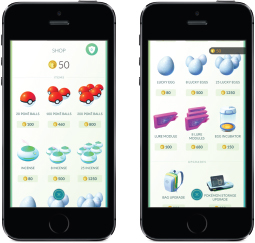
Selecting the Poké Ball in the bottom center of the map brings up a more thorough menu with the options— Pokémon, Items, Shop, Pokédex, Settings, and Help.
POKÉMON:
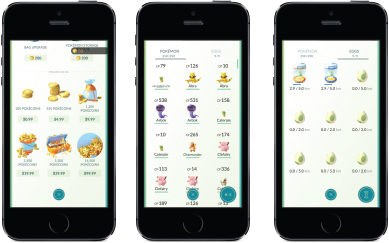
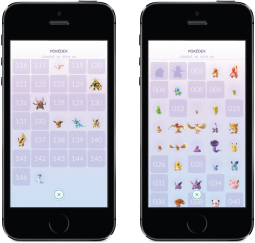
This option displays which Pokémon are currently in your possession, and how many total you have in total.
This list can be organized in different ways. Touch the button on the bottom right corner to choose in alphabetical order, most recently captured, etc. Here is where you can also nickname your Pokémon or select favorites. You can also look at the eggs you’ve captured and which are currently being incubated. If you see blue clouds behind a Pokémon, that means that it’s been recently caught. Visit Pokédex and Shop in the Getting Started chapter if you need a reminder on those items.
SETTINGS:
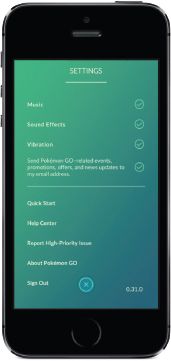
In the right corner of the screen where Pokédex, Shop, Pokémon, and Items are located, is a Settings button. Here you can adjust volume, vibration, and other items to your liking.
TIPS:
Below Settings is Tips where Professor Willow will give you a lowdown on generic advice on progressing through the game.
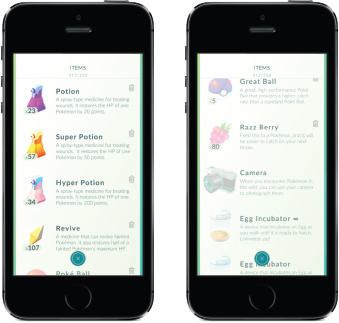
ITEMS:
The middle of the screen shows all of the items in your collection. Only the ones not “ghosted” are available to be used at that time.
YOU SHOULD KNOW:
Not all maps are created equal. If you just play the game in your immediate neighborhood, you’re only going to see a small number of Pokémon types and Pokémon in general compared to the amount you’ll see if you explore new areas.